来了!WSL 2 GUI 原生支持!
参阅文献
- https://docs.microsoft.com/zh-cn/windows/wsl/tutorials/gui-apps
先决条件
要在 Windows 上体验 WSL 2 GUI 应用,需要满足以下条件:
- Windows 10 预览版 21362+
- 安装适用于 vGPU 的驱动程序
升级到 Windows 10 预览版 21362+
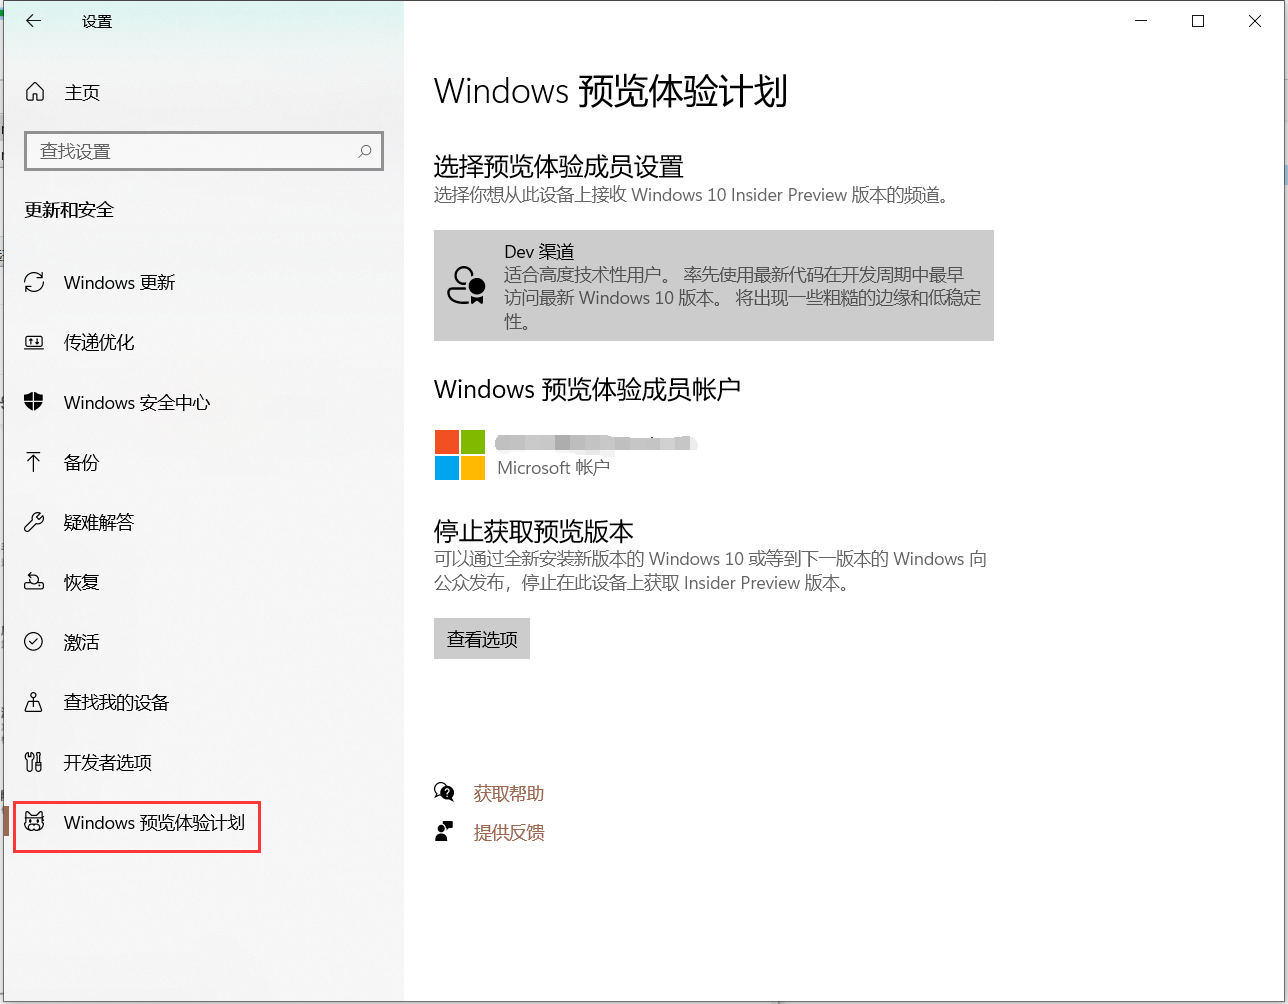
通过 WSL 对 Linux GUI 应用的支持将在 Windows 的下一个主要版本中推出。 若要访问 Windows 预览版并尝试立即运行 Linux GUI 应用,需要加入 Windows 预览体验计划,然后从开发通道Windows 10预览体验成员预览版。
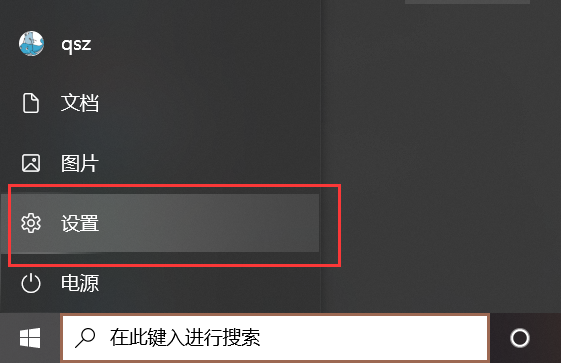
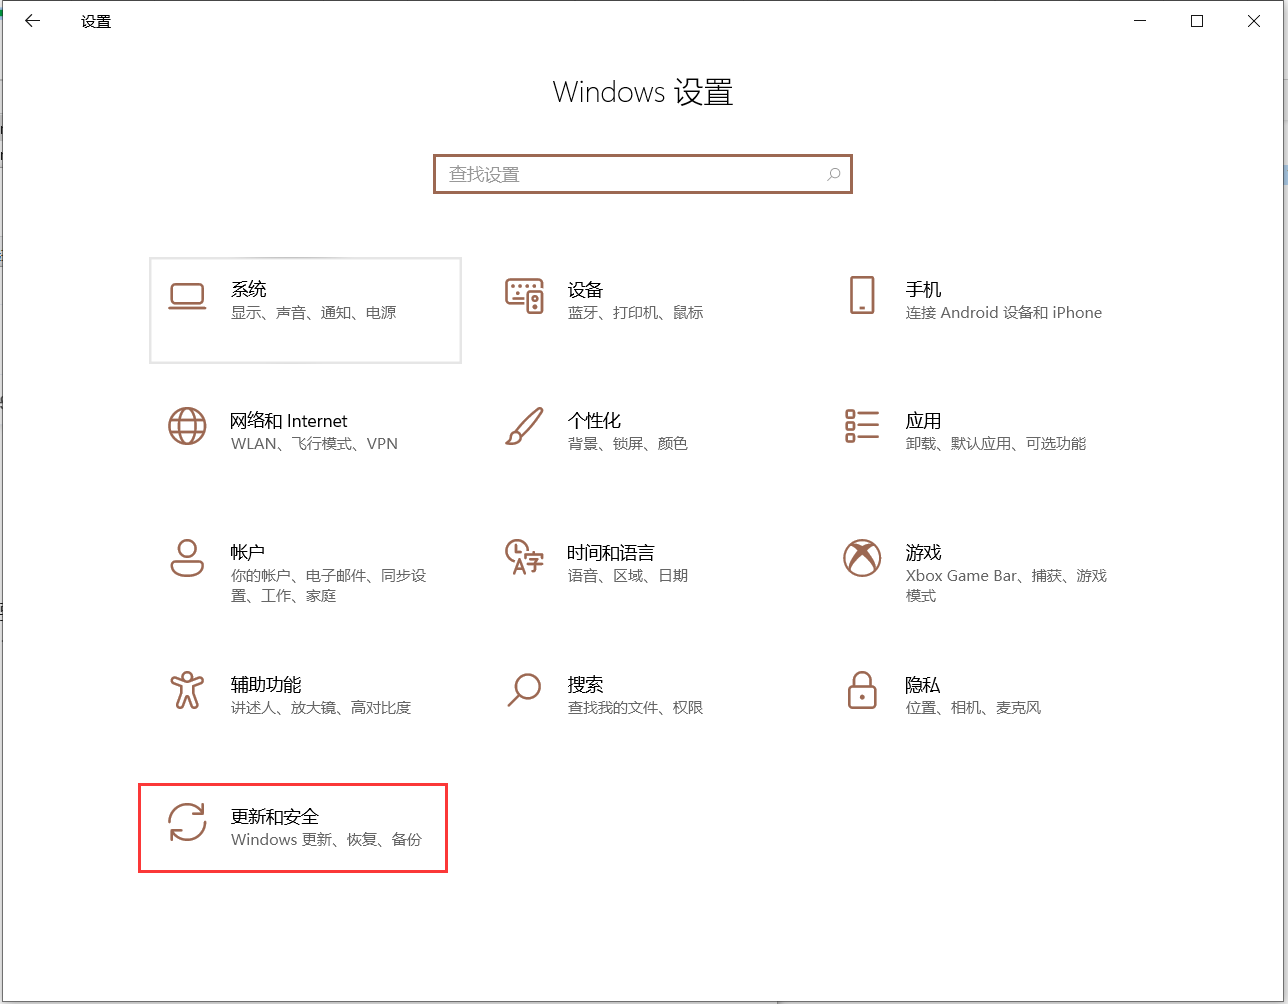
打开 设置 -> 更新和安全 -> Windows 预览体验计划
在加入到Windows预览体验计划后,按提示重启电脑,之后在 Windows 更新中点击检查更新,之后等待更新完成,重启系统就可以升级到最新的预览版系统了

安装适用于 vGPU 的驱动程序
若要运行 Linux GUI 应用,应首先安装与以下系统匹配的预览驱动程序。 这样,就可以将虚拟 GPU (vGPU) ,以便可以从硬件加速 OpenGL 呈现中获益。
适用于 Intel 的 WSL GPU 驱动程序:https://downloadcenter.intel.com/download/29526
适用于 AMD 的 WSL GPU 驱动程序:https://www.amd.com/en/support/kb/release-notes/rn-rad-win-wsl-support
适用于 NVIDIA 的 WSL GPU 驱动程序: https://developer.nvidia.com/cuda/wsl
安装 WSL
如果尚未执行 安装 WSL的步骤,可以使用新的简化安装命令。
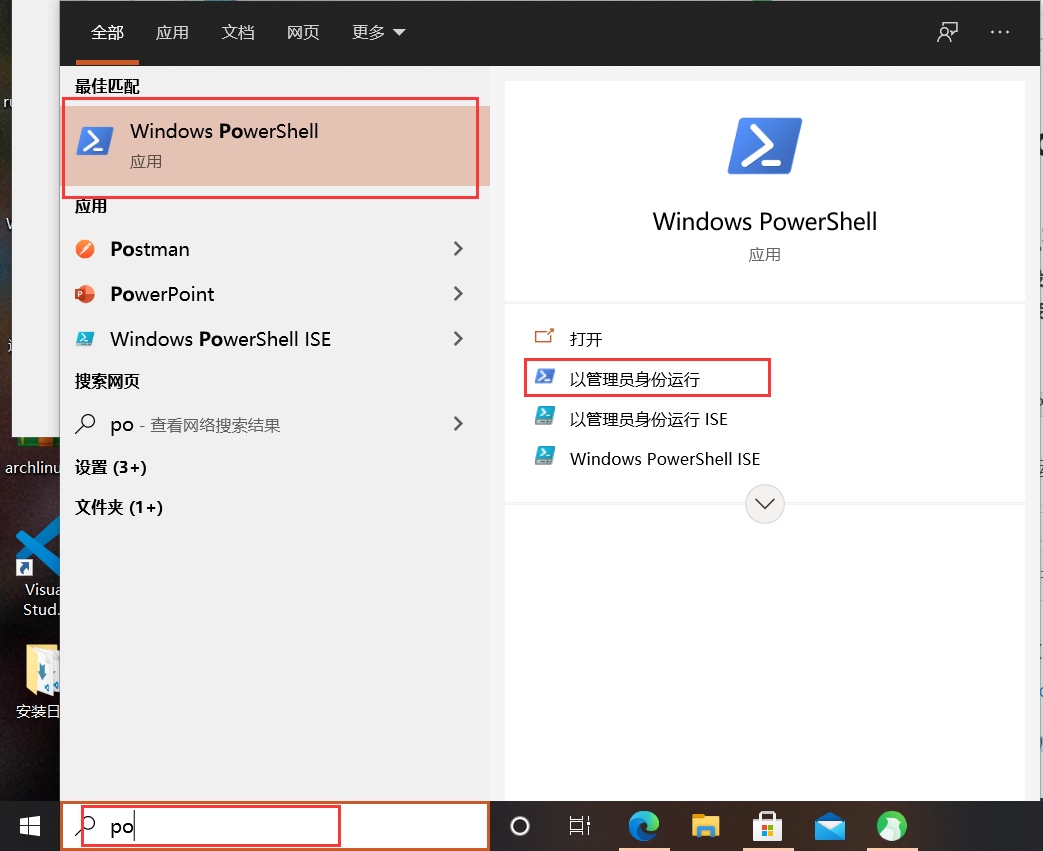
在开始菜单中搜索 PowerShell 并以管理员身份运行 PowerShell
在 PowerShell 中运行:
wsl --install -d Ubuntu # 安装 WSL 并运行 Ubuntu 分发
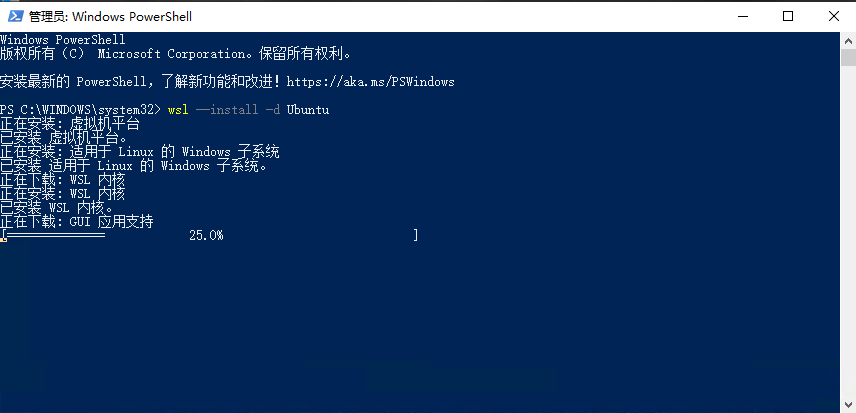
重启电脑后将继续安装,并按要求输入用户名和密码
从现有的 WSL 更新
如果已经在计算机上安装了 WSL,则可以通过从提升的命令提示符运行 update 命令,更新到包含 Linux GUI 支持的更新版本。
- 选择 " 开始",键入 " PowerShell",右键单击 " Windows PowerShell",然后选择 " 以管理员身份运行"。
- 输入 WSL update 命令:
wsl --update
- 你将需要重新启动 WSL,以使更新生效。 可以通过在 PowerShell 中运行 shutdown 命令来重新启动 WSL。
wsl --shutdown
运行 Linux GUI 应用
安装 Chrome 浏览器
wget https://dl.google.com/linux/direct/google-chrome-stable_current_amd64.deb
sudo apt-get update
sudo apt install ./google-chrome-stable_current_amd64.deb
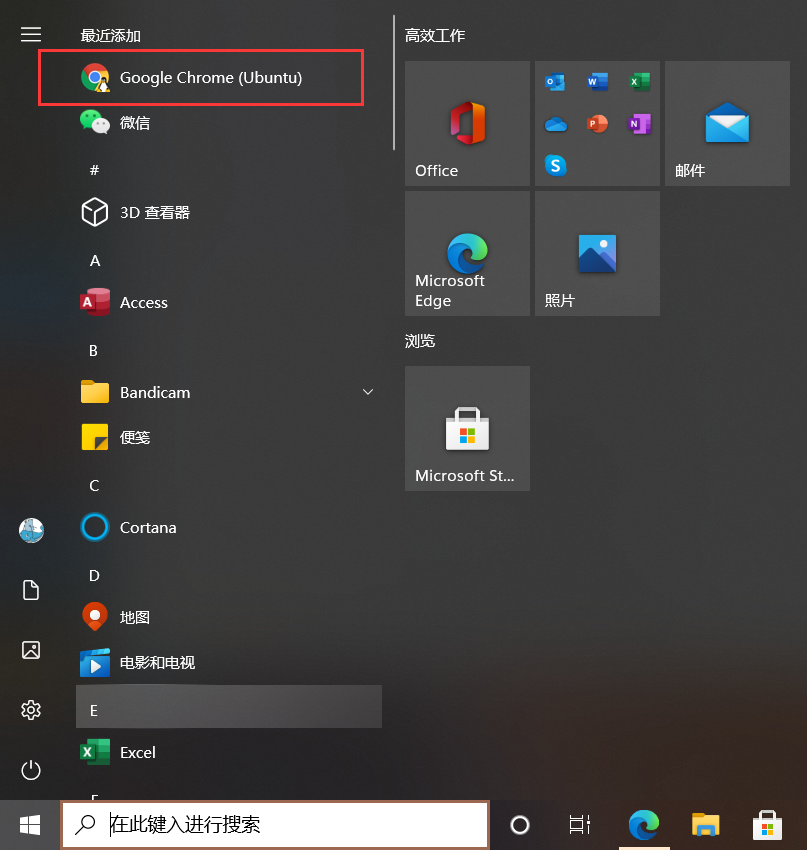
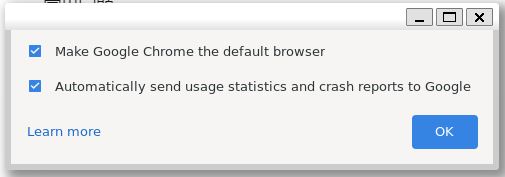
运行 Chrome,你可以直接在 Windows 开始菜单中启动 Chrome,也可以直接运行以下命令,第一次启动的时候会比较慢,需要等待一下
google-chrome

安装中文字体
sudo apt install fonts-wqy-microhei ttf-wqy-zenhei	# 安装中文字体
fc-list :lang=zh-cn	# 查看已安装的中文字体
安装中文输入法
生成中文环境
sudo locale-gen zh_CN.UTF-8
安装输入法
sudo apt install fcitx fcitx-googlepinyin
配置环境变量,编辑 /etc/profile 文件
...
+ export LANG=zh_CN.UTF-8
+ export GTK_IM_MODULE=fcitx
+ export QT_IM_MODULE=fcitx
+ export XMODIFIERS=\@im=fcitx
刷新使文件生效
source /etc/profile
运行输入法
fcitx
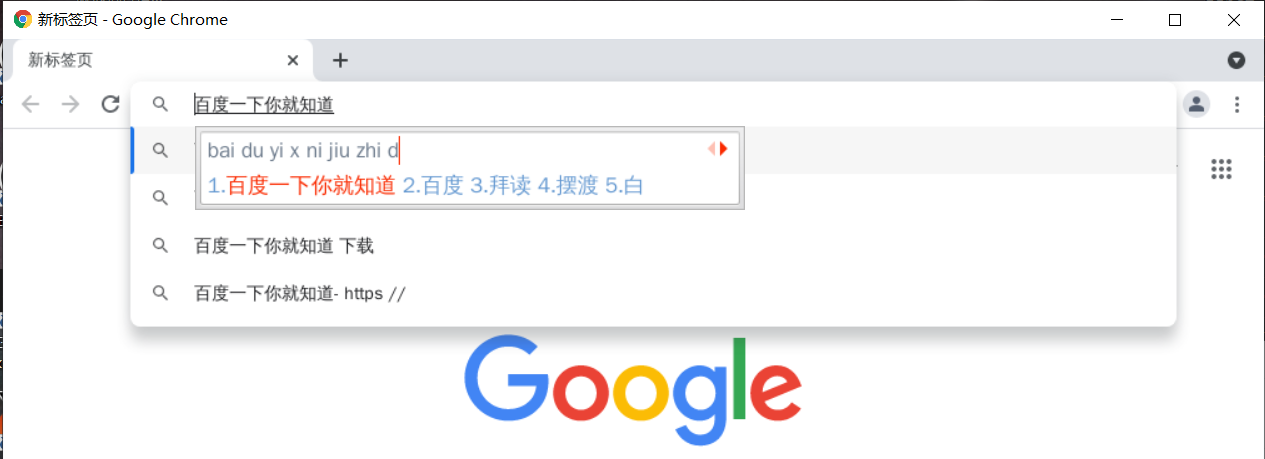
查看效果
打开Chrome浏览器,然后按 Ctrl+空格键 切换输入法
google-chrome

开机自启动输入法
编辑文件 /etc/bash.bashrc ,加入如下内容
...
+ fcitx