Apache HTTP服务器是一个模块化的服务器,源于NCSAhttpd服务器,经过多次修改,成为世界使用排名第一的Web服务器软件。
下面介绍如何在centos7下源码安装Apache
1、首先去Apache的官网下载安装包
链接:http://httpd.apache.org/downl...
http://apr.apache.org/downloa...
下载这三个包,版本下最新的就行
2、将压缩包导入系统
如果没有rz命令,yum安装yum install lrzsz -y![]()

3、开始解压
tar xf apr-1.6.3.tar.bz2
tar xf apr-util-1.6.1.tar.bz2
tar xf httpd-2.4.34.tar.bz2
mv apr-1.6.3 httpd-2.4.34/srclib/apr
mv apr-util-1.6.1 httpd-2.4.34/srclib/apr-util
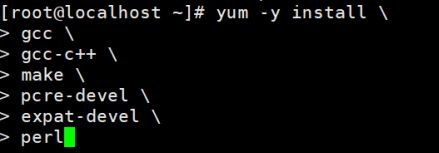
4、yum安装需要的环境
yum -y install \
gcc \
gcc-c++ \
make \
pcre-devel \
expat-devel \
perl
5、切换目录开始编译
cd httpd-2.4.34
./configure \
--prefix=/usr/local/httpd \
--enable-so \
--enable-rewrite \
--enable-charset-lite \
--enable-cgi
make && make install![]()
过程很慢,耐心等待
6、复制配置文件并修改
cp /usr/local/httpd/bin/apachectl /etc/init.d/httpd
![]()
vi /etc/init.d/httpd![]()
# chkconfig: 35 85 21  //35级别自动运行  第85个启动 第21个关闭
# description: Apache is a World Wide Web server
解释:chkconfig:后面定义的使启动服务的运行级别(例子中使35启动该服务),以及 关闭和启动服务的顺序(上例中启动服务的顺序是85,关闭的顺序是21)。7、执行命令
chkconfig --add httpd //将httpd加入到SERVICE管理器8、修改主配置文件vi /usr/local/httpd/conf/httpd.conf ![]()
9、创建软连接
ln -s /usr/local/httpd/conf/httpd.conf /etc/
ln -s /usr/local/httpd/bin/* /usr/local/bin/
10、关闭防火墙
也可以设置防火墙放行,但有点麻烦,建议直接关
systemctl stop firewalld.service
setenforce 0
11、检查服务状态
`httpd -t
apachectl -t`
12、启动服务
service httpd start
netstat -anpt | grep 80显示这个界面就说明成功了,


