使用vue3.0+electron搭建桌面应用并打包exe
第一步:创建vue3.0项目
全局先安装最新的vue cli,下面是安装命令,已安装的可以跳过
npm install -g @vue/cli  // npm 安装
yarn global add @vue/cli // yarn 安装
创建项目:
vue create task-manage选择vue3.0
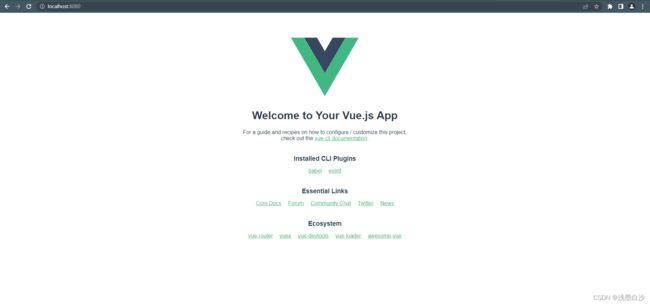
创建完成后,跑一下,没问题
第二步:集成electron
electron由于是国外的镜像源,大概率安装时会报:connect ECONNREFUSED 127.0.0.1:443
所以最好先设置一下代理
yarn config set ELECTRON_MIRROR http://npm.taobao.org/mirrors/electron/设置后,安装electron、vue-cli-plugin-electron-builder以及electron-devtools-installer,后两个插件用于打包。
// 安装electron
yarn add electron --dev

// 安装electron打包插件
yarn add vue-cli-plugin-electron-builder --dev
yarn add electron-devtools-installer --dev
安装完成后,先别急着运行,还得改造一下。
步骤一:src目录下新建一个background.js文件,作为electron的入口文件。下面贴个范本,可以直接复制
'use strict'

import { app, protocol, BrowserWindow } from 'electron'
import { createProtocol } from 'vue-cli-plugin-electron-builder/lib'
import installExtension, { VUEJS3_DEVTOOLS } from 'electron-devtools-installer'
const isDevelopment = process.env.NODE_ENV !== 'production'

// Scheme must be registered before the app is ready
protocol.registerSchemesAsPrivileged([
  { scheme: 'app', privileges: { secure: true, standard: true } }
])

async function createWindow() {
  // Create the browser window.
  const win = new BrowserWindow({
    width: 800,
    height: 600,
    webPreferences: {

      // Use pluginOptions.nodeIntegration, leave this alone
      // See nklayman.github.io/vue-cli-plugin-electron-builder/guide/security.html#node-integration for more info
      nodeIntegration: process.env.ELECTRON_NODE_INTEGRATION,
      contextIsolation: !process.env.ELECTRON_NODE_INTEGRATION
    }
  })

  if (process.env.WEBPACK_DEV_SERVER_URL) {
    // Load the url of the dev server if in development mode
    await win.loadURL(process.env.WEBPACK_DEV_SERVER_URL)
    if (!process.env.IS_TEST) win.webContents.openDevTools()
  } else {
    createProtocol('app')
    // Load the index.html when not in development
    win.loadURL('app://./index.html')
  }
}

// Quit when all windows are closed.
app.on('window-all-closed', () => {
  // On macOS it is common for applications and their menu bar
  // to stay active until the user quits explicitly with Cmd + Q
  if (process.platform !== 'darwin') {
    app.quit()
  }
})

app.on('activate', () => {
  // On macOS it's common to re-create a window in the app when the
  // dock icon is clicked and there are no other windows open.
  if (BrowserWindow.getAllWindows().length === 0) createWindow()
})

// This method will be called when Electron has finished
// initialization and is ready to create browser windows.
// Some APIs can only be used after this event occurs.
app.on('ready', async () => {
  if (isDevelopment && !process.env.IS_TEST) {
    // Install Vue Devtools
    try {
      await installExtension(VUEJS3_DEVTOOLS)
    } catch (e) {
      console.error('Vue Devtools failed to install:', e.toString())
    }
  }
  createWindow()
})

// Exit cleanly on request from parent process in development mode.
if (isDevelopment) {
  if (process.platform === 'win32') {
    process.on('message', (data) => {
      if (data === 'graceful-exit') {
        app.quit()
      }
    })
  } else {
    process.on('SIGTERM', () => {
      app.quit()
    })
  }
}
步骤二:修改package.json文件,新增入口属性以及运行命令
{
    ...
    "main": "background.js", // electron入口文件
    "author": "jacinto", // 作者
    "description": "任务管理桌面应用", // 描述 这里必填,不然打包会报错
    ...
    "scripts": {
        ...
        "electron:build": "vue-cli-service electron:build",
        "electron:serve": "vue-cli-service electron:serve",
        "postinstall": "electron-builder install-app-deps",
        "postuninstall": "electron-builder install-app-deps"
    }
}步骤三:修改vue.config.js文件,新增electron打包选项
const { defineConfig } = require('@vue/cli-service')
module.exports = defineConfig({
  transpileDependencies: true,
  publicPath: './',  // 这里设置成./,否则打包后vue的静态资源引用会报错找不到路径导致白屏
  pluginOptions: {
    electronBuilder: {
      builderOptions: {
        "appId": "xxxxxx", // 程序的包ID
        "productName": "任务管理",
        "copyright": "Copyright © 2019 浅沙软件开发工作室",
        "directories": {
          "output": "./dist"//输出文件路径
        },
        "win": {//win相关配置
          "icon": "./public/logo.ico",//图标,这里图标需要至少256*256,否则打包会报错
          "target": [
            {
              "target": "nsis",//利用nsis制作安装程序
              "arch": [
                "x64",//64位
                "ia32"//32位
              ]
            }
          ]
        },
        "nsis": {
          "oneClick": false, // 是否一键安装
          "allowElevation": true, // 允许请求提升。 如果为false,则用户必须使用提升的权限重新启动安装程序。
          "allowToChangeInstallationDirectory": true, // 允许修改安装目录
          "installerIcon": "./public/logo.ico",// 安装图标
          "uninstallerIcon": "./public/logo.ico",//卸载图标
          "installerHeaderIcon": "./public/logo.ico", // 安装时头部图标
          "createDesktopShortcut": true, // 创建桌面图标
          "createStartMenuShortcut": true,// 创建开始菜单图标
          "shortcutName": "taskmanage", // 图标名称
      },
      }
    }
  }
})
现在看看效果
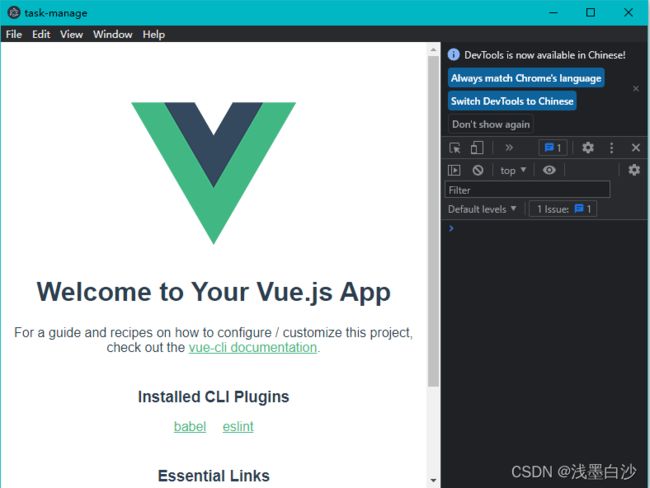
运行yarn electron:serve
运行没问题。
运行yarn electron:build
打包成功!!
打开dist目录,发现存在以下文件
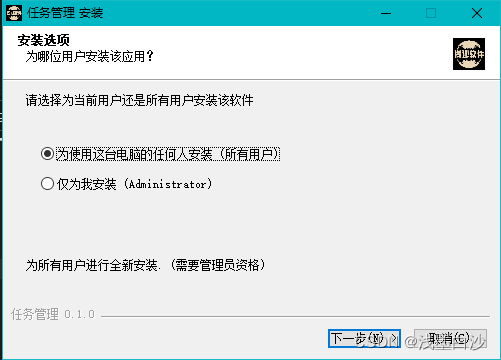
双击安装程序,出现以下界面,说明没问题
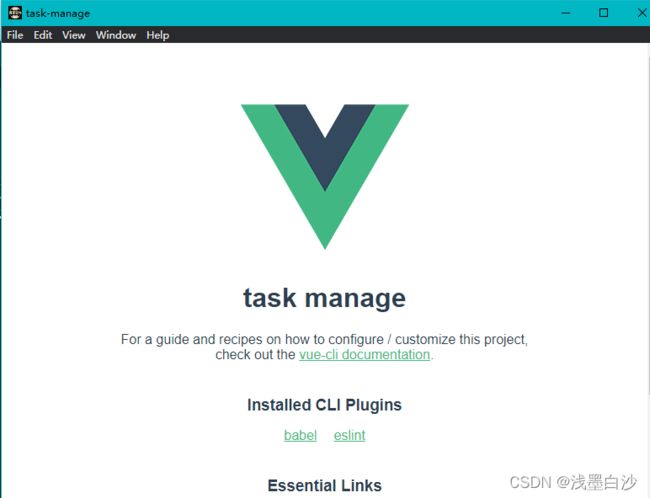
打开win-ia32-unpacked或win-unpacked下的任务管理.exe,出现以下界面,说明也没问题
项目地址:https://github.com/jacinto0125/task-manage.git


