使用Pthon中的Opencv获取人体关键点并再在unity中展现
为了给同门们做备忘录。细到扣脚没有你打我。细节细节细节(重要的......)
目录
一、环境配置
二、pycharm的操作
三、Unity中的操作
一、环境配置
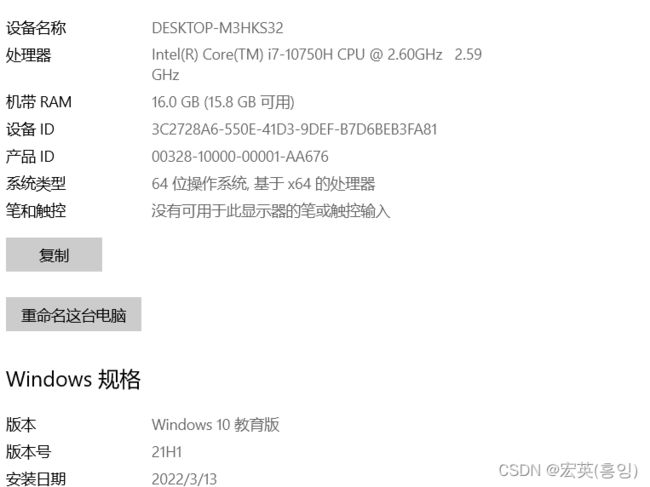
电脑配置
1.1Python的下载安装
![]()
1.2Pycharm的下载安装
![]()
1.3Unity Hub的下载
![]()
在Hub里面下载Unity
1.3.1Unity的下载
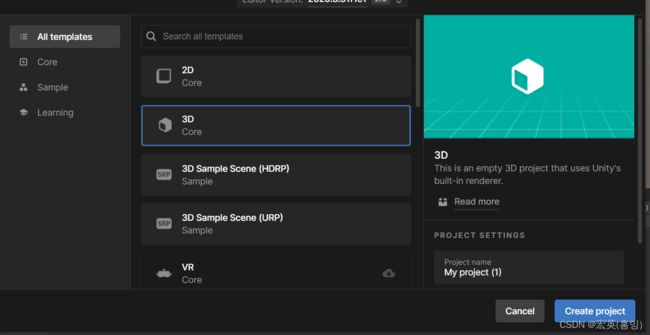
1.3.2项目创建
1.4VisualStudio的下载
![]()
二、pycharm的操作
1建立项目(补上?)
2配置工具包
Pycharm专业版(professional)本来整的社区版的我也不知道为啥变成了这样。
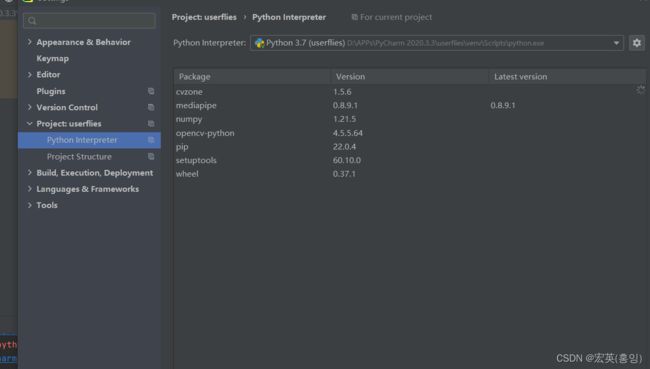
先来配置环境进入File>Project:userfiles(项目名称)Python Interpreter(这里已经是装了几个工具包的样子了)看看有哪些工具包,一会安装工具包也需要在这里。
书写代码,这里有个“BUG”能看出来的举手
from cvzone.PoseModule import PoseDetector
import cv2

cap = cv2.VideoCapture("Video.mp4")
detector = PoseDetector()
while True:
    success, img = cap.read()
    img = detector.findPose(img)
    lmList, bboxInfo = detector.findPosition(img)
    cv2.imshow("Image", img)
    cv2.waitkey(1)
调出视频看看成成功不
但是报错了
File>Project:userfiles(项目名称)>Python Interpreter>左下角的“+”号>
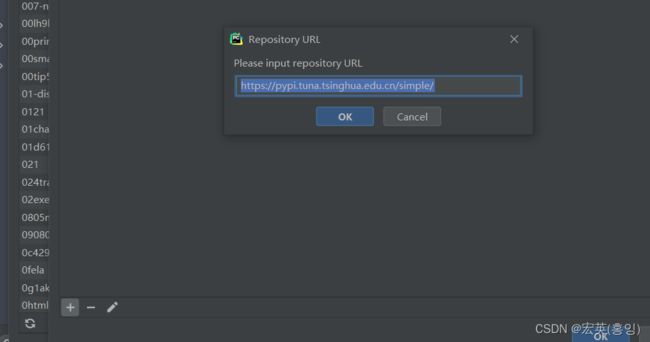
点开Manage Repositories更镜像源网站
https://pypi.tuna.tsinghua.edu.cn/simple/返回到这个页面再搜索框里输入想要的安装包名称
so 我们安装一下google
还有 protobuf
但是又有错误了
所以再安装matplotlib
So红色我的最爱
成功了但是视频一闪而过并提示 ,错误在“waitKey”K要大写,(对这就是那个BUG)
from cvzone.PoseModule import PoseDetector
import cv2

cap = cv2.VideoCapture("Video.mp4")
detector = PoseDetector()
while True:
    success, img = cap.read()
    img = detector.findPose(img)
    lmList, bboxInfo = detector.findPosition(img)
    cv2.imshow("Image", img)
    cv2.waitKey(1)
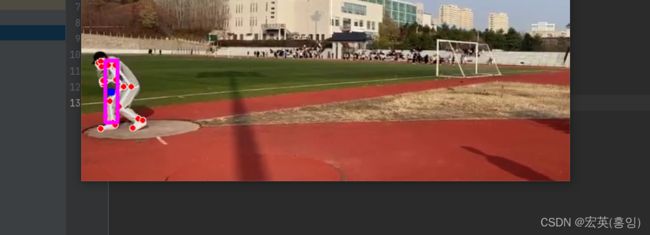
这样就成功了~ 模特是你们可爱的琦学长
这里只调动了CPU,并为启动GPU所以you'dai
![]()
运行
from cvzone.PoseModule import PoseDetector
import cv2

cap = cv2.VideoCapture("Video.mp4")
detector = PoseDetector()
while True:
    success, img = cap.read()
    img = detector.findPose(img)
    lmList, bboxInfo = detector.findPosition(img)

    if bboxInfo:
        lmString = ""
        for lm in lmList:
            print(lm)
    cv2.imshow("Image", img)
    cv2.waitKey(1)
得出
下一步将数据存在文件中
import cv2
from cvzone.PoseModule import PoseDetector
cap = cv2.VideoCapture('Video.mp4')
detector = PoseDetector()
posList = []
while True:
    success, img =cap.read()
    img = detector.findPose(img)
    lmList,bboxInfo = detector.findPosition(img)
    if bboxInfo:
        lmString = ""
        for lm in lmList:
            lmString += f'{lm[1]},{img.shape[0] - lm[2]},{lm[3]} , '
        posList.append(lmString)
    print(len(posList))
    cv2.imshow("Image",img)
    key = cv2.waitKey(1)
    if key == ord("1"):#按“1”按键这个整了4个小时,w...(简直是天才~)
        with open("data.txt","w") as f:
            f.writelines(['%s\n'% item for item in posList])
这个“1”要在英文输入法中按切记。就这样我们得到了数据啦啦啦啦啦~
![]()
三、Unity中的操作
3.1Unity的配置
申请账号、
3.1建立项目
点击Create project
建立C#文件
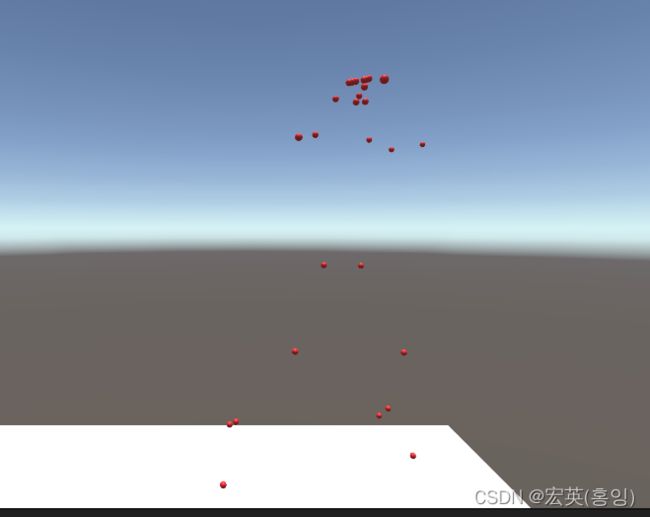
这是导入并执行文件的代码可以显示动画咯
using System.Collections;
using System.Collections.Generic;
using UnityEngine;
using System.Linq;
using System.Threading;

public class AnimationCode : MonoBehaviour
{
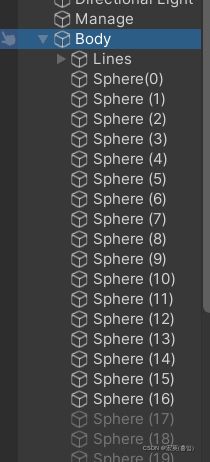
    public GameObject[] Body;
    List lines;
    int counter = 0;
    // Start is called before the first frame update
    void Start()
    {
        lines = System.IO.File .ReadLines("Assets/data.txt").ToList();
    }

    // Update is called once per frame
    void Update()
    {
        string[] points = lines[counter].Split(',');

        for (int i = 0; i <= 32; i++)
        {
            float x = float.Parse(points[0 + (i * 3)]) / 100;
            float y = float.Parse(points[1 + (i * 3)]) / 100;
            float z = float.Parse(points[2 + (i * 3)]) / 100;
            Body[i].transform.localPosition = new Vector3(x, y, z);
        }

        counter += 1;
        if (counter == lines.Count) { counter = 0; }
        Thread.Sleep(30);
    }
}
下一步就是在球球中间连线编辑C#文件
上代码了Script:点的
using System.Collections;
using System.Collections.Generic;
using UnityEngine;
using System.Linq;
using System.Threading;

public class AnimationCode : MonoBehaviour
{
    public GameObject[] Body;
    List lines;
    int counter = 0;
    // Start is called before the first frame update
    void Start()
    {
        lines = System.IO.File .ReadLines("Assets/202204131410(1).mp4.txt").ToList();
    }

    // Update is called once per frame
    void Update()
    {
        string[] points = lines[counter].Split(',');

        for (int i = 0; i <=32; i++)

        {
            float x = float.Parse(points[0 + (i * 3)]) / 100;
            float y = float.Parse(points[1 + (i * 3)]) / 100;
            float z = float.Parse(points[2 + (i * 3)]) / 300;

            Body[i].transform.localPosition =  new  Vector3 (x,y,z);
          //  Debug.Log(Body.Length);

        }

        counter += 1;
        if (counter == lines.Count) { counter = 0; }
        Thread.Sleep(90);
    }
}
线的Script:
using System.Collections;
using System.Collections.Generic;
using UnityEngine;

public class LineCode : MonoBehaviour
{

    LineRenderer lineRenderer;

    public Transform origin;
    public Transform destination;

    // Start is called before the first frame update
    void Start()
    {
        lineRenderer = GetComponent();
        lineRenderer.startWidth = 0.05f;
        lineRenderer.endWidth = 0.05f;
    }

    // Update is called once per frame
    void Update()
    {
        lineRenderer.SetPosition(0, origin.position);
        lineRenderer.SetPosition(1, destination.position);
    }
}
环境配置
- 安装python、IDE(pycharm)、Unity Hub、Unity、visual studio就不在这做讲解了(有其他的道友。)
得空了再填加。
参考网站:(科学上网)
https://www.youtube.com/watch?v=BtMs0ysTdkM
