【前端升全栈】 五分钟了解项目开发之接口
目录
1.http概述
2.处理get请求
3.nodejs处理post请求
4.处理http请求的综合实例
5.搭建开发环境
6.初始化路由
7.开发路由
9.开发路由(处理Postdata)
10.开发路由(新建和更新)
11.开发路由(删除路由和登录路由)
1.http概述
开发接口(不用任何框架)
- Nodejs处理http请求;
- 搭建开发环境;
- 开发接口(暂时不连接数据库,不考虑登录问题)
http请求概述
- DNS解析,建立TCP连接,发送http请求
- server 接收到http请求,处理,并返回
- 客户端接收到返回数据,处理数据(如渲染页面,执行js )
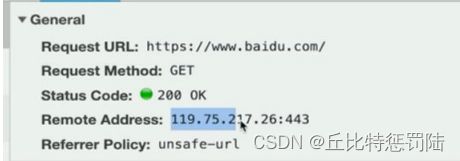
我们可以查看控制台中的 Headers,里面有请求的各种信息。 首先是 remote address,这个就是对应 DNS 解析,将例如百度解析成这里面的地址(443 是 https 默认端口)。然后建立 TCP 连接也就是所谓的三次握手(客户端问服务器说可用;服务端告客户端说可用;客户端告知服务端接下来要用)。
2.处理get请求
nodejs处理http请求
- get请求和querystring
- post请求和postdata
- 路由
const http = require( 'http ' );

const server = http.createServer((req,res)=→>{
     res.end( ' hello world ' );
});
server.listen(8000);

//然后浏览器访问http://localhost: 8000/
上面这个就是最基本的示例,都是按照这个结构来处理请求。
nodejs处理get请求
- get 请求,即客户端要向server端获取数据,如查询博客列表;
- 通过querystring 来传递数据,如a.html?a=100&b=200;
- 浏览器直接访问,就发送get请求
Nodejs处理get请求:
const http = require( 'http' );
const querystring = require( 'querystring' );

const server = http.createServer((req,res) => {
   console.log(req.method) // GET
   const url = req.url1/获取请求的完整url
   req.query = querystring.parse(url.split( '?')[1]) //解析querystring
   res.end ( JSON.stringify(req.query));//将querystring返回
});
server.listen ( 8000);
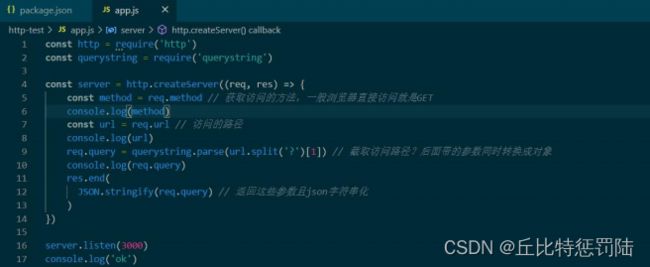
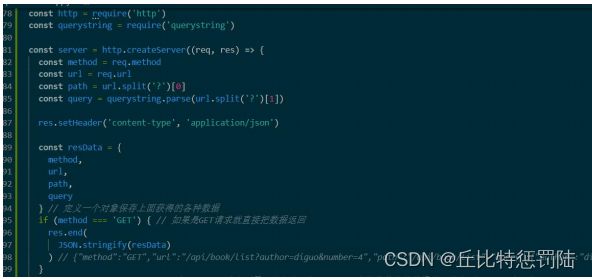
接下来实例演示一下,新建一个 http-test 文件夹,npm 初始化一下,创建一个 app.js;
const http = require('http')
const querystring = require('querystring')

const server = http.createServer((req,res)=>{
  console.log('method:',req.method)//GET
  const url = req.url
  console.log( 'url:',url)
  req.query = querystring.parse(url.split( '?')[1])
   console. log('query:', req.query)
  res.end(
    JSON.stringify( req.query)
)
})

server.listen(8000)
console.log( 'OK')
3.nodejs处理post请求
- post请求,即客户端要像服务端传递数据,如新建博客
- 通过post data传递数据,后面会演示
- 浏览器无法直接模拟,需要手写js ,或者使用postman
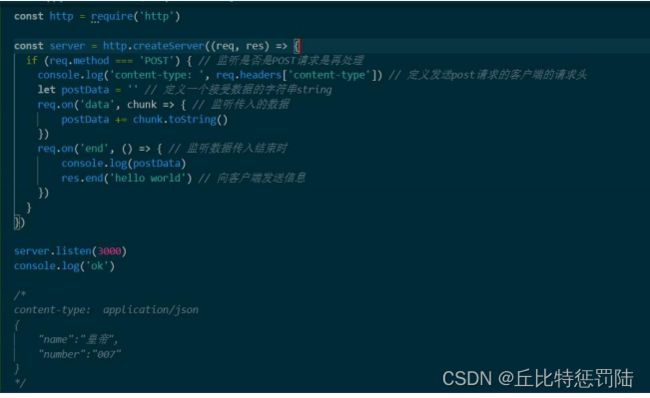
const http = require('http')
const server = http.createServer((req, res) => {
   if ( req.method === 'POST') {
//数据格式
   console. log( ' content-type', req . headers ['content-type' ])
//接收数据
   let postData = ""
   req.on( 'data',
   chunk => {
   postData += chunk. toString()
  req.on('end', () => {
  console. log( postData )
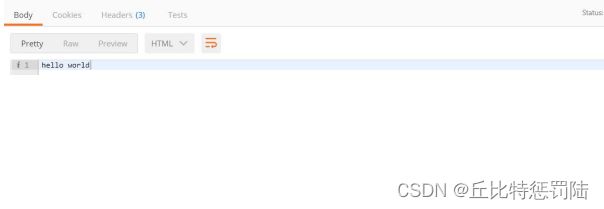
res.end( 'hello world') //在这里返回,因为是异步
})
}
});
| server. listen(8000) ;
nodejs处理路由:
- http://github.com/;
- http://github.com/username;
- http://github.com/username/xxx
const http = require( 'http ' );

const server = http.createServer((req,res) => {
  const url = req.url
  const path = url.split( '?')[0]
  res.end( path);//返回路由
});
server.listen(8000 );
4.处理http请求的综合实例
5.搭建开发环境
- 从0开始搭建,不适用任何框架
- 使用nodemon监测文件变化,自动重启node
- 使用cross-env设置环境变量,兼容mac linux和windows
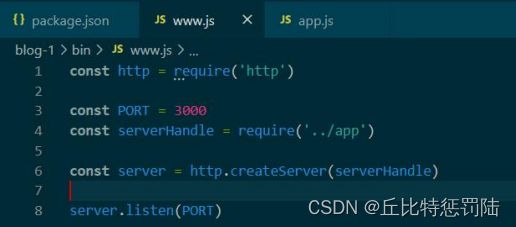
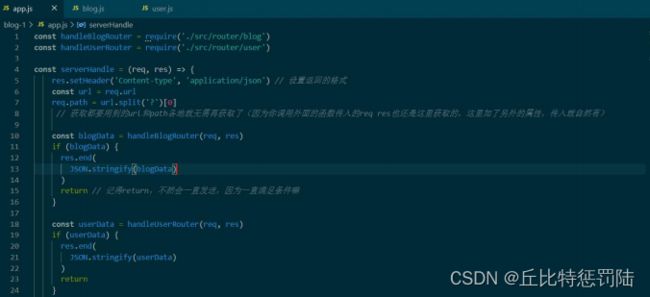
app.js 里面主要是为了业务配合,做一些配置(返回格式什么解析 xxx)和基本的 sever 没有关系,是一些底层的代码。 www.js 则是与 server 有关系的基本的功能(目前就是一个 port)分开刚好相互引用是为模块化!其实很简单,安装 cross-env 和 nodemon,同时配置 dev 和prd 两个不同的环境即可.然后 app.js 写一个通用的业务逻辑代码(就是起一个服务里面的东西,方便用)。
6.初始化路由
开发接口:
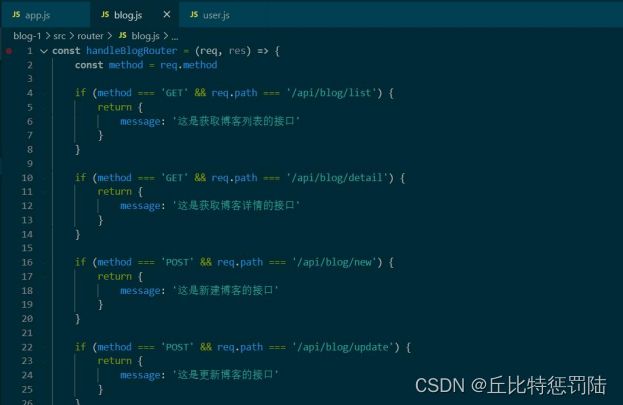
- 初始化路由:根据之前技术方案的设计,做出路由
- 返回假数据:将路由和数据处理分离,以符合设计原则
7.开发路由
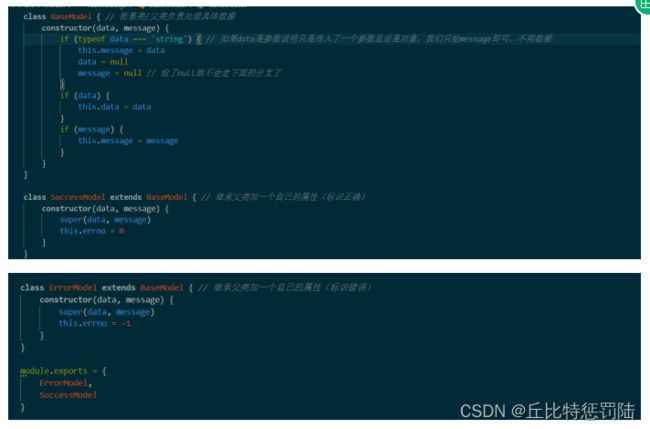
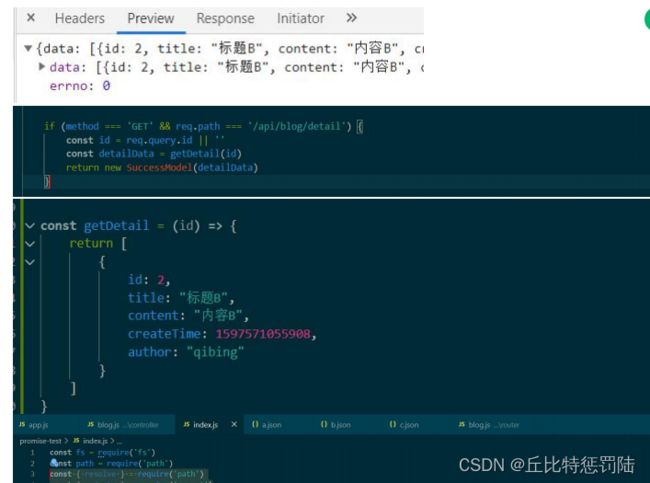
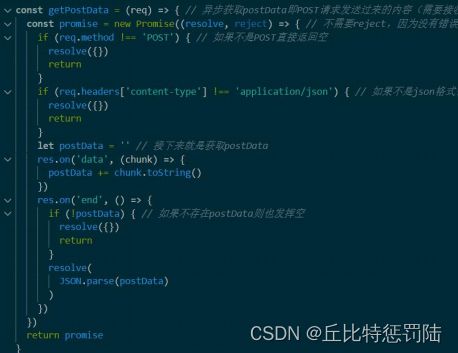
很简单嘛,首先肯定是回到 controller 定义一个 getDetail 的 函数,返回一个假数据,导出函数即可。 回到 router 下面引入这个函数,先获取 id,再调用这个函数,传入 id,再将结果传给成功model。 好了,GET 请求就开发完成了,接下来搞 POST,POST 自然是最需要处理 postData,而处理的话我们是通过 on 方法,但是由于全员异步,我们就得利用 promise,不然实在费劲。
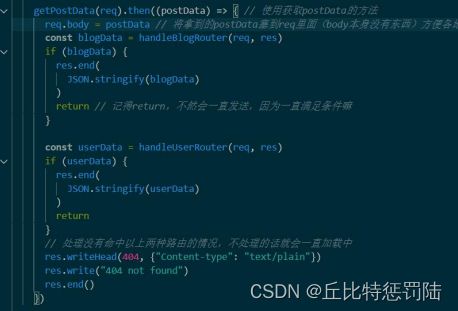
9.开发路由(处理Postdata)
10.开发路由(新建和更新)
if (method =-=:'POST' && req.path ame ' /api/blog/new ')圈
  const data = newBlog(req.body)
  return new SuccessModel(data)
}

if (method == 'POST:&& req. path === '/ api/blog/update') {
  const result = updateBlog(id,req.body)
  if(result){
     return new SuccessnModel(result)}
  else {
    return new ErrorModel('博客失败'))
}
11.开发路由(删除路由和登录路由)
总结:
- nodejs处理http请求的常用技能,postman的使用
- nodejs开发博客项目的接口(未连接数据库,未使用登录)
- 为何要将router 和controller 分开?
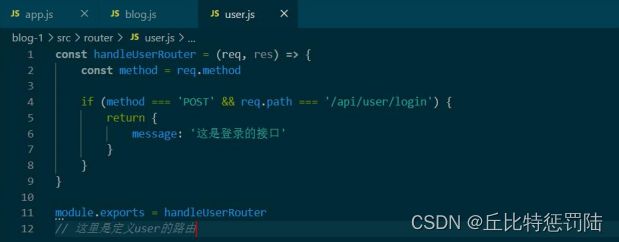
const { loginCheck } = require('../controller/user')
const { successModel,ErrorModel } = require('../model/resModel')

const handleUserRouter = (req,res) => {
  const method = req.method
  if(method == "POST' && req.path === '/api/user/login ') {
    const { username,password } = req.body
    const result = logincheck(username,password)
if (result){
   return new SuccessModel()
}else{
   return new Errormodel('登录失败')
}
}
}

module.exports = handleUserRouter
//这里是定义user的路由

