前端自动滚屏
vue实现自动滚动效果
- 一、竖向滚屏
-
- 1、效果演示
- 2、使用步骤
- 一、横向滚动
-
- 1、效果演示
- 2、使用步骤
一、竖向滚屏
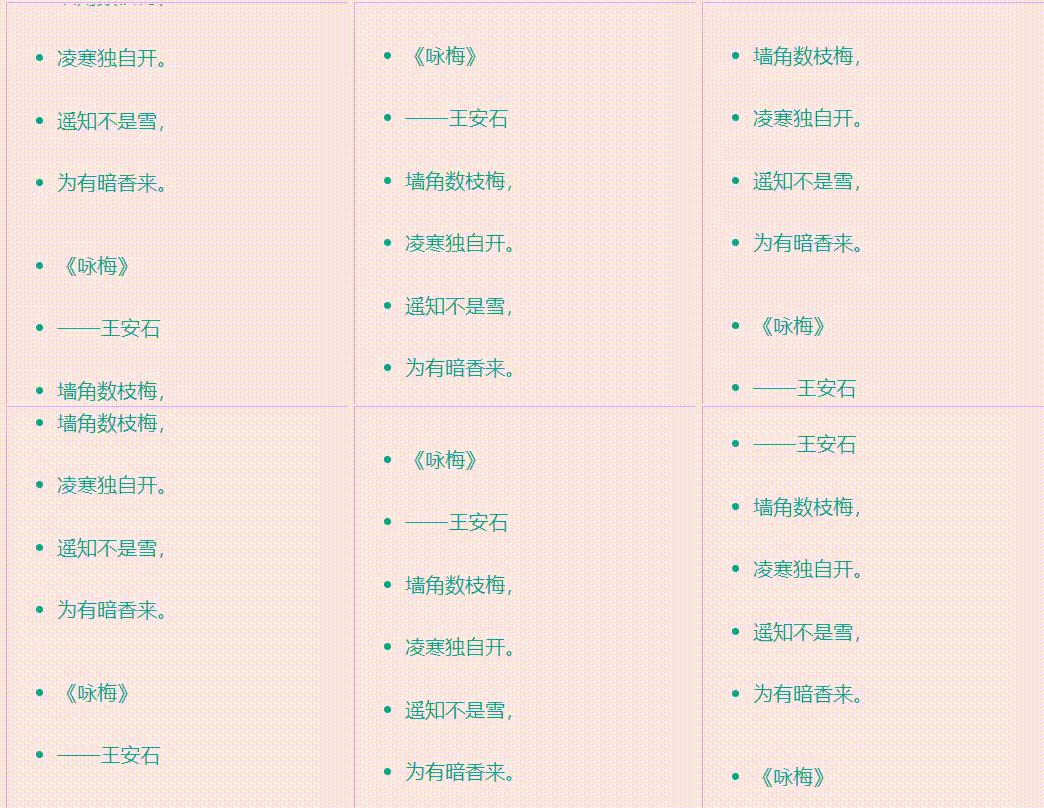
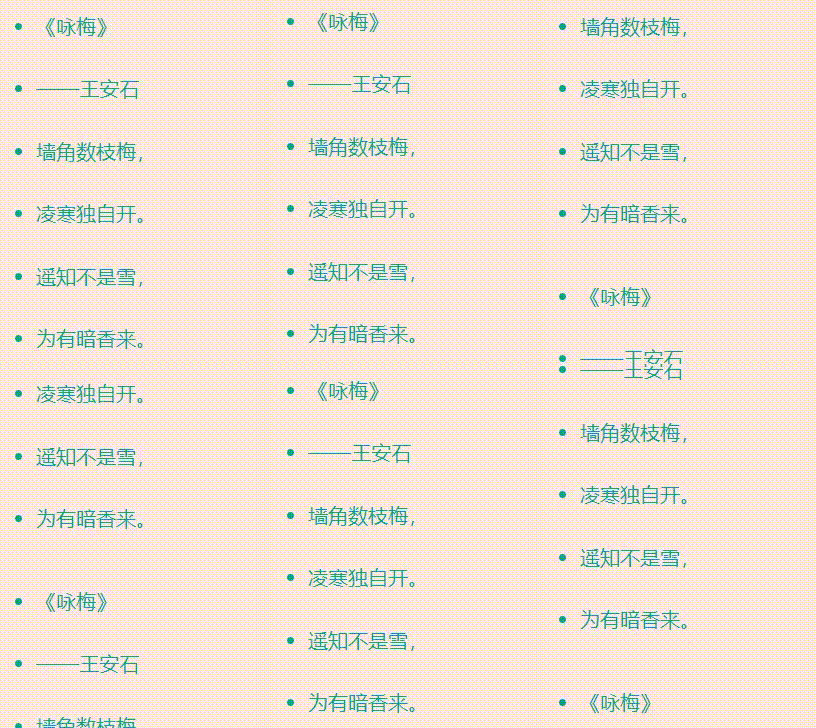
1、效果演示
2、使用步骤
- 新建Scroll_auto.vue,直接粘贴代码,已封装为公用组件
<template>
<div class="scrollAutoClass" ref="scroll">
<ul>
<li v-for="item in scrollData" :key="item.id">
{{item.title}}
li>
ul>
div>
template>
<script>
export default {
data () {
return {
scrollArea: '',
speed: 10,
timer: null,
delay: 2000,
liHeight: '',
topEnd:0
};
},
components: {},
props:{
scrollData:{
type:Array
}
},
computed: {},
mounted() {
//向上滚动文字
this.$nextTick(() => {
this.scrollArea = this.$refs.scroll;
let li = this.scrollArea.getElementsByTagName("li");
this.liHeight = li[0].offsetHeight;
this.scrollArea.scrollTop = 0;
this.scrollArea.innerHTML += this.scrollArea.innerHTML;
this.scrollData.length > 1 && setTimeout(this.startScroll, this.delay);
})
},
created() {},
methods: {
startScroll(){
this.timer = setInterval(this.scrollUp, this.speed);
this.scrollArea.scrollTop++;
},
scrollUp(){
if(this.scrollArea.scrollTop % this.liHeight == 0){
clearInterval(this.timer);
setTimeout(this.startScroll, this.delay);
}else{
this.scrollArea.scrollTop++;
if(this.scrollArea.scrollTop >= this.scrollArea.scrollHeight / 2||(this.topEnd!=0&&this.scrollArea.scrollTop==this.topEnd)){
setTimeout(()=>{
this.scrollArea.scrollTop = 0;
},1000)
}else{
this.topEnd=this.scrollArea.scrollTop
}
}
},
}
}
script>
<style scoped>
.scrollAutoClass{
height: 500px;
width: 300px;
line-height:50px;
overflow:hidden;
}
.scrollAutoClass ul li{
color: #03a793 ;
}
style>
- 在使用的页面引入Scroll_auto作为子组件并传需要滚动的数据
<template>
      <div class="noticeClass">
        <scroll-ul :scrollData="scrollData">scroll-ul>
      div>
template>

<script>
import scrollUl from "../common/scroll/Scroll_auto"
export default {
  name: "Home",
  data() {
    return {
      dataInit:0,
      scrollData: [
        { id: 1, title: 'xxx分析系统' },
        { id: 2, title: '——xxx' },
        { id: 3, title: '选择爬取网站,' },
        { id: 4, title: '筛选招聘条件。' },
        { id: 5, title: '存储分析数据,' },
        { id: 6, title: '展示数据大屏。' },
      ]
    };
  },
  components: {
    scrollUl
  },
  created(){},
  mounted() {},
  methods: {}
};
script>
<style scoped>
style>
一、横向滚动
1、效果演示
2、使用步骤
1、封装的组件代码如下,直接粘贴即可
<template>
  <div class="msgDivClass">
    <span class="msgSpanClass">{{ text }}span>
  div>
template>

<script>
export default {
  data() {
    return {
      timerId: null,
      msg: "滚动1234567890开始1234567890过程1234567890结束1234567890",
      text: "",
    };
  },
  components: {},
  computed: {},
  mounted() {
    this.autoRoll();
  },
  created() {},
  methods: {
    autoRoll() {
      let that = this;
      that.text = that.msg;
      this.timerId = setInterval(() => {
        that.text =
          that.text.substring(1, that.text.length) + that.text.substring(0, 1);
      }, 500);
    },
  },
  destroyed() {
    clearInterval(this.timerId);
    this.timerId = null;
  },
};
script>
<style scoped>
.msgDivClass {
  width: 22%;
  height: 5%;
  border: 1px solid #809ca3;
  position: absolute;
  top: 3%;
  left: 0.5%;
}
.msgSpanClass {
  white-space: nowrap; /*强制span不换行*/
  display: inline-block; /*将span当做块级元素对待*/
  width: 100%; /*限制宽度*/
  overflow: hidden; /*超出宽度部分隐藏*/
  text-overflow: ellipsis; /*超出部分以点号代替*/
  margin-top: 9%;
  font-size: 25px;
  color: #ffffff;
}
style>

