Learning High-Speed Flight in the Wild 环境安装
有许多问题可以去github项目内的issues查找一下,里面有相当一部分问题的解决方案。
也可参考论文学习–Learning High-Speed Flight in the Wild
一、环境安装
论文程序github地址:uzh-rpg/agile_autonomy,以及安装所需的基本流程,都在下方的Readme中可以找到。
环境:ubuntu 20.04 + cuda11.0 + gcc/g++ 7.5.0 + ROS noetic + python3.8 + anaconda 4.8.3 + open3d 0.9.0
安装流程
ubuntu20.04、cuda11.0、gcc/g++ 7.5.0 安装
1.Ubuntu 20.04 安装:ubuntu 20.04 的安装较为简单,可以参考之前的ubuntu16.04的安装过程。
2.安装完Ubuntu20.04后,应该首先安装cuda11.0,即先安装Nvidia显卡驱动,安装完成之后,再安装cuda11.0即可。
// 安装ubuntu20.04所需的软件包,此时安装的gcc/g++ 为 9.3.0
sudo apt update
sudo apt install build-essential
// 查看gcc/g++版本
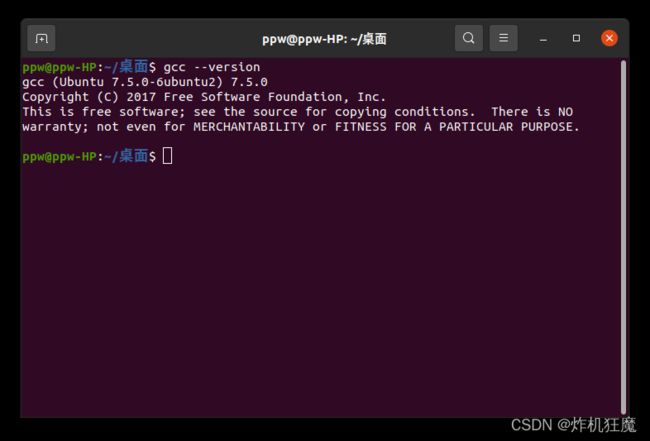
gcc --version
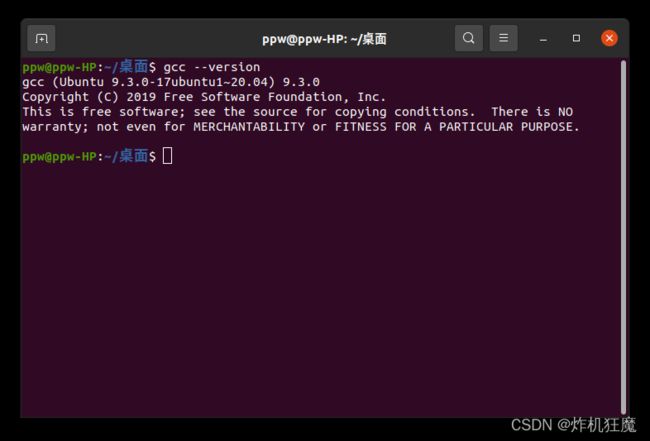 为了防止系统内核不一致,导致安装不上的问题,在此时安装Nvidia驱动以及cuda,这里使用的版本是NVIDIA-Linux-x86_64-470.94以及cuda11.0。
// 先需要禁用nouveau
sudo gedit /etc/modprobe.d/blacklist.conf
// 在文本最后添加
blacklist nouveau
options nouveau modeset=0
// 更新系统
sudo update-initramfs -u
// 重启之后,检查是否已经禁用,若没有输出,则已经成功。
lsmod | grep nouveau
// 将NVIDIA-Linux-x86_64-470.94.run拷贝到room目录下,ubuntu下按ctrl+alt+f1进入命令行界面
// 若没有lightdm,则需要先安装
//关闭图形界面
sudo service lightdm stop
//若安装过其他版本或其他方式安装过驱动执行此项
sudo apt-get remove nvidia-*
sudo chmod  a+x NVIDIA-Linux-x86_64-470.94.run
//只有禁用opengl这样安装才不会出现循环登陆的问题
sudo ./NVIDIA-Linux-x86_64-470.94.run -no-x-check -no-nouveau-check -no-opengl-files
//只选择安装TOOK那一项即可,其他不安装。
//挂载驱动
modprobe nvidia
//查看驱动
nvidia-smi
安装cuda
// 在该目录下运行
sudo sh cuda_11.0.2_450.51.05_linux.run
//不安装driver,其他选yes,直到安装完毕
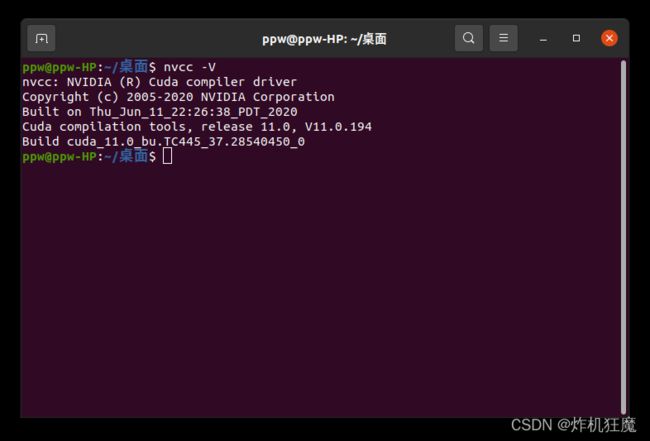
查看cuda版本
//查看cuda版本
nvcc -V
# 首先安装gcc7.5.0
sudo apt install gcc-7 g++-7
# 修改优先级,首先使用gcc/g++ 7.5.0,最后面的数字是优先级,谁的大,就是选择谁。
sudo update-alternatives --install /usr/bin/g++ g++ /usr/bin/g++-7 100
sudo update-alternatives --install /usr/bin/gcc gcc /usr/bin/gcc-7 100
ROS noetic 安装
Ros noetic 是支持python3的
// 添加ROS noetic 软件源
sudo sh -c 'echo "deb http://packages.ros.org/ros/ubuntu $(lsb_release -sc) main" > /etc/apt/sources.list.d/ros-latest.list'
// 添加密钥
sudo apt-key adv --keyserver 'hkp://keyserver.ubuntu.com:80' --recv-key C1CF6E31E6BADE8868B172B4F42ED6FBAB17C654
// 安装ROS noetic
sudo apt update
sudo apt install ros-noetic-desktop-full
值得注意的是,由于网络的问题,有许多软件包下载不下来,可以换成手机热点或者再多试一下。重新输入sudo apt install ros-noetic-desktop-full 就可以继续安装。直到安装成功。
//设置环境变量
echo "source /opt/ros/noetic/setup.bash" >> ~/.bashrc
source ~/.bashrc
//安装ROS noetic 其他的依赖项
sudo apt install python3-rosdep python3-rosinstall python3-rosinstall-generator python3-wstool build-essential
安装完成之后,运行小例程,查看是否能够正常运行。
sudo rosdep init
此处可能会报错:cannot download default sources list from:https://raw.githubusercontent.com…20-default.list website may be down.这个问题产生的原因是网络连接不上上述的网址。
解决办法:
//先安装一个pip3
sudo apt-get install python3-pip
//安装rosdepc
sudo pip3 install rosdepc
sudo rosdepc init
rosdepc update
这是小鱼开发用来使用国内的网站,来下载相关文件,自动配置的。这部分也可能更新不上,多试几次。成功之后,运行一下例程。
//打开新的终端
roscore
//打开新的终端,输入下条指令后,出现小海龟
rosrun turtlesim turtlesim_node
//打开新的终端,输入下条指令后,可以使用方向键控制小海龟
rosrun turtlesim turtle_teleop_key
至此,ROS noetic 安装完毕。
python3.8 + anaconda 4.8.3 安装
该部分网上教程多,且不易出错,不再详谈。
这部分值得注意的是,安装完ROS后,anaconda安装不会自动设置环境,需要手动设置:
打开bashrc,添加
# >>> conda initialize >>>
# !! Contents within this block are managed by 'conda init' !!
__conda_setup="$('/home/pipiw/anaconda3/bin/conda' 'shell.bash' 'hook' 2> /dev/null)"
if [ $? -eq 0 ]; then
    eval "$__conda_setup"
else
    if [ -f "/home/pipiw/anaconda3/etc/profile.d/conda.sh" ]; then
        . "/home/pipiw/anaconda3/etc/profile.d/conda.sh"
    else
        export PATH="/home/pipiw/anaconda3/bin:$PATH"
    fi
fi
unset __conda_setup
conda deactivate
# <<< conda initialize <<<
这样在启动的时候,会自动进入python2.7的环境,在后续的catkin build 需要进入python3的环境时,需要输入
conda activate base
这样才会进入anaconda的虚拟环境中。
open3d 安装
在这一部分踩坑无数,遇到了无数的问题。
- 在该论文的代码中,只能安装0.10.0版本以及0.9.0,其他高于0.10.0的版本,在编译过程中,均会报错。但是由于不知道什么原因,电脑上0.10.0的安装会报错。安装不上,最终安装上了0.9.0版本。
安装过程:
这里首先应该安装cmake,这里安装cmake以及make
sudo apt install cmake
sudo pip install --upgrade cmake==3.21.0
// make 如果先安装的显卡部分,会提示需要安装make
sudo apt install make
安装open3d
// 若没有git,则需要安装
git clone --recursive https://github.com/intel-isl/Open3D
// 在open3d文件夹内,输入下方指令,切换到指定版本
git checkout  v0.9.0
// 在open3d文件夹内,输入如下指令,进行自动下载第三方支持库,这一步不要自己去下载第三方支持库,很容易出错,虽然速度有点慢,并且可能会失败,但多尝试几次,总会成功的。
git submodule update --init --recursive
// 安装相关库
util/scripts/install-deps-ubuntu.sh
// 安装
mkdir build
cd build
cmake -DCMAKE_INSTALL_PREFIX=$HOME/open3d_install ..
# On Ubuntu
make -j$(nproc)
make install
若其中有的第三方支持库版本不兼容:
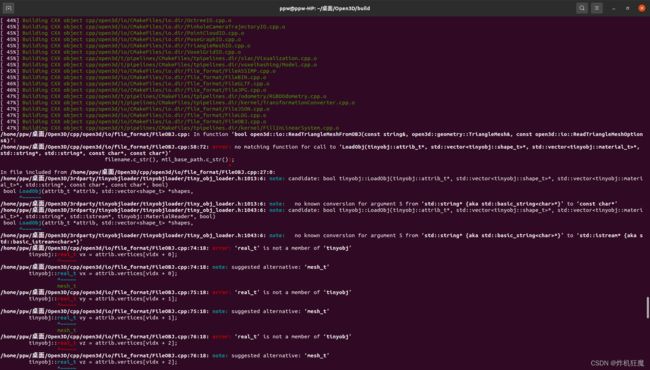 所以最好采用自动更新的方式。
问题:
CMake Warning at src/Python/CMakeLists.txt:13 (message):
Cannot find npm. Jupyter support will be disabled.
解决:
sudo apt-get install npm
二、安装程序
1.程序下载
export ROS_VERSION=noetic
mkdir agile_autonomy_ws
cd agile_autonomy_ws
export CATKIN_WS=./catkin_aa
mkdir -p $CATKIN_WS/src
cd $CATKIN_WS
catkin init
catkin config --extend /opt/ros/$ROS_VERSION
catkin config --merge-devel
catkin config --cmake-args -DCMAKE_BUILD_TYPE=Release -DCMAKE_CXX_FLAGS=-fdiagnostics-color
cd src
git clone git@github.com:uzh-rpg/agile_autonomy.git
vcs-import < agile_autonomy/dependencies.yaml
cd rpg_mpl_ros
git submodule update --init --recursive
#install extra dependencies (might need more depending on your OS)
sudo apt-get install libqglviewer-dev-qt5
# Install external libraries for rpg_flightmare
sudo apt install -y libzmqpp-dev libeigen3-dev libglfw3-dev libglm-dev
# Install dependencies for rpg_flightmare renderer
sudo apt install -y libvulkan1 vulkan-utils gdb
# Add environment variables (Careful! Modify path according to your local setup)
# 这个地方路径要设置成自己的,并且不要有中文路径
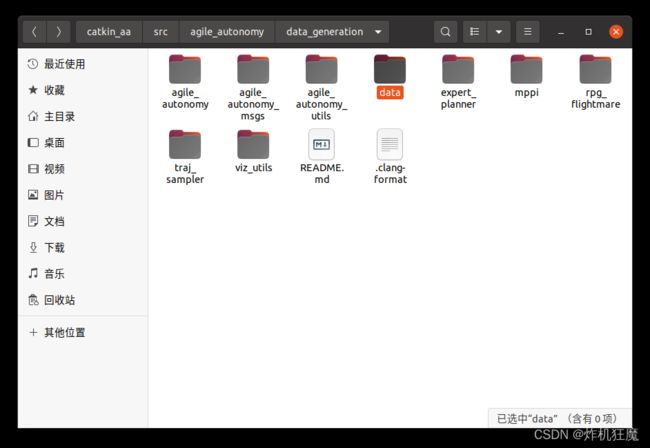
echo 'export RPGQ_PARAM_DIR=/home/注意,模拟支持包放入的位置是:
agile_autonomy_ws/catkin_aa/src/rpg_flightmare/
(1) catkin init 错误
可能是缺少相关的包
sudo apt install python3-catkin-tools python3-osrf-pycommon
(2) git错误
加入ssh密钥即可解决。
(3) vcs-import 错误
sudo apt-get update
sudo apt-get install python3-vcstool
2.程序编译
注意,这一步需要python3.7环境。如果没有python3,需要先安装。
# 如果有python2的环境,首先设置软连接,切换到python3
# 设置软链接
sudo update-alternatives --install /usr/bin/python python /usr/bin/python2 100
sudo update-alternatives --install /usr/bin/python python /usr/bin/python3 150
# build
catkin build
# 在devel文件夹内
. ../devel/setup.bash

# Create your learning environment
roscd planner_learning
conda create --name tf_24 python=3.7
conda activate tf_24
conda install tensorflow-gpu
pip install rospkg==1.2.3,pyquaternion,open3d,opencv-python
在catkin build过程中,错误非常多。以下错误是典型的:
(1) open3d路径问题
由于安装时,将open3d安装到了home文件夹内,所以要将程序中的搜索open3d路径修改:
- mpl_test_node/CMakeLists.txt
- open3d_conversions/CMakeLists.txt
- agile_autonomy/data_generation/traj_sampler/CMakeLists.txt
在CMakeLists里,有open3d的搜索路径程序:
find_package(Open3D HINTS /home/yourname/open3d_install/lib/cmake/)
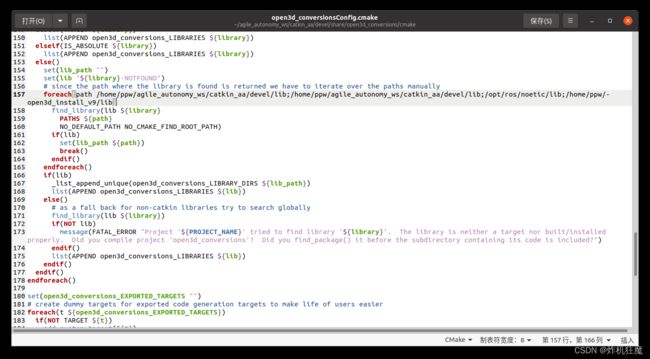
再将agile_automomy_ws/devel/share/open3d_conversions/cmake/open3d_conversionsConfig.cmake 的第157行增加如下路径:
foreach(path *;/home/yourname/open3d_install/lib)
我这里路径是open3d_install_v9
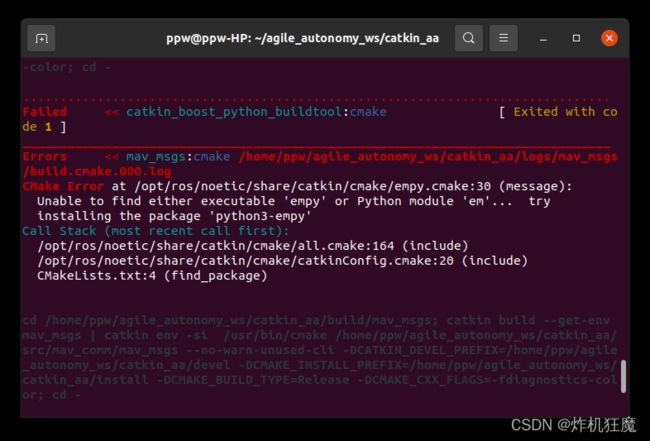
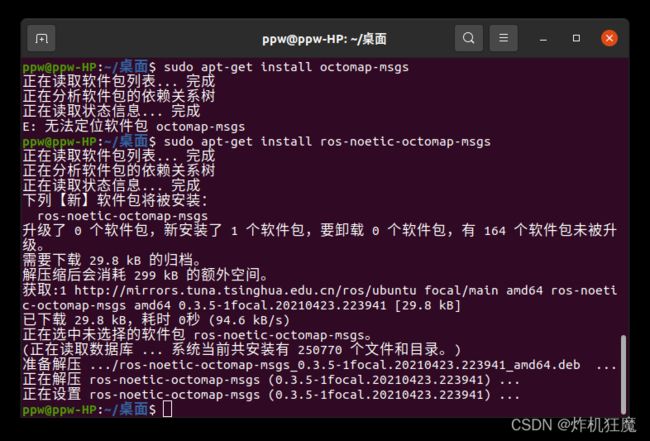
 (2) 缺少相关库的作用
缺少什么安装什么即可,如下,缺少empy库
sudo apt-get install python3-empy
sudo apt-get install ros-noetic-octomap-msgs
catkin build 成功
三、运行程序
Now download the flightmare standalone available at this link, extract it and put in the flightrender folder.
需要去 uzh-rpg/agile_autonomy下载支持包,放到flightrender文件夹内,该文件在agile_autonomy_ws/catkin_aa/src/rpg_flightmare/flightrender
cd agile_autonomy_ws
source catkin_aa/devel/setup.bash
roslaunch agile_autonomy simulation.launch
问题:
(1)ERROR: cannot launch node of type[joy/joy node]:xxx
sudo apt-get install ros-noetic-joy
顺利运行之后,新打开一个终端
cd agile_autonomy_ws
source catkin_aa/devel/setup.bash
conda activate tf_24
cd /home/pipiw/agile_autonomy_ws/catkin_aa/src/agile_autonomy/planner_learning
python test_trajectories.py --settings_file=config/test_settings.yaml
