深度学习(六):pointnet.pytorch环境配置与学习
目录
0 前言
0.1 shapenet数据集
1 配置环境
1.1 配置Python环境与安装pytorch
1.2 安装pointnet及其他包与下载数据
2 默认训练
2.1 分类训练train_classification
2.1.1 直接训练
2.1.2 Detected call of `lr_scheduler.step()` before `optimizer.step()`
2.1.3 训练得到的文件在:
2.2 分割训练train_segmentation.py
3 检测
3.1 show_seg.py展示分割效果
3.2 show_clc.py展示分类效果
0 前言
本机:RTX3070 cuda-11.0
python环境:pytorch-1.7.0,python=3.7
作者github:https://github.com/fxia22/pointnet.pytorch
作者论文:https://arxiv.org/abs/1612.00593
对作者论文的翻译(很认真翻译啦):深度学习(10):PointNet: Deep Learning on Point Sets for 3D Classification and Segmentation论文翻译与学习_biter0088的博客-CSDN博客
0.1 shapenet数据集
官网地址:ShapeNet,是斯坦福大学发布的
ShapeNet 由几个子集组成:
ShapeNetCore
ShapeNetCore 是完整 ShapeNet 数据集的子集,具有单个干净的 3D 模型和手动验证的类别和对齐注释。 它涵盖了 55 个常见的对象类别和大约 51,300 个独特的 3D 模型。 流行的计算机视觉 3D 基准数据集 PASCAL 3D+ 的 12 个对象类别都被 ShapeNetCore 覆盖。
ShapeNetSem
ShapeNetSem 是一个更小、注释更密集的子集,由 12,000 个模型组成,分布在更广泛的 270 个类别中。 除了手动验证的类别标签和一致的对齐方式之外,这些模型还标注了真实世界的尺寸、类别级别的材料成分估计以及总体积和重量的估计。
博文:https://blog.csdn.net/SGL_LGS/article/details/105897585 ,统计了改数据集里面部分数据的特性。
1 配置环境
1.1 配置Python环境与安装pytorch
我这里用的是yolov5环境:深度学习(三):yolov5环境配置及使用_biter0088的博客-CSDN博客
官网github在pytorch-1.0上测试过,我这里用的是1.7.0
1.2 安装pointnet及其他包与下载数据
git clone https://github.com/fxia22/pointnet.pytorch
cd pointnet.pytorch
pip install -e .
这里会安装一些python包
下面安装可视化工具
cd script
bash build.sh #build C++ code for visualization
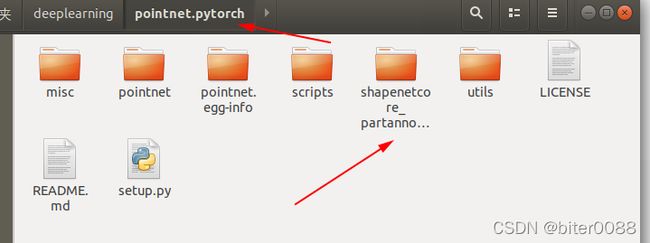
下面是下载数据集:shapenetcore_partanno_segmentation_benchmark_v0
bash download.sh #download dataset2 默认训练
2.1 分类训练train_classification
2.1.1 直接训练
用1.2下载的数据
cd utils
python train_classification.py --dataset /home/meng/deeplearning/pointnet.pytorch/shapenetcore_partanno_segmentation_benchmark_v0/ --nepoch=5 --dataset_type shapenet
执行时终端打印如下:
会报错一个warning: Detected call of `lr_scheduler.step()` before `optimizer.step()`
/home/meng/anaconda3/envs/yolov5py37/lib/python3.7/site-packages/torch/optim/lr_scheduler.py:136: UserWarning: Detected call of `lr_scheduler.step()` before `optimizer.step()`. In PyTorch 1.1.0 and later, you should call them in the opposite order: `optimizer.step()` before `lr_scheduler.step()`.  Failure to do this will result in PyTorch skipping the first value of the learning rate schedule. See more details at https://pytorch.org/docs/stable/optim.html#how-to-adjust-learning-rate
  "https://pytorch.org/docs/stable/optim.html#how-to-adjust-learning-rate", UserWarning)
准确率为:0.9589
2.1.2 Detected call of `lr_scheduler.step()` before `optimizer.step()`
针对2.1出现的报警,修改train_classification.py文件,将scheduler.step()放在内部for循环的后面。(将上面的scheduler.step()注释掉,在一个epoch结束加上scheduler.step())
再次训练,报警消失
最终准确率变为0.930758,降低了?
再训一次:0.94224
再训一次:
把上面对train_classification.py的修改改回去(有warning就有吧。。。)
再训一次:最终准确率为0.937,和前面一次差不多(要是这样的话,改不改作者代码都没关系)
2.1.3 训练得到的文件在:
2.2 分割训练train_segmentation.py
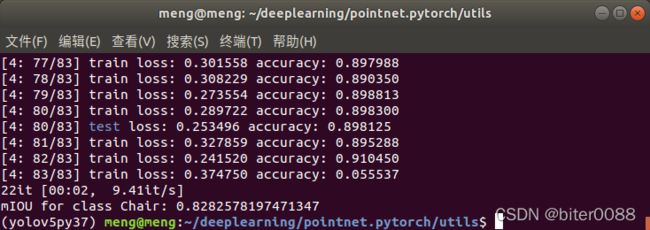
python train_segmentation.py --dataset /home/meng/deeplearning/pointnet.pytorch/shapenetcore_partanno_segmentation_benchmark_v0/ --nepoch=5 mIOU for class chair:0.828257
3 检测
3.1 show_seg.py展示分割效果
命令语句参考:Issues · fxia22/pointnet.pytorch · GitHub
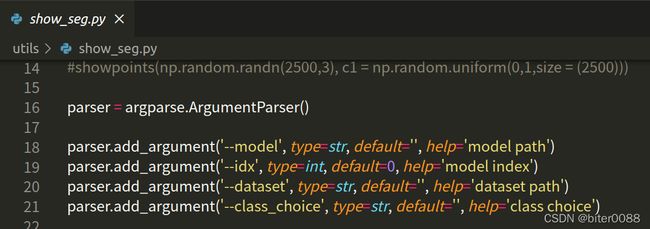
结合show_seg.py文件:
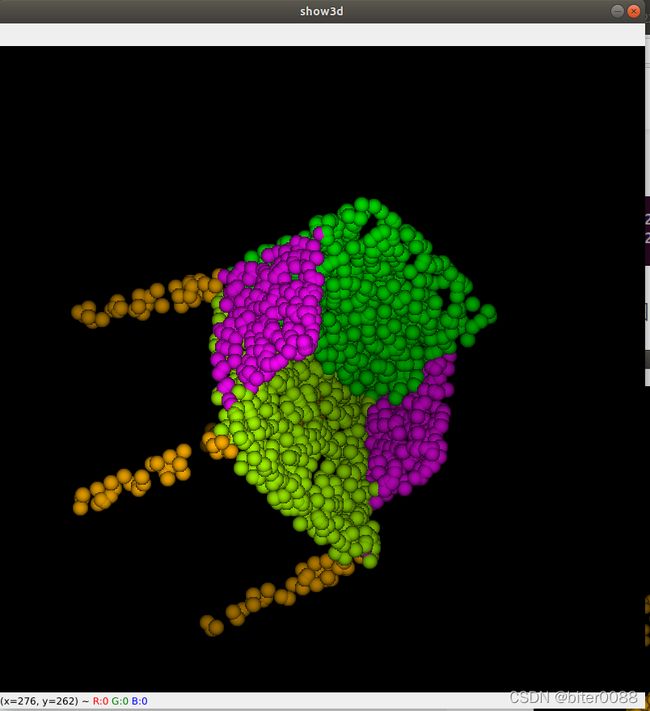
python show_seg.py --model /home/meng/deeplearning/pointnet.pytorch/utils/seg/seg_model_Chair_4.pth --dataset /home/meng/deeplearning/pointnet.pytorch/shapenetcore_partanno_segmentation_benchmark_v0/ --class_choice 'Chair' --idx 1 终端打印:
3.1.1 修改idx
修改idx,出来的模型略有不同,这是因为该class_choice在数据集内的模型有多个
python show_seg.py --model /home/meng/deeplearning/pointnet.pytorch/utils/seg/seg_model_Chair_4.pth --dataset /home/meng/deeplearning/pointnet.pytorch/shapenetcore_partanno_segmentation_benchmark_v0/ --class_choice 'Chair' --idx 1 idx=13
下面这图为idx=3时的,
idx=700
3.1.2 修改 --class_choice
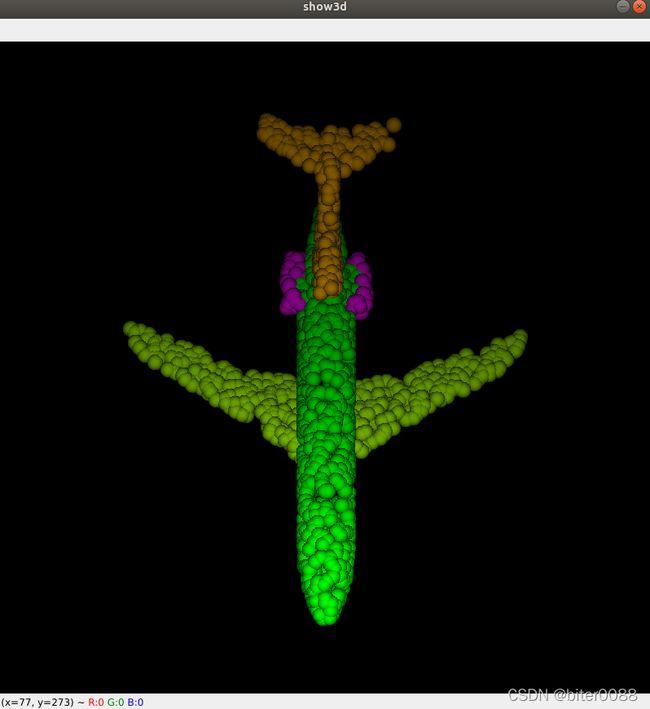
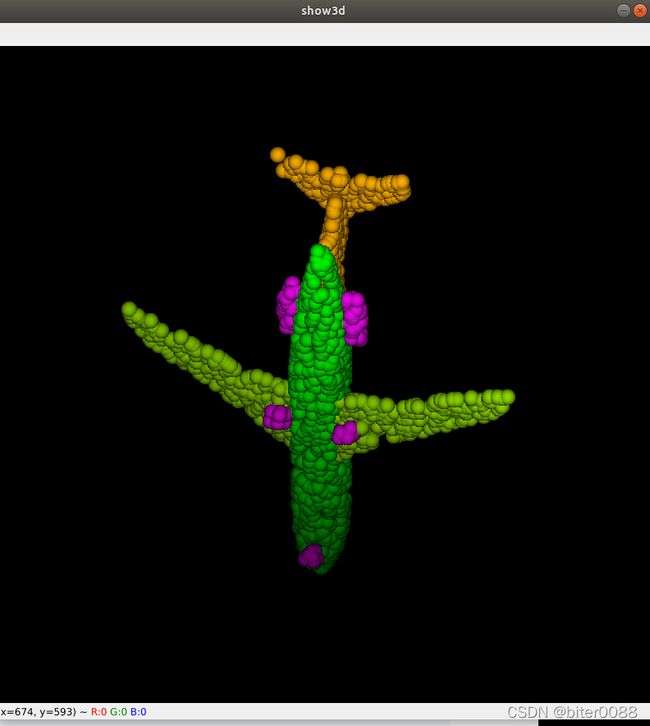
修改为Airplane,运行下面的命令:
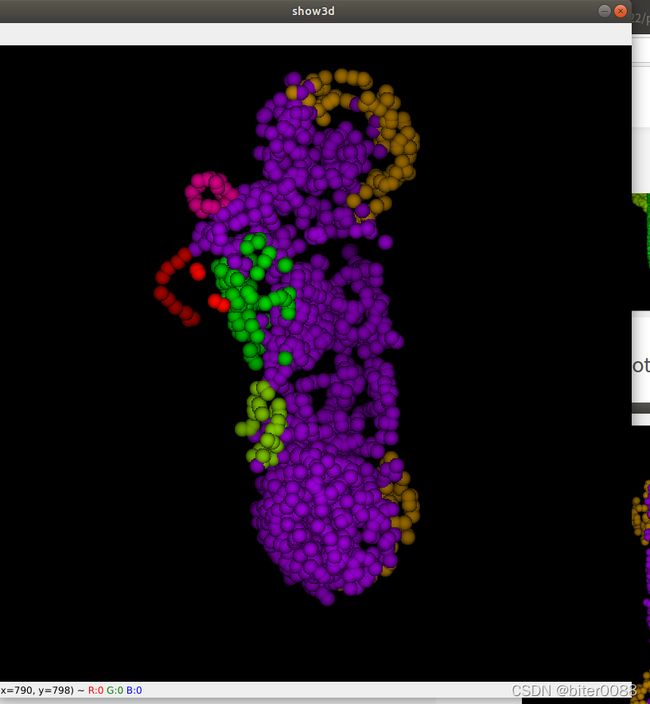
python show_seg.py --model /home/meng/deeplearning/pointnet.pytorch/utils/seg/seg_model_Chair_4.pth --dataset /home/meng/deeplearning/pointnet.pytorch/shapenetcore_partanno_segmentation_benchmark_v0/ --class_choice 'Ailplane' --idx 1修改为Motorbike
3.2 show_clc.py展示分类效果
修改show_cls.py文件中关于数据集目录的部分,如下:
test_dataset = ShapeNetDataset(
    root='../shapenetcore_partanno_segmentation_benchmark_v0',
    # root='shapenetcore_partanno_segmentation_benchmark_v0',
    split='test',
    classification=True,
    npoints=opt.num_points,
    data_augmentation=False)
参考:
运行程序,模型地址见2.1.3
python show_cls.py --model /home/meng/deeplearning/pointnet.pytorch/utils/cls/cls_model_4.pth --num_points 2500 只在终端打印准确率accuracy信息,没有图像
