centos7篇---centos7中安装mongodb
centos7中安装mongodb
- 方式一:
-
- 1. 安装环境
- 2. 安装过程
- 启用授权验证
- 方式二:
-
- RHEL/CentOS 用户
- 刷新缓存并安装 mongodb-org。
- 创建数据库目录和日志目录
- 创建配置文件
- 启动mongodb
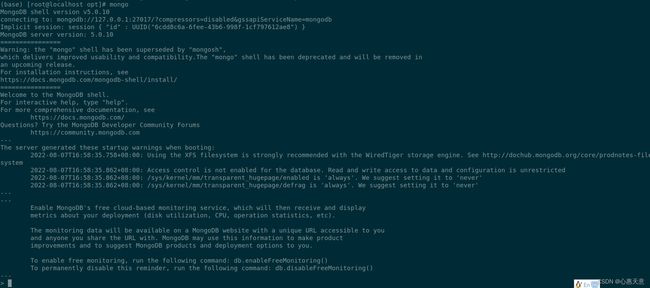
- shell 连接进入 mongo
方式一:
1. 安装环境
系统:centos7
mongodb版本:mongodb-linux-x86_64-rhel70-6.0.0.tgz
2. 安装过程
(1)将安装包上传到 centos7系统中
(2)解压到 /opt 目录下,并重命名
tar zxvf mongodb-linux-x86_64-rhel70-6.0.0.tgz -C /opt

mv mongodb-linux-x86_64-rhel70-6.0.0 mongodb
在 /etc/profile 中加入下面一行:
export PATH=/opt/mongodb/bin:$PATH
然后 source /etc/profile 使之生效
(4)创建数据库目录和日志目录
mkdir -p /opt/mongodb/logs  # 日志目录
mkdir -p /opt/mongodb/db  # 数据库目录

touch /opt/mongodb/logs/mongodb.log  # 创建日志文件
chmod 777 /opt/mongodb/logs
chmod 777 /opt/mongodb/db
vim /opt/mongodb/mongodb.conf
port= 27017
dbpath=/opt/mongodb/db  # 指定数据库路径
logpath=/opt/mongodb/logs/mongodb.log # 指定日志文件路径
logappend=true  # 使用追加方式写日志
fork=true  # 以守护进程的方式运行
maxConns=100  # 最大同时连接数
noauth=true  # 不启用验证
journal=true  # 每次写入会记录一条操作日志
storageEngine=wiredTiger # 存储引擎
bind_ip=0.0.0.0 # 服务绑定地址
(6)启动mongodb
mongod --config /opt/mongodb/mongodb.conf
启用授权验证
mongod --config /opt/mongodb/mongodb.conf --auth
停止 mongodb:
mongod --config /opt/mongodb/mongodb.conf --shutdown
(7)配置开机启动
vim /etc/init.d/mongodb
#!/bin/sh
#
#chkconfig: 2345 80 90
#description: mongodb
start() {
 /opt/mongodb/bin/mongod --config /opt/mongodb/mongodb.conf
}

stop() {
  /opt/mongodb/bin/mongod --config /opt/mongodb/mongodb.conf --shutdown
}

case "$1" in
  start)
 start
 ;;
  stop)
 stop
 ;;
  restart)
 stop
 start
 ;;
  *)
 echo $"Usage: $0 {start|stop|restart}"
 exit 1
esac
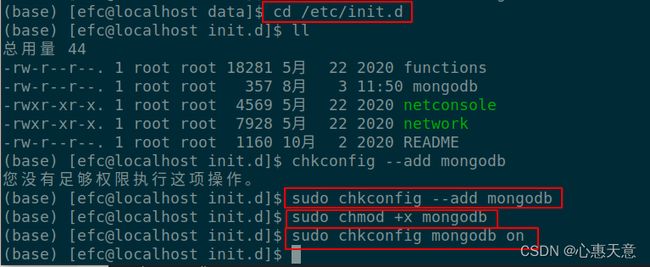
cd /etc/init.d/

chkconfig --add mongodb
chmod +x  mongodb
chkconfig mongodb on
配置完成后可使用以下命令:
# 启动mongodb:
service mongodb start

# 停止mongodb:
service mongodb stop

注意:上述启动为root账户启动,权限太大,如果需要启用验证,则需要将配置文件(/opt/mongodb/mongodb.conf)中的 noauth 设置为 false
方式二:
RHEL/CentOS 用户
新建 /etc/yum.repos.d/mongodb.repo,内容为
[mongodb-org]
name=MongoDB Repository
baseurl=https://mirrors.tuna.tsinghua.edu.cn/mongodb/yum/el$releasever/
gpgcheck=0
enabled=1
![]()
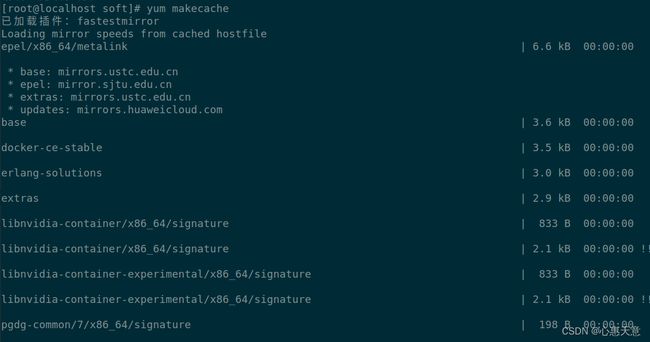
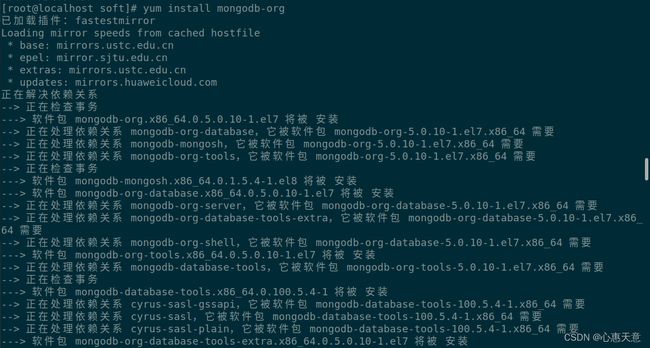
刷新缓存并安装 mongodb-org。
sudo yum makecache
sudo yum install mongodb-org
创建数据库目录和日志目录
mkdir -p /opt/mongodb/logs  # 日志目录
mkdir -p /opt/mongodb/db  # 数据库目录

touch /opt/mongodb/logs/mongodb.log  # 创建日志文件
chmod 777 /opt/mongodb/logs
chmod 777 /opt/mongodb/db
创建配置文件
vim /opt/mongodb/mongodb.conf
port= 27017
dbpath=/opt/mongodb/db  # 指定数据库路径
logpath=/opt/mongodb/logs/mongodb.log # 指定日志文件路径
logappend=true  # 使用追加方式写日志
fork=true  # 以守护进程的方式运行
maxConns=100  # 最大同时连接数
noauth=true  # 不启用验证
journal=true  # 每次写入会记录一条操作日志
storageEngine=wiredTiger # 存储引擎
bind_ip=0.0.0.0 # 服务绑定地址
启动mongodb
mongod --config /opt/mongodb/mongodb.conf
shell 连接进入 mongo
参考文献:
https://mirror.tuna.tsinghua.edu.cn/help/mongodb/


