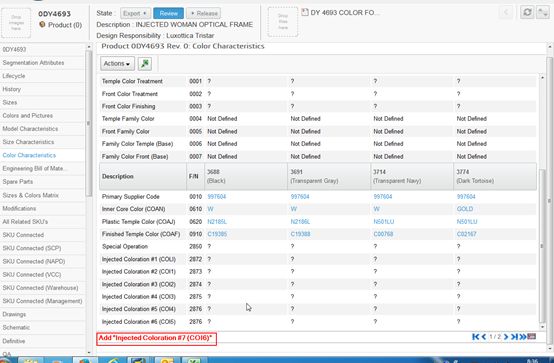
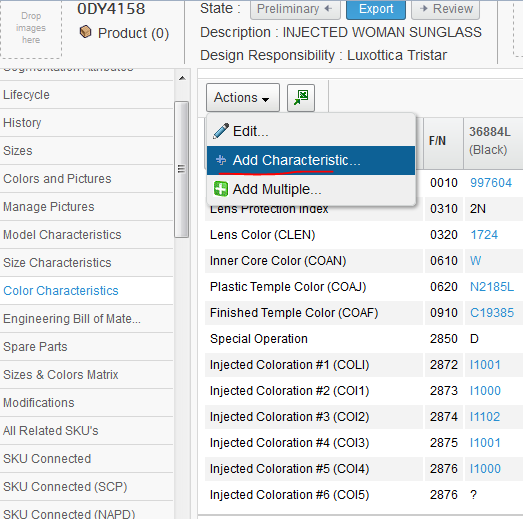
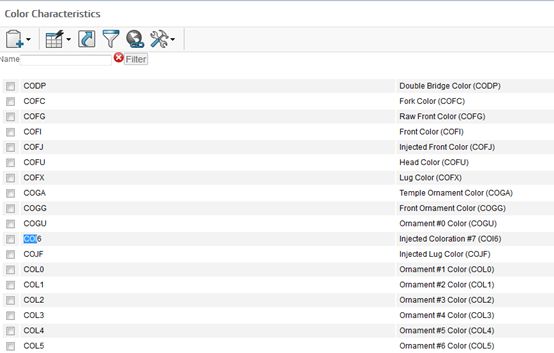
Problem: add a new Char. name D_COI6 that the description is Injected coloration #7 (COI6) in the D_BUSINESS class in PLM and SAP.
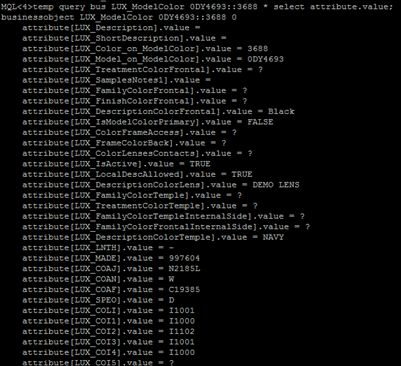
Step1: to attain attribute name on business model.
The result of following command tell you all attributes of Color
Because some of attributes were not selected to be displayed on the Color Characteristic Tab page, then we can infer what name we should assign to new attribute.
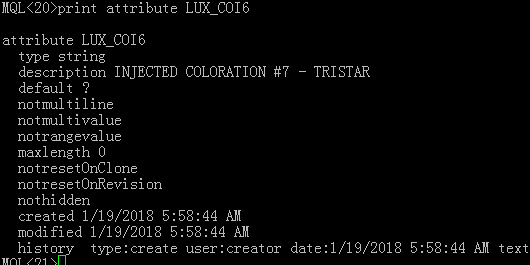
New attribute name: ‘LUX_COI6’
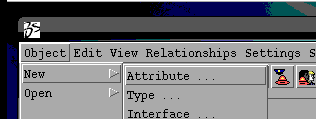
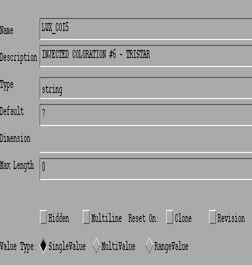
Step 2: create a new attribute named “LUX_COI6” in Business Model
It is better for assigning value to fields to compare with another similar attribute.
Step 3: add some properties to new attribute.
Compare the properties between LUX_COI5 and LUX_COI6,
There are so many properties that LUX_COI6 doesn’t include.
So that we need to add the properties to the new attribute in my own.
So execute the following command to add properties to LUX_COI6
modify attribute LUX_COI6
property COAF
property ColorRicambi
property FindNumber value 2878
property ItemName value D_COI6
property ItemType value Caratteristica
property MMET
property QueryObject value ColorMaterialAndCycle
property RangeMethod value Dynamic
property application value LUXOTTICA_F1
property 'installed date' value 28-05-2008
property installer value CdmIsigraf
property 'original name' value LUX_COI3
property version value 1.0;
FindNumber and ItemName are vital, other fields are not very helpful.
FindNumber will be showed as F/N at front-end page.
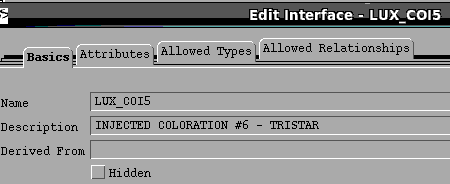
Step4: create a new interface named “LUX_COI6” in business model
Of course, comparing with similar interface will help you.
Add new attribute named “LUX_COI6”to the new interface
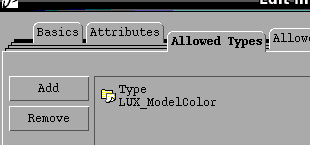
Add ‘LUX_ModelColor’ to the Allowed Types List of the interface.
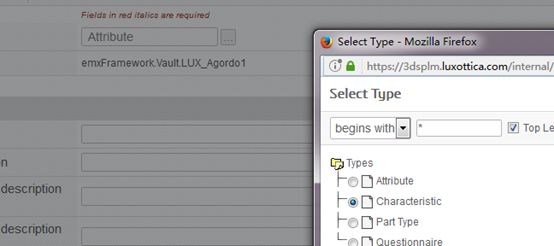
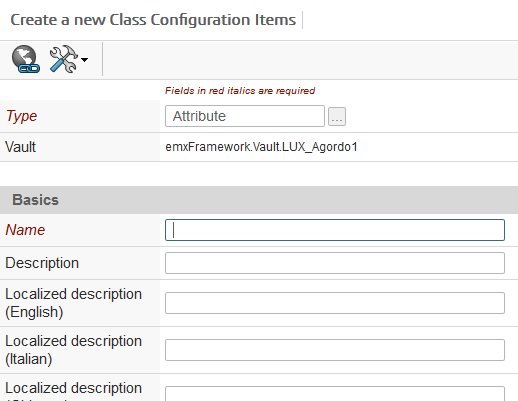
Step5: create a new class Configuration Item
Then, how to define these field?
Look for other Configuration Items for reference.
- Analyze the page URL
2. To see the Inquery with Business Model
It says what mql command the Inquery employs.
The mql command we can know is :
temp query bus LUX_ClassConfigurationItem * * select id dump |
the command will query all objects of LUX_ClassConfigurationItem,
the amount of the result is too large, we need to filter useless objects out in accordance with our real situation.
So ,please use the following handled command:
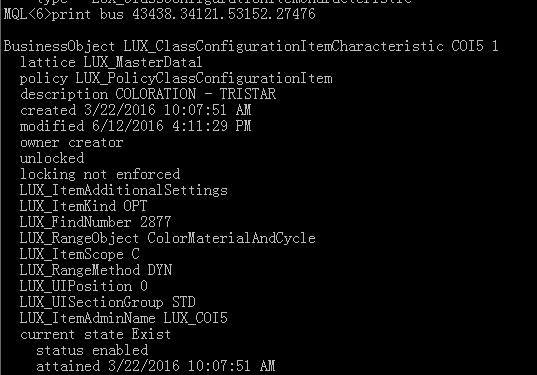
Print the detail of one of objects
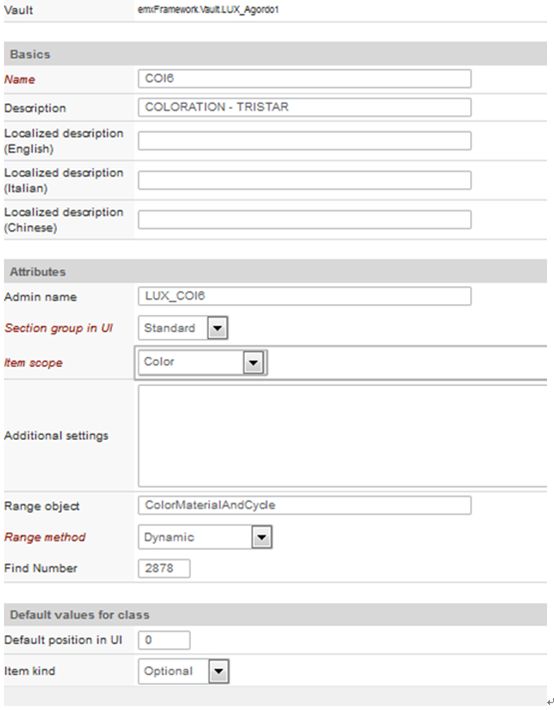
Then, as you can see from the above result , please refer to the result to set up a new Class Configuration Item.
Attention please: Admin name is the attribute name which you have already created in Business Model,
And the LUX_FindNumber is the same as FindNumber which is the property of attribute LUX_COI6 that you created before.
Then ,the new Configuration Item has been created .
![]()
We can query the object in mql.
Step6: modify relationships of the new characteristic.
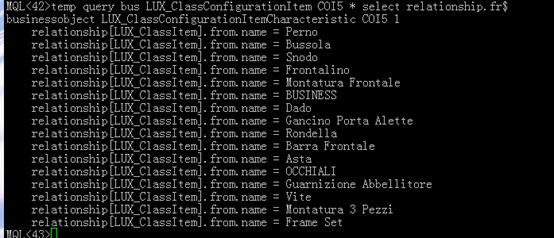
As you can see from the following result, the relationships of COI6 and COI5 are absolutely different.
Why? I don’t know
Delete all relationships of COI6,
Execute the sub command in three times
disconnect bus LUX_ClassConfigurationItemCharacteristic COI6 1 relationship LUX_ML_LUX_Description
from LUX_ClassConfigurationItemCharacteristic COI6 1
Add new relationships to COI6 in compliance with COI5
Execute the following command respectively
connect bus LUX_ClassConfigurationItemCharacteristic COI6 1 relationship LUX_ClassItem from LUX_ClassMaster Perno 1;
connect bus LUX_ClassConfigurationItemCharacteristic COI6 1 relationship LUX_ClassItem from LUX_ClassMaster Bussola 1;
connect bus LUX_ClassConfigurationItemCharacteristic COI6 1 relationship LUX_ClassItem from LUX_ClassMaster Snodo 1;
connect bus LUX_ClassConfigurationItemCharacteristic COI6 1 relationship LUX_ClassItem from LUX_ClassMaster Frontalino 1;
connect bus LUX_ClassConfigurationItemCharacteristic COI6 1 relationship LUX_ClassItem from LUX_ClassMaster Montatura Frontale 1;
connect bus LUX_ClassConfigurationItemCharacteristic COI6 1 relationship LUX_ClassItem from LUX_ClassMaster BUSINESS 1;
connect bus LUX_ClassConfigurationItemCharacteristic COI6 1 relationship LUX_ClassItem from LUX_ClassMaster Dado 1;
connect bus LUX_ClassConfigurationItemCharacteristic COI6 1 relationship LUX_ClassItem from LUX_ClassMaster Gancino Porta Alette 1;
connect bus LUX_ClassConfigurationItemCharacteristic COI6 1 relationship LUX_ClassItem from LUX_ClassMaster Rondella 1;
connect bus LUX_ClassConfigurationItemCharacteristic COI6 1 relationship LUX_ClassItem from LUX_ClassMaster Barra Frontale 1;
connect bus LUX_ClassConfigurationItemCharacteristic COI6 1 relationship LUX_ClassItem from LUX_ClassMaster Asta 1;
connect bus LUX_ClassConfigurationItemCharacteristic COI6 1 relationship LUX_ClassItem from LUX_ClassMaster OCCHIALI 1;
connect bus LUX_ClassConfigurationItemCharacteristic COI6 1 relationship LUX_ClassItem from LUX_ClassMaster Guarnizione Abbellitore 1;
connect bus LUX_ClassConfigurationItemCharacteristic COI6 1 relationship LUX_ClassItem from LUX_ClassMaster Vite 1;
connect bus LUX_ClassConfigurationItemCharacteristic COI6 1 relationship LUX_ClassItem from LUX_ClassMaster Montatura 3 Pezzi 1;
connect bus LUX_ClassConfigurationItemCharacteristic COI6 1 relationship LUX_ClassItem from LUX_ClassMaster Frame Set 1;
Step 7 :modify LuxotticaStringResource.properties
vim /opt/plm/webapp/internal/WEB-INF/classes/LuxotticaStringResource.properties
vim /opt/plm/webapp/3dspace/WEB-INF/classes/LuxotticaStringResource.properties
Then
Restart tomcat
Step7: add a characteristic to Color
now , it is the time to add a characteristic to Color
Unfortunately, we can’t find out COI6 ,why?
Because the vault of object of LUX_ClassConfigurationItem isn’t ‘LUX_MasterData1’
And the owner of LUX_ClassConfigurationItem isn’t creator
Execute the command below to modify the vault.
modify bus LUX_ClassConfigurationItemCharacteristic COI6 1 vault LUX_MasterData1
Then reloadcache, redirect to the page again.
