Opencv-python 实现多张透明图像叠加在一张图像上
我在网上看到这样的问题:
Python+OpenCV怎么实现多张png透明图像叠加在jpg图像上?? 就和这张图片一样 多张png叠加在jpg图片上

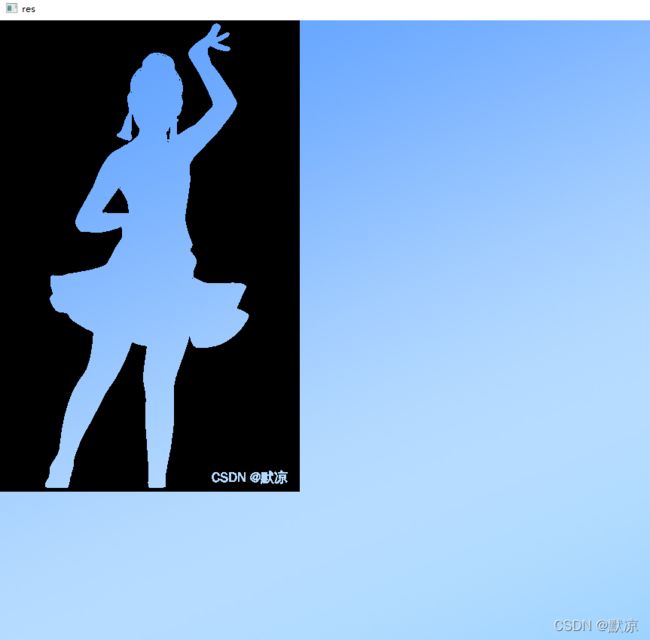
先看我做的效果

实现代码:
import cv2


def cv_show(neme, img):
    cv2.imshow(neme, img)
    cv2.waitKey(0)
    cv2.destroyAllWindows()


def Set_up_the(path, x, y):
    """
    图像路径,
    想放置的背景图的位置,左上角坐标
    :return:
    """
    image1 = cv2.imread(path)
    im1 = image1 == 0
    # 设置"图像1"放置在"背景图"中的位置:
    # 设置x y偏移多少
    _x, _y = x, y
    # 设置的参数:左上角、右下角坐标 x1 y1 x2 y2
    x1, y1, x2, y2 = 0 + _x, 0 + _y, image1.shape[1] + _x, image1.shape[0] + _y
    return x1, y1, x2, y2, im1, image1


def add(image1, image3, im, x1, y1, x2, y2):
    # 掩膜
    image1_ = image3[int(y1):int(y2), int(x1):int(x2)] * im
    # 图像相加
    image1_1 = cv2.add(image1_, image1)
    # 赋给原图
    image3[int(y1):int(y2), int(x1):int(x2)] = image1_1
    return image3


# 图像1
x1, y1, x2, y2, im1, image1 = Set_up_the("1.png", 100, 100)
# 图像2
x10, y10, x20, y20, im10, image2 = Set_up_the("2.png", 500, 100)

# 背景图
image3 = cv2.imread("3.jpg")

img = add(image1, image3, im1, x1, y1, x2, y2)
cv_show('neme', img)
img = add(image2, img, im10, x10, y10, x20, y20)
cv_show('neme', img)
import cv2


def cv_show(neme, img):
    # 调整宽高(再次运行也只会加载你调整后的宽高)
    cv2.namedWindow(neme, cv2.WINDOW_NORMAL)
    cv2.imshow(neme, img)  # 必要参数:名字和变量名
    cv2.waitKey(0)  # 括号中0=任意键终止,单位为毫秒级别
    cv2.destroyAllWindows()  # 关闭所有窗口--图片


import cv2
import numpy as np

# 加载图像
# 背景图
img1 = cv2.imread('1.jpg')
# 人像
img2 = cv2.imread('1.png')
# I want to put logo on top-left corner, So I create a ROI
rows, cols, channels = img2.shape
roi = img1[0:rows, 0:cols]
# Now create a mask of logo and create its inverse mask also
img2gray = cv2.cvtColor(img2, cv2.COLOR_BGR2GRAY)
# 可调节
ret, mask = cv2.threshold(img2gray, 0, 255, cv2.THRESH_BINARY)
mask_inv = cv2.bitwise_not(mask)
# Now black-out the area of logo in ROI
# 取 roi 中与 mask 中不为零的值对应的像素的值,其他值为 0
# 注意这里必须有 mask=mask 或者 mask=mask_inv, 其中的 mask= 不能忽略
img1_bg = cv2.bitwise_and(roi, roi, mask=mask)
# 取 roi 中与 mask_inv 中不为零的值对应的像素的值,其他值为 0。
# Take only region of logo from logo image.
img2_fg = cv2.bitwise_and(img2, img2, mask=mask_inv)
# Put logo in ROI and modify the main image
dst = cv2.add(img1_bg, img2_fg)
img1[0:rows, 0:cols] = dst
cv2.imshow('res', img1)
cv2.waitKey(0)
cv2.destroyAllWindows()


