复现ST-GCN输出动作分类视频(win10+openpose1.5.0+VS2019+CMake3.25.0+cuda10.0)
参考博客:
1.https://blog.csdn.net/qq_20226441/article/details/82380030
2.https://blog.csdn.net/qq_35649669/article/details/97897592
3.https://blog.csdn.net/weixin_44014740/article/details/119748347
一、ST-GCN
下载旧版ST-GCN程序(新版mmskeleton不具备可视化输出动作分类视频的功能)
地址:https://github.com/yysijie/st-gcn
二、openpose
要想运行ST-GCN可视化,必须先配置openpose模型,因为ST-GCN中用到的kinetics数据集是由人体姿态估计网络openpose获取的。
1.下载openpose源码
地址:https://github.com/CMU-Perceptual-Computing-Lab/openpose/releases
选择openpose1.5.0的source code(zip格式)
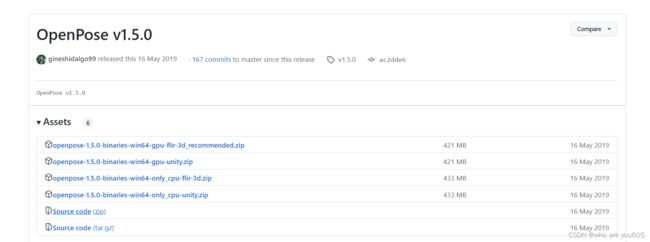
下载后解压。
注意:先将解压后的文件夹名字openpose-1.5.0改为openpse,不然后续运行会出现问题(openpose-1.5.0报错导致找不到API)。
并在文件夹中创建一个新文件夹build,供后续使用。
2.为openpose下载所需模型
从openpose/3rdparty/windows文件夹路径打开cmd命令行,依次执行getCaffe.bat、getCaffe3rdparty.bat、getFreeglut.bat、getOpenCV.bat四条命令。

下载的文件已保存到指定地点。
然后执行openpose/models 里的getModels.bat 进行模型下载。
openpose安装好后,把生成的build/bin文件夹下的所有库复制到build/x64/release/下,
将models文件夹复制到build中,为后续ST-GCN运行做准备。
3.编译openpose(编译之前先进行第三步cmake下载安装)
1.打开CMake,依次点击Browse Source——>Browse Build——>Configure,选择文件夹路径。(CMake菜单栏,file——>delete cache可以删除配置缓存,这样Configure出错后,可以删除缓存继续尝试Configure)
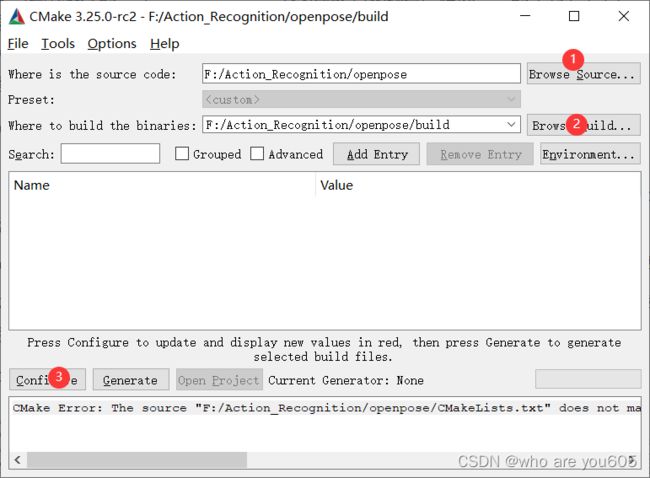
2.点击Configure之后选择自己电脑上下载的Visual Studio版本,之后点击Finish。

3.构建C++API。
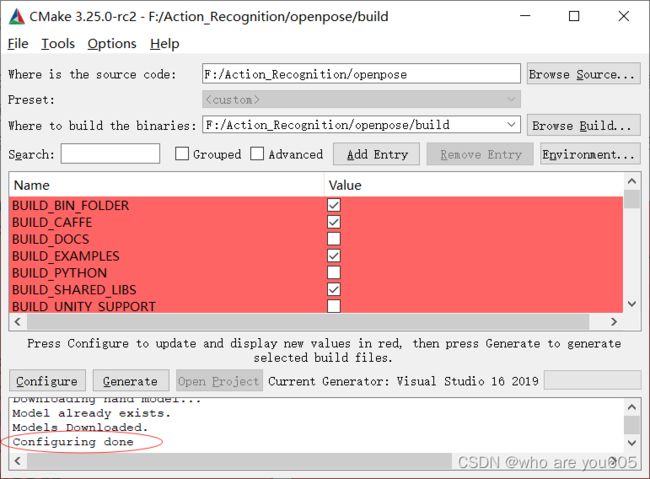
Configuring done之后,会出现红色选项框。
注意:现在不要勾选BUILD_PYTHON,等C++编译完成之后,再回到CMake中勾选,然后再次重新生成。不然可能会出现错误。
向下滑动至模型选项。

建议选择所有模型,因为COCO 和MPI 模型相对BODY_25较为简化,可加快运行速度。

点击Generate进行生成,生成之后点击Open Project。

VS2019自动打开,将Debug改为Release。

选中解决方案,右键点击生成解决方案。
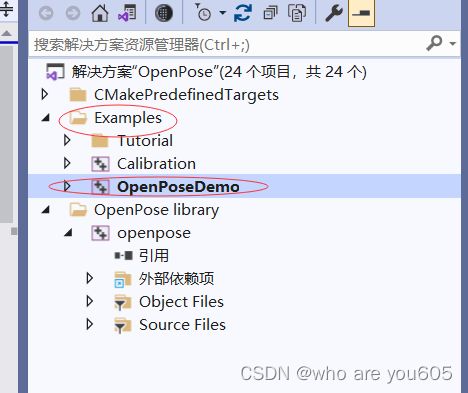
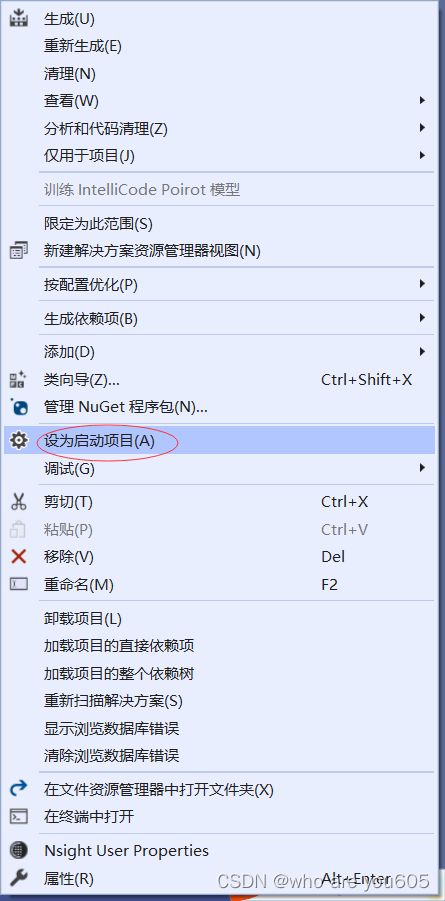
右击OpenPose library下的openpose设为启动项目。
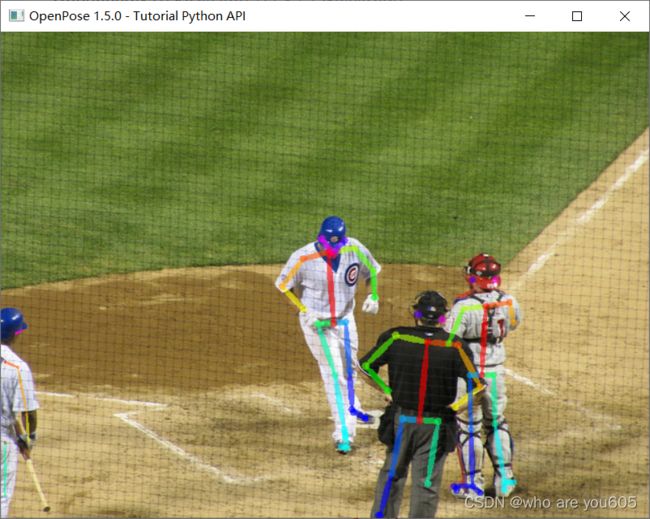
运行图像demo,验证结果:
从openpose/build/examples/tutorial_api_python下进入cmd,运行命令:
python 01_body_from_image.py
4.构建pythonAPI
在openpose/3rdparty 文件夹中下载pybind11(用于进行C++ 和python之间数据类型的映射)
下载地址: pybind
在camke中勾选 BUILD_PYTHON选项,继续Configure——>Generate——>Open Project。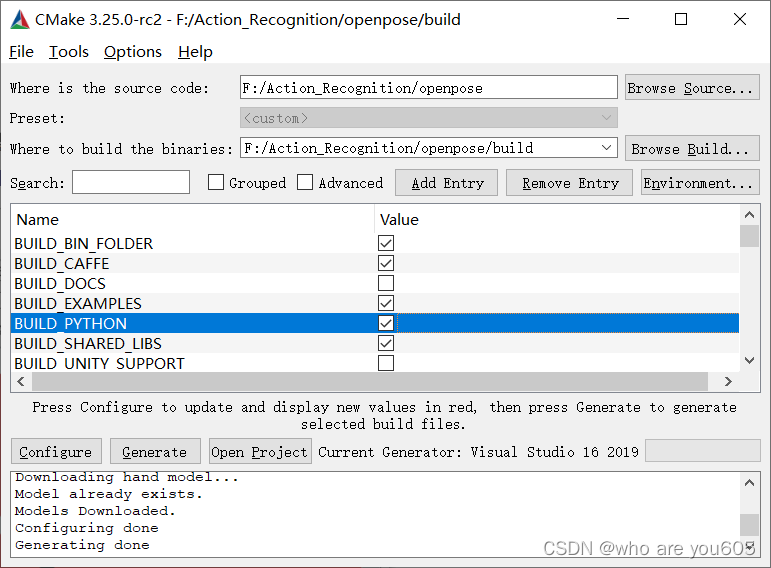
cmake完成后 ,打开build文件夹下的 OpenPose.sln ,
将debug改为release。选中整个解决方案,右键点击生成解决方案。
三、cmake下载安装
CMake下载链接:https://cmake.org/download/

参考博客:https://blog.csdn.net/didi_ya/article/details/123029415
进行cmake的安装。
四、运行ST-GCN
下载ST-GCN所需模型(.pt文件):
模型链接(百度网盘):https://blog.csdn.net/weixin_42661709/article/details/105060886
1). 下载好的st_gcn.kinetics.pt等文件放到 st-gcn/models中。
2). pose_iter_440000.caffemodel(安装的openpose中的models/pose/coco下有)放到st-gcn/models/pose/coco中。
注意:在windows命令行下,demo运行命令不同。
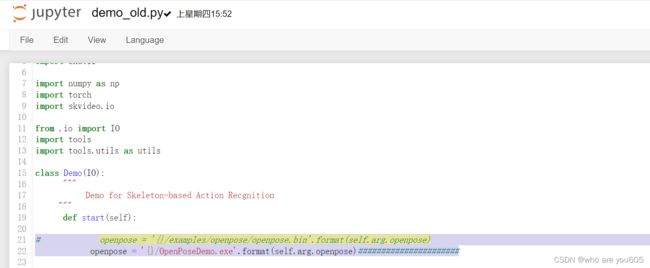
将st-gcn/processor/demo_old.py中的openpose进行修改:
openpose = '{}/examples/openpose/openpose.bin'.format(self.arg.openpose)
openpose = '{}/OpenPoseDemo.exe'.format(self.arg.openpose)#########修改为此行
运行命令:
(open) F:\Action_Recognition\st-gcn-master>python main.py demo_old --video F:/Action_Recognition/openpose/examples/media/video.avi --openpose F:/Action_Recognition/openpose/build/x64/Release
报错:系统找不到指定的路径。
解决方法:将openpose中的models文件夹复制到build文件夹中。
1.安装FFmpeg包时出现报错
(open) F:\Action_Recognition\st-gcn-master>
(open) F:\Action_Recognition\st-gcn-master>conda install FFmpeg
Collecting package metadata (current_repodata.json): done
Solving environment: failed with initial frozen solve. Retrying with flexible solve.
Collecting package metadata (repodata.json): done
Solving environment: failed with initial frozen solve. Retrying with flexible solve.

PackagesNotFoundError: The following packages are not available from current channels:

  - ffmpeg

Current channels:

  - https://conda.anaconda.org/conda-forge/win-64
  - https://conda.anaconda.org/conda-forge/noarch
  - https://repo.anaconda.com/pkgs/main/win-64
  - https://repo.anaconda.com/pkgs/main/noarch
  - https://repo.anaconda.com/pkgs/r/win-64
  - https://repo.anaconda.com/pkgs/r/noarch
  - https://repo.anaconda.com/pkgs/msys2/win-64
  - https://repo.anaconda.com/pkgs/msys2/noarch

To search for alternate channels that may provide the conda package you're
looking for, navigate to

    https://anaconda.org

and use the search bar at the top of the page.
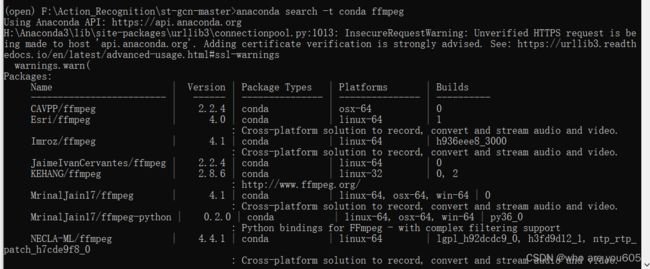
解决方法:查找ffmpeg包的安装路径
anaconda search -t conda ffmpeg
anaconda show anjos/ffmpeg
conda install -c anjos ffmpeg

下载ffmpeg的安装包:网址https://conda.anaconda.org/anjos/win-64
将安装包保存到H:/Anaconda3/pkgs/中。
运行命令:
conda install --use-local ffmpeg-3.2.4-1.tar.bz2
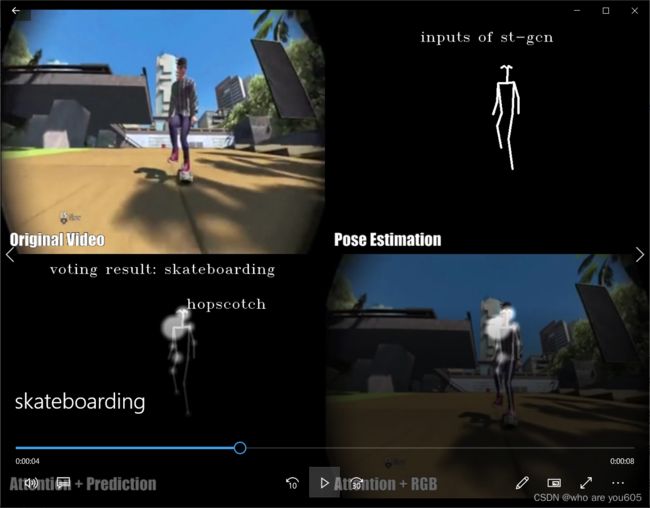
ST-GCN命令成功运行:


demo视频被保存到./data/demo_result/video.mp4。
问题:.mp4文件太大,打开之后不显示。
解决方法:下载格式工厂,按照博客方法将.mp4格式转换为.avi格式即可播放视频。
参考博客https://jingyan.baidu.com/article/a378c96083ac41f2282830a8.html
