CentOS7部署OnlyOffice在线办公服务器
官网文档:仅为CentOS和衍生产品安装office文档社区版
https://helpcenter.onlyoffice.com/installation/docs-community-install-centos.aspx
说明:
Community Edition allows you to install ONLYOFFICE Docs on your local server and integrate online editors with ONLYOFFICE collaboration platform or other popular systems.
Community Edition社区版本允许您只在本地服务器上安装office文档,并将在线编辑与ONLYOFFICE协作平台或其他流行系统集成。

ONLYOFFICE Docs is an online office suite comprising viewers and editors for texts, spreadsheets and presentations, fully compatible with Office Open XML formats: .docx, .xlsx, .pptx and enabling collaborative editing in real time.
ONLYOFFICE Docs是一款在线办公套件,包括文本、电子表格和演示文稿的查看器和编辑器,完全兼容office Open XML格式:.docx、.xlsx、.pptx,并支持实时协作编辑。
功能:
- Document Editor
- Spreadsheet Editor
- Presentation Editor
- Mobile web viewers
- Collaborative editing
- Hieroglyph support
- Support for all the popular formats: DOC, DOCX, TXT, ODT, RTF, ODP, EPUB, ODS, XLS, XLSX, CSV, PPTX, HTML
系统安装需求:
-
CPU:dual core 2 GHz or better
-
RAM:2 GB or more
-
HDD:at least 40 GB of free space
-
Additional requirements:at least 4 GB of swap
-
OS:RHEL 7 or CentOS 7
-
Additional requirements
- PostgreSQL: version 9.1 or later
- NGINX: version 1.3.13 or later
- RabbitMQ
部署过程:
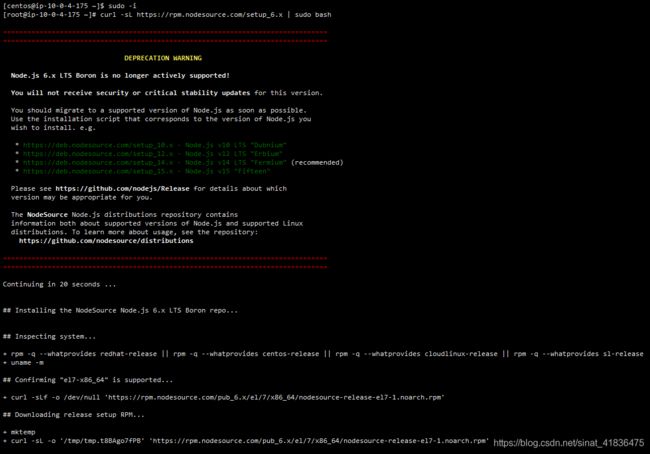
一、为系统添加包含最新Node.js包版本的存储库
curl -sL https://rpm.nodesource.com/setup_6.x | sudo bash
二、安装Nginx
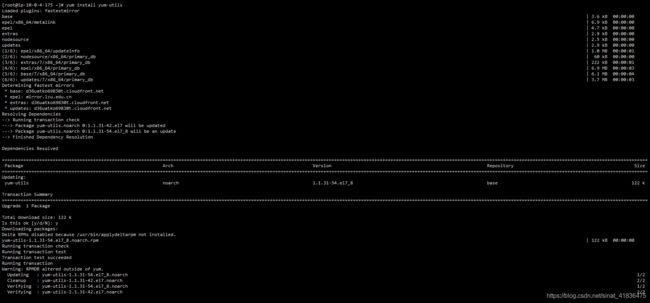
2.1、安装yum-utils工具
yum install yum-utils
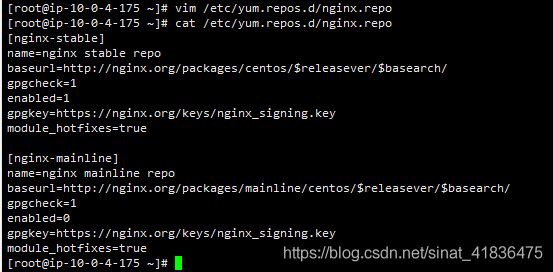
2.2、添加nginx.repo源(Nginx官网有最新版,直接copy即可)
vim /etc/yum.repos.d/nginx.repo
yum-config-manager --enable nginx-mainline
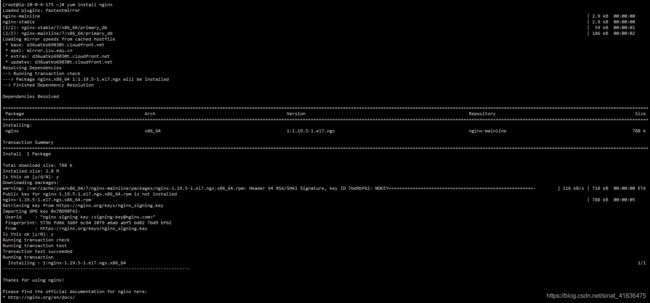
2.3、安装nginx
yum install nginx
2.4、运行nginx并进行验证版本
systemctl start nginx && systemctl enable nginx
nginx -v
三、安装postgresql-server
3.1、安装epel扩展库
yum install epel-release
3.2、安装postgresql
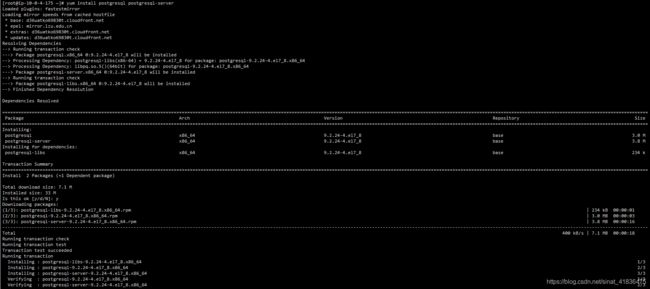
yum install postgresql postgresql-server
3.3、初始化postgresql数据库
service postgresql initdb
chkconfig postgresql on
3.4、打开 IPv4和IPv6 localhost 的“信任”身份验证
vim /var/lib/pgsql/data/pg_hba.conf
3.5、重启postgresql数据库
systemctl restart postgresql
3.6、创建postgresql数据库和用户
cd /tmp
sudo -u postgres psql -c "CREATE DATABASE onlyoffice;"——创建onlyoffice数据库
sudo -u postgres psql -c "CREATE USER onlyoffice WITH password 'onlyoffice';"——创建onlyoffice用户和密码
sudo -u postgres psql -c "GRANT ALL privileges ON DATABASE onlyoffice TO onlyoffice;"——给onlyoffice用户进行授权
四、安装redis
yum -y install redis
sudo systemctl start redis && sudo systemctl enable redis
五、安装rabbitmq
sudo yum install rabbitmq-server
sudo systemctl start rabbitmq-server && sudo systemctl enable rabbitmq-server
六、安装OnlyOffice文件服务器
6.1、添加文件服务器存储库
sudo yum install http://download.onlyoffice.com/repo/centos/main/noarch/onlyoffice-repo.noarch.rpm
6.2、安装OnlyOffice文件服务器
sudo yum -y install onlyoffice-documentserver
运行相关服务并在设置开机自启
sudo service supervisord start && sudo systemctl enable supervisord
sudo service nginx start && sudo systemctl enable nginx
6.3、配置OnlyOffice文件服务器
cd /usr/bin
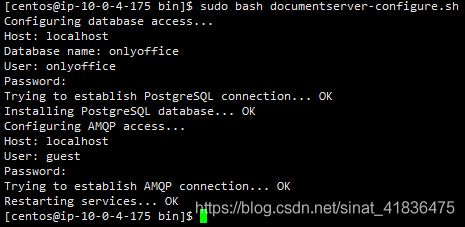
sudo bash documentserver-configure.sh
你将被要求指定PostgreSQL和RabbitMQ连接参数。使用以下数据
七、配置HTTPS
sudo service nginx stop
sudo cp -f /etc/onlyoffice/documentserver/nginx/ds-ssl.conf.tmpl /etc/onlyoffice/documentserver/nginx/ds.conf
sudo mkdir -p /etc/nginx/cert
sudo cd /etc/nginx/cert/
sudo openssl req -new -x509 -days 365 -nodes -out /etc/nginx/cert/onlyoffice.crt -keyout /etc/nginx/cert/onlyoffice.key
vim /etc/onlyoffice/documentserver/nginx/ds.conf
systemctl restart nginx
