ubuntu18.04下的detectron2安装和测试
555终于跑通了 重新装了一个虚拟环境 有的坑参考前面一篇
https://blog.csdn.net/sueong/article/details/124254418?spm=1001.2014.3001.5501
detectron2官方Requirements
1.Linux or macOS with Python ≥ 3.6(python版本需大于3.6)
2.PyTorch ≥ 1.8 and torchvision that matches the PyTorch installation. Install them together at pytorch.org to make sure of
this(1.8版本以上去确保torchvision和pytorch相匹配)
3.OpenCV is optional but needed by demo and visualization(OpenCV可根据自己需要装)
ps:有的博客说pytorch1.8以下也可 这里最好是1.8的版本 因为后面会报错 要求PyTorch ≥ 1.8
总体安装参考官网https://github.com/facebookresearch/detectron2/blob/main/INSTALL.md
安装
新建一个conda环境并激活
conda create -n detectron python=3.7
conda activate detectron
参考官网:https://pytorch.org/get-started/locally/
配置CUDA和cudnn 配置pytorch
我的pytorch是1.8 cuda11.1
pip install torch==1.8.0+cu111 torchvision==0.9.0+cu111 torchaudio==0.8.0 -f https://download.pytorch.org/whl/torch_stable.html
检查一下pytorch是否安装成功:
import torch    # 如正常则静默
a = torch.Tensor([1.])    # 如正常则静默
a.cuda()    # 如正常则返回"tensor([ 1.], device='cuda:0')"
from torch.backends import cudnn # 如正常则静默
cudnn.is_acceptable(a.cuda())    # 如正常则返回 "True"
exit()

detectron2安装
(1)安装detectron依赖
安装opencv库
pip install opencv-python
安装fvcore
pip install fvcore
安装cython
pip install cython
安装pycocotools:
pip install pycocotools
也有的博客用这种安装 但是会报错 建议用上一种
pip install 'git+https://github.com/cocodataset/cocoapi.git#subdirectory=PythonAPI'
(2)进入正题安装detectron2
官网说有两种安装方式 不推荐git的那种 会有各种坑和报错
建议用第二种

第二种安装方式如下

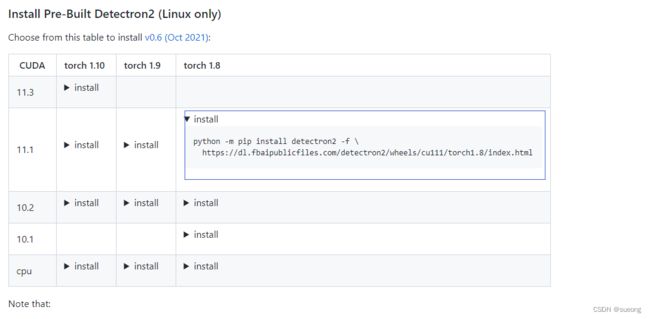
我的是torch1.8 cuda11.1 根据官网命令来装
python -m pip install detectron2 -f \
  https://dl.fbaipublicfiles.com/detectron2/wheels/cu111/torch1.8/index.html
此时安装成功 会提示successfully install detectron2xxxxx
Detectron2测试
拉取代码
git clone https://github.com/facebookresearch/detectron2.git
cd detectron2
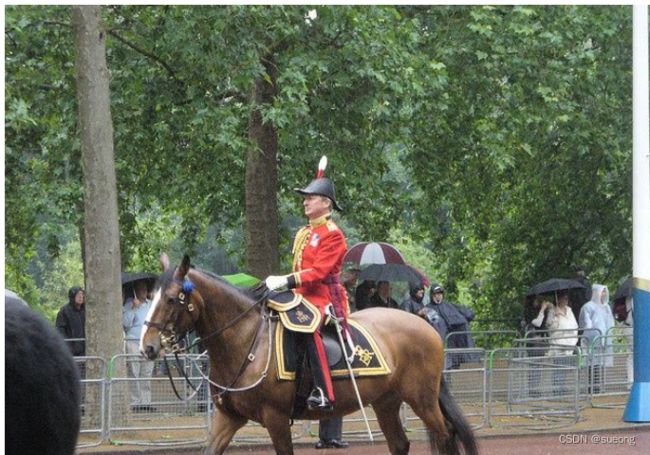
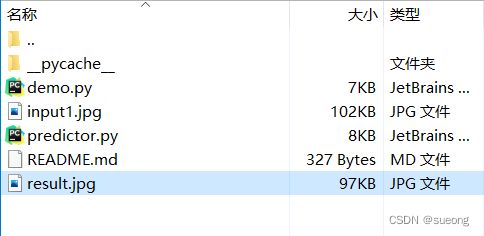
保存图片input1.jpg在demo下

输出的路径为demo/result.jpg
命令路径改成绝对路径否则会报各种路径的错 input path was not found 或者xx doesn’t exist
python demo/demo.py  \
    --config-file /home/xxx/dete/detectron2/configs/COCO-Detection/faster_rcnn_R_50_FPN_3x.yaml \
    --input /home/xxx/dete/detectron2/demo/input1.jpg --output /home/xxx/dete/detectron2/demo/result.jpg \
    --opts MODEL.WEIGHTS detectron2://COCO-InstanceSegmentation/mask_rcnn_R_50_FPN_3x/137849600/model_final_f10217.pkl
执行结果
如不报错 则表示安装成功,即可开始使用detectron2。
