【微信小程序开发(二)】自定义导航栏
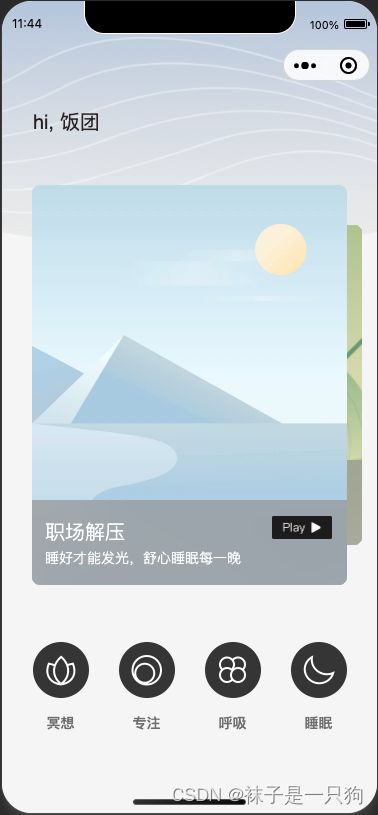
1 设置小程序通栏,不展示标题导航
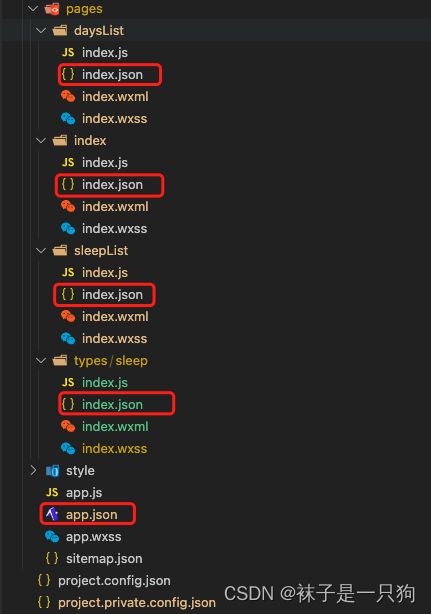
每个页面都有自己的json文件配置,如下index.json文件, 他们会覆盖掉app.json已有的配置项

通栏的设置主要是 “navigationStyle”: “custom”,
{
  "usingComponents": {},
  "navigationStyle": "custom",
  "navigationBarBackgroundColor": "#ffffff",
  "navigationBarTextStyle": "black",
  "navigationBarTitleText": "",
  "backgroundColor": "#eeeeee",
  "backgroundTextStyle": "light"
}
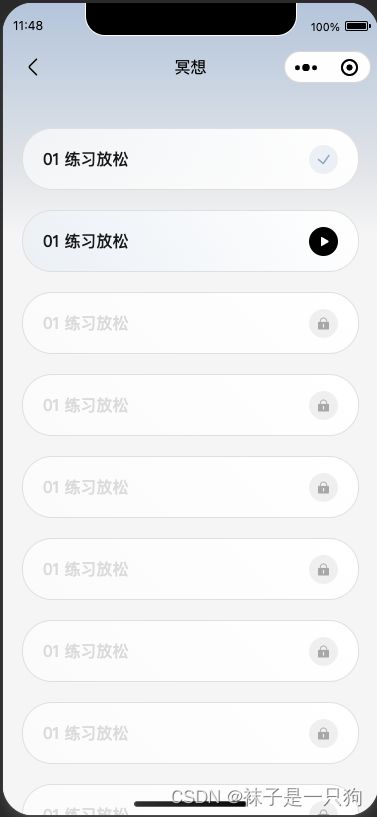
2 沉浸式导航
- 导航的适配是需要计算到各种机型的状态栏高度的,
- 上滑时需要给导航栏一个背景色值,否则导航标题(透明的)会和内容区域重叠
navBar.js
// components/navBar/navBar.js
Component({
    /**
     * 组件的属性列表
     */
    properties: {
        title: {
            type: String,
            value: ''
        },
        scrollTop: {
            type: String,
            value: '0',
            observer: 'update', // 类似于vue的 watch 动态传值
        }
    },

    /**
     * 组件的初始数据
     */
    data: {
        navigaTitle:'',
        ws:true,
        statusBarHeight: 20,
        navHeight: 44,
        opacity: 0,
    },

    ready: function() {
        const res = wx.getSystemInfoSync()
        this.data.statusBarHeight = res.statusBarHeight // 系统状态栏高度
        let _res = wx.getMenuButtonBoundingClientRect() // 小程序胶囊按钮
        let navBarPadding = (_res.top - this.data.statusBarHeight) * 2
        this.data.navHeight = _res.height + navBarPadding

        this.setData({
            navigaTitle: this.data.title,
            statusBarHeight: this.data.statusBarHeight,
            navHeight: this.data.navHeight,
        })
    },

    /**
     * 组件的方法列表
     */
    methods: {
        navigateBack: function(){
            wx.navigateBack({
                delta: 1,
            })
        },
        update(newValue) {
            let op = 0;
            if (newValue != 0 && newValue <= 40) {
                op = newValue / 40
            }
            if (newValue >= 40) {
                op = 1;
            }
            this.setData(
                {
                    opacity: op
                }
            )
    	},
    }
})
navBar.json
{
  "component": true,
  "usingComponents": {}
}
navBar.wxml
<view class="back-nav-bar" style="position:fixed;top:{{statusBarHeight}}px;height:{{navHeight}}px;left:0;">
	<div class="bg-op" wx:if="{{title !== ''}}" style="height:{{statusBarHeight+navHeight}}px;opacity:{{opacity}}">
	div>
	<div class="left-icon" bindtap="navigateBack">
		<image src="images/[email protected]" mode='widthFix'>image>
	div>
	<div class="title">{{title}}div>
	<div class="icon">div>

view>
navBar.wxss
/* component/navBar/navBar.wxss */
.back-nav-bar {
    height: 64rpx;
    width: 100vw;
    display: flex;
    flex-direction: row;
    justify-content: space-between;
    align-items: center;
    z-index: 999;
    position: relative;
}
.bg-op {
    position: absolute;
    width: 100%;
    bottom: 0;
    left: 0;
    background: linear-gradient(180deg, #C1CFE5 0%, #DEE4EE 100%);
    z-index: -1;
}

.left-icon {
    width: 48rpx;
    height: 48rpx;
    margin-left: 40rpx;
}
.icon {
    width: 48rpx;
    height: 48rpx;
    margin-right: 40rpx;
}
.left-icon image {
    display: block;
    width: 100%;
}
在需要使用的页面中引入组件 usingComponents
{
  "usingComponents": {
    "nav-bar": "/components/navBar/navBar"
  },
  "navigationStyle": "custom",
  "navigationBarTextStyle": "black",
  "navigationBarTitleText": "冥想",
  "backgroundColor": "#eeeeee",
  "backgroundTextStyle": "dark"
}
在需要使用的wxml文件中引入
<nav-bar title="冥想" scrollTop="{{scrollTop}}">nav-bar>
在页面的js中给scrollTop赋值
  data: {
    scrollTop: 0
  },

  onPageScroll(t) {
    this.setData({
        scrollTop: t.scrollTop
    })
  },
至此 大工告成~

