Seata 1.5.2 的安装及同步配置信息到Nacos2.1.0中
1.Seata的安装配置
1.1下载Seata
官网下载地址:http://seata.io/zh-cn/blog/download.html
这里我下载的Window适用的。
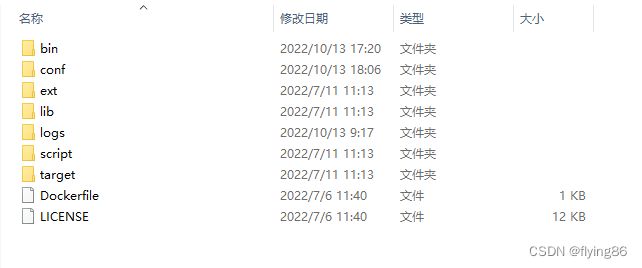
1.2下载完成后解压
1.3 修改配置文件
修改application.yml文件,详细的配置信息可以从application.example.yml文件中拷贝。
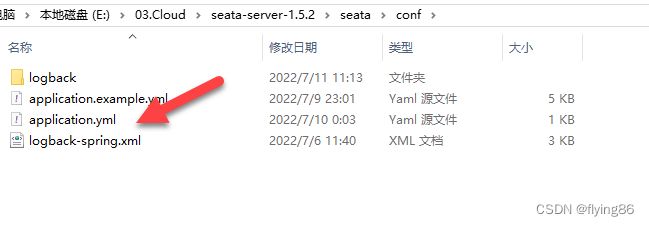
修改后的yml文件大致如下,配置了nacos的地址及存储的数据库(seata)地址。nacos的命名空间等信息根据实际的值进行配置。
server:
  port: 7091

spring:
  application:
    name: seata-server

logging:
  config: classpath:logback-spring.xml
  file:
    path: ${user.home}/logs/seata
  extend:
    logstash-appender:
      destination: 127.0.0.1:4560
    kafka-appender:
      bootstrap-servers: 127.0.0.1:9092
      topic: logback_to_logstash

console:
  user:
    username: seata
    password: seata

seata:
  config:
    # support: nacos, consul, apollo, zk, etcd3
    type: nacos
    nacos:
      server-addr: 127.0.0.1:8848
      namespace: seata
      group: SEATA_GROUP
      username:
      password:
      ##if use MSE Nacos with auth, mutex with username/password attribute
      #access-key: ""
      #secret-key: ""
      data-id: seataServer.properties
  registry:
    # support: nacos, eureka, redis, zk, consul, etcd3, sofa
    type: nacos
    nacos:
      application: seata-server
      server-addr: 127.0.0.1:8848
      group: SEATA_GROUP
      namespace: seata
      cluster: default
      username:
      password:
      ##if use MSE Nacos with auth, mutex with username/password attribute
      #access-key: ""
      #secret-key: ""
  store:
    # support: file 、 db 、 redis
    mode: db
    db:
      datasource: druid
      db-type: mysql
      driver-class-name: com.mysql.jdbc.Driver
      url: jdbc:mysql://127.0.0.1:3306/seata?rewriteBatchedStatements=true
      user: root
      password: root
      min-conn: 5
      max-conn: 100
      global-table: global_table
      branch-table: branch_table
      lock-table: lock_table
      distributed-lock-table: distributed_lock
      query-limit: 100
      max-wait: 5000
#  server:
#    service-port: 8091 #If not configured, the default is '${server.port} + 1000'
  security:
    secretKey: SeataSecretKey0c382ef121d778043159209298fd40bf3850a017
    tokenValidityInMilliseconds: 1800000
    ignore:
      urls: /,/**/*.css,/**/*.js,/**/*.html,/**/*.map,/**/*.svg,/**/*.png,/**/*.ico,/console-fe/public/**,/api/v1/auth/login
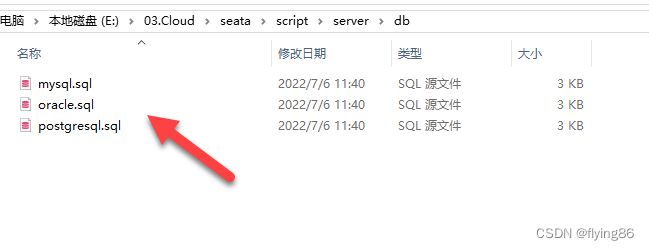
1.4 在Seata数据库中初始化表
2 配置Nacos
2.1 拷贝config.txt文件
将/script/config-center中的config.txt配置放在安装seata的目录下,与bin目录同级。
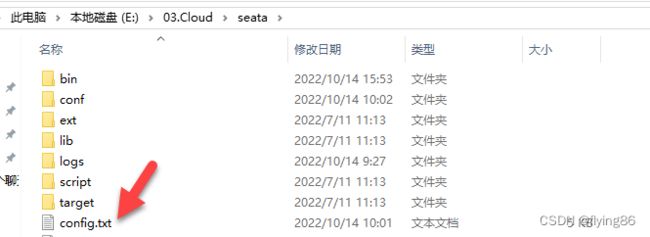
打开config.txt文件对里面的信息进行修改。
#这个非常重要,关系到程序的整合
service.vgroupMapping.default_tx_group=default
#seata的地址,如果改了端口这里也要改下(这个配置,只有当registry.type=file,注册中心是file方式时,才会起作用)
service.default.grouplist=127.0.0.1:8091
#存储的方式,这里改成db,默认是file
store.mode=db
#数据库存储配置
store.db.url=jdbc:mysql://127.0.0.1:3306/seata?useUnicode=true&rewriteBatchedStatements=true
store.db.user=username
store.db.password=password
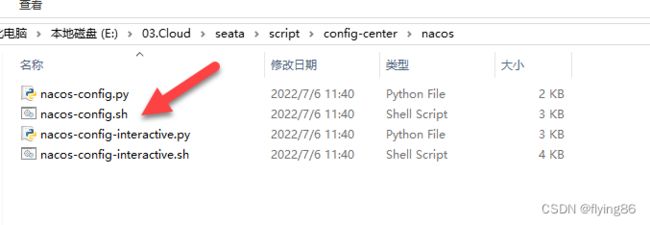
2.2 将nacos-config.sh文件拷贝到conf目录中
2.3 将seata的配置导入到nacos的配置中心
在conf目录下,使用git将seata的配置导入nacos配置中心,前提是电脑环境上安装了git,右击点击【Git Bash Here】。
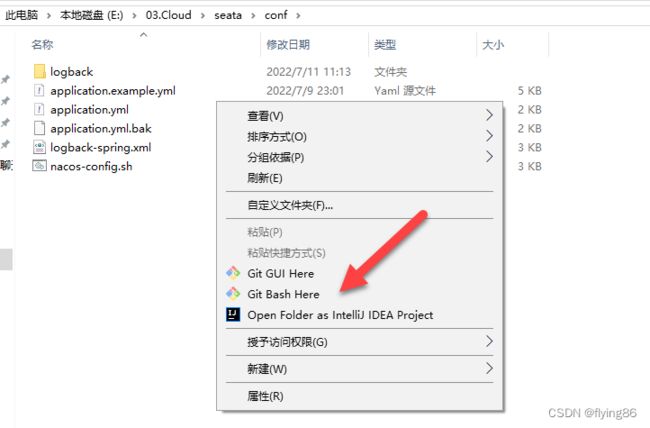
使用以下命令将配置导入到nacos中。
sh nacos-config.sh -h localhost -p 8848 -g SEATA_GROUP -t seata -u nacos -w nacos
参数详情:命令解析:-h -p 指定nacos的端口地址;-g 指定配置的分组,注意,是配置的分组;-t 指定命名空间id; -u -w指定nacos的用户名和密码,同样,这里开启了nacos注册和配置认证的才需要指定。按回车等待配置导入成功。

出现如图信息,说明导入成功。也可用去Nacos配置中心查看。
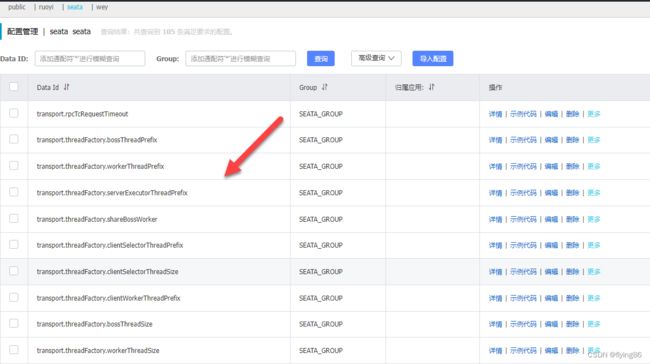
3 配置项目
Seata和Nacos依赖
<dependency>
  <groupId>com.alibaba.cloudgroupId>
  <artifactId>spring-cloud-starter-alibaba-nacos-discoveryartifactId>
dependency>
<dependency>
  <groupId>com.alibaba.cloudgroupId>
  <artifactId>spring-cloud-starter-alibaba-seataartifactId>
  <exclusions>
    <exclusion>
      <groupId>io.seatagroupId>
      <artifactId>seata-spring-boot-starterartifactId>
    exclusion>
  exclusions>
dependency>
<dependency>
  <groupId>io.seatagroupId>
  <artifactId>seata-spring-boot-starterartifactId>
  <version>1.4.2version>
dependency>
application.yml
# seata 配置
seata:
  # 分布式事务分组
  tx-service-group: my_test_tx_group
  # seata配置中心
  config:
    type: nacos
    nacos:
      namespace: seata
      # nacos配置中心地址
      server-addr: 127.0.0.1:8848
      # 分组
      group: 'SEATA_GROUP'
      # nacos的账号和密码
      userName: 'nacos'
      password: 'nacos'
  # seata的注册中心
  registry:
    type: nacos
    nacos:
      application: seata-server
      server-addr: 127.0.0.1:8848
      namespace: seata
      userName: 'nacos'
      password: 'nacos'
  service:
    vgroup-mapping:
      my_test_tx_group: default    #这里要特别注意和nacos中配置的要保持一直
