API批量操作、zabbix 监控
步骤参考官方原文:
https://www.zabbix.com/documentation/5.0/zh/manual/api
API
验证:
【在访问Zabbix中的任何数据之前,你需要登录并获取身份验证令牌。这可以使用该 user.login 方法完成。让我们假设你想要以标准Zabbix Admin用户身份登录。然后,你的JSON请求将如下所示:】
server1:
vim zabbix-api.sh
curl  -s -XPOST http://172.25.70.1/zabbix/api_jsonrpc.php -H 'Content-Type: application/json-rpc' -d '
{
    "jsonrpc": "2.0",
    "method": "user.login",
    "params": {
        "user": "Admin",
        "password": "zabbix"
    },
    "id": 1,
    "auth": null
}' | python -m json.tool

chmod +x zabbix-api.sh

./zabbix-api.sh 【正确提供了凭据,API返回的响应将包含用户身份验证令牌:】
 {
     "id": 1,
     "jsonrpc": "2.0",
     "result": "3f20ddb7e7628c483b88f2540e7ee328"
 }
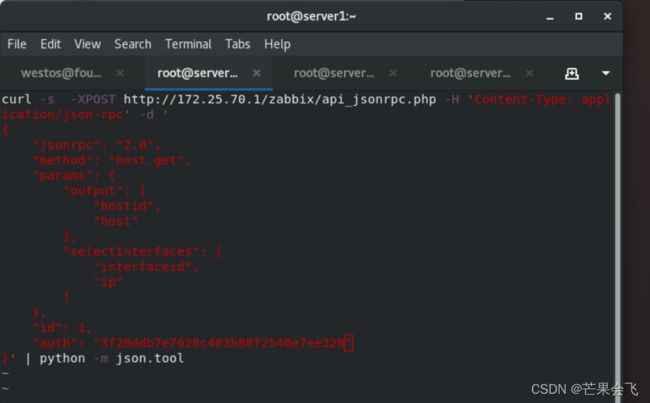
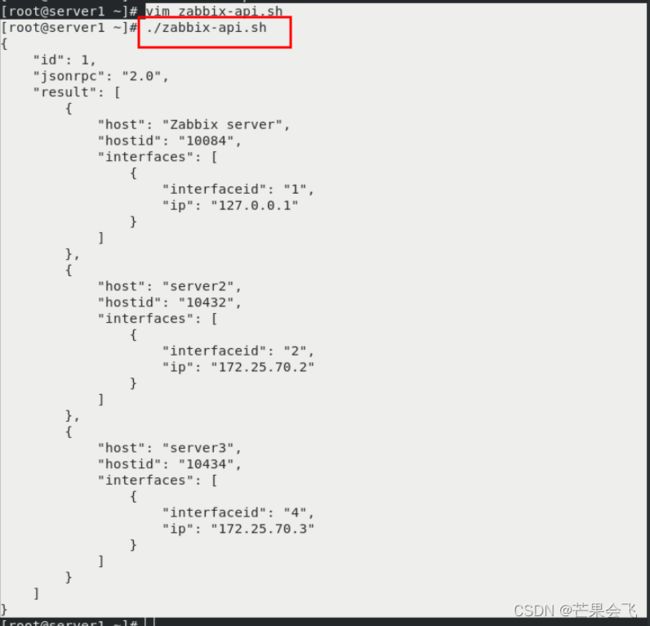
检索主机:
vim zabbix-api.sh

curl -s  -XPOST http://172.25.70.1/zabbix/api_jsonrpc.php -H 'Content-Type: application/json-rpc' -d '
{
    "jsonrpc": "2.0",
    "method": "host.get",
    "params": {
        "output": [
            "hostid",
            "host"
        ],
        "selectInterfaces": [
            "interfaceid",
            "ip"
        ]
    },
    "id": 1,
    "auth": "3f20ddb7e7628c483b88f2540e7ee328"
}' | python -m json.tool
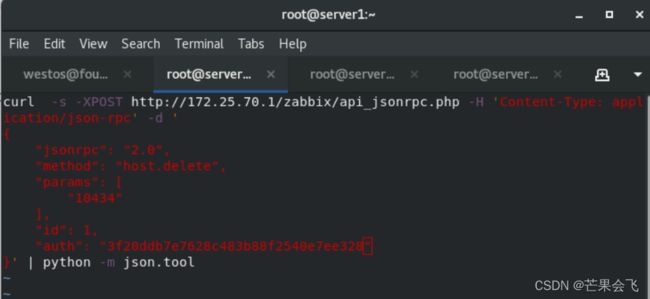
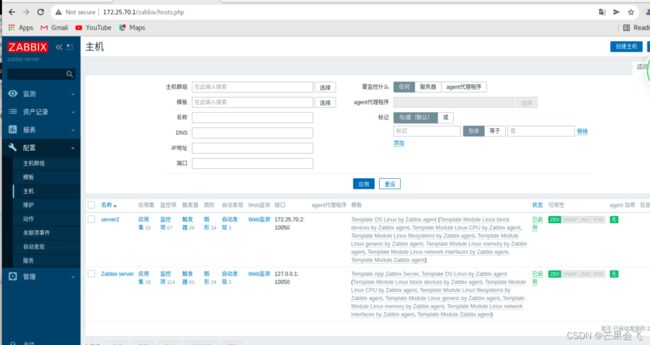
删除:
curl  -s -XPOST http://172.25.70.1/zabbix/api_jsonrpc.php -H 'Content-Type: application/json-rpc' -d '
{
    "jsonrpc": "2.0",
    "method": "host.delete",
    "params": [
        "10434"
    ],
    "id": 1,
    "auth": "3f20ddb7e7628c483b88f2540e7ee328"
}' | python -m json.toolcurl -s -XPOST http://172.25.70.1/zabbix/api_jsonrpc.php -H 'Content-Type: application/json-rpc' -d '
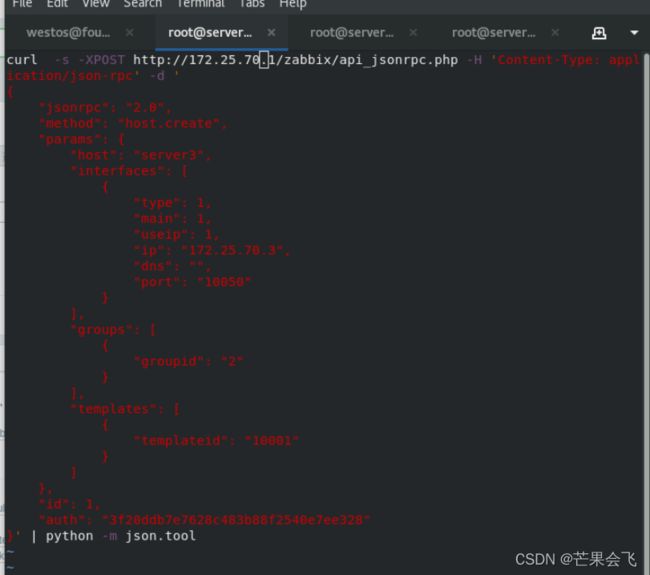
{
"jsonrpc": "2.0",
"method": "host.create",
"params": {
"host": "server3",
"interfaces": [
{
"type": 1,
"main": 1,
"useip": 1,
"ip": "172.25.70.3",
"dns": "",
"port": "10050"
}
],
"groups": [
{
"groupid": "2"
}
],
"templates": [
{
"templateid": "10001"
}
]
},
"id": 1,
"auth": "3f20ddb7e7628c483b88f2540e7ee328"
}' | python -m json.tool
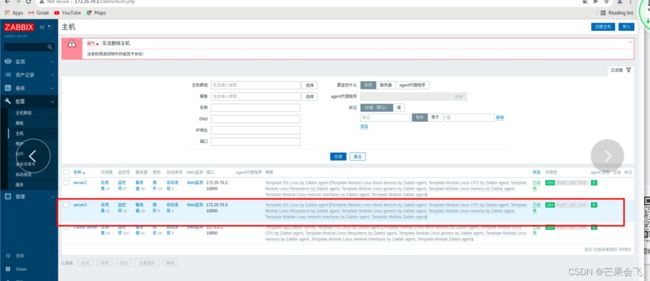
server3已经被添加
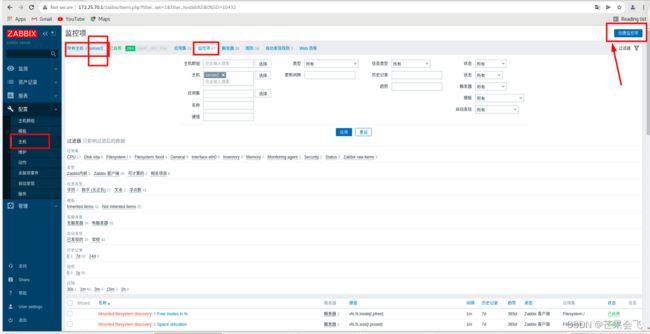
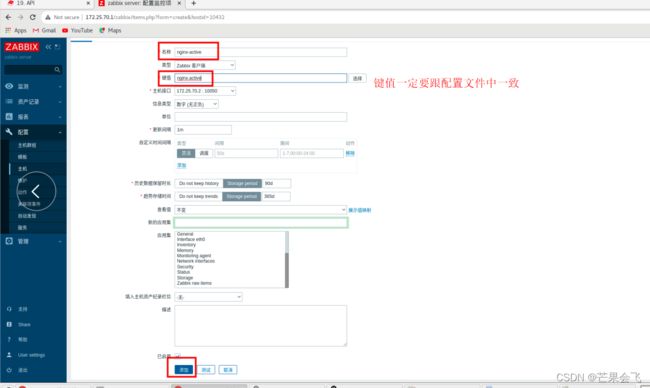
如何添加监控项--nginx
实验前准备:
下载一个nginx的包
本次实验nginx是从真机传过来的:cp /home/westos/Desktop/nginx-1.20.2.tar.gz server2:
iptables -t nat -I POSTROUTING -s 172.25.70.0/24 -j MASQUERADE #使其他虚拟机能上网
server2中:
cd
tar zxf nginx-1.20.2.tar.gz
cd nginx-1.20.2/
 ls
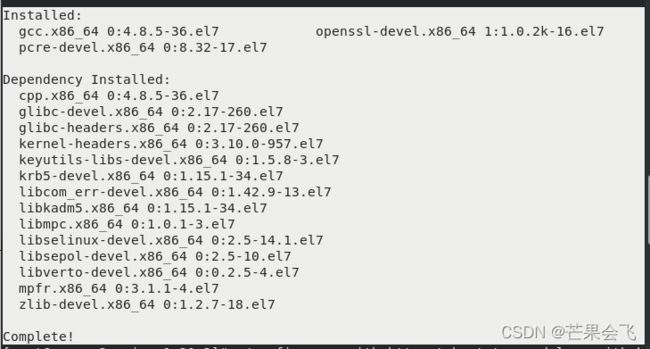
yum install gcc pcre-devel openssl-devel  #下载依赖性
./configure --with-http_stub_status_module --with-http_ssl_module
make && make install
cd /usr/local/nginx/
cd conf/
vim nginx.conf
  47行左右添加:  location /status {
                  stub_status on;
                  access_log off;
                  allow 127.0.0.1;
                  deny all;
               }
ln -s /usr/local/nginx/sbin/nginx  /usr/local/bin/
nginx -t
nginx
curl localhost/status
curl localhost/status | grep Active
curl -s localhost/status | grep Active
curl -s localhost/status | grep Active | awk '{print $3}'
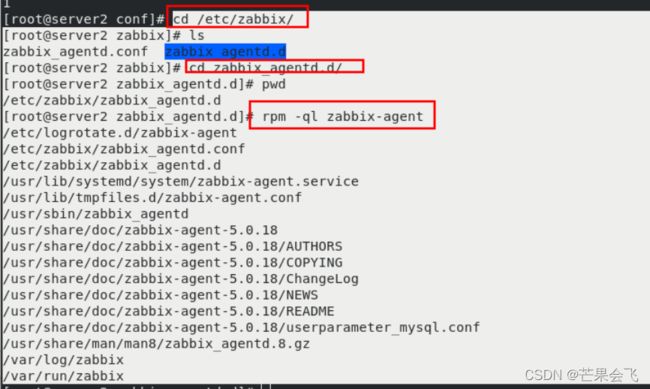
cd /etc/zabbix/
ls
cd zabbix_agentd.d/
pwd
rpm -ql zabbix-agent
cp /usr/share/doc/zabbix-agent-5.0.18/userparameter_mysql.conf /etc/zabbix/zabbix_agentd.d/
ls
mv userparameter_mysql.conf userparameter_nginx.conf
vim userparameter_nginx.conf
  UserParameter=nginx.active,curl -s localhost/status | grep Active | awk '{print $3}'
systemctl restart zabbix-agent.service
server1:
yum install -y zabbix-get
zabbix_get -s 172.25.70.2 -p 10050 -k "nginx.active"
 #-s远程主机。-p指定端口
前端:
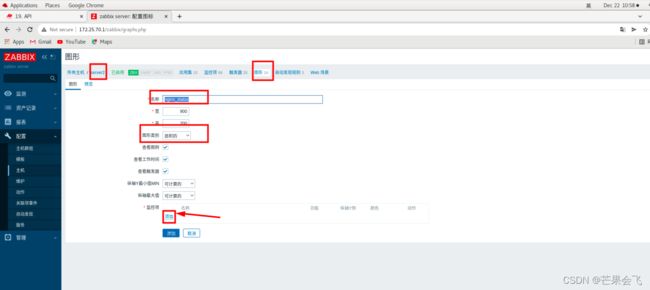
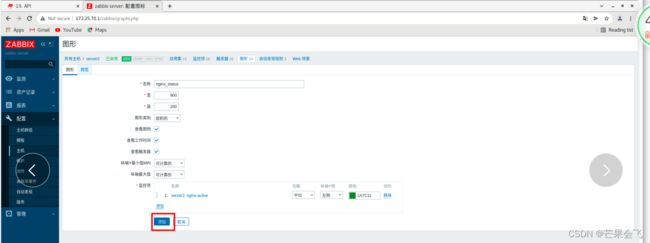
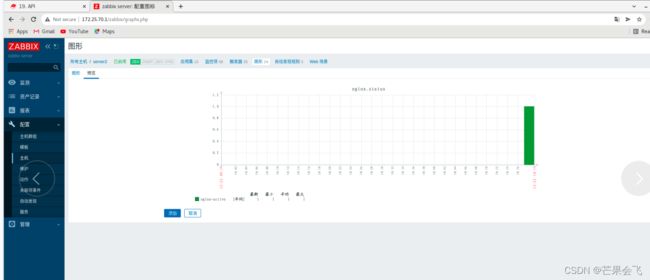
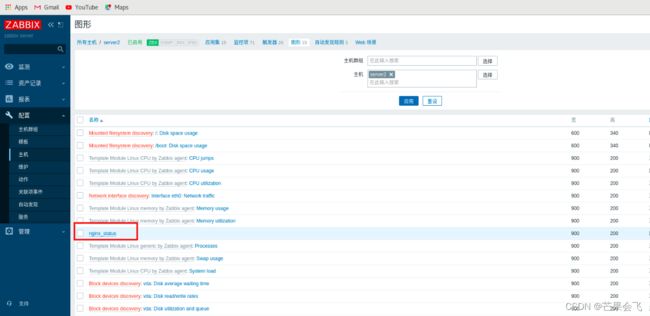
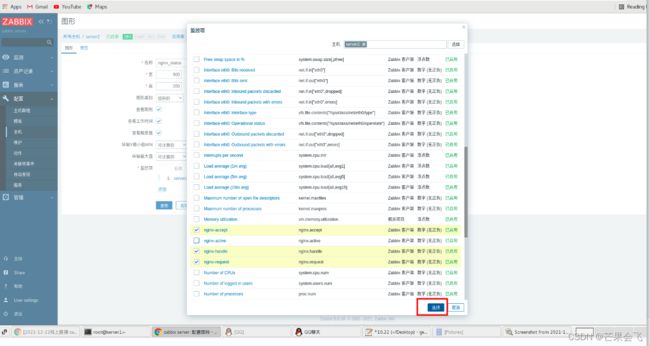
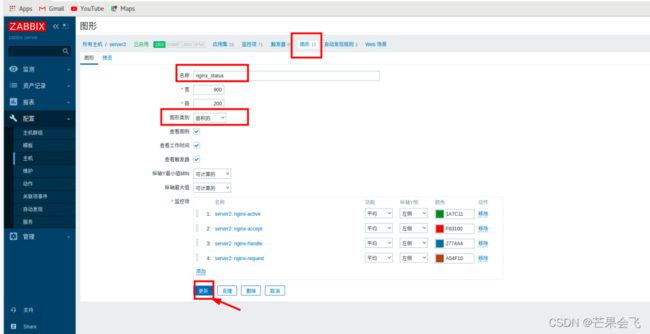
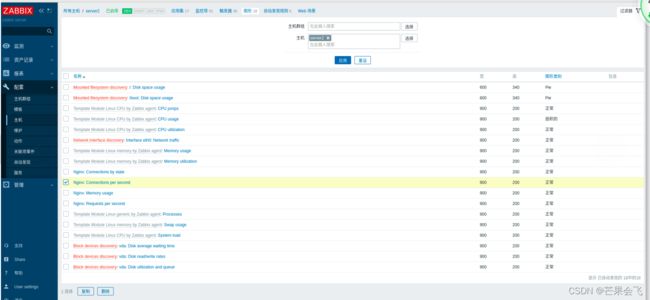
图形添加监控项,创建图形
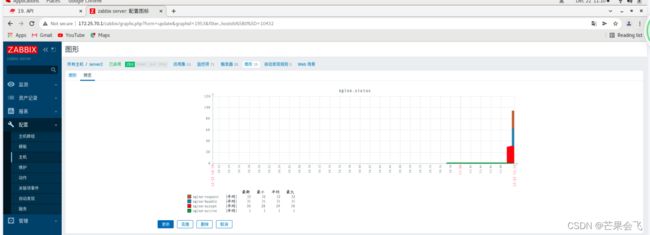
出现数值表示图形添加成功
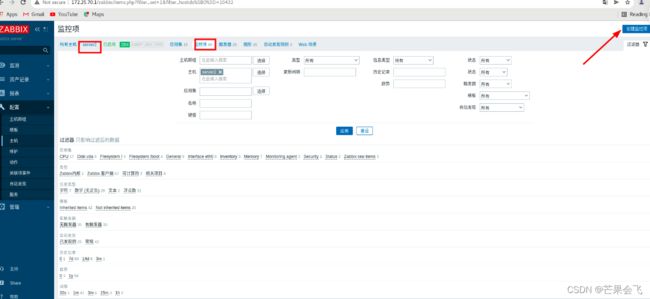
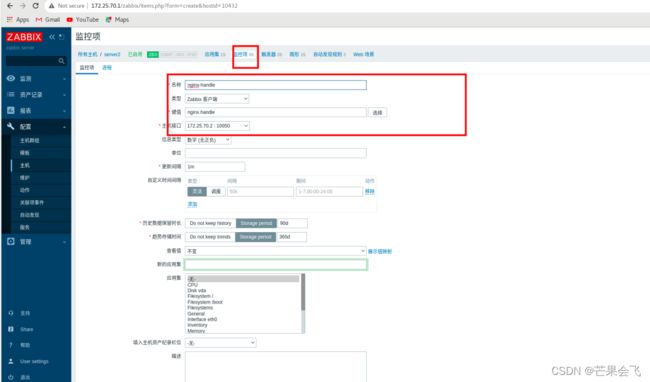
添加更多nginx监控项
server2:
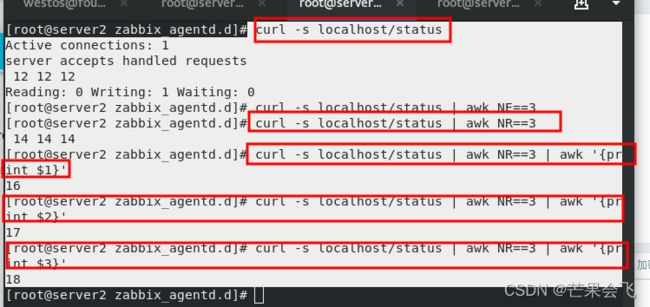
curl -s localhost/status
curl -s localhost/status | awk NR==3
curl -s localhost/status | awk NR==3 | awk '{print $1}'
curl -s localhost/status | awk NR==3 | awk '{print $2}'
curl -s localhost/status | awk NR==3 | awk '{print $3}'
vim userparameter_nginx.conf
  添加:UserParameter=nginx.accept,curl -s localhost/status | awk NR==3 |awk '{print $1}'
       UserParameter=nginx.handle,curl -s localhost/status | awk NR==3 |awk '{print $2}'
      UserParameter=nginx.request,curl -s localhost/status | awk NR==3 |awk '{print $3}'
systemctl restart zabbix-agent.service zabbix_get -s 172.25.70.2 -p 10050 -k "nginx.accept"
zabbix_get -s 172.25.70.2 -p 10050 -k "nginx.handle"
zabbix_get -s 172.25.70.2 -p 10050 -k "nginx.request" 在图形中添加即可;跟刚创建nginx.active方法步骤一样,最后点击预览即可
通过模板自动添加:
删掉刚才的手动添加,修改配置,用模板直接添加
cd /usr/local/nginx/conf
vim nginx.conf
  47行改为:location /basic_status
cd /etc/zabbix/zabbix_agentd.d/
ls
mv userparameter_nginx.conf /mnt/
ls
systemctl restart zabbix-agent.service
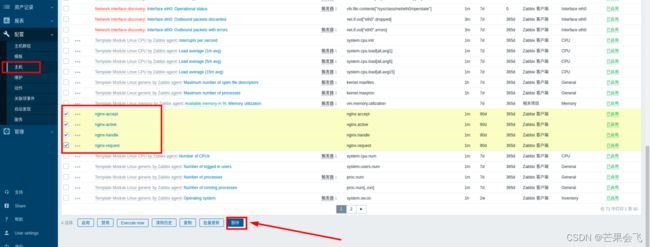
先删掉上个实验添加的4项
有图形就是成功了
数据库监控:
下载percona-zabbix-templates-1.1.8-1.noarch.rpm数据包;
本次实验是在真机传过去的:
scp percona-zabbix-templates-1.1.8-1.noarch.rpm server1:
server1:
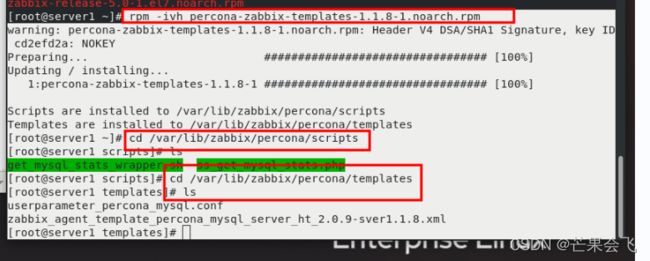
rpm -ivh percona-zabbix-templates-1.1.8-1.noarch.rpm
cd /var/lib/zabbix/percona/scripts  #脚本路径
cd /var/lib/zabbix/percona/templates  #模板
cd ..
ls
pwd
cd templates/
ls
cp userparameter_percona_mysql.conf /etc/zabbix/zabbix_agentd.d/
ls
cd /etc/zabbix/zabbix_agentd.d/
ls
wc -l userparameter_percona_mysql.conf  #看其监控项总共有多少个
cd ..
systemctl restart zabbix-agent.service  #重启服务
cd /var/lib/zabbix/percona/scripts/
ls
#执行原理:调用shell脚本通过php代码访问数据库,取出数据,存到/tmp/XX.txp纯文本。通过shell过滤【shell和php结合的过程】
rpm -qa | grep php
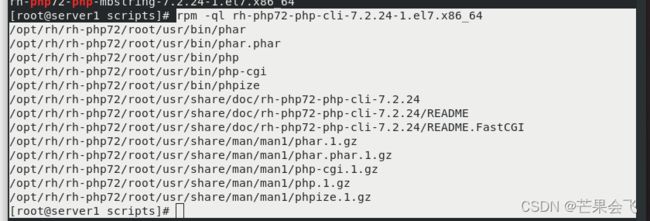
rpm -ql rh-php72-php-cli-7.2.24-1.el7.x86_64 #查找php位置
ln -s /opt/rh/rh-php72/root/usr/bin/php /usr/bin/
ll /usr/bin/php
php -v
vim ss_get_mysql_stats.php
  31行:$mysql_user = 'root';
  32行:$mysql_pass = 'Yakexi+007';
/var/lib/zabbix/percona/scripts/get_mysql_stats_wrapper.sh gg
#通过超级用户身份运行脚本
cd /tmp/
ls
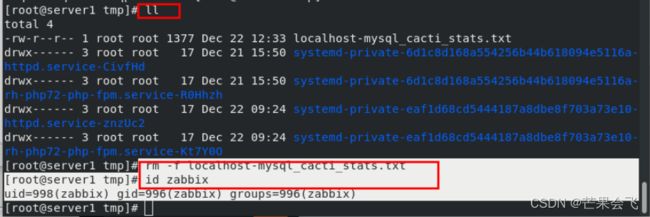
ll localhost-mysql_cacti_stats.txt
rm -f localhost-mysql_cacti_stats.txt
#删掉,或者让zabbix用户可以写。不然导致用户不变更
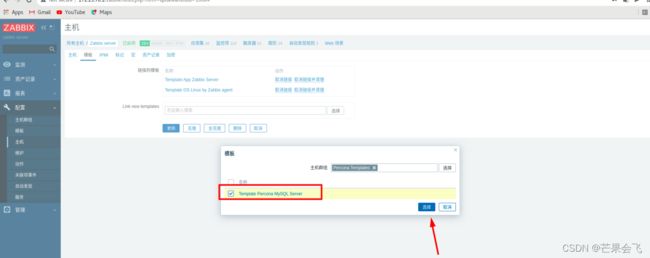
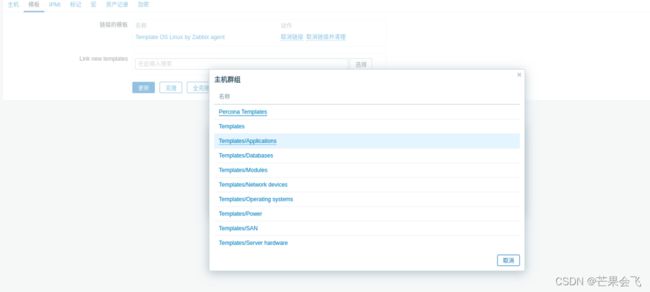
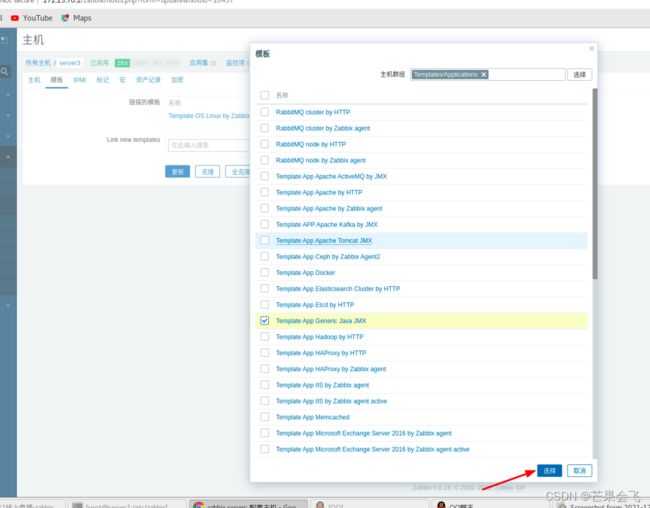
id zabbix添加mysql模板
![]()
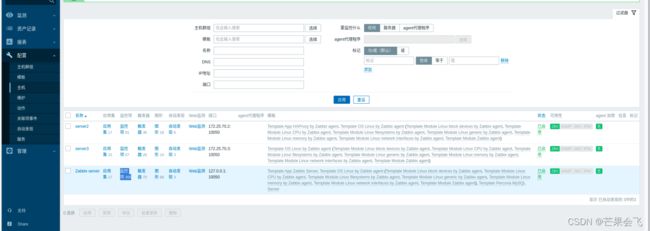
监控项比之前多了很多
此时mysql没有主从一致要关闭slave监听端口的触发器
java监控:
server3:
需要用到apache-tomcat-8.5.24的包【可以在官网下载】
https://tomcat.apache.org/tomcat-8.5-doc/monitoring.html
tar zxf apache-tomcat-8.5.24.tar.gz
ls
mv apache-tomcat-8.5.24 /usr/local/tomcat
cd /usr/local/tomcat/
yum  search jdk
yum install -y java-1.8.0-openjdk.x86_64
ls
cd bin/
ls
vim catalina.sh   #编辑脚本设定监听端口为8888
   109行:CATALINA_OPTS='-Dcom.sun.management.jmxremote.port=8888
          -Dcom.sun.management.jmxremote.ssl=false
          -Dcom.sun.management.jmxremote.authenticate=false'
cd ..
ls
bin/startup.sh
netstat -antlp #查看8888和8080端口是否开启 yum install -y zabbix-java-gateway.x86_64 ##服务端需要安装一个java网关,使用10052端口,不然是访问不到8888端口的
访问流程:server1 -> java-gateway (10052)-> server2(tomcat8888)
server1:
vim zabbix_server.conf
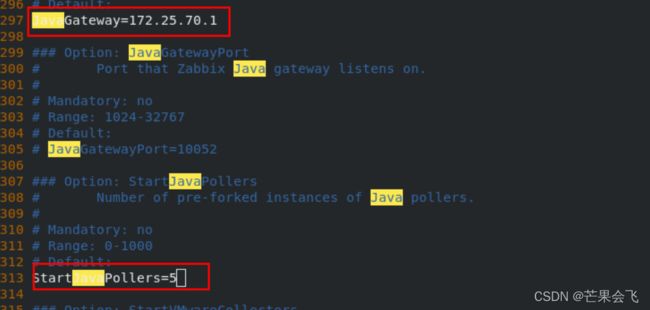
    279:JavaGateway=172.25.70.1
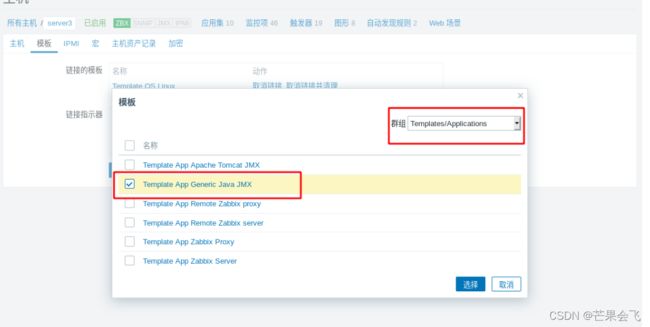
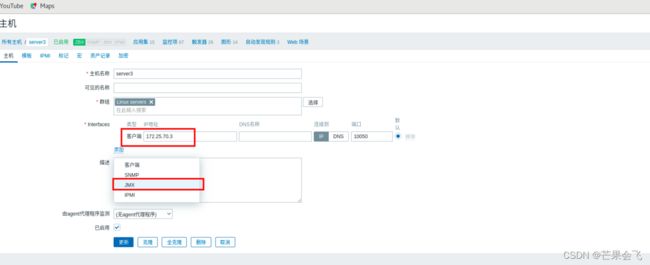
313:StartJavaPollers=5添加JMX接口
优化:
server2:
vim /etc/zabbix/zabbix_agentd.conf
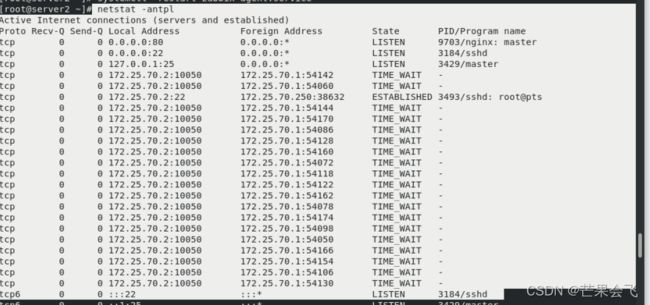
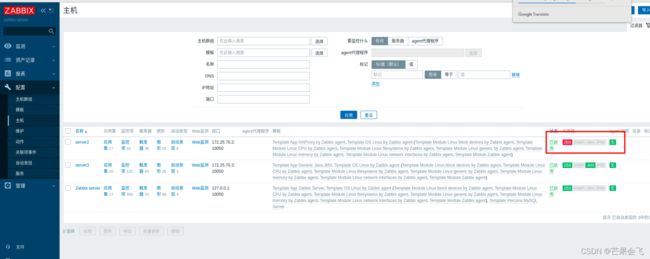
  142行:StartAgents=0  #采集不到数据ZBX变红
systemctl  restart zabbix-agent.service
netstat -antpl
在前端过一会之后server2的ZBX会变红
vim /etc/zabbix/zabbix_agentd.conf
  142行:StartAgents=3  #
systemctl  restart zabbix-agent.service
netstat -antlp | grep 10050
在前端
为了让server端变得更轻松:
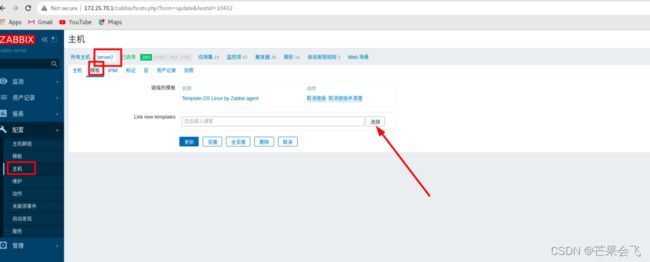
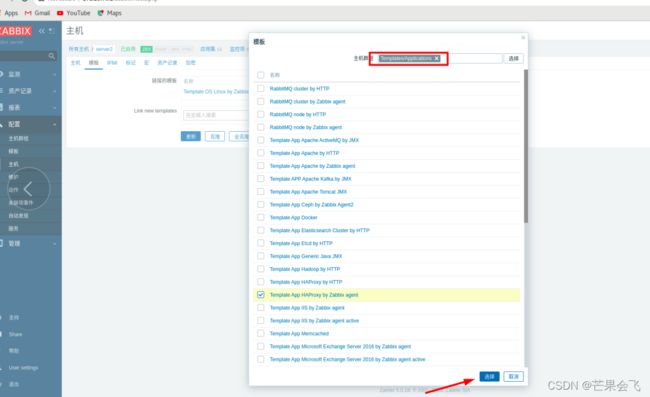
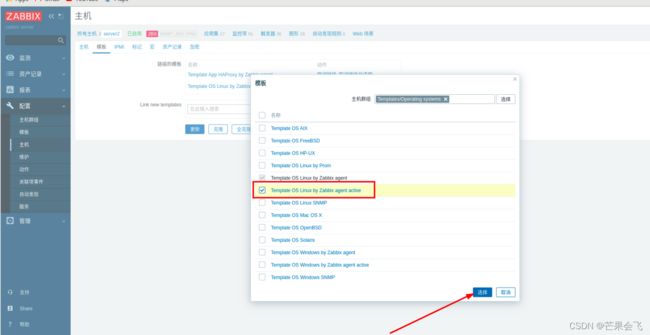
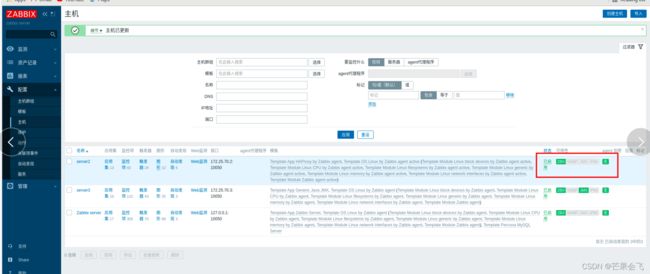
配置--主机--模板--选择操作系统(倒数第4个)--选择第6个--取消带OS的链接并清理--更新(替换之后server2的客户端就变成了主动式的)

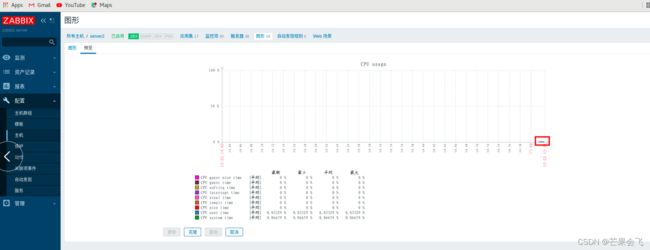
server2--图形--点击第4个--预览--可以看到数据依然能采集,没有中断
zabbix+proxy分布式
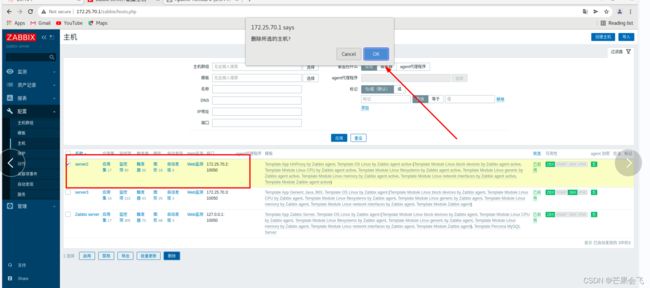
删掉server2
systemctl stop zabbix-agent.service
systemctl disable zabbix-agent.service
ps ax #查看还有什么多余的进程
nginx -s stop
ps ax
cd /etc/yum.repos.d/
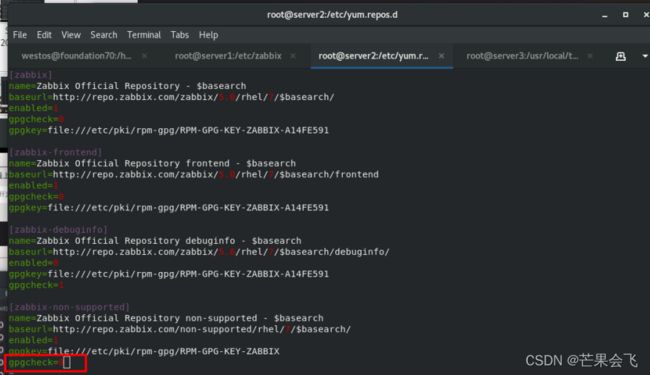
vim zabbix.repo
   27:gpgcheck=0  #如果不该安装zabbix-proxy-mysql会不成功
yum install -y zabbix-proxy-mysql
cd /etc/zabbix/
ls
vim zabbix_proxy.conf
30:Server=172.25.70.1
49:Hostname=proxy
162:DBHost=172.25.70.1
196:DBPassword=Westos+007hostnamectl set-hostname proxy
在三台主机server1、2、3中给server2添加proxy解析
vim /etc/hosts
给server2添加proxy解析server1中:
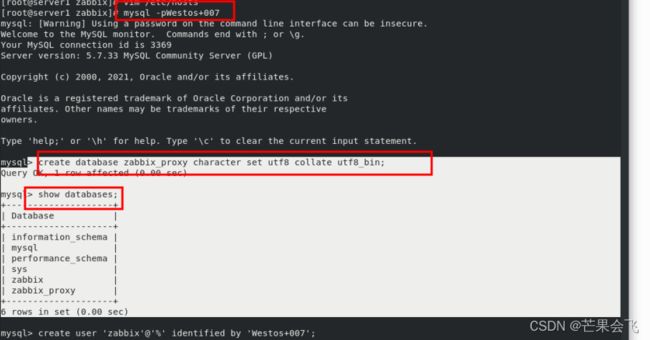
mysql -pWestos+007
> create database zabbix_proxy character set utf8 collate utf8_bin;
> show databases;
> create user 'zabbix'@'%' identified by 'Westos+007';
> grant all privileges on zabbix_proxy.* to 'zabbix'@'%';
> flush privileges;cd /usr/share/doc/zabbix-proxy-mysql-5.0.18/
ls
zcat schema.sql.gz | wc -l
scp schema.sql.gz server1:
yum install -y mariadb
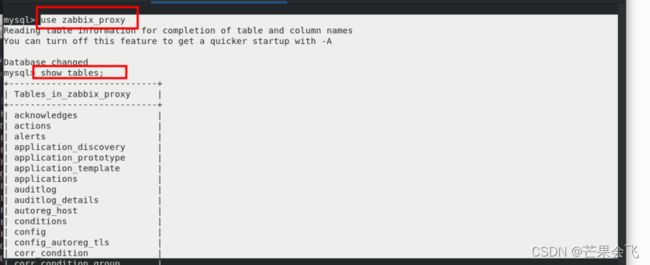
zcat schema.sql.gz | mysql -h 172.25.70.1 -uzabbix -p zabbix_proxyserver1:可以看出导入成功
mysql -pWestos+007
> use zabbix_proxy
> show tables;systemctl start zabbix-proxy.service
ps ax 前端:
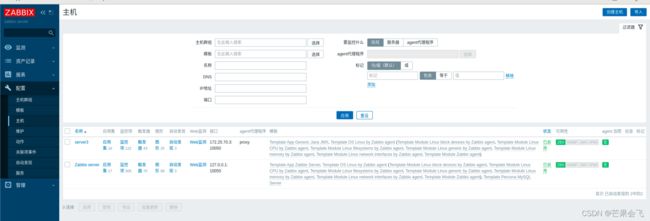
管理--agent代理程序--创建代理(名称proxy-->名称和主机名保持一致、地址:172.25.70.2)--添加

配置--主机--server3--代理换成-proxy--更新
 server1:
zabbix_server -R config_cache_reload #刷新
server2
systemctl restart zabbix-proxy.service
#重启过程中要接收配置数据从server端(server1)
![]()
server3:
vim /etc/zabbix/zabbix_agentd.conf
  117 Server=172.25.70.2
  158:ServerActive=172.25.70.2
systemctl restart zabbix-agent.service ![]() 前端:
前端:
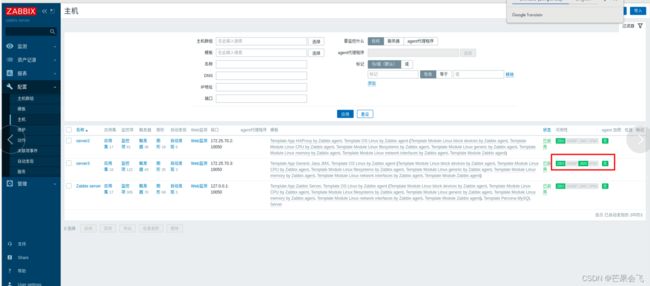
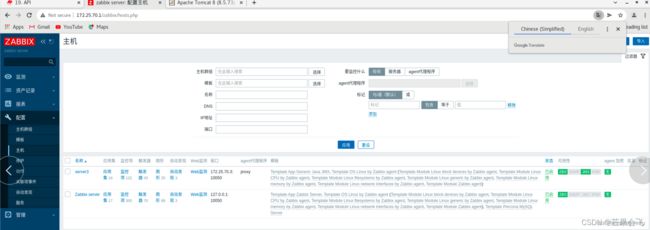
主机(目前server3的ZBX由红色变绿色,)
此时JMX上有图像信息,但是还是灰色的
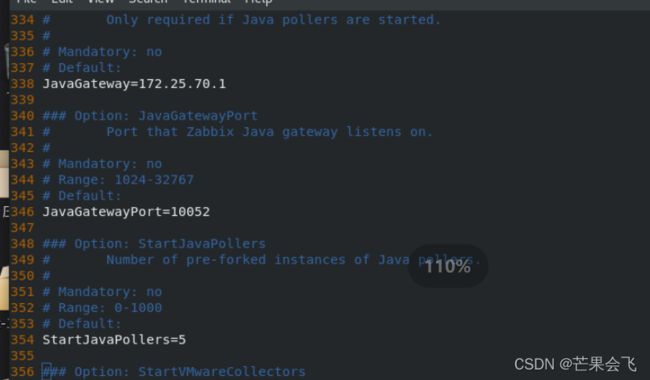
vim /etc/zabbix/zabbix_proxy.conf
  338 JavaGateway=172.25.70.1
  346 JavaGatewayPort=10052
  354 StartJavaPollers=5
systemctl status zabbix-proxy.service
前端:
过一会后server3上的JMX就会变绿色了


