zabbix服务器监控
zabbix服务器监控
文章目录
- zabbix服务器监控
-
- 一、zabbix服务器监控
-
- 概念
- 1.服务器上安装zabbix-agent
- 2.启动zabbix-agent服务
- 二、监控远程linux服务器
-
- 1.将server的hosts文件复制到agent上
- 2.agent上安装zabbix-agent
- 3.配置agent端并启动服务
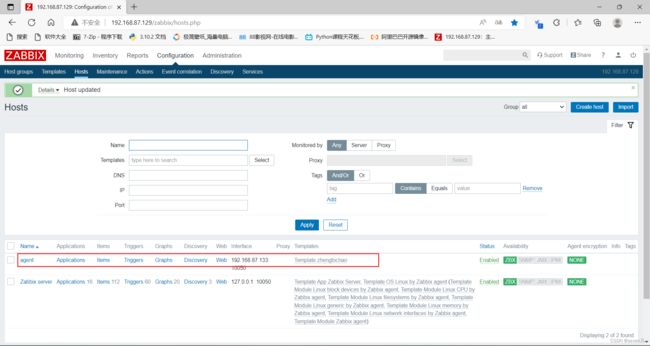
- 4.管理界面创建监控主机
- 三、为zabbix agent创建自定义模板
-
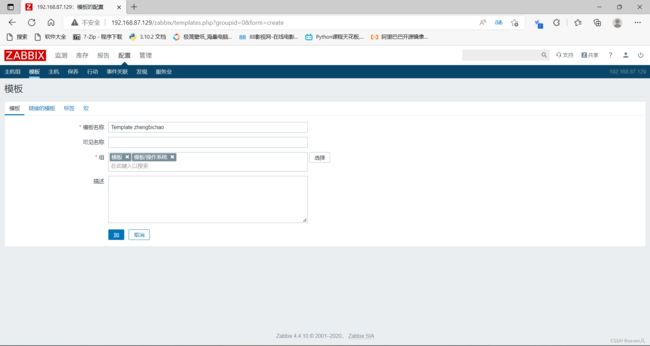
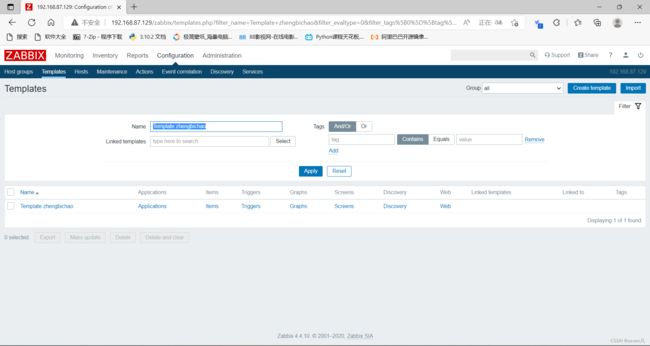
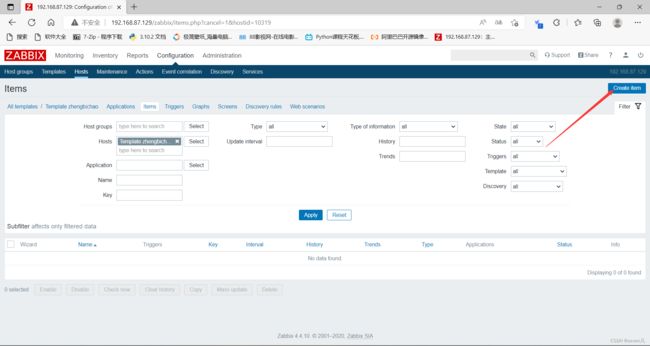
- 1.创建模板
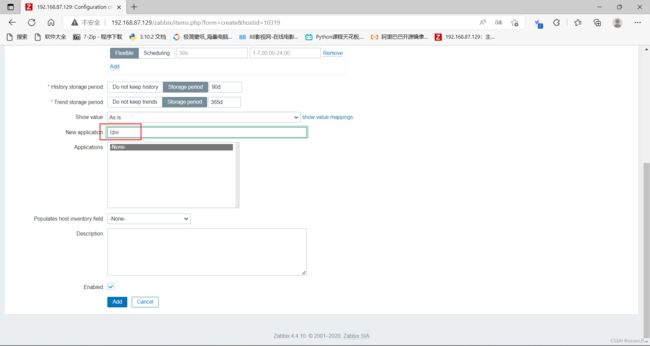
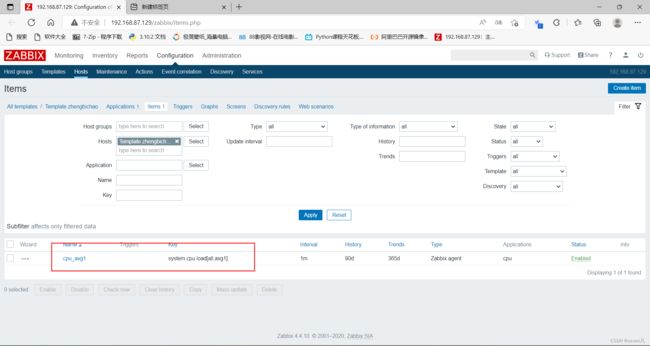
- 四、基于Template模板创建自定义监控项
- 五、自定义键值logusers,该键值要求监控有多少个用户连接agent端 应用集为ssh
- 六、创建Template模板的图形,将以上5个监控项制作成图形
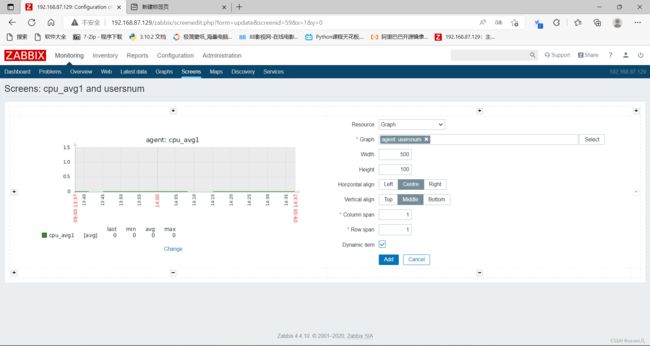
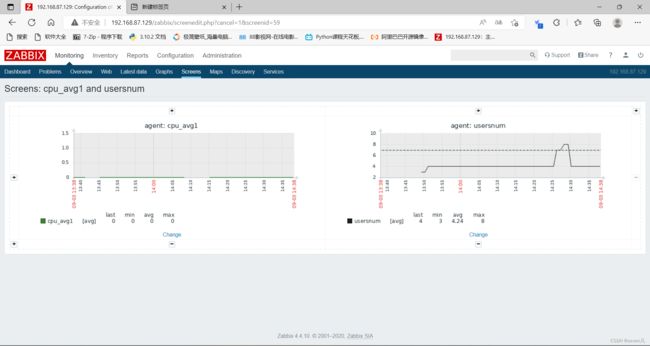
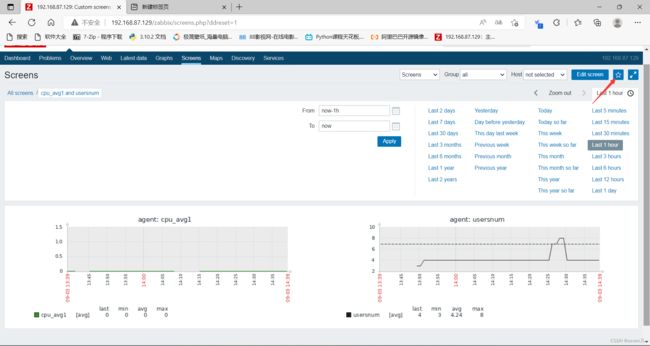
- 七、创建聚合图形,将监控项cpu1分钟平均负载和有多少个用户连接agent端图形制作成聚合图形
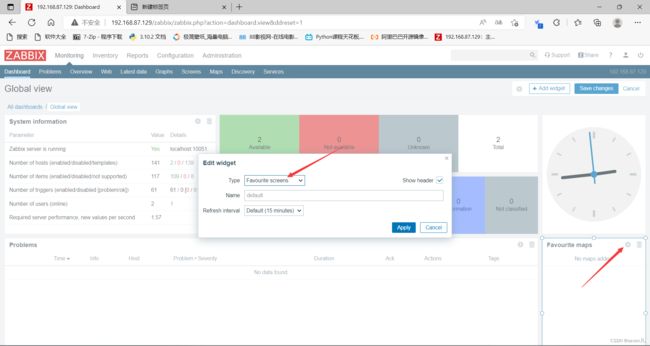
- 八、收藏该聚合图形,让其在仪表板中显示
- 九、创建触发器,设置超过7个用户连接agent端,发出告警信息。
一、zabbix服务器监控
概念
主机(host): 指被监控的一个设备(服务器,交换机等)
主机群组(hostgroup): 指被监控的一组主机(主要应用在有特别多主机的情况,方便分组区分)
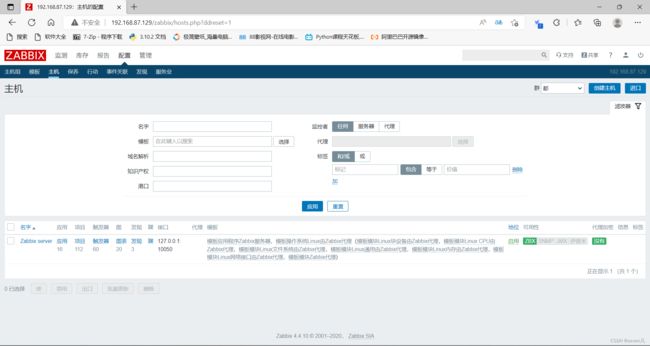
zabbix服务器端默认配置了监控本机,但还需要安装客户端收集工具:zabbix-agent。

1.服务器上安装zabbix-agent
[root@server ~]# yum install -y zabbix-agent
2.启动zabbix-agent服务
[root@server ~]# vim  /etc/zabbix/zabbix_agentd.conf
服务端只需要设置名称
···
Hostname=server
···

[root@server ~]# vim /etc/hosts

192.168.87.129 server   (服务端)
192.168.87.128 agernt	 (需要添加的客户端)

[root@server ~]# systemctl restart zabbix-agent.service
[root@server ~]# systemctl enable zabbix-agent.service
Created symlink /etc/systemd/system/multi-user.target.wants/zabbix-agent.service → /usr/lib/systemd/system/zabbix-agent.service.
二、监控远程linux服务器
1.将server的hosts文件复制到agent上
[root@agent ~]# scp root@192.168.87.129:/etc/hosts /etc/hosts
The authenticity of host '192.168.87.129 (192.168.87.129)' can't be established.
ECDSA key fingerprint is SHA256:GSJLlJgtoagBXmMbWp2t+aTDa0qy8ti+yZX3/Ujycto.
Are you sure you want to continue connecting (yes/no/[fingerprint])? yes
Warning: Permanently added '192.168.87.129' (ECDSA) to the list of known hosts.
root@192.168.87.129's password:
hosts                                                          100%  202   293.7KB/s   00:00
[root@agent ~]# ll /etc/ | grep hosts
-rw-r--r--.  1 root root    202 Sep  2 22:20 hosts

关掉客户端和服务端的防火墙,服务端已关
[root@agent ~]# systemctl stop firewalld
[root@agent ~]# systemctl disable firewalld

[root@agent ~]# cat /etc/selinux/config

# This file controls the state of SELinux on the system.
# SELINUX= can take one of these three values:
#     enforcing - SELinux security policy is enforced.
#     permissive - SELinux prints warnings instead of enforcing.
#     disabled - No SELinux policy is loaded.
SELINUX=disabled   (需要改成disabled)
# SELINUXTYPE= can take one of these three values:
#     targeted - Targeted processes are protected,
#     minimum - Modification of targeted policy. Only selected processes are protected.
#     mls - Multi Level Security protection.
SELINUXTYPE=targeted
2.agent上安装zabbix-agent
[root@agent ~]# vim /etc/yum.repos.d/zabbix.repo
[root@agent ~]# cat /etc/yum.repos.d/zabbix.repo
[aliyun]
name=aliyun
baseurl=https://mirrors.aliyun.com/zabbix/zabbix/4.4/rhel/8/x86_64/
enable=1
gpgcheck=0
[qinghua]
name=Zabbix Official Repository - $basearch
#baseurl=http://repo.zabbix.com/zabbix/3.4/rhel/7/$basearch/
baseurl=https://mirrors.tuna.tsinghua.edu.cn/zabbix/zabbix/4.4/rhel/8/$basearch/
enabled=1
gpgcheck=0
gpgkey=file:///etc/pki/rpm-gpg/RPM-GPG-KEY-ZABBIX-A14FE591

[root@agent ~]# yum install -y zabbix-agent
3.配置agent端并启动服务
[root@agent ~]# vim /etc/zabbix/zabbix_agentd.conf

server=192.168.87.129   (设置成服务器的ip)

ServerActive=192.168.87.129   (设置成服务器的ip)

Hostname=agent  (设置成客户端自己的主机名)


[root@agent ~]# systemctl restart zabbix-agent.service
[root@agent ~]# systemctl enable zabbix-agent.service
Created symlink /etc/systemd/system/multi-user.target.wants/zabbix-agent.service → /usr/lib/systemd/system/zabbix-agent.service.
[root@agent ~]# ss -antl
State       Recv-Q      Send-Q            Local Address:Port              Peer Address:Port
LISTEN      0           128                     0.0.0.0:22                     0.0.0.0:*
LISTEN      0           128                     0.0.0.0:10050                  0.0.0.0:*
LISTEN      0           128                        [::]:22                        [::]:*
LISTEN      0           128                        [::]:10050                     [::]:*
4.管理界面创建监控主机
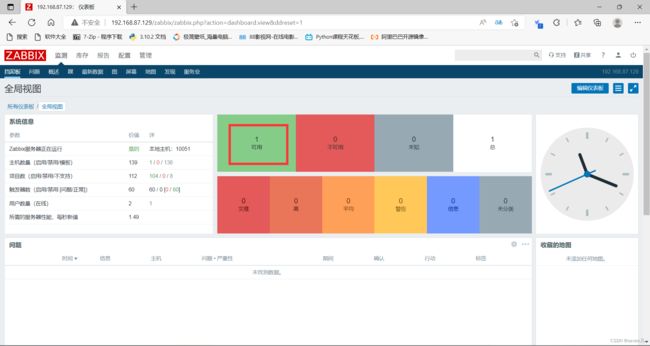
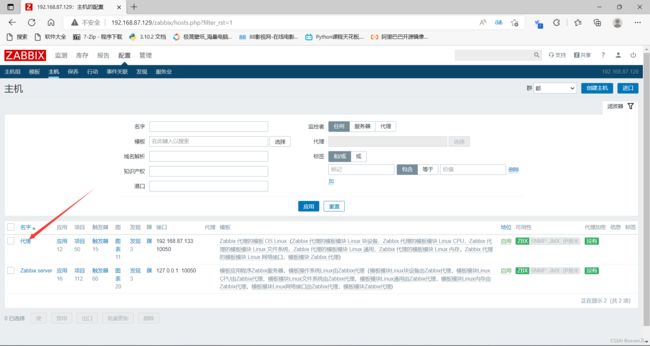
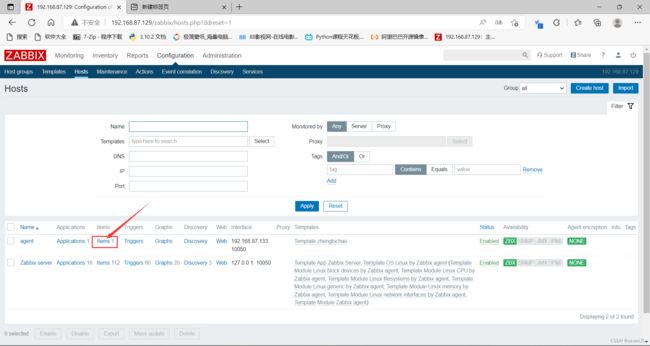
回到web管理界面--》点配置--》点主机 --》 点创建主机
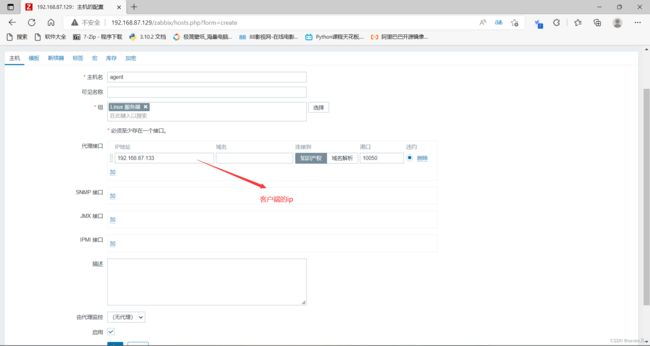
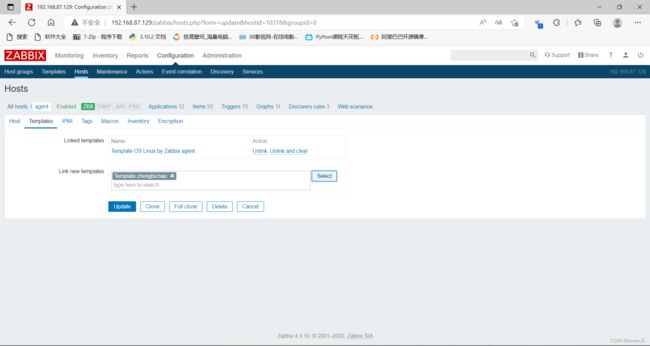
点击模板

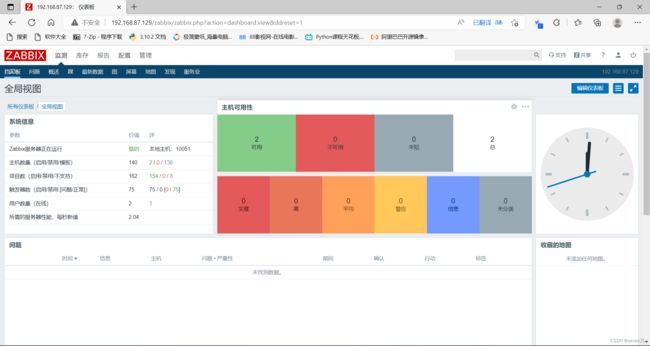
完成添加
[root@agent ~]# systemctl restart zabbix-agent.service
三、为zabbix agent创建自定义模板
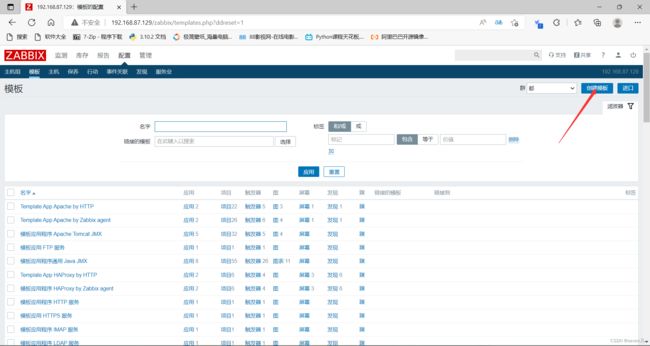
1.创建模板
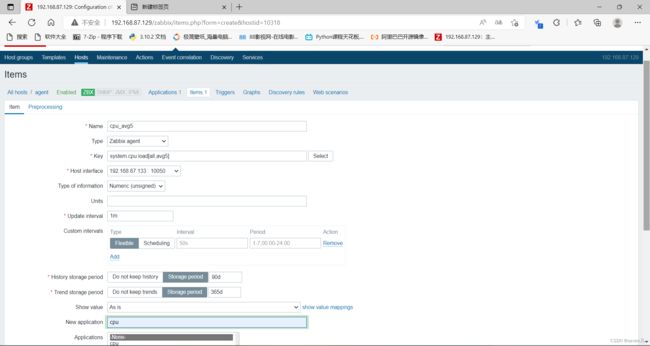
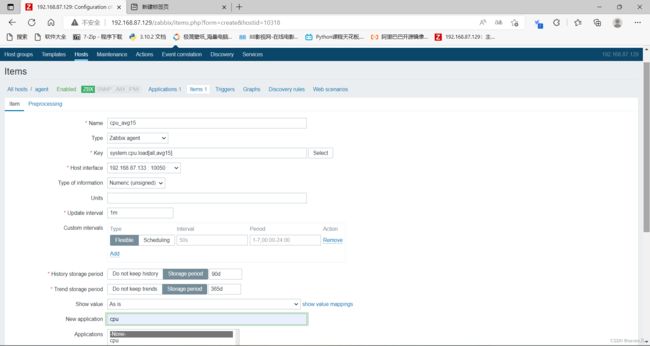
四、基于Template模板创建自定义监控项
(4)要求监控agent的ssh服务的22端口 应用集为ssh

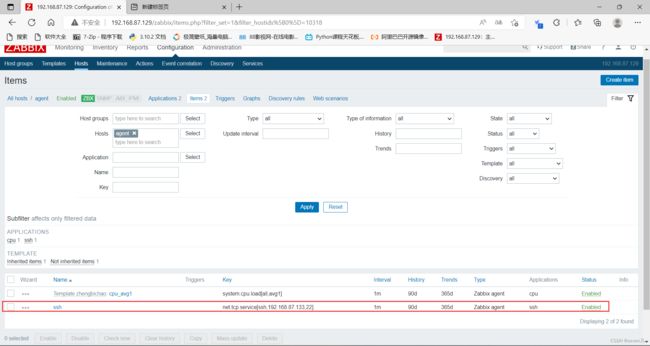
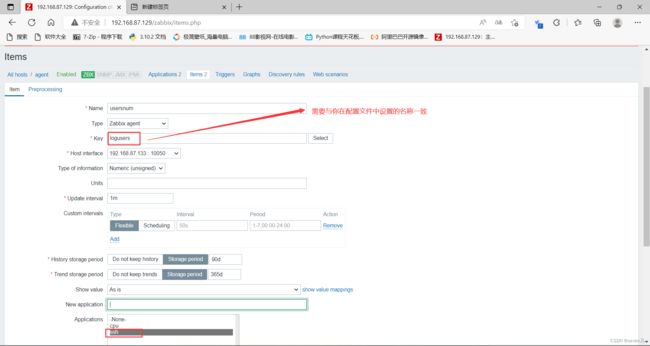
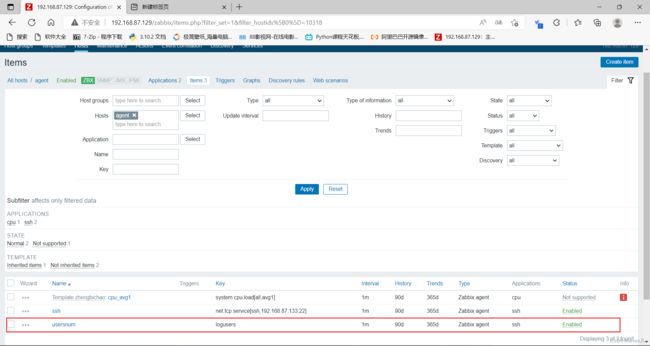
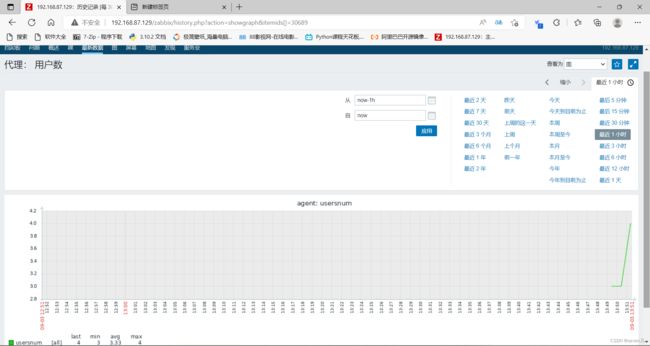
五、自定义键值logusers,该键值要求监控有多少个用户连接agent端 应用集为ssh
在被监控端agent1上操作
首先在agent1多打开几个终端,模拟多个登录用户,然后使用 who | wc -l 查询
[root@agent ~]# who | wc -l
3			登录用户数为2
然后在agent1上,定义UserParameter
[root@agent ~]# vim /etc/zabbix/zabbix_agentd.conf

UserParameter=logusers,who | wc -l (取消注释添加)
[root@server ~]# yum install -y zabbix-get
[root@server ~]# zabbix_get -s 192.168.87.133 -k logusers
4
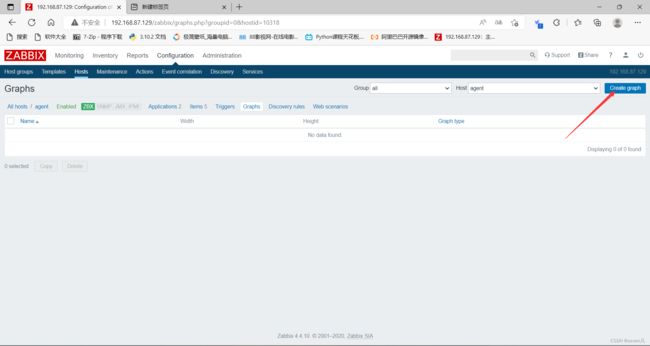
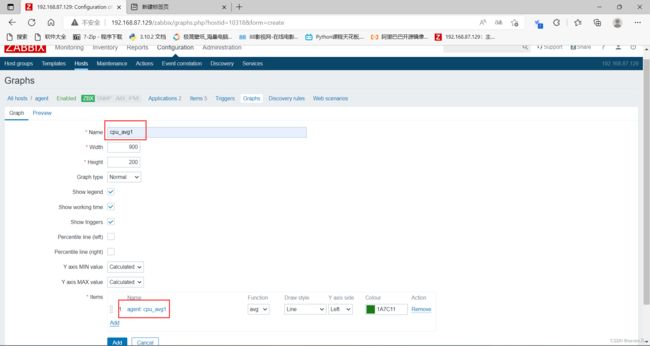
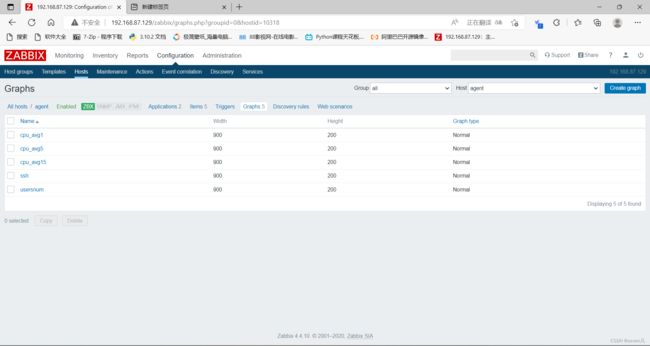
六、创建Template模板的图形,将以上5个监控项制作成图形
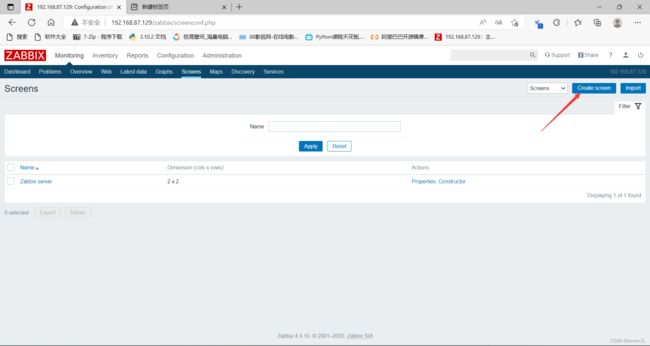
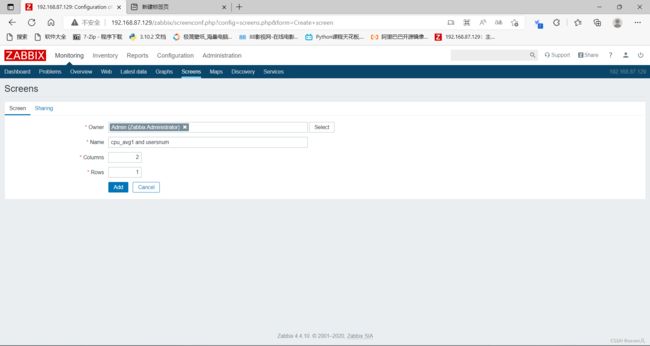
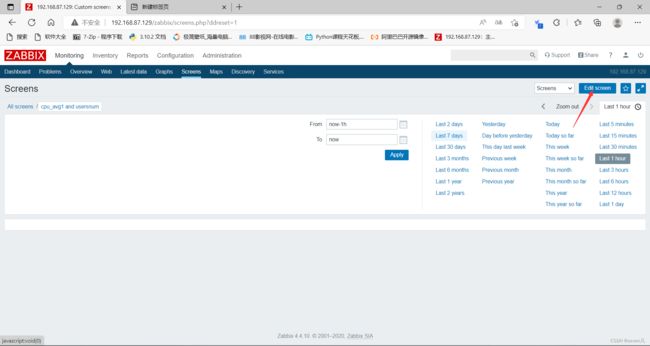
七、创建聚合图形,将监控项cpu1分钟平均负载和有多少个用户连接agent端图形制作成聚合图形
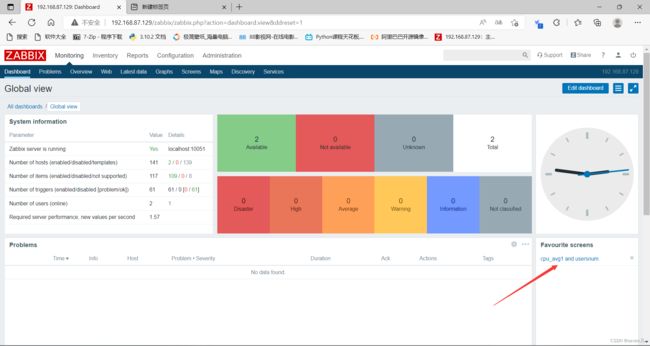
八、收藏该聚合图形,让其在仪表板中显示
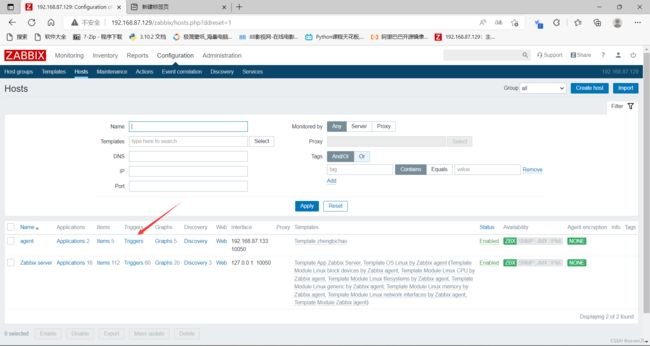
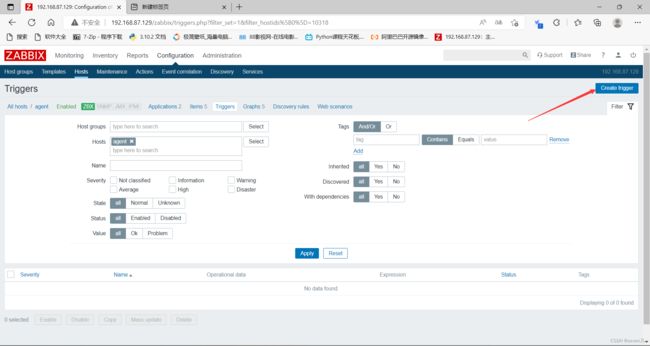
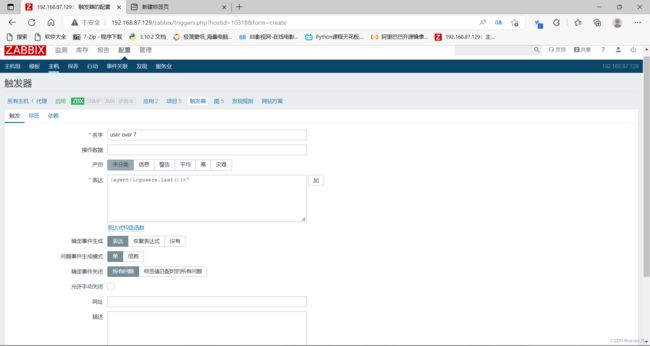
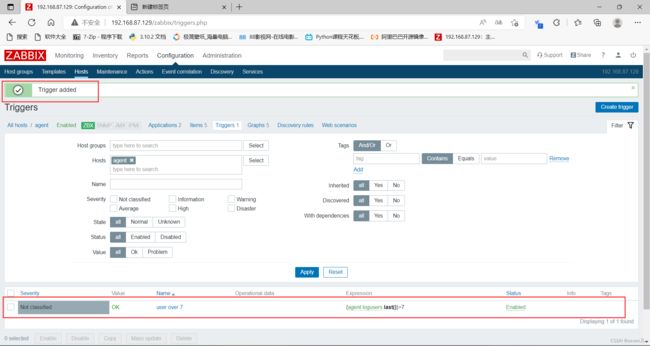
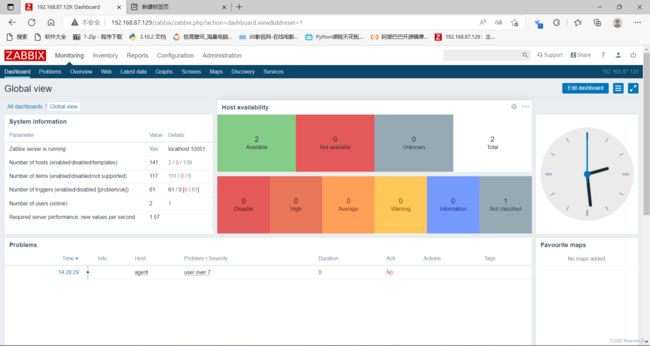
九、创建触发器,设置超过7个用户连接agent端,发出告警信息。
[root@agent ~]# who | wc -l
8
