【Docker】【IDEA】springboot项目在服务器docker容器化部署,IDEA远程debug
目录
- 前言
- 安装docker
- JDK部署docker
- Springboot项目准备
- 部署准备
- 项目部署docker
- IDEA远程debug
前言
前期环境配置可以参考
【虚拟机】【ssh】本地ssh连接虚拟机 - Xshell配置与虚拟机ip配置
【虚拟机】vmware虚拟机创建 centos7系统配置
安装docker
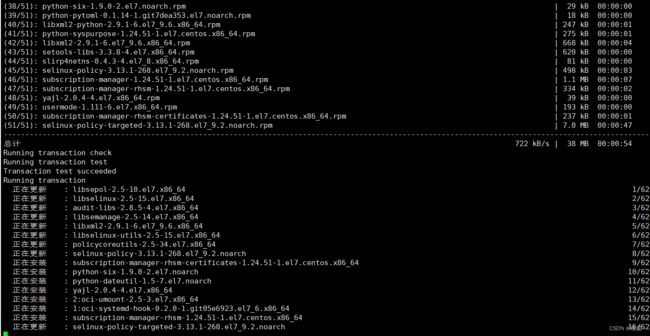
安装docker,输入:
yum install -y docker
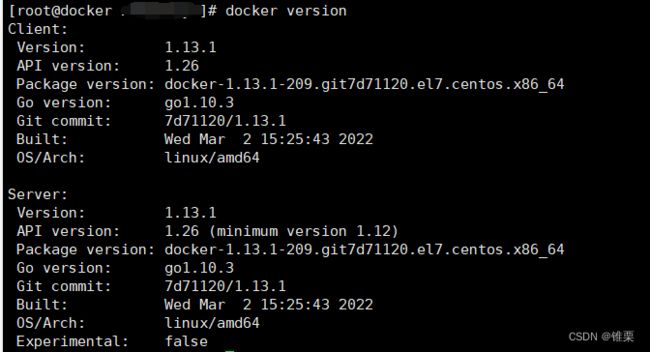
docker version
依次输入:
systemctl start docker.service
systemctl enable docker.service
JDK部署docker
装个jdk11
docker pull openjdk:11
随后查看镜像列表:
docker images
可以看到
创建将jdk镜像容器化运行:
docker run -d -t --name java11 openjdk:11
随后查看docker的容器化进程:
docker ps
我们可以看看运行进程的log:
docker logs 容器ID
Springboot项目准备
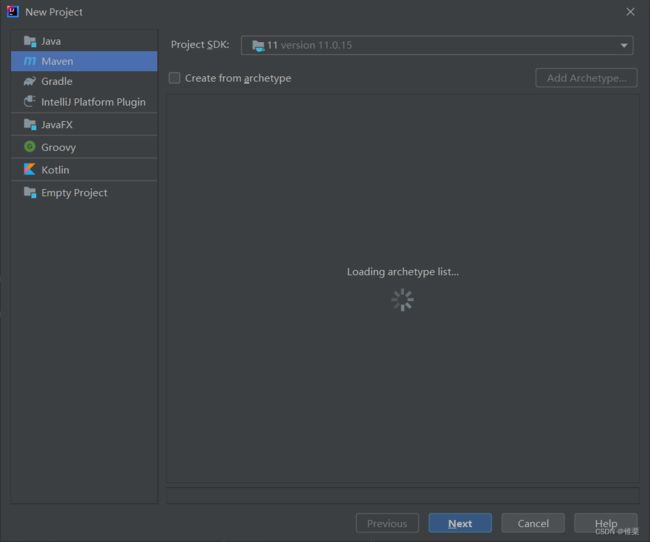
随便创建一个springboot项目,
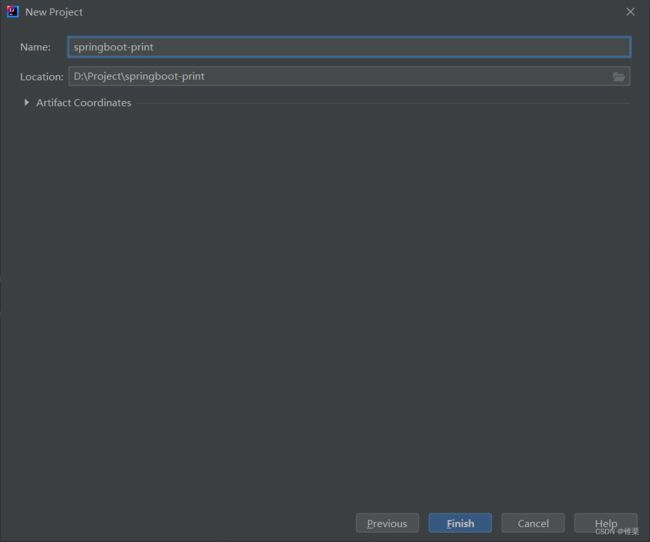
随便命名为
springboot-print
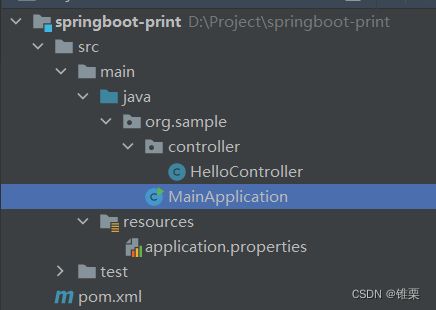
项目结构为:
pom.xml
    4.0.0

    org.example
    springboot-print
    1.0-SNAPSHOT


        11
        11


        org.springframework.boot
        spring-boot-starter-parent
        2.3.7.RELEASE


            org.springframework.boot
            spring-boot-starter-web


            org.springframework.boot
            spring-boot-starter-web-services


            org.springframework.boot
            spring-boot-starter-validation


                org.springframework.boot
                spring-boot-maven-plugin
                2.3.7.RELEASE


                            repackage
注意
application.properties
server.port=8080
MainApplication.java
package org.sample;

import org.springframework.boot.SpringApplication;
import org.springframework.boot.autoconfigure.SpringBootApplication;

@SpringBootApplication
public class MainApplication {

    public static void main(String[] args) {
        SpringApplication.run(MainApplication.class, args);
    }
}
HelloController.java
package org.sample.controller;

import org.springframework.beans.factory.annotation.Autowired;
import org.springframework.web.bind.annotation.*;


/**
 * 控制器
 */
@RestController
public class HelloController {

    @ResponseBody
    @GetMapping("/hello")
    public String modifyPassword() {
        System.out.println("hello, docker");
        int a = 1;
        System.out.println("hello, springboot");
        return "hello, world";
    }

}
我们可以本地运行一下 MainApplication.java,随后访问 http://localhost:8080/hello:
部署准备
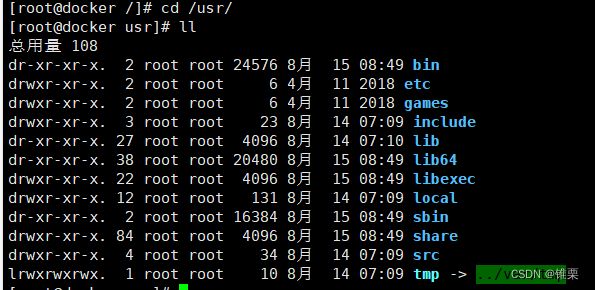
我们进入 usr 文件夹
cd /usr/
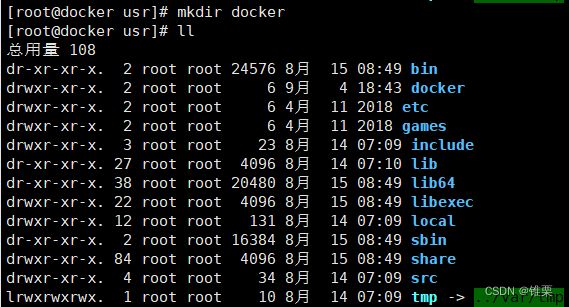
在这里创建一个docker文件夹:
mkdir docker
在docker文件夹中再创建一个 springboot-print文件夹:
mkdir springboot-print
关闭防火墙,关闭防火墙开机自启,输入:
systemctl stop firewalld
systemctl disable firewalld.service
修改/usr、/usr/docker、/usr/docker/springboot-print文件夹的所有者和所属组均为我们用户:
chown 账号:密码 /usr/docker/springboot-print
chown 账号:密码 /usr/docker
chown 账号:密码 /usr
重启虚拟机:
reboot
项目部署docker
我们把项目maven clean,再maven package
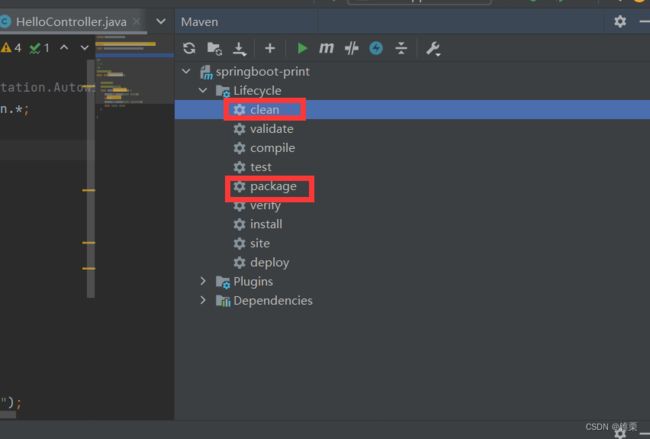
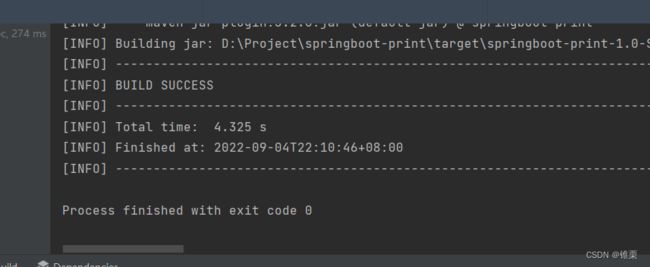
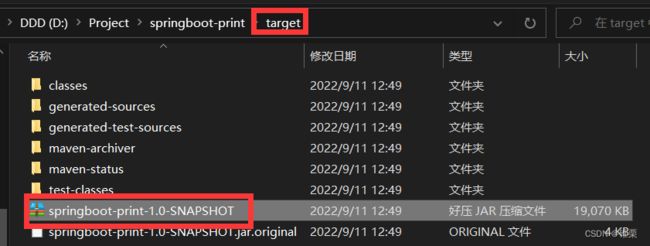
完成后,在项目文件夹的target文件夹中应该能找到打包好的项目:
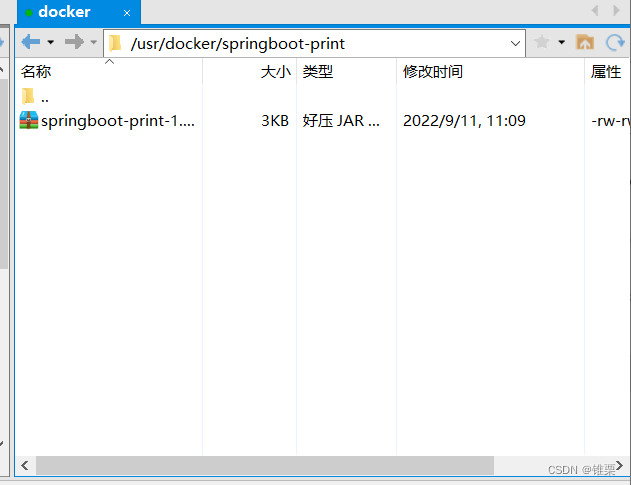
随后把这个jar包传入 /usr/docker/springboot-print 文件夹:
我这里是通过Xshell中的文件传输平台:
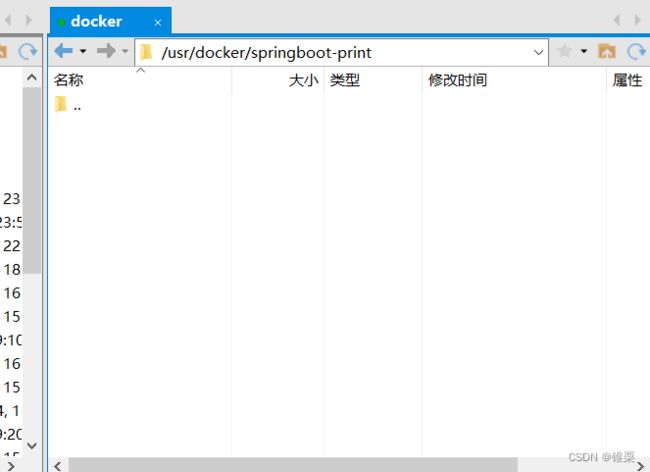
打开目标文件夹 /usr/docker/springboot-print 后,把jar包拖入进去就行
进入 springboot-print 文件夹:
创建Dockerfile:
vi Dockerfile
按 i进入insert模式,输入:
FROM openjdk:11
LABEL maintainer="zhuiliDylan"
VOLUME /usr/docker
ADD springboot-print-1.0-SNAPSHOT.jar app.jar
RUN bash -c 'touch /app.jar'
ENTRYPOINT ["java","-jar","-agentlib:jdwp=transport=dt_socket,server=y,suspend=n,address=*:5005","/app.jar"]
这里我们设置了java运行的参数,设置debug端口为5005
输入:wq,回车,这时我们有如下文件:
随后构建镜像:
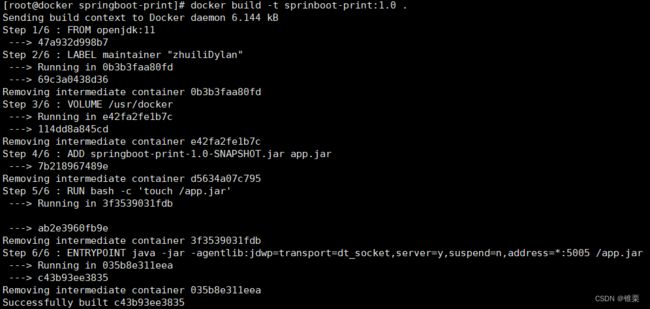
docker build -t springboot-print:1.0 .
可以看到构建成功了。
docker images 可以查看刚刚的创建的镜像:
接着容器化运行:
docker run -d -t --name springboot-print -v /usr/docker:/usr/docker -p 9091:8080 -p 9092:5005 springboot-print:1.0
这里,我们将docker容器中的8080端口(用于项目访问)映射到了外部的9091端口,5005端口(用于debug)映射到了外部9092端口
![]()
成功后,查看docker 容器化运行的进程:
docker ps
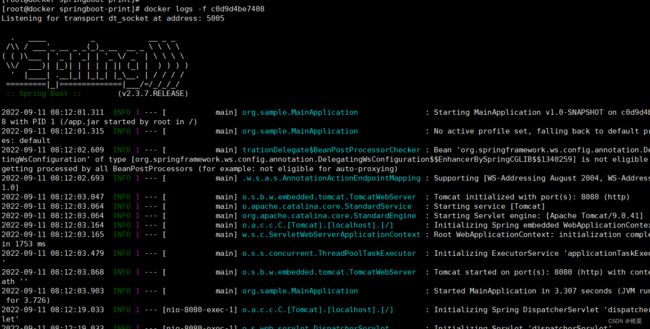
查看我们的 springboot-print:1.0的log,(这里的ID复制自 docker ps的进程ID),可以看到项目运行时的控制台输出:
docker logs -f 容器ID
可以看到,我们的项目在docker中运行成功。
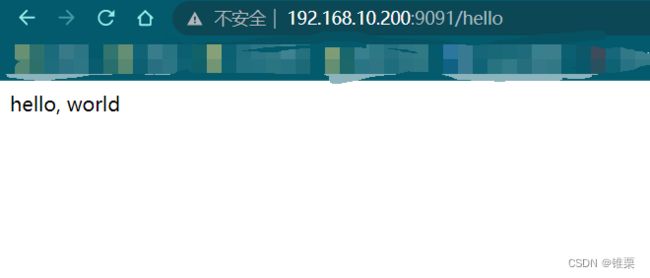
打开浏览器通过http://192.168.10.200:9091/hello访问一下项目:
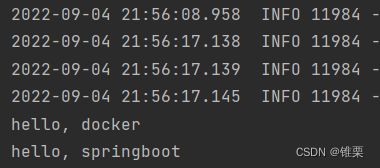
成功!在命令行也能看到输出:
IDEA远程debug
回到IDEA中,点击
或者
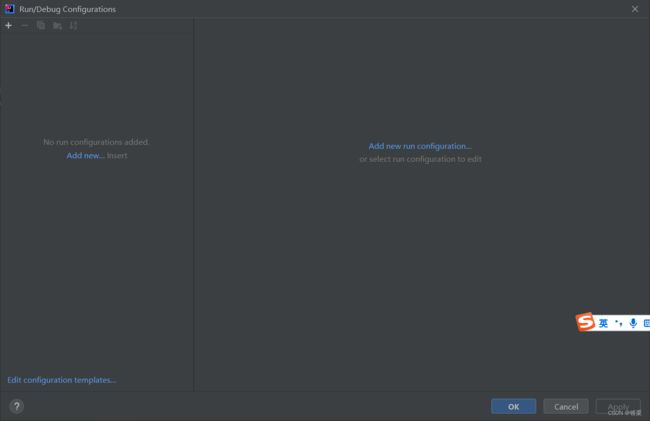
可以看到这个界面:
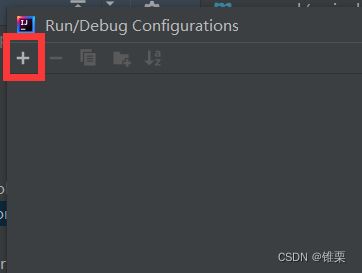
点击+号:
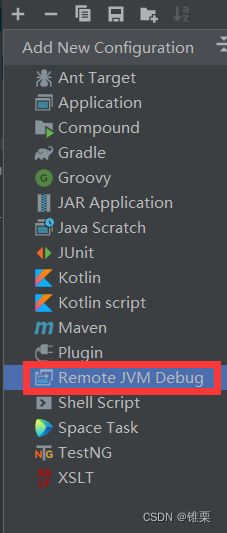
点击Remote或者Remote JVM Debug:
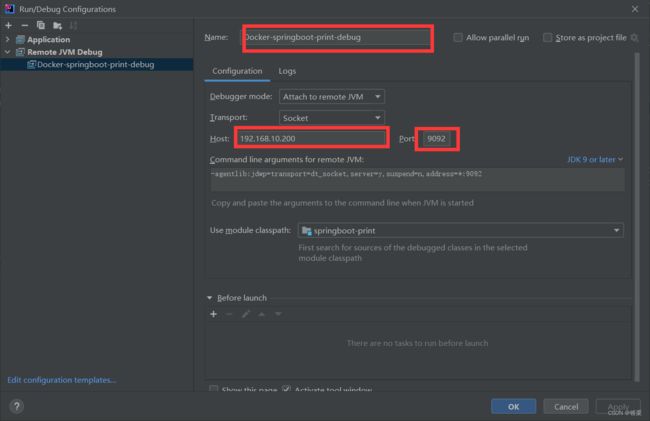
接下来配置远程debug,做命名,填上IP和端口:
我将连接命名为Docker-springboot-print-debug,这个命名可以随意,host为192.168.10.200,端口号为9092(我们在docker中将debug的5005端口映射成了9092端口)。
填好之后点击Apply,点击确定。直接点击右上角debug按钮:
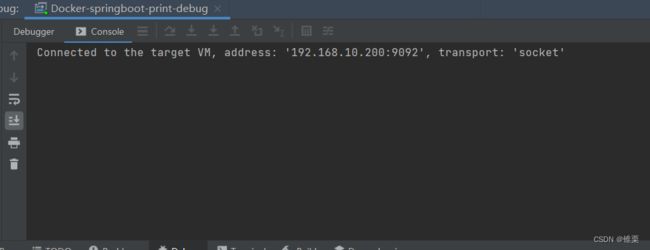
能够正常进行debug,需要项目代码和本地代码完全一致,这点本文肯定是满足的。出现这个界面就说明成功了:
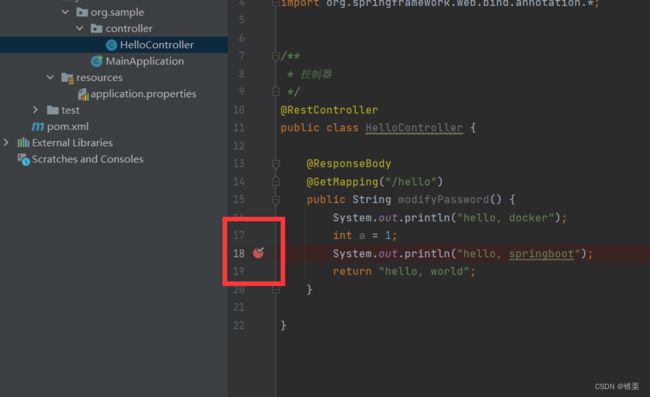
接下来就可以像本地debug一样,在感兴趣的地方打断点了,比如:
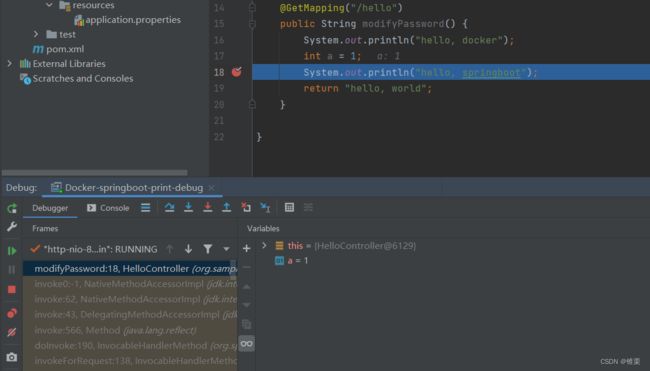
我们接下来再到浏览器去访问http://192.168.10.200:9091/hello接口:
远程debug成功啦!

