如何将Python文件打包成.exe文件(利用PyCharm)
前言
自上次的用Python写一个假的病毒炸弹的代码,现在将它作为例子用PyCharm打包成一个exe文件
安装pip
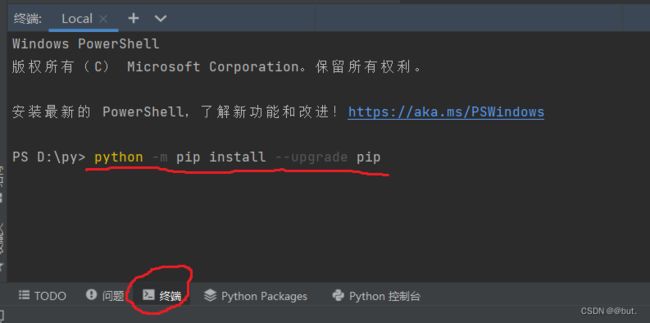
首先我们要确保我们的PyCharm有下载安装pip,若没有则打开terminal对话框输入:
python -m pip install --upgrade pip
如下图
使用pip工具安装pyinstaller
安装完pip后,我们现在利用pip来下载pyinstaller
还是打开刚才的terminal输入:
pip install pyinstaller
转换文件(.exe)
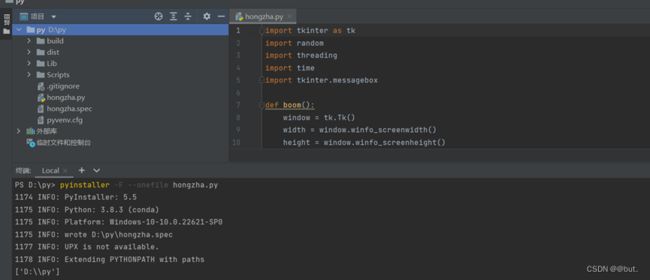
在terminal中输入
pyinstall -F --onefile hongzha.py
这里我们用hongzha.py举例,如果你的文件是test.py,那你就输入pyinstall -F --onefile test.py
注意:文件路径和文件名最好都是英文,否则可能会报错从而导致转换失败
运行转换好的文件
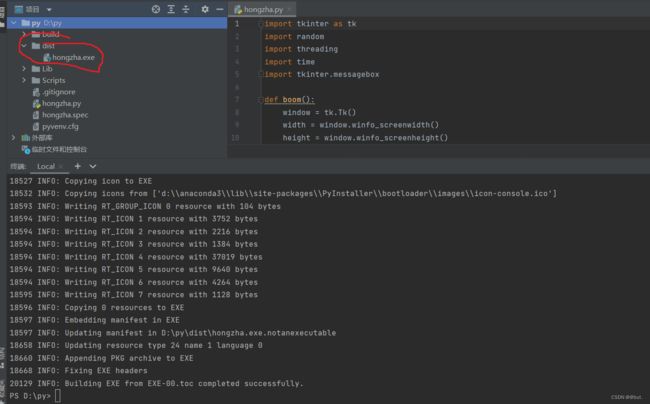
转换完成之后会在你的项目目录的dist文件夹中,找到文件双击即可

既可以在本机运行,也可以发送到其他电脑中运行
拓展
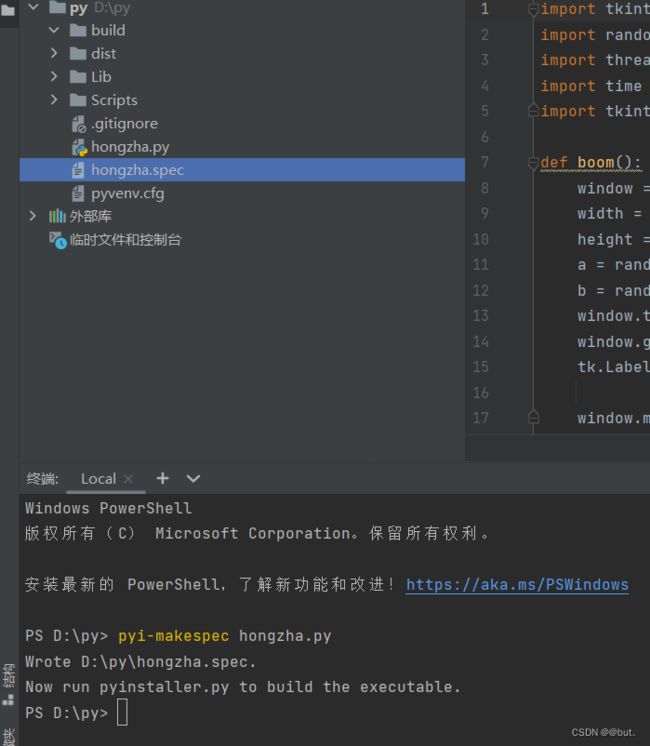
也先可以生成.spec文件,在terminal中输入:
pyi-makespec hongzha.py
# -*- mode: python ; coding: utf-8 -*-


block_cipher = None


a = Analysis(
    ['hongzha.py'],
    pathex=[],
    binaries=[],
    datas=[],
    hiddenimports=[],
    hookspath=[],
    hooksconfig={},
    runtime_hooks=[],
    excludes=[],
    win_no_prefer_redirects=False,
    win_private_assemblies=False,
    cipher=block_cipher,
    noarchive=False,
)
pyz = PYZ(a.pure, a.zipped_data, cipher=block_cipher)

exe = EXE(
    pyz,
    a.scripts,
    [],
    exclude_binaries=True,
    name='hongzha',
    debug=False,
    bootloader_ignore_signals=False,
    strip=False,
    upx=True,
    console=True,
    disable_windowed_traceback=False,
    argv_emulation=False,
    target_arch=None,
    codesign_identity=None,
    entitlements_file=None,
)
coll = COLLECT(
    exe,
    a.binaries,
    a.zipfiles,
    a.datas,
    strip=False,
    upx=True,
    upx_exclude=[],
    name='hongzha',
)
需要封装多个文件的可以在Analysis中添加(如:加入test.py[‘hongzha.py’,‘test.py’])
如果是封装一个文件工程,可以在pathex后输入文件工程的绝对路径
在datas后添加其他文件夹,是设置其他数据的存储路径
还有就是我们在运行在本机运行.py文件时,经常会弹出一个黑框,我们将consolo的参数改为False(consolo = False),这样运行.exe文件的时候就不会弹出小黑框了!
…
配置完spec文件后在terminal中输入:
pyinstaller hongzha.spec
回车执行,还是在dist中找,双击即可运行


