01-运维存储专题
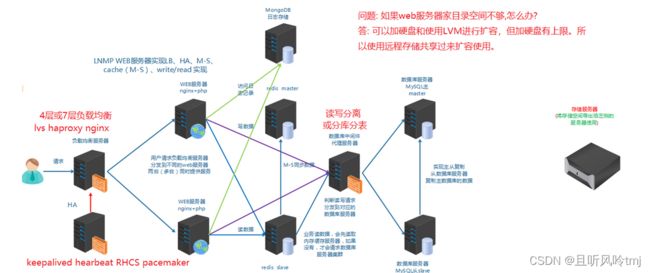
学习背景
学习目标
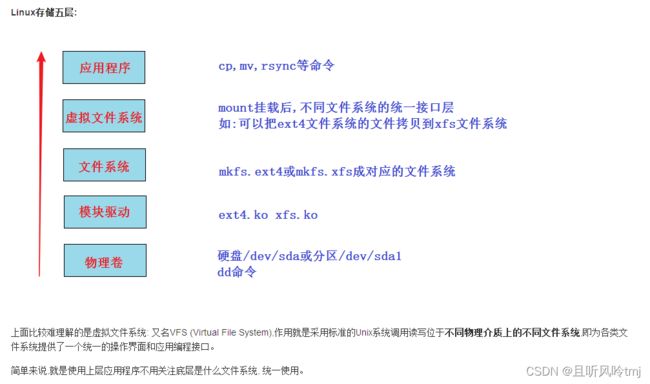
Linux存储分层
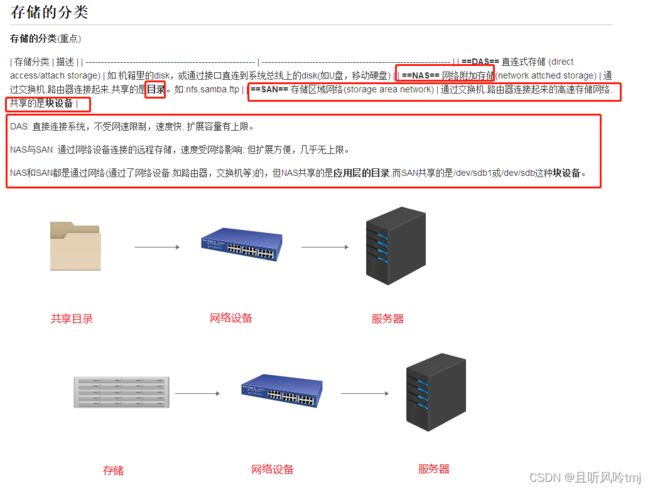
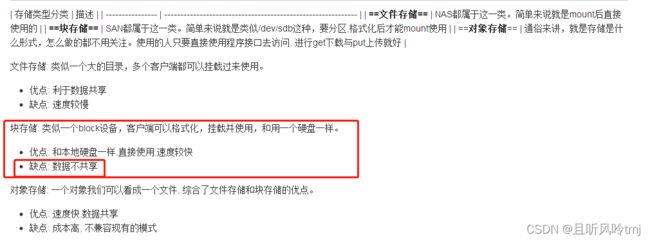
存储分类
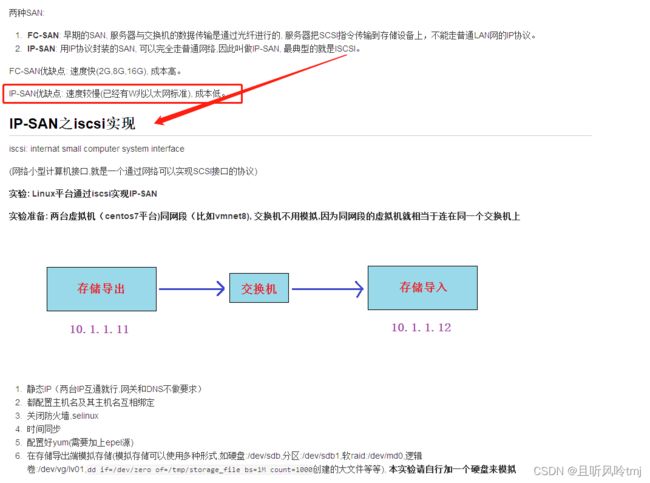
SAN
SAN的分类
IP-SAN之iscsi实现
导出端配置
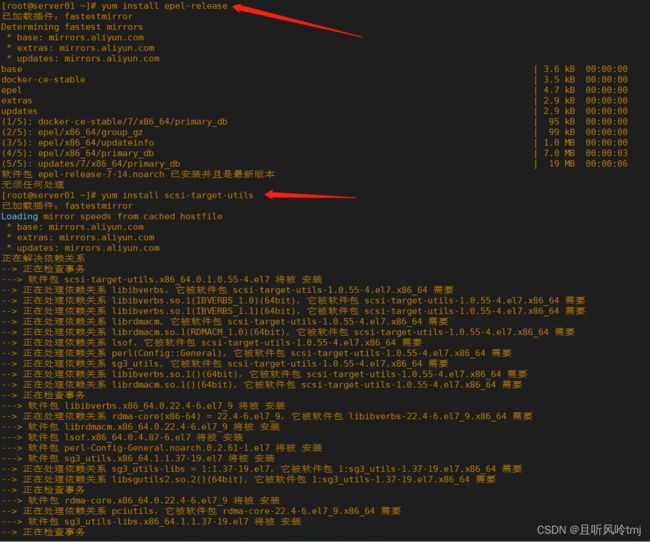
yum install epel-release -y	  #没有安装epel源的,再次确认安装
yum install scsi-target-utils -y  # iscsi-target-utils软件包
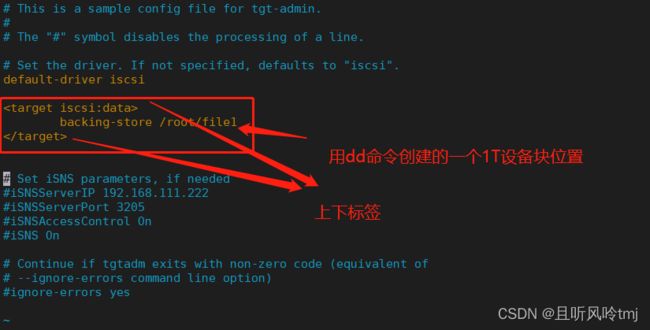
rpm -qc scsi-target-utils.x86_64 0:1.0.55-4.el7 #查看该软件包配置文件所在地
dd if=/dev/zero of=/root/file1 bs=1M count=1000 #dd命令创建的一个模拟1T设备块
systemctl start tgtd
systemctl enable tgtd
lsof -i:3260
导入端配置
lsblk #查看当前磁盘分区状态
iscsiadm -m discovery -t sendtargets -p 192.168.230.204   #网络发现
iscsiadm -m node -l    #登录
lsblk  #再看

##格式化 挂载使用
mkfs.ext4 /dev/sdb
mount /dev/sdb /mnt/
lsblk
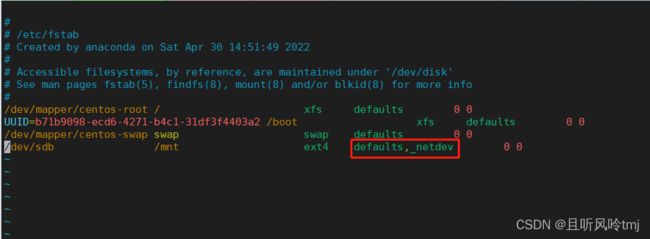
vim /etc/fstab #写入fstab需注意,否则会导致系统无法正常启动
##相关命令
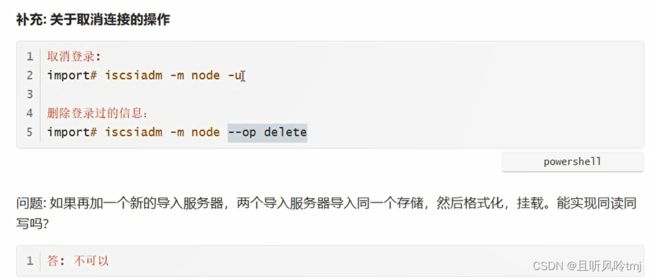
iscsiadm -m node -u
iscsiadm -m node --op delete  #断开网络设备块连接,断开完需要重新发现才能登录
分布式存储
Glusterfs搭建
vim /etc/yum.repos.d/glusterfs.repo

[glusterfs]
name=glusterfs baseurl=https://buildlogs.centos.org/centos/7/storage/x86_64/gluster-4.1/
enabled=1
gpgcheck=0
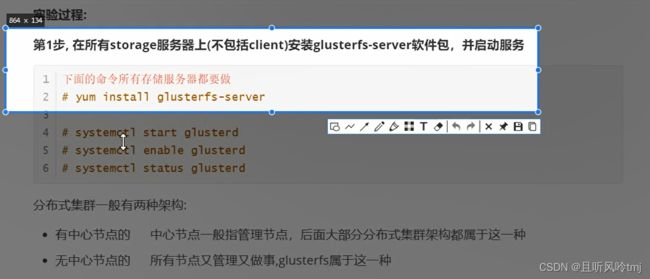
yum install glusterfs-server
systemctl start glusterd
systemctl enable glusterd
systemctl status glusterd
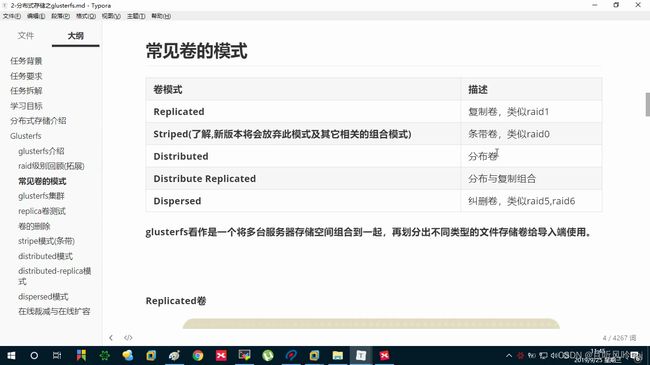
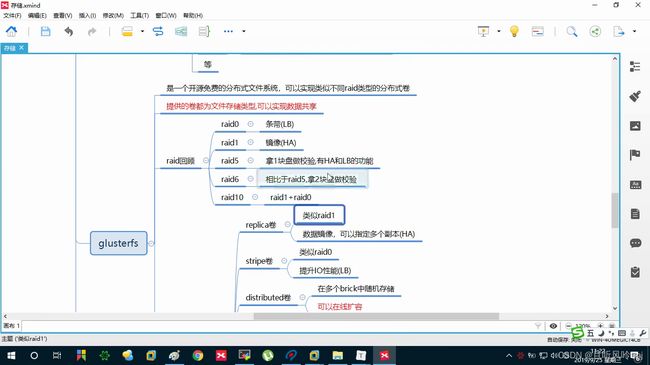
常见卷的模式
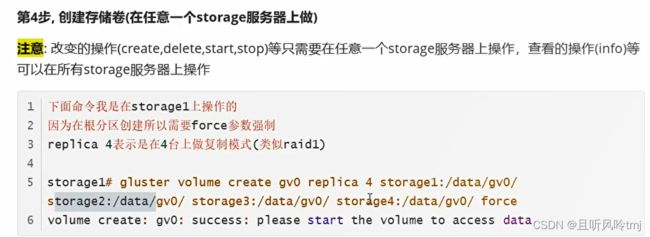
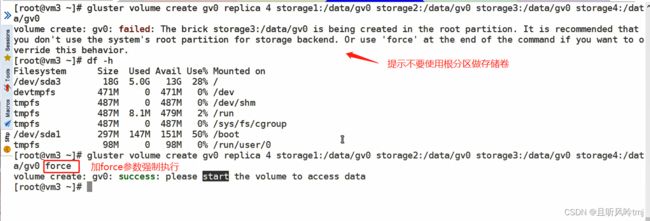
创建replica卷
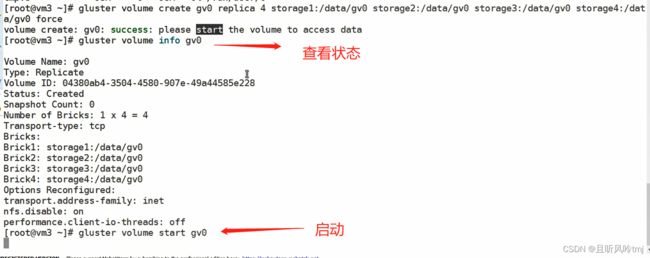
gluster volume create gv0 replica 4 storage1:/data/gv0/ storage2:/data/gv0/ storage3:/data/gv0/ storage4:/data/gv0/ force
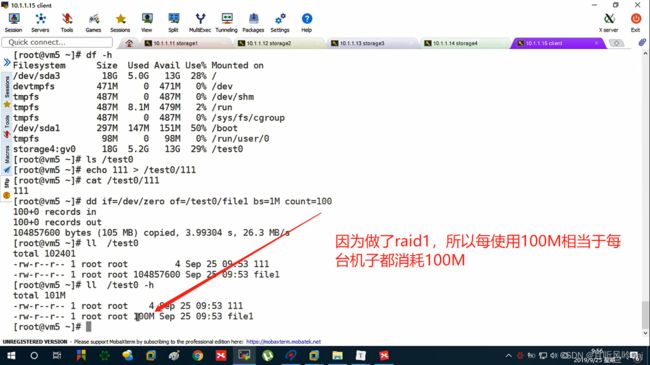
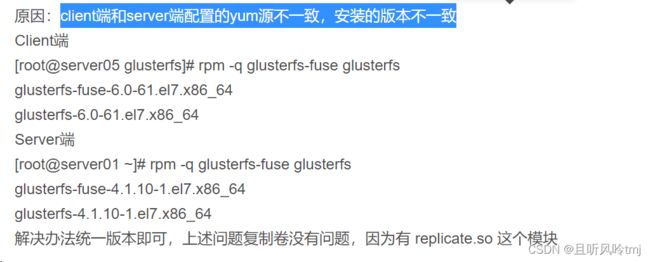
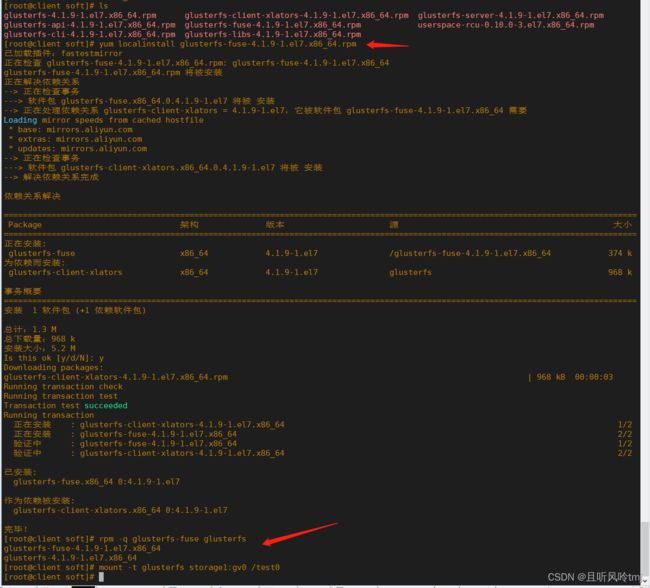
yum install glusterfs glusterfs-fuse -y
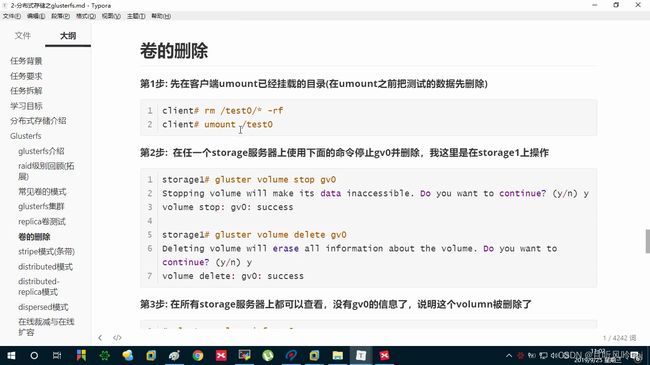
卷的删除
[root@storage1 ~]# gluster volume stop gv0
Stopping volume will make its data inaccessible. Do you want to continue? (y/n) y
volume stop: gv0: success
[root@storage1 ~]# gluster volume delete gv0
Deleting volume will erase all information about the volume. Do you want to continue? (y/n) y
volume delete: gv0: success
[root@storage1 ~]# gluster volume info
No volumes present
[root@storage1 ~]#
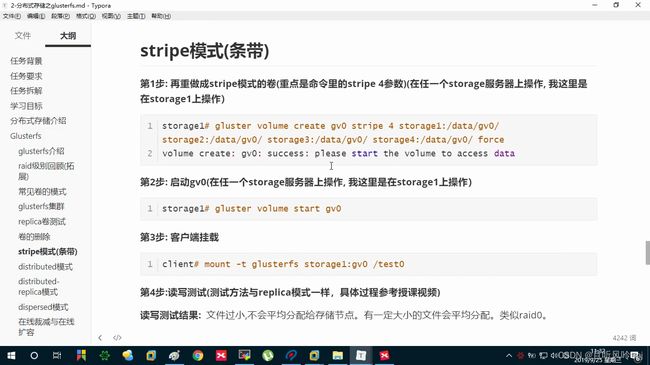
stripe模式(条带)
gluster volume create gv0 stripe 4 storage1:/data/gv0/ storage2:/data/gv0/ storage3:/data/gv0/ storage4:/data/gv0/ force
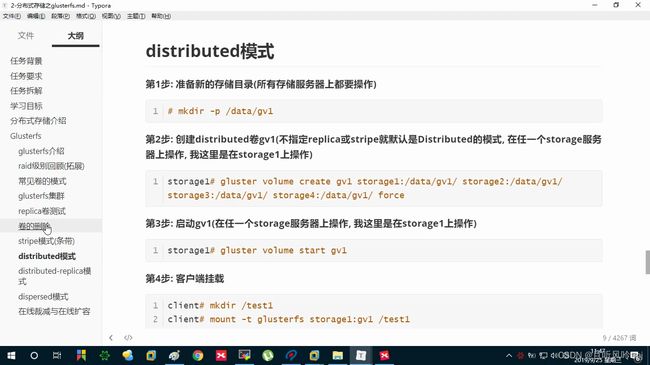
distributed模式
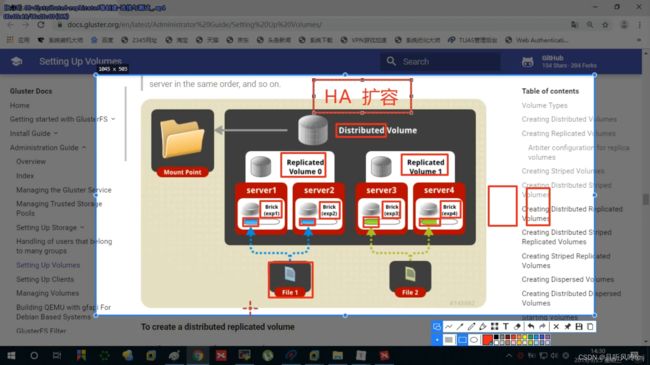
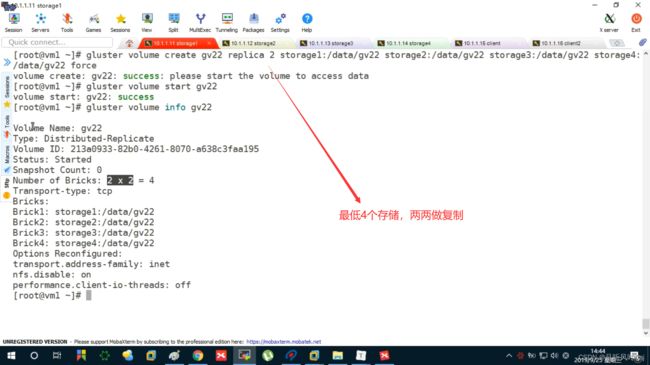
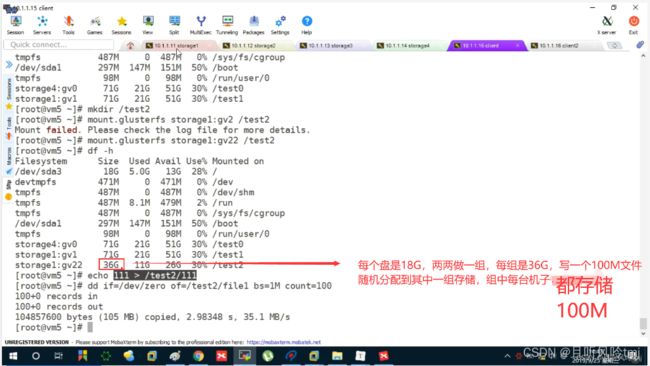
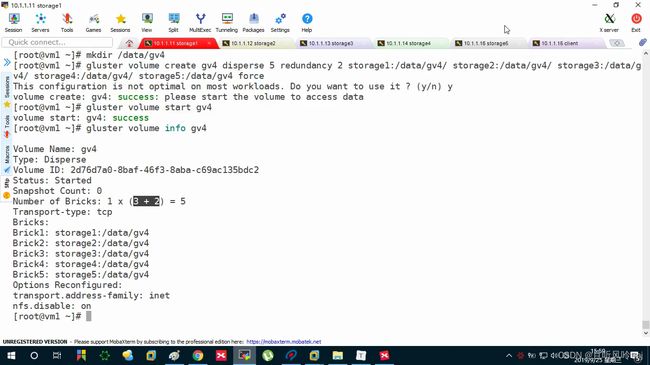
distributed-replica模式
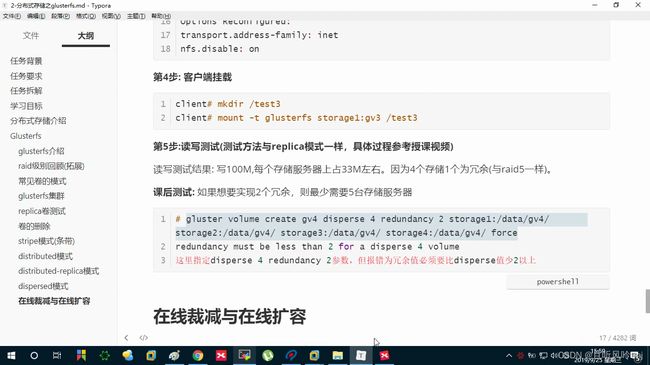
做raid6
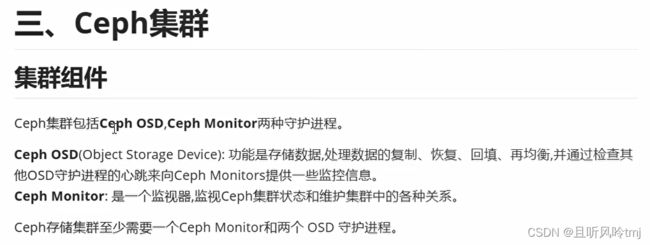
ceph
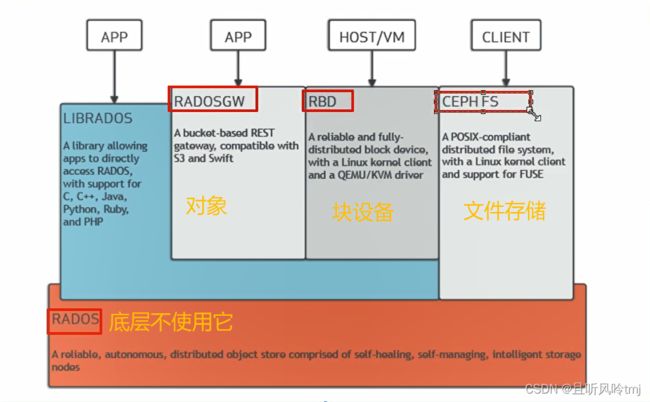
ceph架构
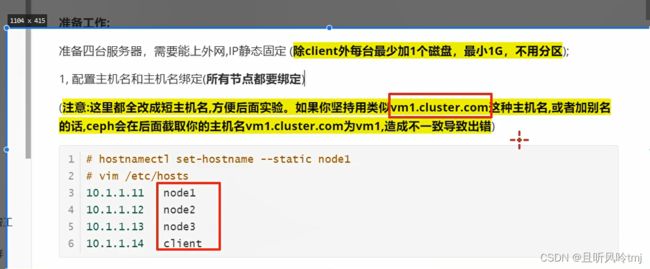
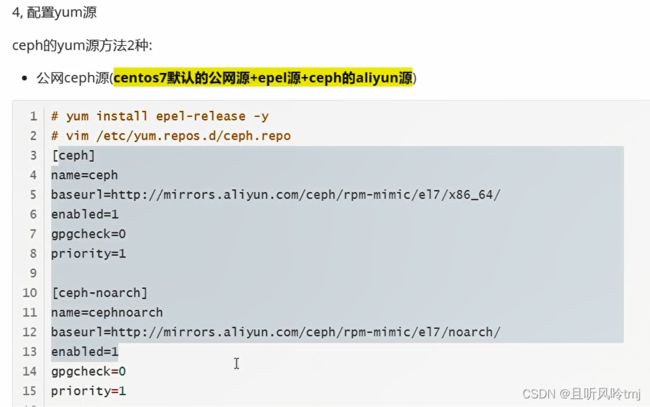
配置yum源
yum install epel-release -y
vim /etc/yum.repos.d/ceph.repo
[ceph]
name=ceph baseurl=http://mirrors.aliyun.com/ceph/rpm-mimic/el7/x86_64/
enabled=1
gpgcheck=0
priority=1

[ceph-noarch]
name=cephnoarch baseurl=http://mirrors.aliyun.com/ceph/rpm-mimic/el7/noarch/
enabled=1
gpgcheck=0
priority=1

[ceph-source]
name=Ceph source packages baseurl=http://mirrors.aliyun.com/ceph/rpm-mimic/el7/SRPMS
enabled=1
gpgcheck=0
priority=1
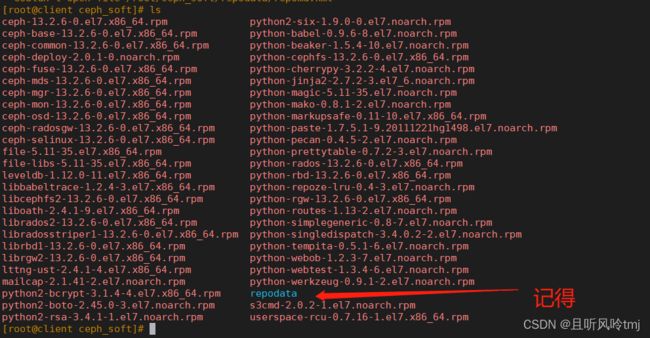
#vim /etc/yum.repos.d/ceph.repo    #客户端也要加源
[localceph]
name=localceph
baseurl=file:///root/ceph_soft
gpgcheck=0
enabled=1
部署ceph
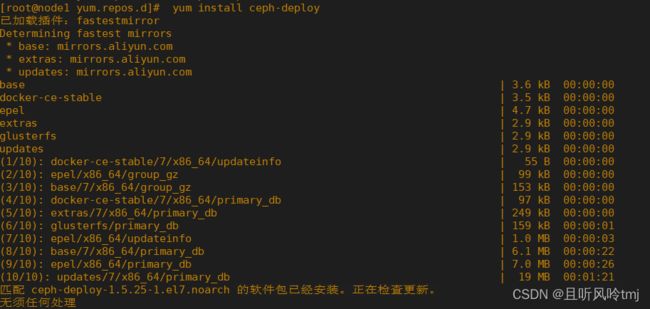
yum install ceph-deploy
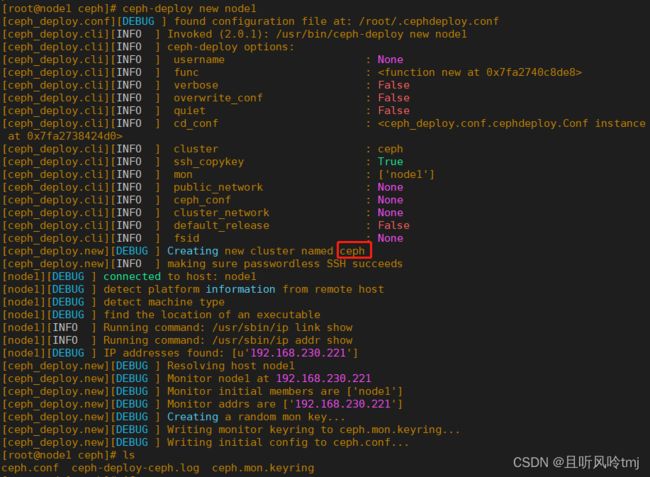
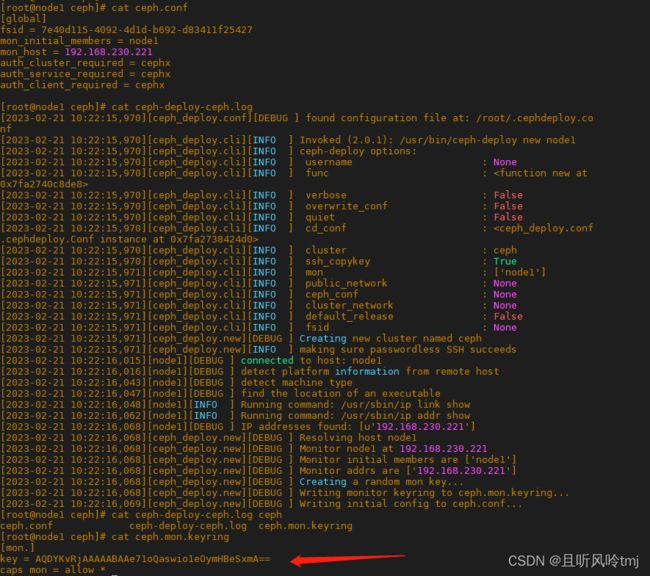
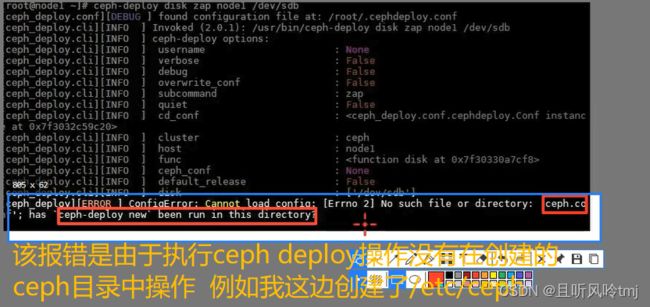
ceph-deploy new node1
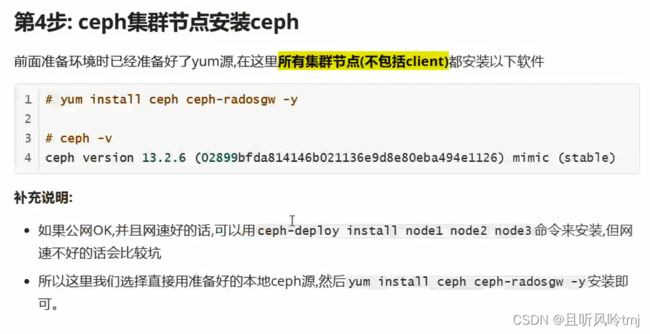
yum install ceph ceph-radosgw -y
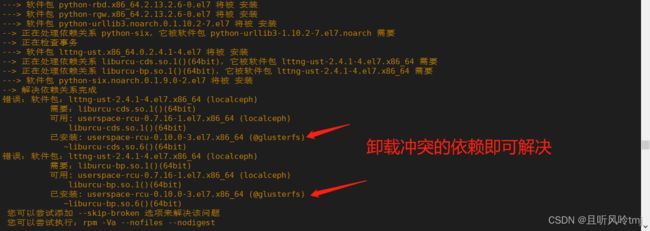
rpm -e --nodeps xxxx #卸载交叉环境依赖版本冲突,不要用yum卸载容易卸掉别人的依赖
ceph -v
yum install ceph-common -y
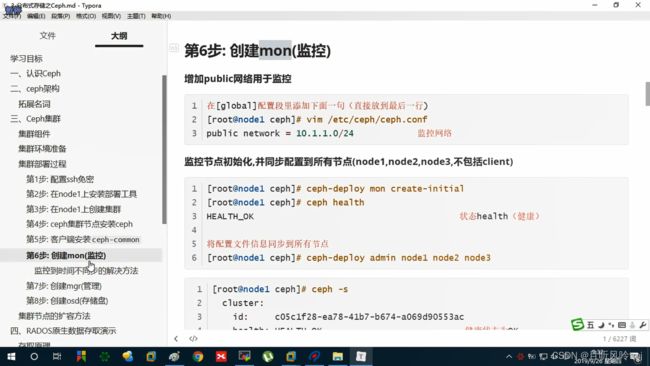
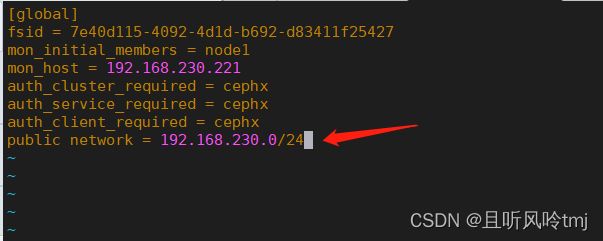
vim /etc/ceph/ceph.conf
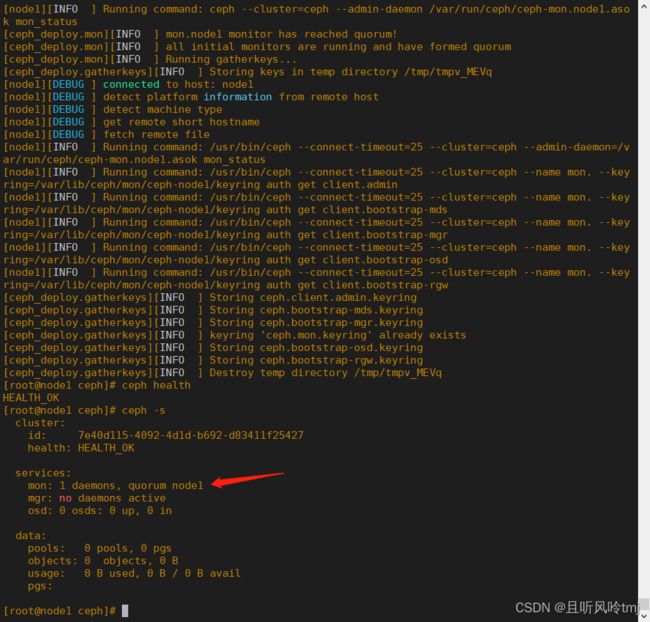
ceph-deploy mon create-initial
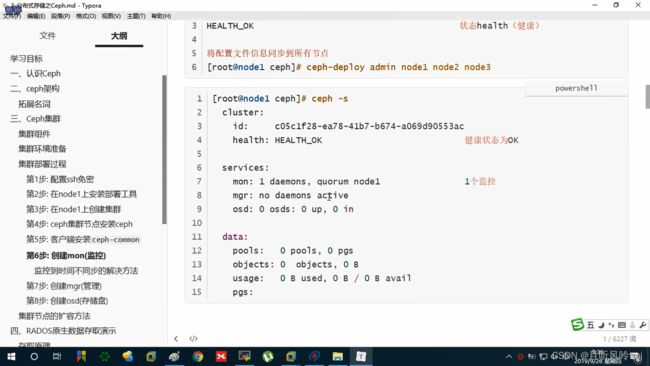
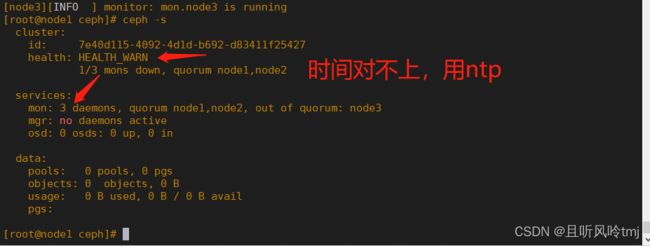
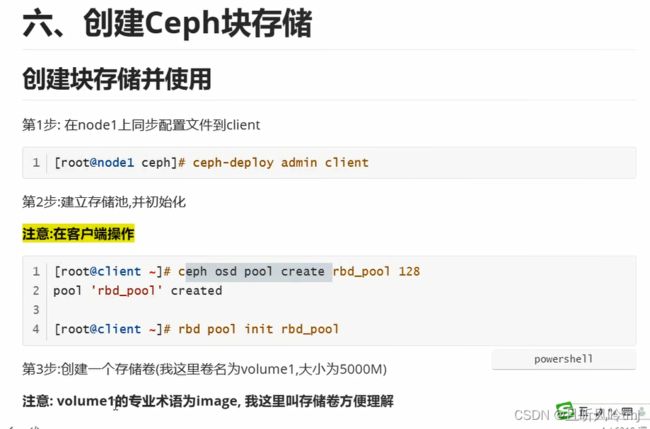
[root@node1 ceph]# ceph-deploy --overwrite-conf admin node1 node2 node3
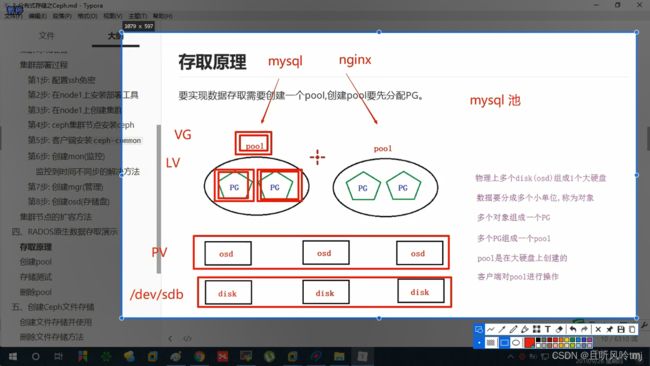
RADOS存取原理
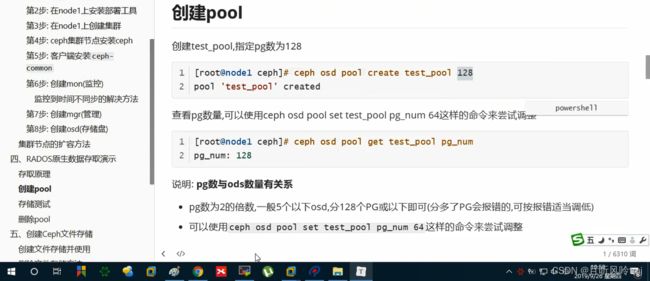
创建pool
ceph osd pool create test_pool 128

ceph osd pool get test_pool pg_num
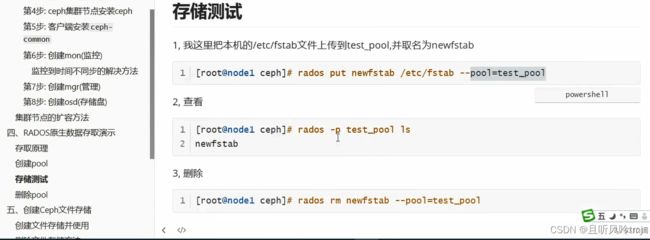
rados put newfstab /etc/fstab --pool=test_pool

rados -p test_pool ls

rados rm newfstab --pool=test_pool
vim ceph.conf

ceph-deploy  --overwrite-conf admin node1 node2 node3

systemctl restart ceph-mon.target

ceph osd pool delete test_pool test_pool --yes-i-really-really-mean-it
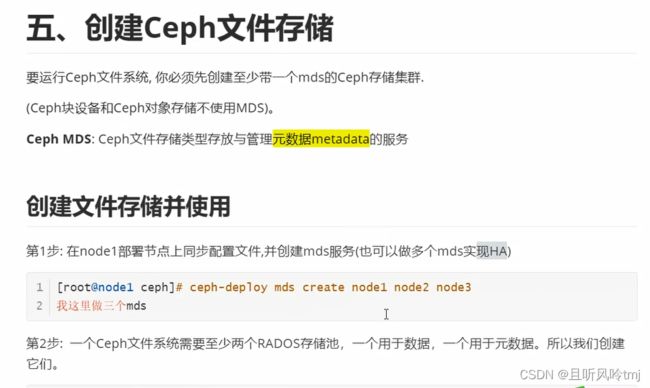
创建ceph文件存储
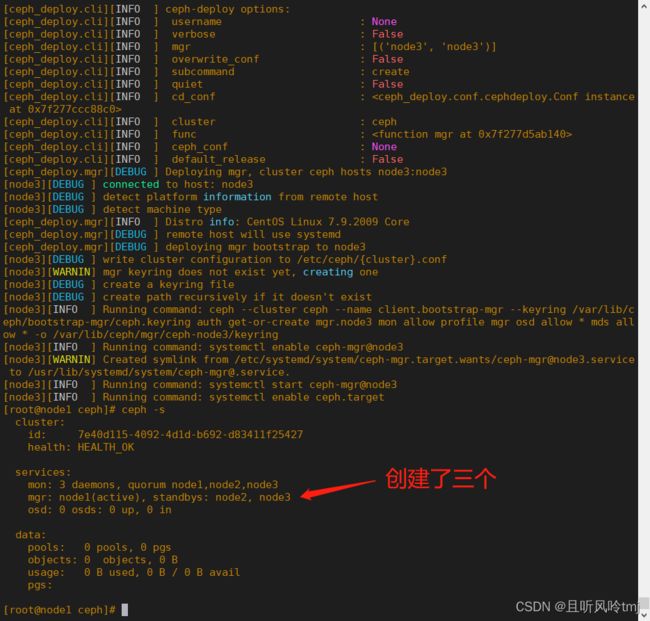
ceph-deploy mds create node1 node2 node3
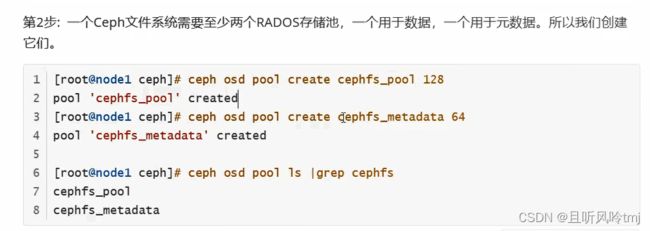
[root@node1 ceph]# ceph osd pool create cephfs_pool 128
pool 'cephfs_pool' created
[root@node1 ceph]# ceph osd pool create cephfs_metadata 64
pool 'cephfs_metadata' created
[root@node1 ceph]# ceph osd pool ls | grep cephfs
cephfs_pool
cephfs_metadata
[root@node1 ceph]# ceph fs new cephfs cephfs_metadata cephfs_pool
new fs with metadata pool 3 and data pool 2
[root@node1 ceph]# ceph fs ls
name: cephfs, metadata pool: cephfs_metadata, data pools: [cephfs_pool ]
[root@node1 ceph]# ceph mds stat
cephfs-1/1/1 up  {0=node3=up:active}, 2 up:standby
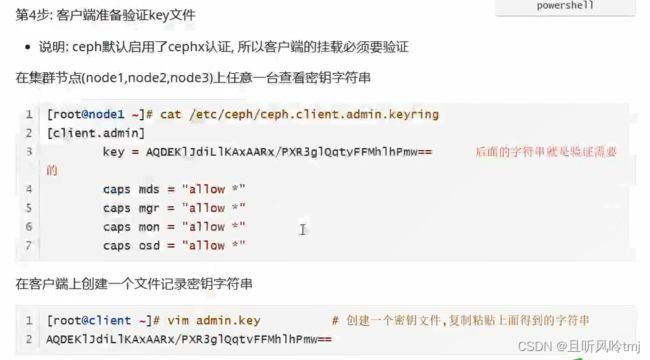
[root@node1 ceph]# cat /etc/ceph/ceph.client.admin.keyring
[client.admin]
        key = AQCHQvxjGRj4KhAAngftTBvMi+5pLBorOR8OkA==
        caps mds = "allow *"
        caps mgr = "allow *"
        caps mon = "allow *"
        caps osd = "allow *"
[root@client ceph]# mount -t ceph node1:6789:/ /mnt -o name=admin,secretfile=/etc/ceph/admin.key
[root@client ceph]# df -h | tail -1
192.168.230.221:6789:/   3.4G     0  3.4G    0% /mnt
删除ceph文件存储
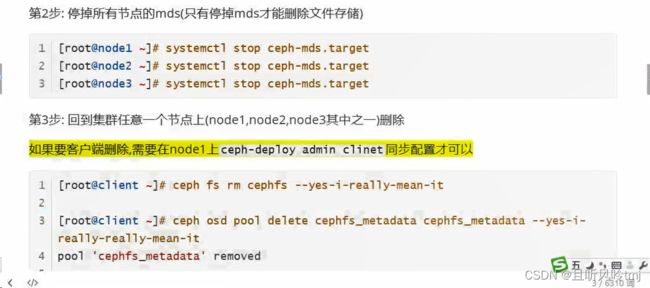
systemctl stop ceph-mds.target

ceph fs rm cephfs --yes-i-really-mean-it

ceph osd pool delete cephfs_metadata cephfs_metadata --yes-i-really-really-mean-it


