Vue+ElementUI+Springboot实现前后端分离的一个demo
目录
1、前期准备
2、创建一个vue项目
3、vue前端
4、java后端
5、启动
5.1、启动vue项目
5.2、启动后端
6、效果
7、总结
8、参考资料
vue官方文档:介绍 — Vue.js (vuejs.org)
elementUI官方文档:elementUI
项目代码:(master分支)
- myfirstVue_web:https://gitee.com/wulinchun/myfirst-vue_web.git
- myfirstVue_rear:https://gitee.com/wulinchun/myfirst-vue_rear.git
1、前期准备
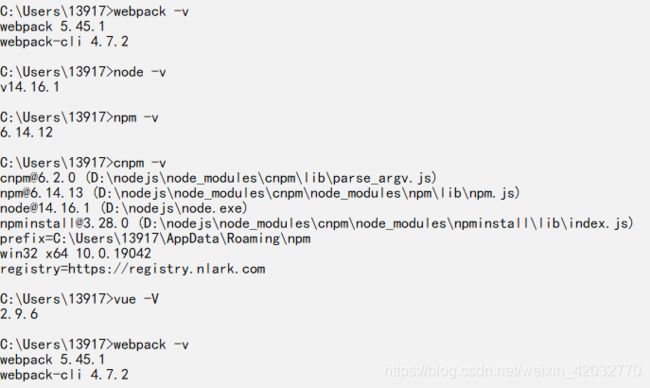
首先要安装好node.js、vue-cli、webpack。
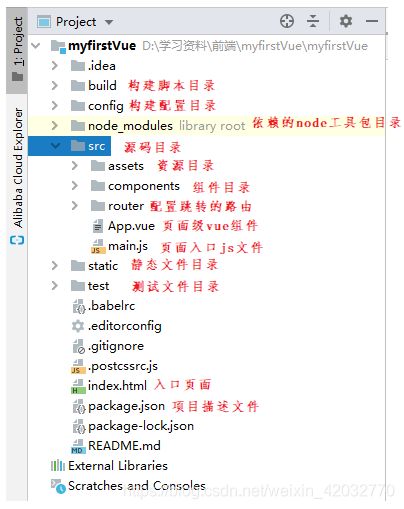
2、创建一个vue项目
首先进入到vue项目所要创建到的目录下,然后使用命令“vue init webpack 项目名”在该目录下创建vue项目。
vue init webpack 项目名vue创建说明:
standalone和runtime的区别具体可以参考官方文档:官方文档
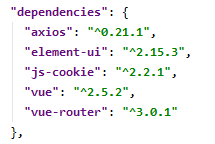
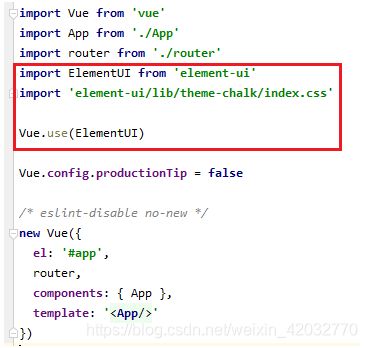
在vue项目中引入elementUI框架
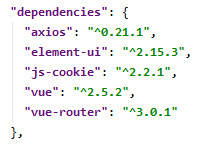
npm i element-ui -S在main.js文件中添加以下三行代码:
import ElementUI from 'element-ui'
import 'element-ui/lib/theme-chalk/index.css'

Vue.use(ElementUI)
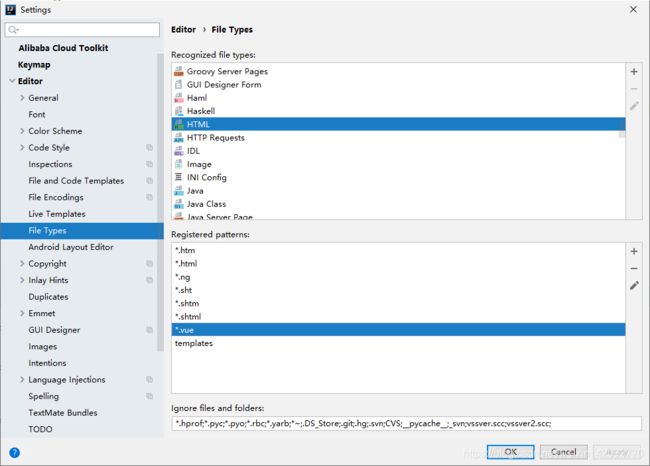
如果是使用Intell idea开发的话,要在idea中安装好两个插件:vue.js和element
因为idea自己是无法识别和创建.vue类型的文件的,因此要在fileType的HTML中添加.vue文件
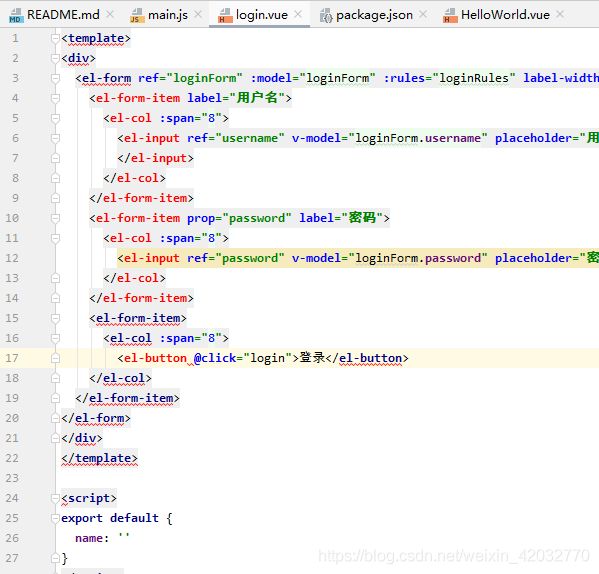
这里一定要注意:.vue文件一定要建在HTML之下,不可以建在其他下面,之前我是错把.vue文件建在了XHTML下面,结果整合elementUI的时候elementUI组件全部标红了!!!
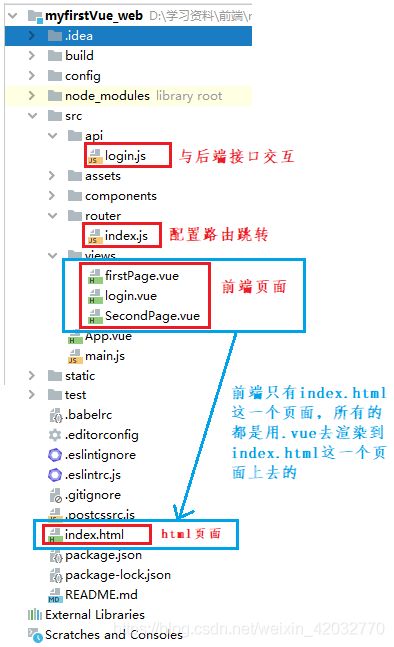
3、vue前端
login.vue
登录
firstPage.vue
首页
去第二个页面
SecondPage.vue
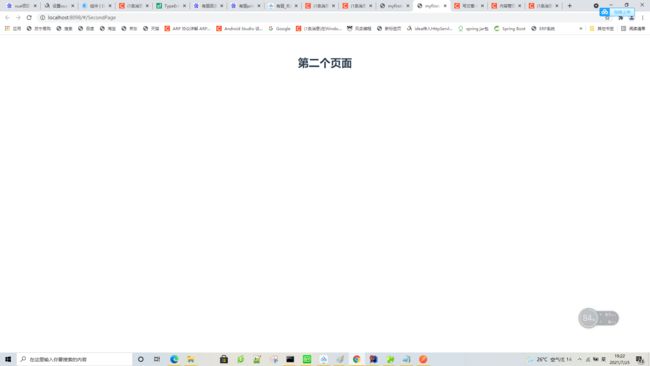
第二个页面
login.js
先安装axios
npm install axiosimport axios from 'axios'
export function handlelogin (data) {
return axios.post('http://192.168.1.5:8082/login/handlelogin', {
userName: data.userName,
password: data.password
}).then(response => response).catch(error => error)
}
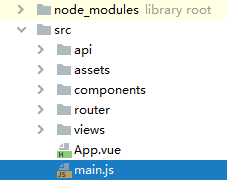
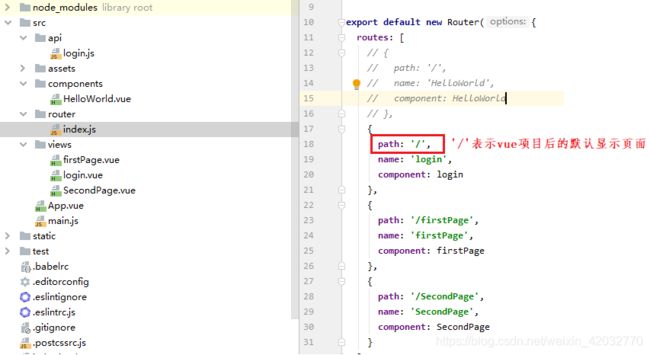
配置路由请求index.js (路由主要是为了实现页面跳转)
import Vue from 'vue'
import Router from 'vue-router'
import HelloWorld from '@/components/HelloWorld'
import login from '@/views/login'
import firstPage from '@/views/firstPage'
import SecondPage from '@/views/SecondPage'

Vue.use(Router)

export default new Router({
  routes: [
    {
      path: '/',     // '/'表示vue项目启动后的默认显示界面
      name: 'HelloWorld',
      component: HelloWorld
    },
    {
      path: '/login',
      name: 'login',
      component: login
    },
    {
      path: '/firstPage',
      name: 'firstPage',
      component: firstPage
    },
    {
      path: '/SecondPage',
      name: 'SecondPage',
      component: SecondPage
    }
  ]
})
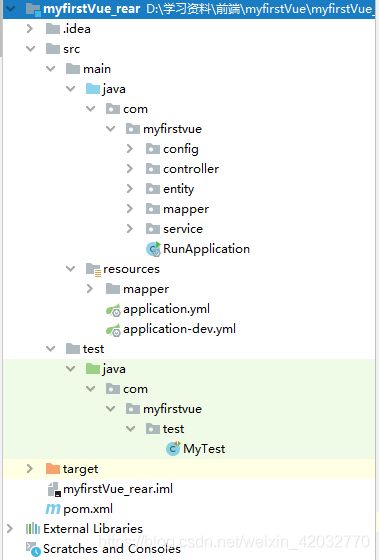
4、java后端
pom.xml
    4.0.0

        org.springframework.boot
        spring-boot-starter-parent
        2.2.2.RELEASE


    org.example
    myfirstVue_rear
    1.0-SNAPSHOT


            org.springframework.boot
            spring-boot-starter-web


            org.springframework.boot
            spring-boot-starter-test
            test


            com.baomidou
            mybatis-plus-boot-starter
            3.4.0


            com.baomidou
            mybatis-plus-generator
            3.4.0


            org.projectlombok
            lombok
            1.18.20
            provided


            mysql
            mysql-connector-java
            5.1.26


                org.springframework.boot
                spring-boot-maven-plugin

                    true
application.yml
server:
  port: 8082

spring:
  profiles:
    active: dev
application-dev.yml
server:
  port: 8082
spring:
  datasource:
    name: mybatis_plus
    url: jdbc:mysql://localhost:3306/mysql?serverTimezone=UTC&characterEncoding=utf8
    username: root
    password: 123456
    driver-class-name: com.mysql.jdbc.Driver
mybatis:
  mapper-locations: classpath:mapper/*.xml #注意:一定要对应mapper映射xml文件的所在路径
  type-aliases-package: com.myfirstvue.entity # 注意:对应实体类的路径
CorsConfig类:解决跨域问题
编写配置类用来解决跨域请求(接口是http,而axios一般请求的是https。从https到http是跨域,因此要配置跨域请求)package com.myfirstvue.config;
import org.springframework.context.annotation.Bean;
import org.springframework.context.annotation.Configuration;
import org.springframework.web.cors.CorsConfiguration;
import org.springframework.web.cors.UrlBasedCorsConfigurationSource;
import org.springframework.web.filter.CorsFilter;
/**
* @author: wu linchun
* @time: 2021/7/25 14:55
* @description: 解决跨域问题
*/
@Configuration
public class CorsConfig {
private CorsConfiguration buildConfig() {
CorsConfiguration corsConfiguration = new CorsConfiguration();
corsConfiguration.addAllowedOrigin("*"); //允许任何域名
corsConfiguration.addAllowedHeader("*"); //允许任何头
corsConfiguration.addAllowedMethod("*"); //允许任何方法
return corsConfiguration;
}
@Bean
public CorsFilter corsFilter() {
UrlBasedCorsConfigurationSource source = new UrlBasedCorsConfigurationSource();
source.registerCorsConfiguration("/**", buildConfig()); //注册
return new CorsFilter(source);
}
}
LoginUserPO类
package com.myfirstvue.entity;

import com.baomidou.mybatisplus.annotation.TableField;
import com.baomidou.mybatisplus.annotation.TableName;
import lombok.AllArgsConstructor;
import lombok.Data;
import lombok.NoArgsConstructor;

import java.io.Serializable;

/**
 * @author: wu linchun
 * @time: 2021/7/25 13:30
 * @description:
 */
@Data
@NoArgsConstructor
@AllArgsConstructor
@TableName("t_login")
public class LoginUserPO implements Serializable {

    @TableField("uname")
    private String userName;

    @TableField("pwd")
    private String password;
}
LoginMapper接口
package com.myfirstvue.mapper;

import com.baomidou.mybatisplus.core.mapper.BaseMapper;
import com.myfirstvue.entity.LoginUserPO;
import org.apache.ibatis.annotations.Mapper;
import org.springframework.stereotype.Component;
import org.springframework.stereotype.Repository;

/**
 * @description:
 * @author: wu linchun
 * @time: 2021/7/25 13:34
 */
@Component("loginMapper")
public interface LoginMapper extends BaseMapper {
}
LoginService接口
package com.myfirstvue.service;

import com.myfirstvue.entity.LoginUserPO;
import org.springframework.stereotype.Component;

/**
 * @description:
 * @author: wu linchun
 * @time: 2021/7/25 13:36
 */
@Component
public interface LoginService {

    /**
     * @author: wu linchun
     * @create: 2021/7/25 13:38
     * @desc: 登录
     **/
    boolean login(LoginUserPO loginUserPO);
}
LoginService接口实现类
package com.myfirstvue.service.impl;

import com.baomidou.mybatisplus.core.conditions.query.LambdaQueryWrapper;
import com.myfirstvue.entity.LoginUserPO;
import com.myfirstvue.mapper.LoginMapper;
import com.myfirstvue.service.LoginService;
import org.springframework.beans.factory.annotation.Autowired;
import org.springframework.beans.factory.annotation.Qualifier;
import org.springframework.stereotype.Service;

import java.util.Objects;

/**
 * @author: wu linchun
 * @time: 2021/7/25 13:38
 * @description:
 */
@Service("loginService")
public class LoginServiceImpl implements LoginService {
    @Autowired
    @Qualifier("loginMapper")
    private LoginMapper loginMapper;

    @Override
    public boolean login(LoginUserPO loginUserPO) {
        LambdaQueryWrapper queryWrapper = new LambdaQueryWrapper<>();
        if (Objects.nonNull(loginUserPO)) {
            queryWrapper.eq(LoginUserPO::getUserName, loginUserPO.getUserName());
            String pwd = loginMapper.selectOne(queryWrapper).getPassword();
            if (pwd.equals(loginUserPO.getPassword())) {
                return true;
            }
        }
        return false;
    }
}
Springboot启动类
package com.myfirstvue;

import org.mybatis.spring.annotation.MapperScan;
import org.springframework.boot.SpringApplication;
import org.springframework.boot.autoconfigure.SpringBootApplication;

/**
 * @author: wu linchun
 * @time: 2021/7/25 13:44
 * @description:
 */
@SpringBootApplication
@MapperScan("com.myfirstvue.mapper")  //扫描mapper包下
public class RunApplication {
    public static void main(String[] args) {
        SpringApplication.run(RunApplication.class, args);
    }
}
5、启动
5.1、启动vue项目
配置启动端口
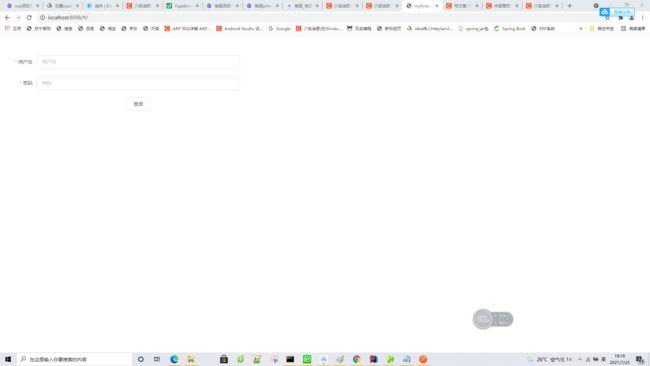
配置启动后的默认页面
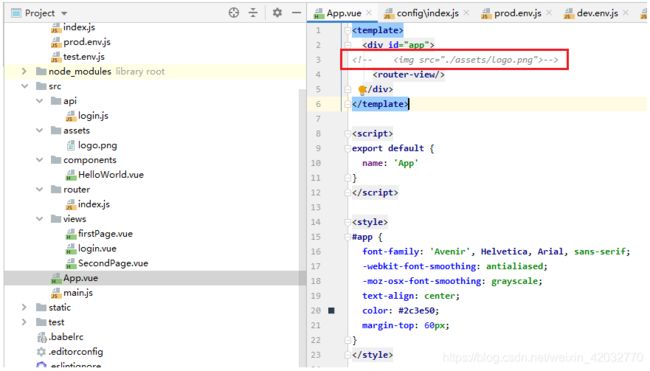
去除vue的logo图片(不去的话,vue项目启动后页面会展示vue图标)
使用npm run dev启动vue项目
npm run dev5.2、启动后端
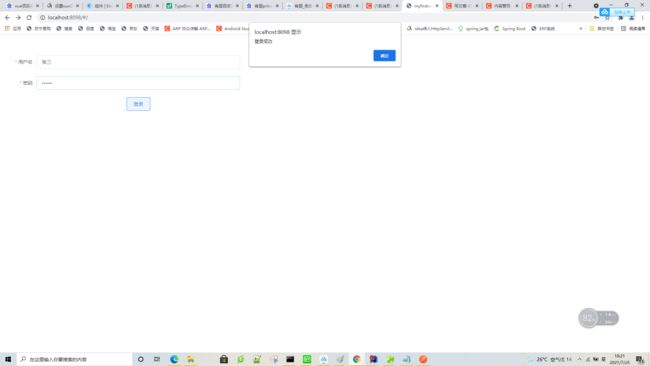
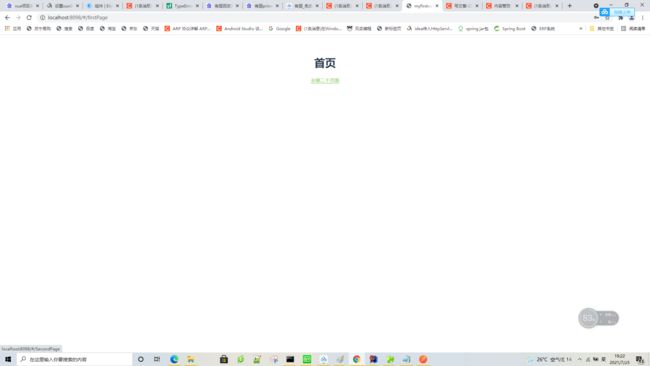
6、效果
7、总结
去年的时候,我也整理过一篇关于vue+springboot的前后端分离
Vue前后端分离实现登录的一个简单demo
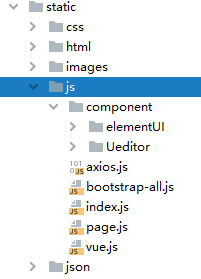
去年那种在html页面中引入vue开发环境的模式
可以通过在线地址引入
也可以通过下载vue的相应js文件的方式引入
vue直接写在html里面的还是比较低端的前后端分离的写法。去年的那种写法并不是真正意义上的前后端分离,因为只是避免了以前jsp会出现的在前端写java/php代码的写法。
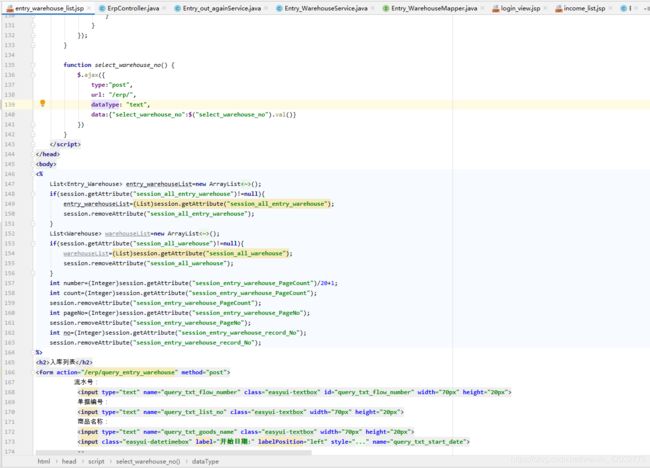
在jsp中通过<%%>写一些后端的代码,当然在运行jsp的时候,是会优先执行<%%>里面的代码
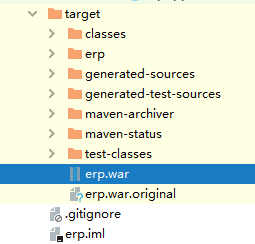
把前端html以及后端代码整合成一个项目的前后端分离,然后启动整个项目,前后端就相当于一起启动起来了。最后是打成一个包(war包)
本文所述的前后端分离才是真正意义上的前后端分离,也是目前应用最广泛的前后端分离模式。前端只管调接口,后端只管提供接口,无视前后端语言。
vue前端打包打成一个dist文件
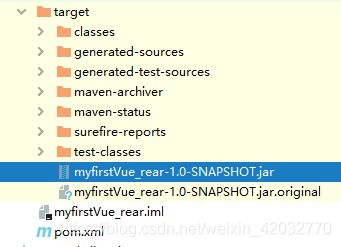
npm run build后端打包打成一个jar包
8、参考资料
- 封装 axios 请求 并 return 结果 - 韭菜包子敲代码 - 博客园 (cnblogs.com)
- Intellij IDEA搭建vue-cli项目 - 前端小童鞋 - 博客园 (cnblogs.com)
- 解析Vue-cli中的Standalone和Runtime-only模式 - 小专栏 (xiaozhuanlan.com)
- 解析Vue-cli中的Standalone和Runtime-only模式 - 小专栏 (xiaozhuanlan.com)
- 如何搭建一个vue项目(完整步骤) - 对方屌丝正在输入中 - 博客园 (cnblogs.com)
- Vue2.0史上最全入坑教程(上)—— 搭建Vue脚手架(vue-cli) - 简书 (jianshu.com)
- Vue2.0史上最全入坑教程(中)—— 脚手架代码详解 - 简书 (jianshu.com)
- Vue2.0史上最全入坑教程(下)—— 实战案例 - 简书 (jianshu.com)
- Vue2.0史上最全入坑教程(完)—— 实战案例 - 简书 (jianshu.com)
- 对Vue中 runtime-compiler 和 runtime-only 两种模式的理解_Jackie Huang-CSDN博客
- npm ERR! [email protected] dev: `webpack-dev-server --inline --progress --config build/webpack.dev.conf.js_shujuku____的博客-CSDN博客
- 打war包时test模块打不了包
