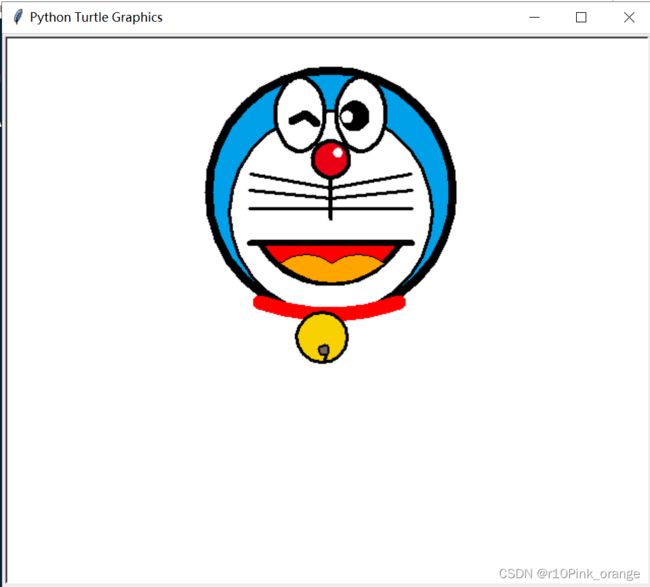
用Python海龟画图画哆啦A梦
文章目录
- 前言
- 一、画哆啦A梦脸的外圈蓝色
- 二、画哆啦A梦脸的内圈白色
- 三、哆啦A梦的鼻子
- 四、哆啦A梦的鼻尖
- 五、哆啦A梦的左眼
- 六、哆啦A梦的右眼
- 七、哆啦A梦的左眼内部
- 八、哆啦A梦的右眼内部
- 九、 哆啦A梦的右眼内部白色圆点
- 十、 哆啦A梦的鼻子下面的黑色竖线
- 十一、 哆啦A梦的右边的胡子
- 十二、 哆啦A梦的左边的胡子
- 十三、 哆啦A梦的嘴巴
- 十四、哆啦A梦的舌头
- 十五、哆啦A梦的领带
- 十六、哆啦A梦的铃铛
- 十七、哆啦A梦的铃铛细节
- 总结
前言
随着人工智能的不断发展,机器学习这门技术也越来越重要,很多人都开启了学习机器学习,本文就介绍了机器学习的基础内容。今天教大家来用Python海龟画图画哆啦A梦。
一、画哆啦A梦脸的外圈蓝色
代码图如下:
代码如下:
import turtle as t
t.pensize(8)
t.hideturtle()
#哆啦A梦脸的外圈蓝色
t.fillcolor('#00A1E8')
t.begin_fill()
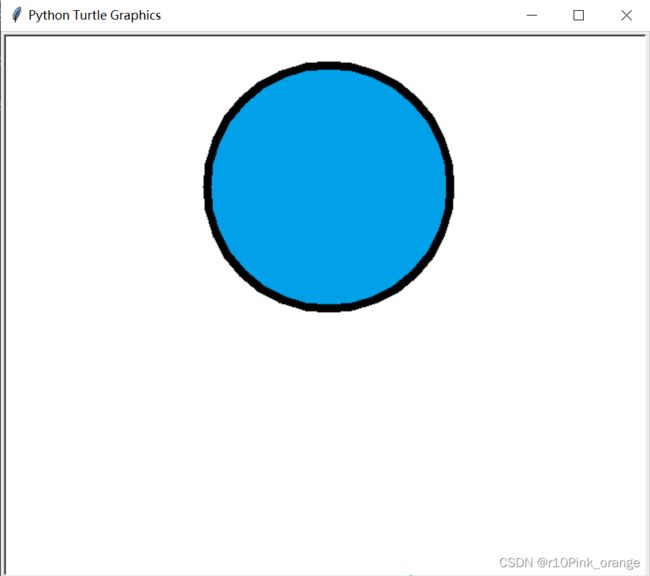
t.circle(120)
t.end_fill()
效果图如下:
二、画哆啦A梦脸的内圈白色
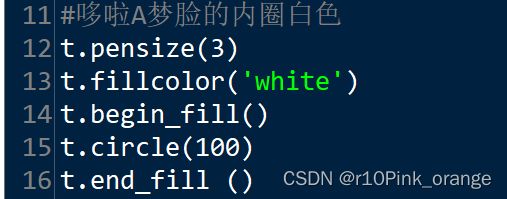
代码图如下:
代码如下:
#哆啦A梦脸的内圈白色
t.pensize(3)
t.fillcolor('white')
t.begin_fill()
t.circle(100)
t.end_fill ()
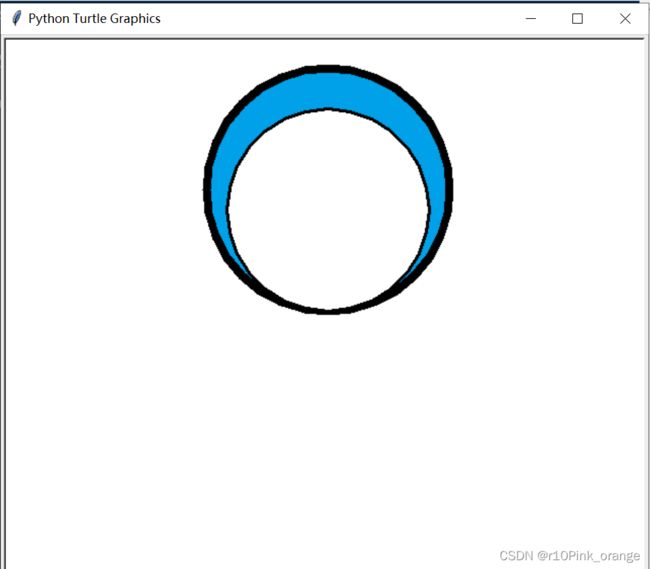
效果图如下:
三、哆啦A梦的鼻子
代码图如下:
代码如下:
#哆啦A梦的鼻子
t.penup()
t.home()
t.goto(0,134)
t.pendown()
t.pensize(4)
t.fillcolor("#EA0014")
t.begin_fill()
t.circle(18)
t.end_fill()
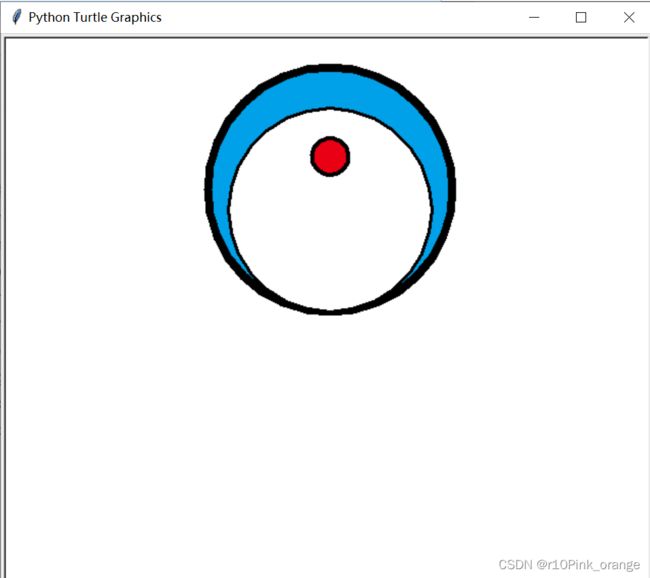
效果图如下:
四、哆啦A梦的鼻尖
代码图如下:
代码如下:
#哆啦A梦的鼻尖
t.penup()
t.goto(7,155)
t.pensize(2)
t.color('white','white')
t.pendown()
t.begin_fill()
t.circle(4)
t.end_fill()
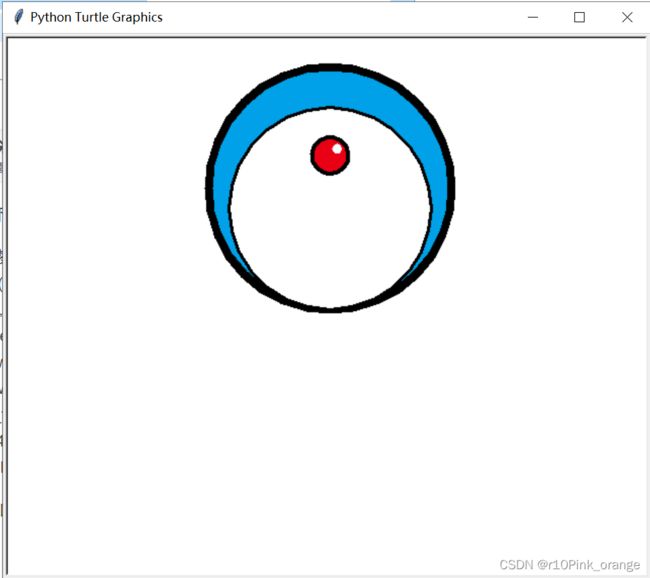
效果图如下:
五、哆啦A梦的左眼
代码图如下:
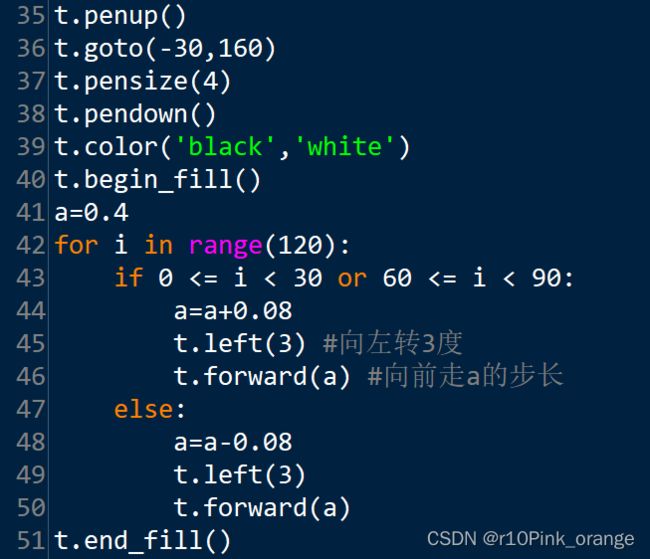
代码如下:
#哆啦A梦的左眼
t.penup()
t.goto(-30,160)
t.pensize(4)
t.pendown()
t.color('black','white')
t.begin_fill()
a=0.4
for i in range(120):
if 0 <= i < 30 or 60 <= i < 90:
a=a+0.08
t.left(3) #向左转3度
t.forward(a) #向前走a的步长
else:
a=a-0.08
t.left(3)
t.forward(a)
t.end_fill()
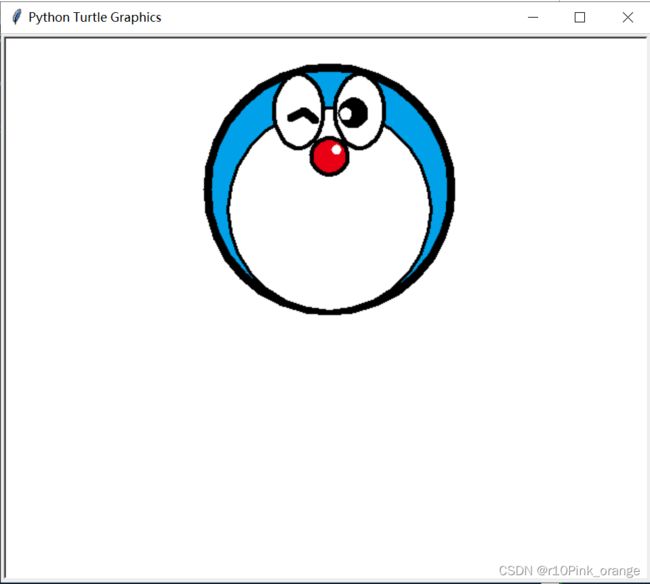
效果图如下:
六、哆啦A梦的右眼
代码图如下:
代码如下:
#哆啦A梦的右眼
t.penup()
t.goto(30,160)
t.pensize(4)
t.pendown()
t.color('black','white')
t.begin_fill()
for i in range(120):
if 0 <= i < 30 or 60 <= i < 90:
a=a+0.08
t.left(3) #向左转3度
t.forward(a) #向前走a的步长
else:
a=a-0.08
t.left(3)
t.forward(a)
t.end_fill()
效果图如下:
七、哆啦A梦的左眼内部
代码图如下:
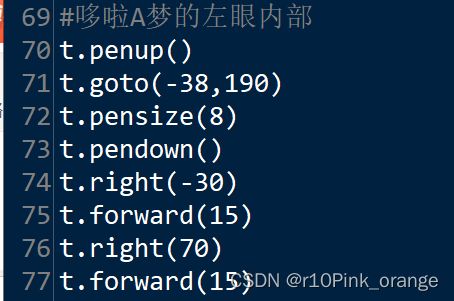
代码如下:
#哆啦A梦的左眼内部
t.penup()
t.goto(-38,190)
t.pensize(8)
t.pendown()
t.right(-30)
t.forward(15)
t.right(70)
t.forward(15)
效果图如下:
八、 哆啦A梦的右眼内部
代码图如下:
代码如下:
#哆啦A梦的右眼内部
t.penup()
t.goto(15,185)
t.pensize(4)
t.pendown()
t.color('black','black')
t.begin_fill()
t.circle(13)
t.end_fill()
效果图如下:
九、 哆啦A梦的右眼内部白色圆点
代码图如下:
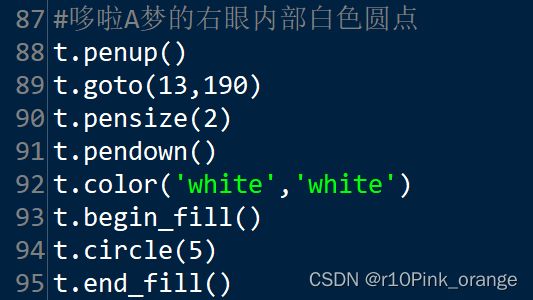
代码如下:
#哆啦A梦的右眼内部白色圆点
t.penup()
t.goto(13,190)
t.pensize(2)
t.pendown()
t.color('white','white')
t.begin_fill()
t.circle(5)
t.end_fill()
效果图如下:
十、 哆啦A梦的鼻子下面的黑色竖线
代码图如下:
代码如下:
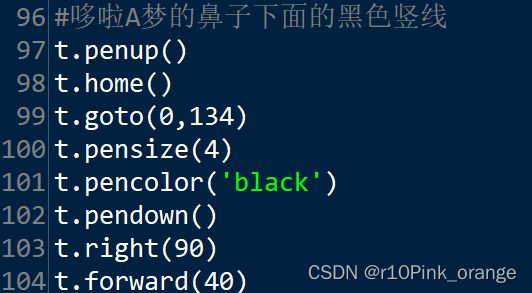
#哆啦A梦的鼻子下面的黑色竖线
t.penup()
t.home()
t.goto(0,134)
t.pensize(4)
t.pencolor('black')
t.pendown()
t.right(90)
t.forward(40)
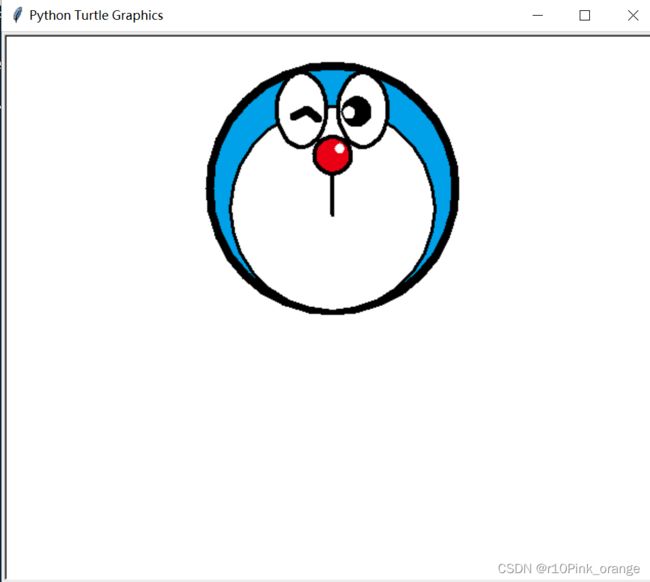
效果图如下:
十一、 哆啦A梦的右边的胡子
代码图如下:
代码如下:
#哆啦A梦的右边的胡子(第1根)
t.penup()
t.home()
t.goto(0,124)
t.pensize(3)
t.pencolor('black')
t.pendown()
t.left(10)
t.forward(80)
#哆啦A梦的右边的胡子(第2根)
t.penup()
t.home()
t.goto(0,114)
t.pensize(3)
t.pencolor('black')
t.pendown()
t.left(6)
t.forward(80)
#哆啦A梦的右边的胡子(第3根)
t.penup()
t.home()
t.goto(0,104)
t.pensize(3)
t.pencolor('black')
t.pendown()
t.left(0)
t.forward(80)
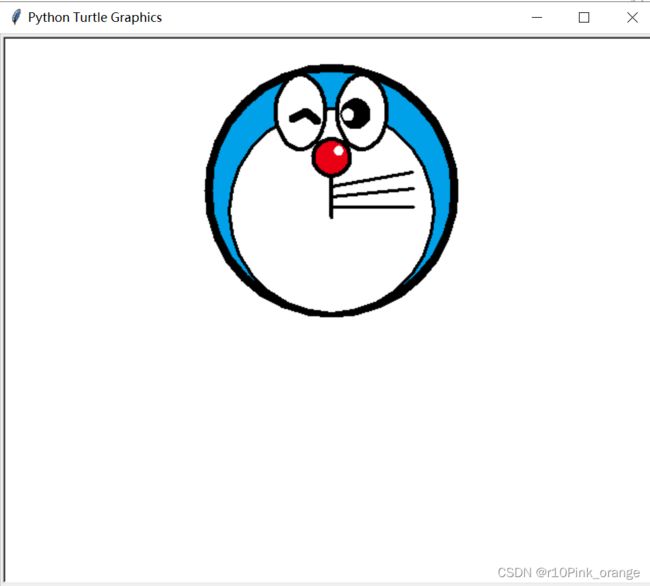
效果图如下:
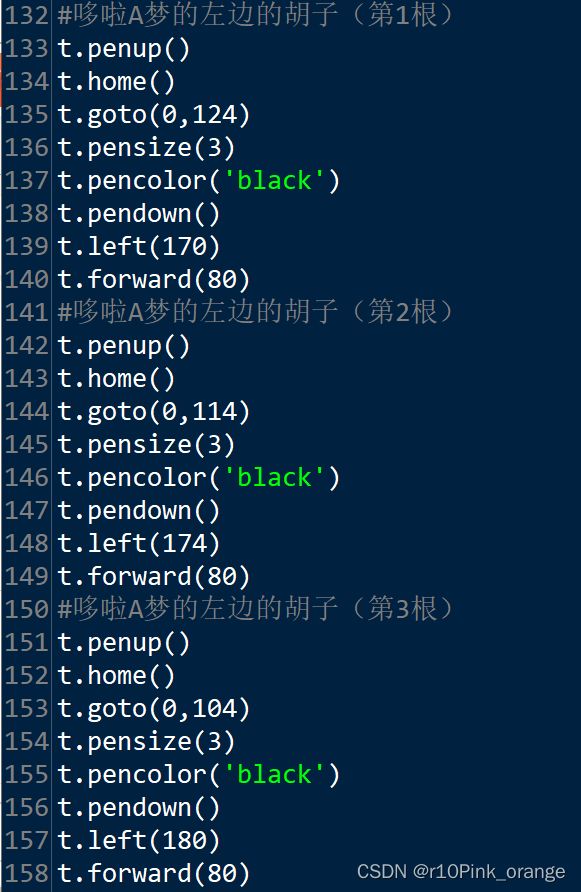
十二、 哆啦A梦的左边的胡子
代码图如下:
代码如下:
#哆啦A梦的左边的胡子(第1根)
t.penup()
t.home()
t.goto(0,124)
t.pensize(3)
t.pencolor('black')
t.pendown()
t.left(170)
t.forward(80)
#哆啦A梦的左边的胡子(第2根)
t.penup()
t.home()
t.goto(0,114)
t.pensize(3)
t.pencolor('black')
t.pendown()
t.left(174)
t.forward(80)
#哆啦A梦的左边的胡子(第3根)
t.penup()
t.home()
t.goto(0,104)
t.pensize(3)
t.pencolor('black')
t.pendown()
t.left(180)
t.forward(80)
效果图如下:
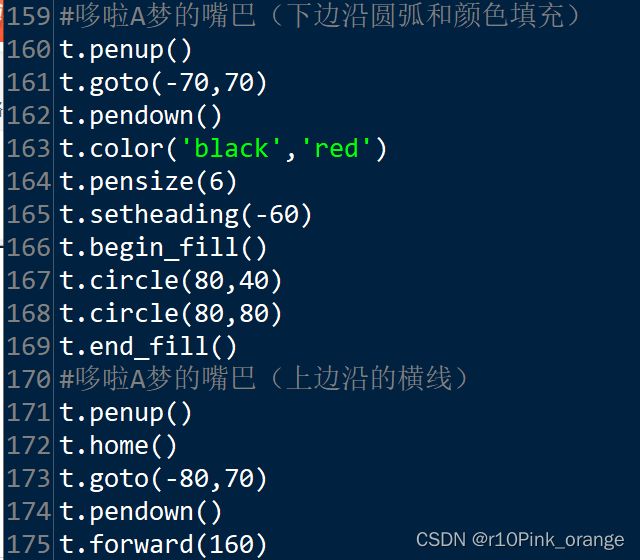
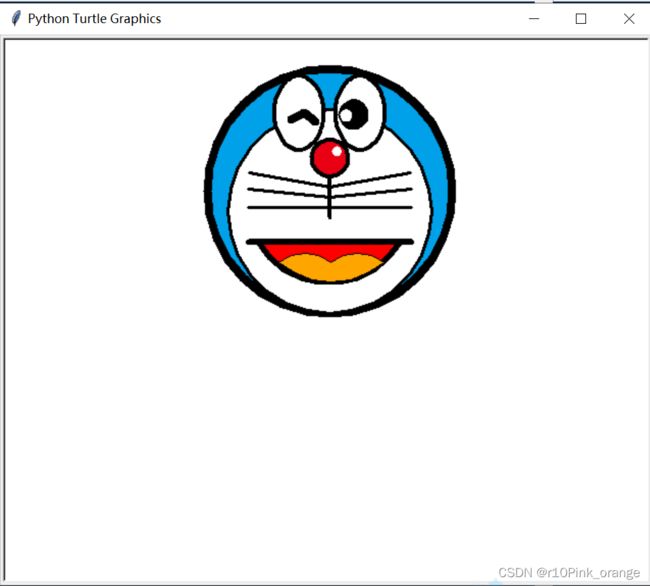
十三、 哆啦A梦的嘴巴
代码图如下:
代码如下:
#哆啦A梦的嘴巴(下边沿圆弧和颜色填充)
t.penup()
t.goto(-70,70)
t.pendown()
t.color('black','red')
t.pensize(6)
t.setheading(-60)
t.begin_fill()
t.circle(80,40)
t.circle(80,80)
t.end_fill()
#哆啦A梦的嘴巴(上边沿的横线)
t.penup()
t.home()
t.goto(-80,70)
t.pendown()
t.forward(160)
效果图如下:
十四、哆啦A梦的舌头
代码图如下:
代码如下:
#哆啦A梦的舌头
t.penup()
t.home()
t.goto(-50,50)
t.pendown()
t.pensize(1)
t.fillcolor("orange")
t.setheading(40)
t.begin_fill()
t.circle(-40,40)
t.circle(-40,40)
t.setheading(40)
t.circle(-40,40)
t.circle(-40,40)
t.setheading(220)
t.circle(-80,40)
t.circle(-80,40)
t.end_fill()
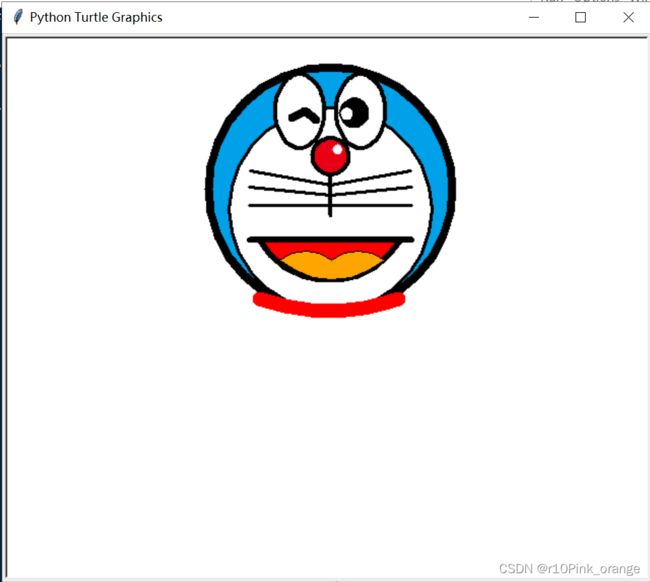
效果图如下:
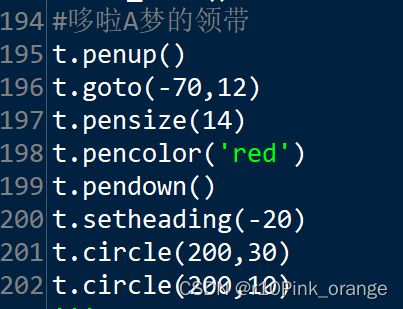
十五、哆啦A梦的领带
代码图如下:
代码如下:
#哆啦A梦的领带
t.penup()
t.goto(-70,12)
t.pensize(14)
t.pencolor('red')
t.pendown()
t.setheading(-20)
t.circle(200,30)
t.circle(200,10)
效果图如下:
十六、哆啦A梦的铃铛
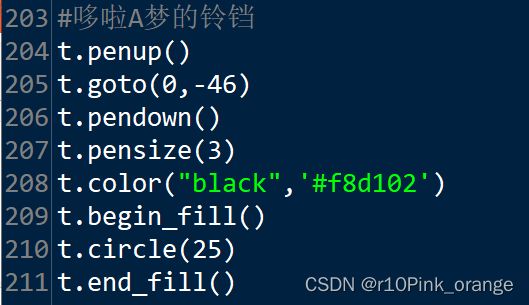
代码图如下:
代码如下:
#哆啦A梦的铃铛
t.penup()
t.goto(0,-46)
t.pendown()
t.pensize(3)
t.color("black",'#f8d102')
t.begin_fill()
t.circle(25)
t.end_fill()
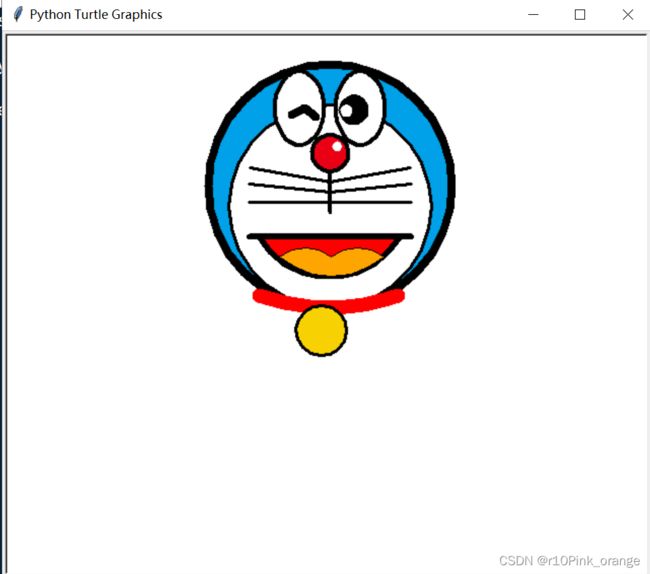
效果图如下:
十七、哆啦A梦的铃铛细节
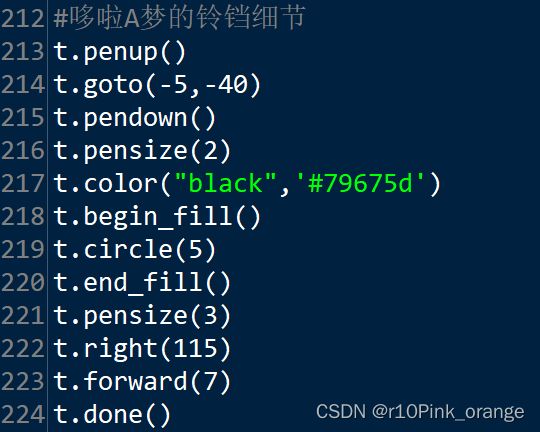
代码图如下:
代码如下:
#哆啦A梦的铃铛细节
t.penup()
t.goto(-5,-40)
t.pendown()
t.pensize(2)
t.color("black",'#79675d')
t.begin_fill()
t.circle(5)
t.end_fill()
t.pensize(3)
t.right(115)
t.forward(7)
t.done()
效果图如下:
总结
以上就是今天要讲的内容,本文讲述了怎样用python海龟画图来画哆啦A梦。

