pyinstaller打包为.exe过程中的问题与解决方法
目录
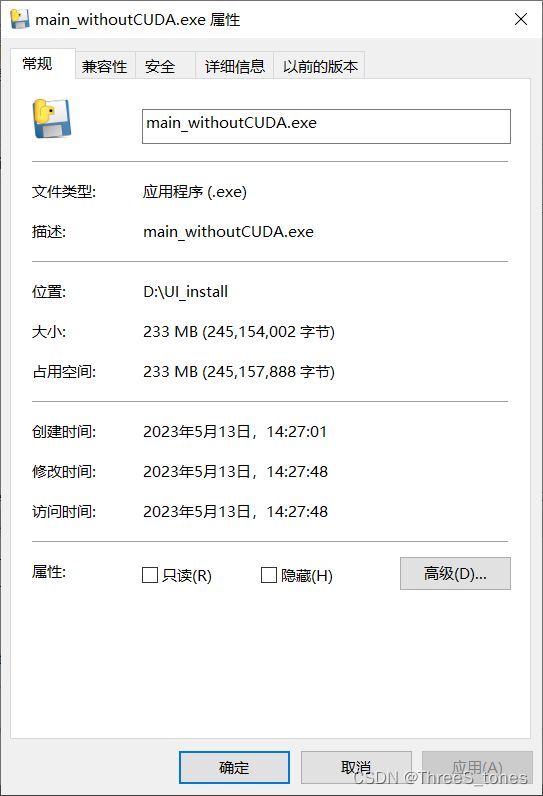
- 问题一:.exe文件过大
- 问题二:pyinstaller与opencv-python版本不兼容
- 问题三:打开文件时提示***.pyd文件已存在
- 问题四:pyinstaller打包时提示UPX is not available.
- 另:查看CUDA成功配置的方法
pyinsatller -F -w main.py
问题一:.exe文件过大
打包命令:
pyinsatller -F -w main.py
解决方法:
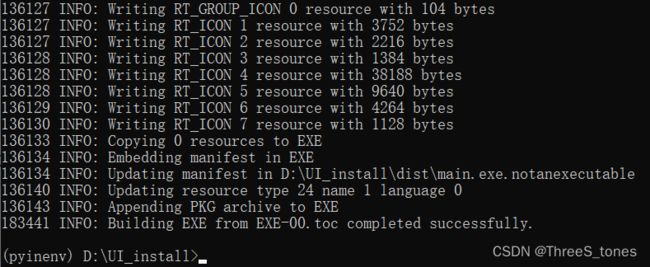
新建了一个虚拟环境,在其中重新安装了所需的库。
安装虚拟环境依赖包:
pip install virtualenv
pip install virtualenvwrapper-win
找到自己python.exe所在位置,创建虚拟环境
mkvirtualenv -p="E:\\Python\python.exe" pyinenv
在需要打包的文件目录上输入cmd,使用如下命令切换到虚拟环境中
workon pyinenv
使用命令python main.py运行要打包的主程序,根据弹出缺少的模块依次下载。
注意:需要重新安装pyqt5和pyqt5-tools,以及pyinstaller等,这些运行过程中不会报错。
在下载的时候发现torch里面的cuda占的内存很大,索性在代码中取消了使用cuda加速的部分,并把torch-cuda删除,重新下了个没有cuda的torch、torchvision等
参考:解决打包exe文件过大问题
问题二:pyinstaller与opencv-python版本不兼容
打包完成后出现下面窗口。
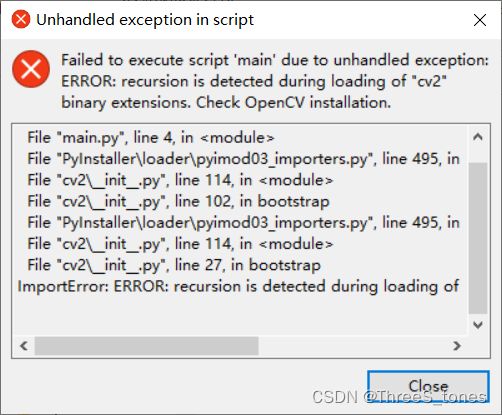
解决:修改opencv-python的版本pip install opencv-python==4.5.1.48
我是用的python和pyinstaller的版本如下:
PyInstaller: 5.1
Python: 3.9.0
opencv-python:4.5.1.48
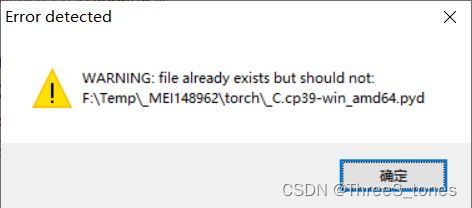
问题三:打开文件时提示***.pyd文件已存在
for b in a.binaries.copy():  # Traver the binaries.
    for d in a.datas:  #  Traverse the datas.
        if b[1].endswith(d[0]):  # If duplicate found.
            a.binaries.remove(b)  # Remove the duplicate.
            break
操作完之后换成这个打包命令:
pyinstaller main.spec
参考:Pyinstaller --onefile warning file already exists but should not
参考:WARNING: file already exists but should not: C:\Users\workAI\AppData\Local\Temp_MEI132522\torch_C
参考:【Python】Python打包exe报错makespec options not valid when a.spec file is given
问题四:pyinstaller打包时提示UPX is not available.
解决:
(1) 到官网 https://upx.github.io/ 下载了UPX(我的是Window 64版本), 下载下来是一个压缩包
(2) 解压得到 upx.exe文件
(3) 把exe文件拷贝到pyinstaller.exe目录下, 我的是 C:\Users\HASEE\Envs\pyinenv\Scripts
参考:pyinstaller打包时提示UPX is not available
另:查看CUDA成功配置的方法
(1)在cmd里,注意是配置cuda的环境,我这里是在pytorch环境中,所以要先激活pytorch环境。
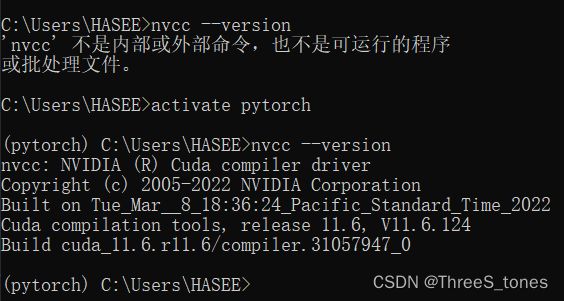
(2)在python文件中输入
import torch
print(torch.cuda.is_available())
返回True说明配置好了。
之前安装CUDA和pytorch的参考
参考:
1:CUDA版本与显卡驱动版本对照表(更新至2022.10.26 - CUDA11.8)
2:查看已经安装的CUDA的版本
3:win10+Anaconda+pytorch+CUDA11.1 详细安装指南
4:【Pytorch】pytorch安装(包含cuda详细安装教程)
y i , j = ∑ m = 0 h − 1 ∑ n = 0 w − 1 ∑ k = 0 c − 1 w m , n , k x i + m , j + n , k + b y_{i,j}=\sum_{m=0}^{h-1}\sum_{n=0}^{w-1}\sum_{k=0}^{c-1}w_{m,n,k}x_{i+m,j+n,k}+b yi,j=∑m=0h−1∑n=0w−1∑k=0c−1wm,n,kxi+m,j+n,k+b
