java springboot整合MyBatis做数据库查询操作
首先 我们还是要搞清楚 MyBatis 工作中都需要那些东西
首先是基础配置 你要连哪里的数据 连什么类型的数据库 以什么权限去连
然后 以 注解还是xml方式去映射sql
好 我们直接上代码
我们先创建一个文件夹

然后打开idea 新建一个项目
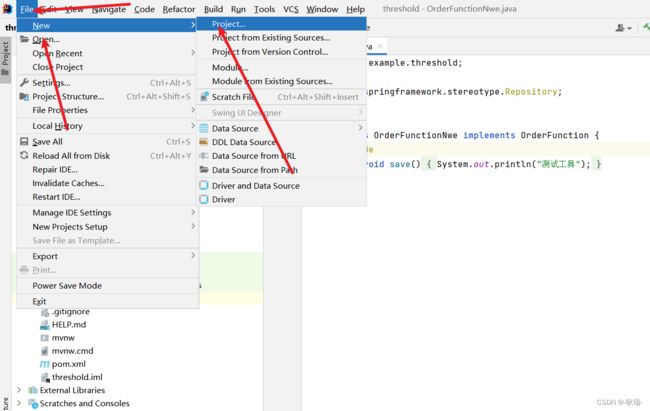
然后 按我下图的操作配置一下 然后点下一步

这里 版本不要选太高 2.几就够了
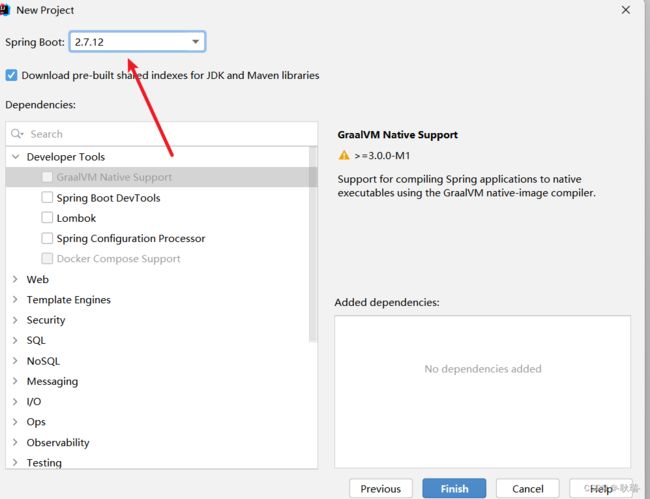
下一步就是选依赖了
首先 肯定是 sql下找到MyBatis
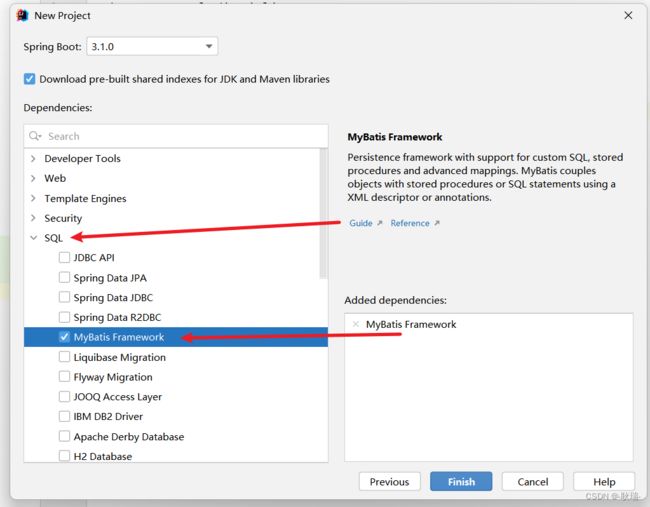
然后 下面我们再勾一个 Mysql的驱动

我们这里 先不用spring Web
我们直接点 确定
我们的项目就起来了
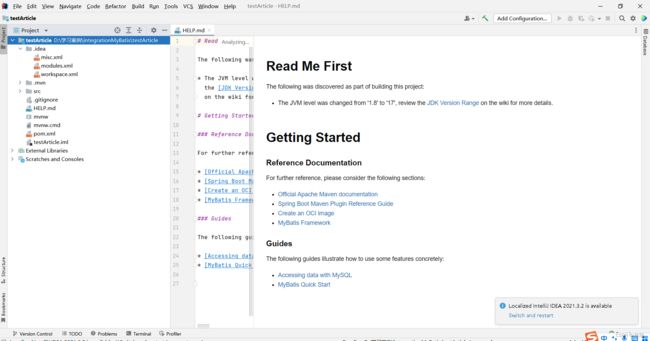
打开项目目录 我们先找到 resources 下的 application.properties
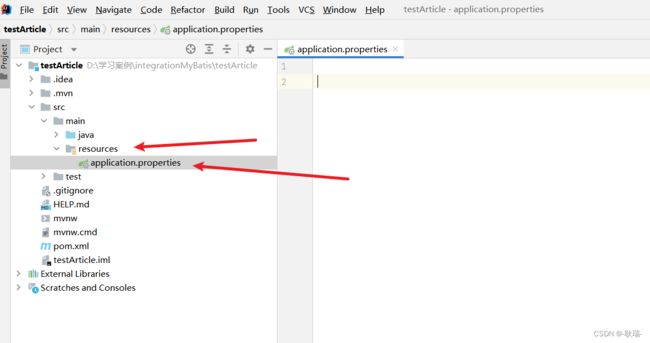
然后 我们不要properties我们将他改成yml
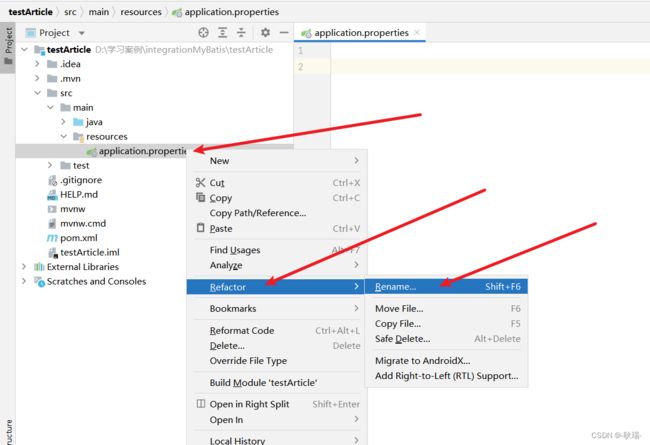
然后名字后缀改一下

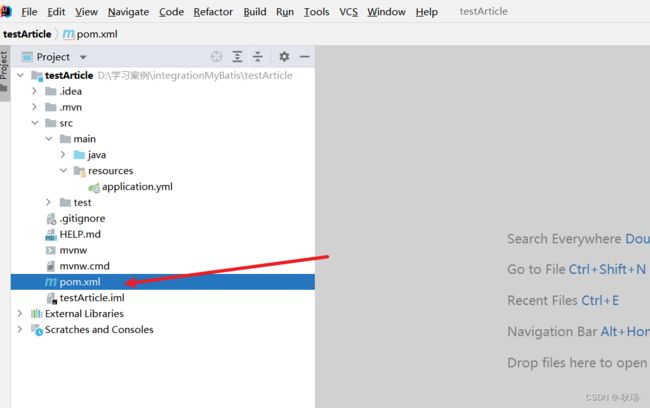
然后还是打开配置文件来看
可以看到 这就是我们 mybatis与springboot 整合的一个坐标
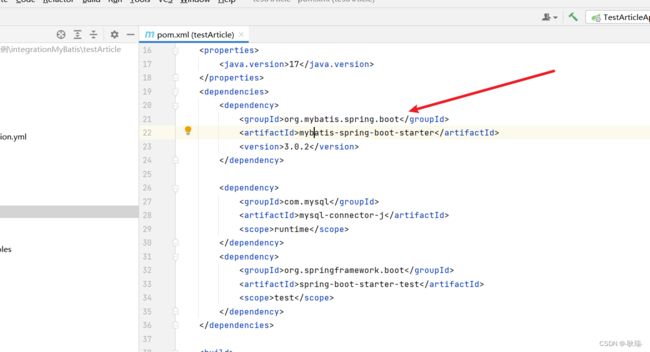
注意这里有两个规范
1 所以的 springboot 自带的都是 spring-boot-starter-某某

2 整合第三方技术 都是 第三方技术-spring-boot-starter

然后 很明显 这里就是数据库的一个JAR
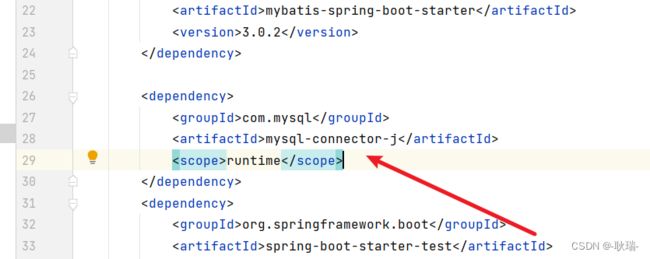
这里很明显没有版本信息 因为版本由上面这里提供
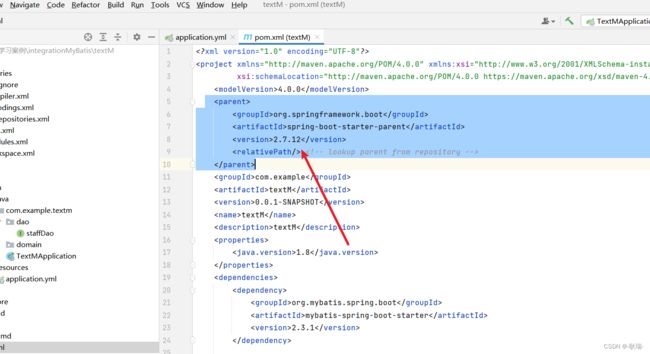
好啦 然后我们要写一下基本配置 首先 告诉它我们要连的数据库
这里 我要连的是 本地 MYSQL 下的 test 数据库

我们回到刚才的 application.yml
java中操作数据库 有一个专门的对象
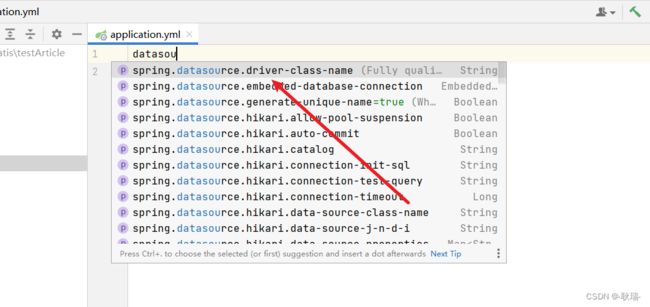
我们只需要在上面打出 datasou
后面对应的提示就都出来了
然后 我们选第一个 name即可
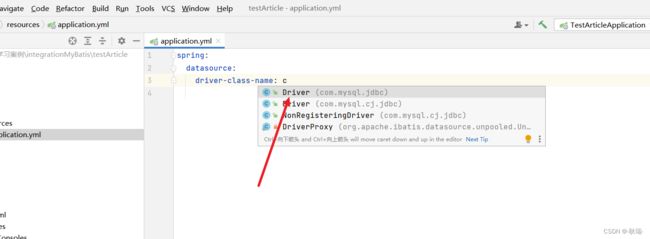
值这里 我们只要打个c 提示就都出来了 我们选择 com.mysql.jdbc.Driver
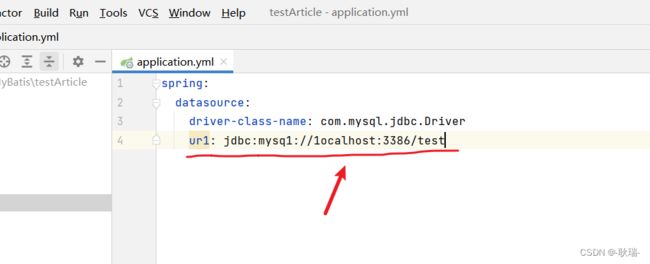
然后 第二个 url 它不知道
我们可以这样
url: jdbc:mysql://localhost:3306/数据库名称
这里一定要注意数据库的端口号不要写错了
然后 username 用户名 和 password 密码
因为我没有特殊设置 都是 root

我们的 application.yml 大体就是这样 大家可以参考一下
spring:
  datasource:
    driver-class-name: com.mysql.jdbc.Driver
    url: jdbc:mysql://localhost:3306/test
    username: root
    password: root
然后 我们就还是 需要原本的操作数据库结构
然后 我们找到启动类的所在目录
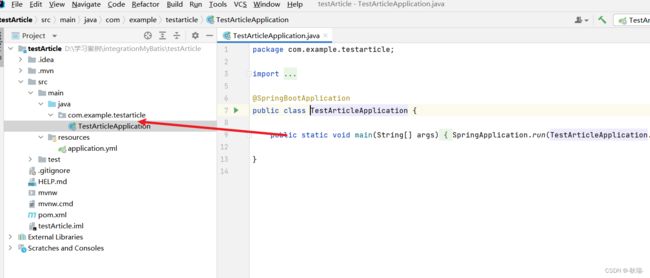
我们在同目录下创建一个文件夹 叫 domain
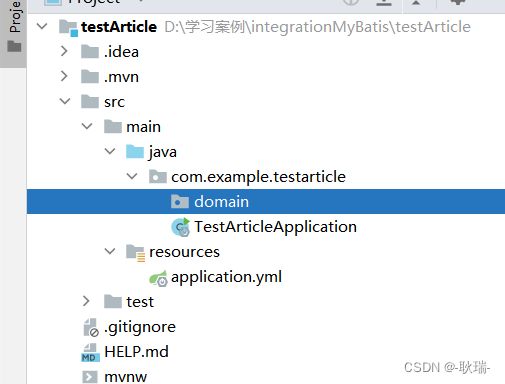
下面创建一个类 叫 staff
然后 看到我们的 staff表

一个字符串 四个数字类型的字段
我们按这个来写staff类
参考代码如下
package com.example.textm.domain;

public class staff {
    private int id;
    private String name;
    private int age;
    private int status;
    private int departmentid;

    @Override
    public String toString(){
        return "staff{"+
                "id"+id+
                "namne"+name+
                "age"+age+
                "status"+status+
                "departmentid"+departmentid+
                "}";
    }

    public int getId() {
        return id;
    }
    public void setId(int id) {
        this.id = id;
    }

    public String getName() {
        return name;
    }
    public void setName(String name) {
        this.name = name;
    }

    public int getAge() {
        return age;
    }
    public void setAge(int age) {
        this.age = age;
    }

    public int getStatus() {
        return status;
    }
    public void setStatus(int status) {
        this.status = status;
    }

    public int getDepartmentid() {
        return departmentid;
    }
    public void setDepartmentid(int departmentid) {
        this.departmentid = departmentid;
    }
}
我们简单定义了数据库名称类型 相同的变量 并定义了它们的get set函数
然后通过toString方法 输出类中的字段内容
好 然后我们的数据层就好了
再来个dao层
还是在这个目录下 创建一个 dao文件夹
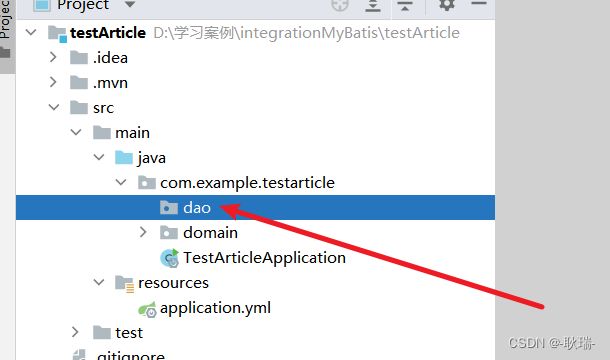
下面创建一个接口 叫 staffDao
参考代码如下
package com.example.testarticle.dao;

import com.example.testarticle.domain.staff;
import org.apache.ibatis.annotations.Mapper;
import org.apache.ibatis.annotations.Select;

@Mapper
public interface staffDao {
    @Select("select * from staff where id = #{id)")
    staff getById(Integer id);
}
这里 我们定义了一个抽象方法 根据id查询一个staff对象
这里 直接利用注解 可以直接在这里 就将 sql写了非常的方便
也不需要写实现类了 这就写完了 我们直接可以测试它了
我们直接打开测试类所在目录
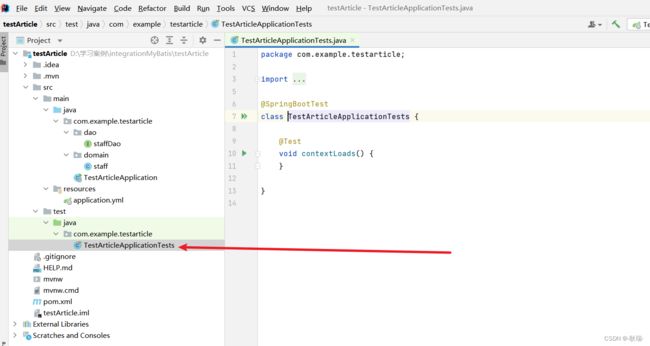
编写代码如下
package com.example.textm;

import com.example.textm.dao.staffDao;
import org.junit.jupiter.api.Test;
import org.springframework.beans.factory.annotation.Autowired;
import org.springframework.boot.test.context.SpringBootTest;

@SpringBootTest
class TextMApplicationTests {

    @Autowired
    private staffDao staffDao;

    @Test
    void contextLoads() {
        System.out.println(staffDao.getById(1));
    }
}
这里 我们引入了 接口staffDao调用了我们自己写的getById
传1 查询id为1的一条数据
