Centos7配置Jenkins
Centos7配置Jenkins
jdk-11.0.16 rpm 百度云:https://pan.baidu.com/s/173k9q9MqpQrxGRs6Mig1MQ 提取码: tgrq
jdk-11.0.16 tar.gz 百度云:https://pan.baidu.com/s/1chatfsgQ6AFSqg710ZT3qw 提取码: lrea
jenkins 官方下载地址:https://mirrors.jenkins-ci.org/redhat/
jenkins 3.362 百度云:链接:https://pan.baidu.com/s/1lPO3wSmoryM1v9sMJXEGwg 提取码:jjo3
maven 官方下载地址:https://archive.apache.org/dist/maven/maven-3/
maven 3.6.3 百度云:链接:https://pan.baidu.com/s/1t4jyLMKoA4WqYR9l35IXZQ 提取码:fov9
tomcat 官方下载地址:https://tomcat.apache.org/download-90.cgi
tomcat 9.0.50 百度云:链接:https://pan.baidu.com/s/1T9WJIRS0T5FU1SO6d5cWyA 提取码:2rjm
1、配置jdk
我们这里选择rpm安装方式(主要是比较方便
rpm -ivh jdk-11.0.16_linux-x64_bin.rpm
which java
这样就成功了
2、安装jenkins
安装jenkins
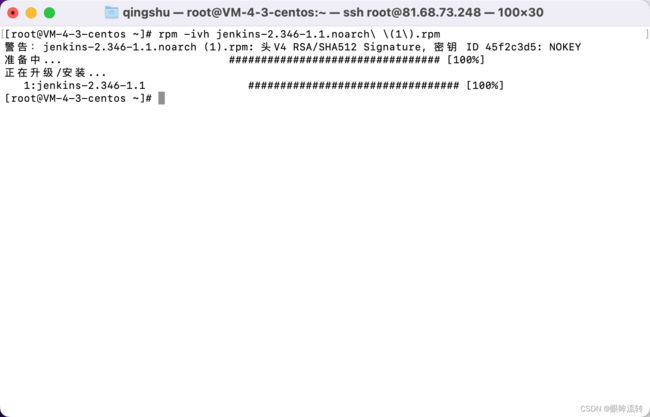
rpm -ivh jenkins-2.346-1.1.noarch.rpm
卸载jenkins
rpm -e jenkins
find / -iname jenkins | xargs -n 1000 rm -rf
which jenkins
3、jenkins配置、启动
修改配置文件1
vim /usr/lib/systemd/system/jenkins.service
设置信息1
Environment="JENKINS_PORT=8999"
修改配置文件2
vim /etc/sysconfig/jenkins
设置信息2
JENKINS_USER="root"
JENKINS_PORT="8999"
配置文件生效
systemctl daemon-reload
启动jenkins(你可能会遇到启动超时的错误,不要担心多试几遍,虽然我也不知道为什么
systemctl start jenkins
获取密码,解锁jenkins
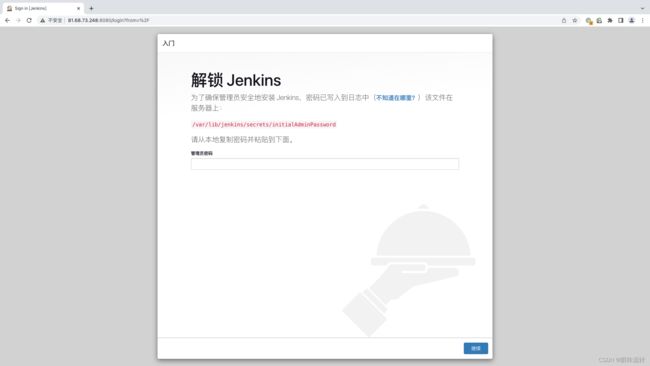
cat /var/lib/jenkins/secrets/initialAdminPassword
4、jenkins插件
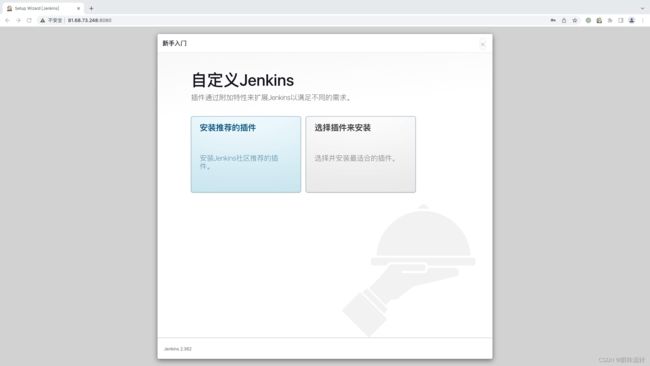
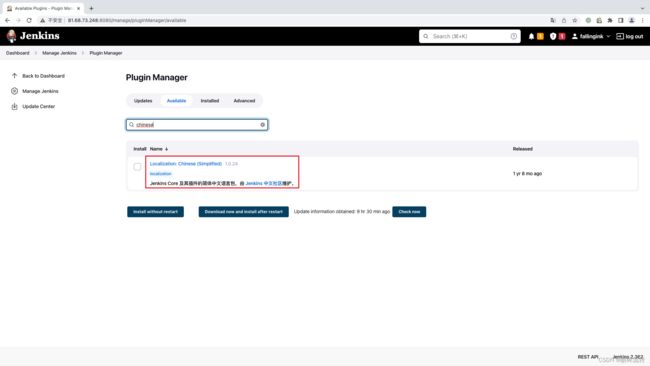
Jenkins->Manage Jenkins->Manage Plugins
Localization: Chinese (Simplified)
Role-based Authorization Strategy
Credentials Binding Plugin
Git
Deploy to container
pipeline
Generic Webhook Trigger
Email Extension Template
SonarQube Scanner
等待所有插件下载完毕,在插件页面重启或者通过systemctl restart jenkins重启后即安装成功
5、jenkins权限
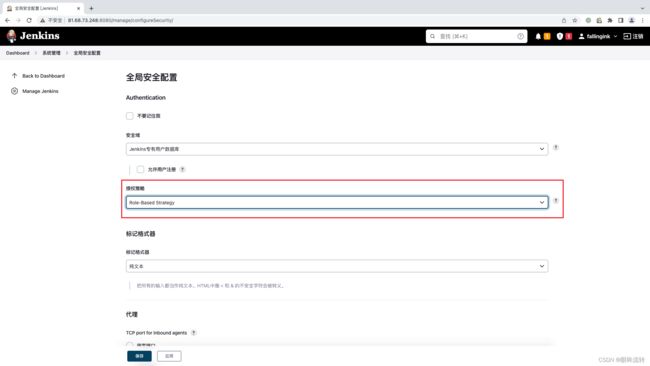
修改授权策略
jenkins->系统管理->全局安全配置
修改授权策略为Role-based Strategy(做的所有操作,一定记得保存
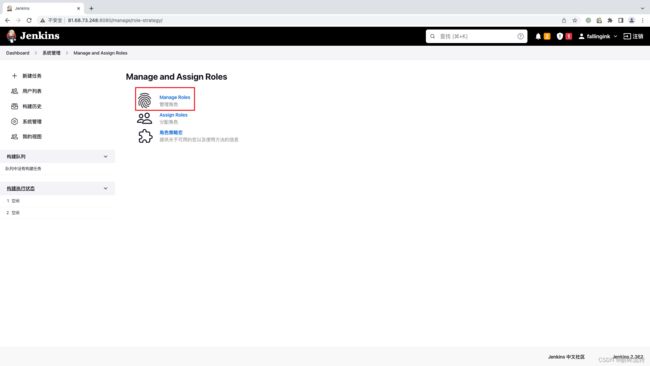
创建角色
Jenkins->系统管理->Manage and Assign Roles
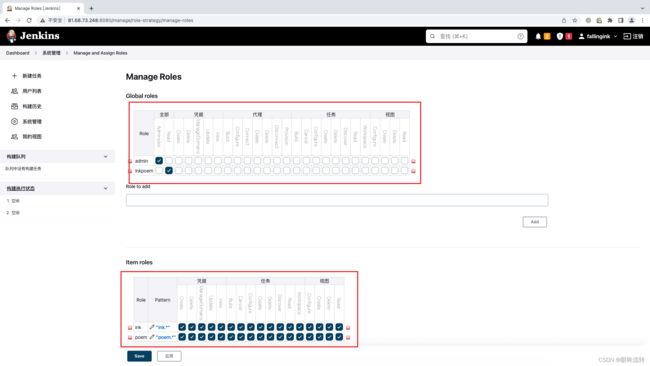
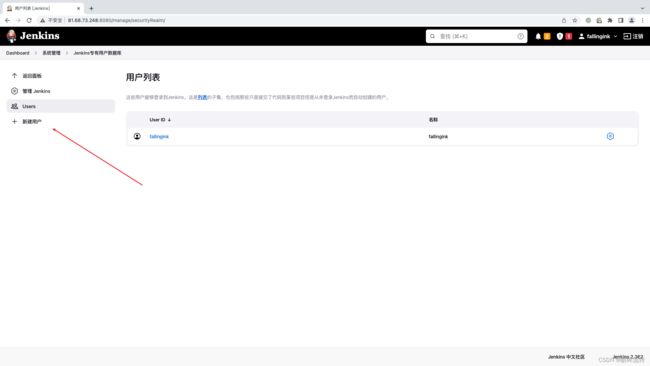
添加用户
6、配置git
yum install git -y
7、jenkins凭证
比如连接gitlab需要的一些凭证
用户密码凭证
添加凭证
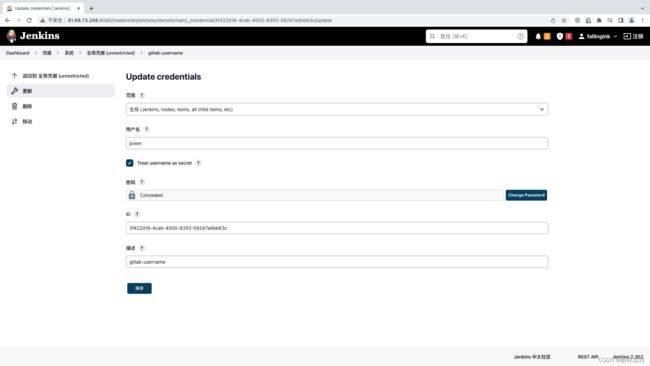
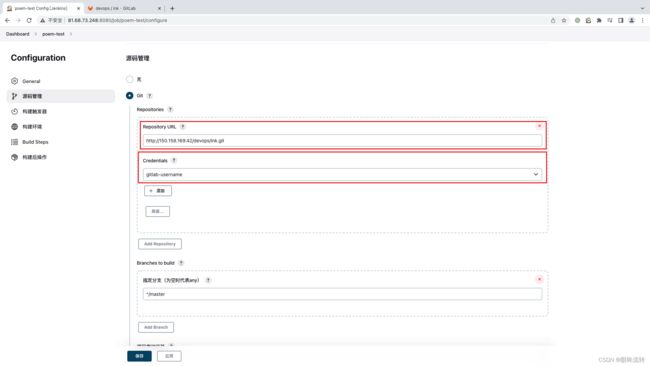
保存,立即构建

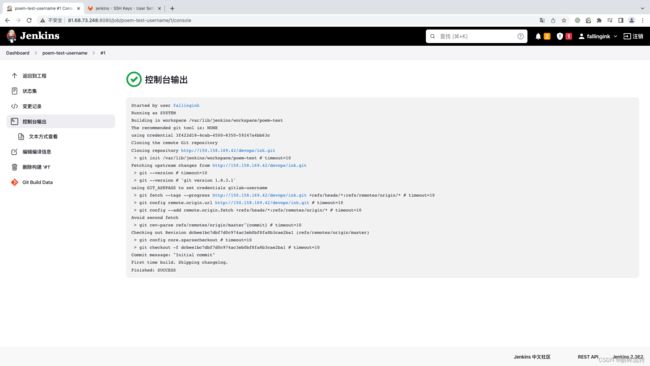
进入目录/var/lib/jenkins/workspace/poem-test-username
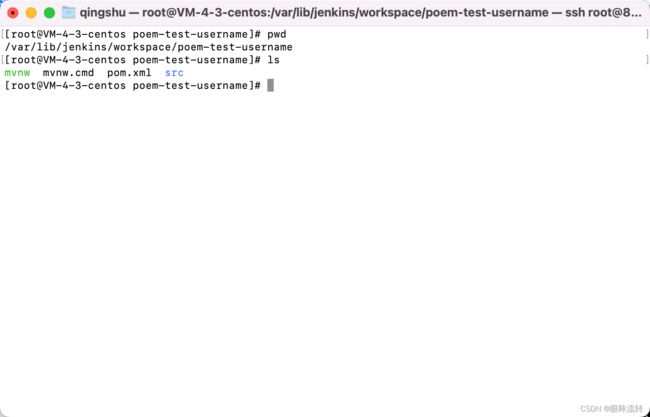
SSH凭证
SSH不知道为什么一直配置不成功,,,,,这里就暂时跳过
8、配置maven
tar -zxvf apache-maven-3.6.3-bin.tar.gz
vim /opt/apache-maven-3.6.3/conf/setting.xml
<localRepository>/opt/apache-maven-3.6.3/repo/localRepository>
<mirror>
    <id>nexus-aliyunid>
    <mirrorOf>*,!jeecg,!jeecg-snapshotsmirrorOf>
    <name>Nexus aliyunname>
    <url>http://maven.aliyun.com/nexus/content/groups/publicurl>
mirror>
vi /etc/profile
export MAVEN_HOME=/opt/apache-maven-3.6.3
export PATH=$PATH:$MAVEN_HOME/bin
source /etc/profile
mvn -v
# 记得加权限
chmod 777 /opt/apache-maven-3.6.3/repo/
![]()
9、自动构建
jenkins->系统管理->全局工具配置

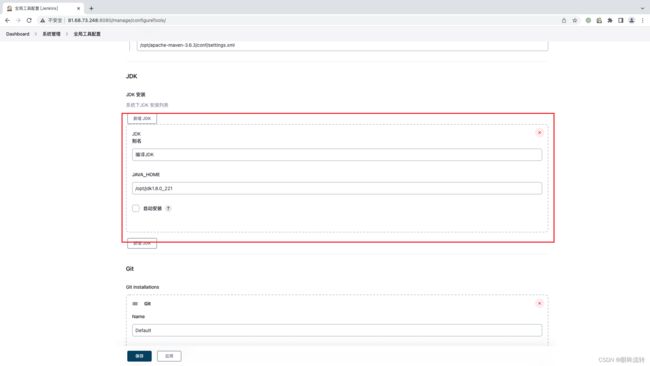
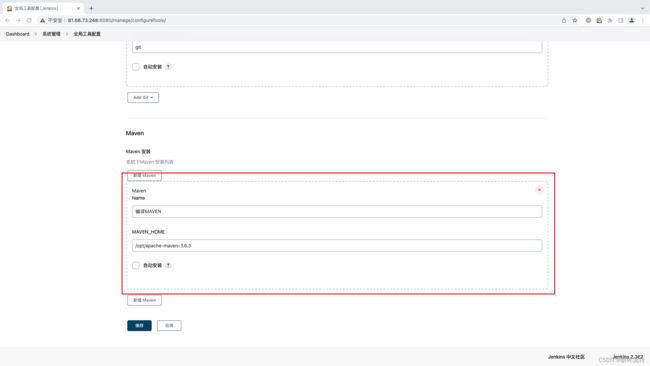
jenkins->系统配置

添加构建步骤

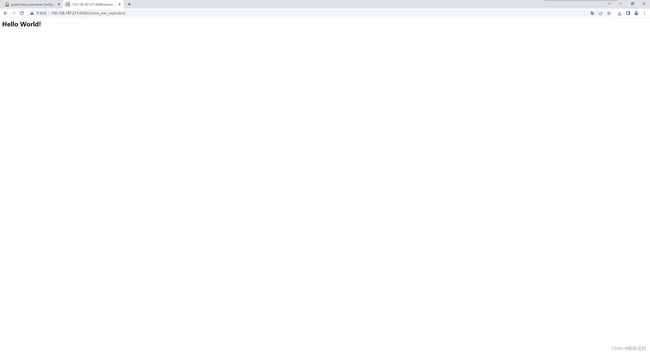
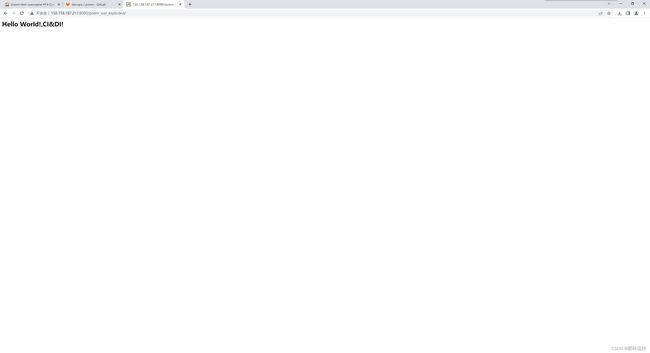
测试

10、配置tomcat
注意服务器需要有jdk
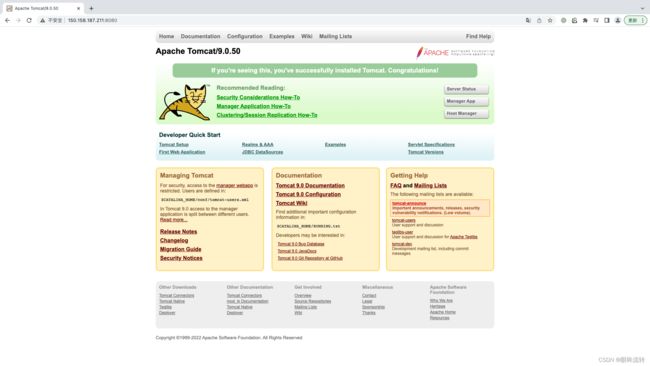
tar -zxvf apache-tomcat-9.0.50.tar.gz
/opt/apache-tomcat-9.0.50/bin/startup.sh
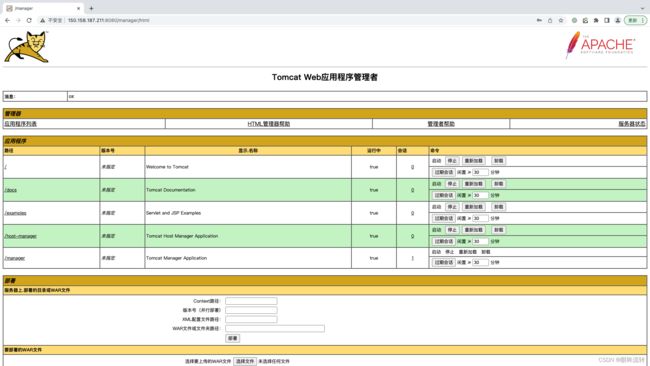
为tomcat配置用户角色权限
vim /opt/apache-tomcat-9.0.50/conf/tomcat-users.xml
<role rolename="manager-gui" />
<role rolename="manager-script" />
<role rolename="manager-jmx" />
<role rolename="manager-status" />

<role rolename="admin-gui" />


<user username="jenkins" password="xumeng" roles="manager-script,manager-gui,manager-jmx,manager-status,admin-gui" />
vim /opt/apache-tomcat-9.0.50/webapps/manager/META-INF/context.xml
<Context antiResourceLocking="false" privileged="true" >
  <CookieProcessor className="org.apache.tomcat.util.http.Rfc6265CookieProcessor"
                   sameSiteCookies="strict" />
  <Valve className="org.apache.catalina.valves.RemoteAddrValve"
          allow="127\.\d+\.\d+\.\d+|::1|0:0:0:0:0:0:0:1|\d+\.\d+\.\d+\.\d+" />
  <Manager sessionAttributeValueClassNameFilter="java\.lang\.(?:Boolean|Integer|Long|Number|String)|org\.apache\.catalina\.filters\.CsrfPreventionFilter\$LruCache(?:\$1)?|java\.util\.(?:Linked)?HashMap"/>
Context>
配置好登陆进去后回到jenkins配置构建后的步骤(Credentials中填写的是tomcat中填写的账号密码

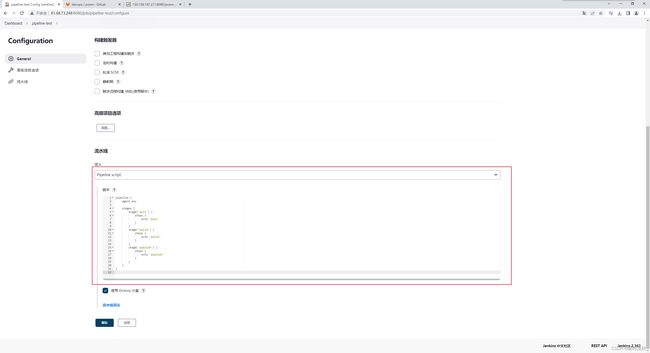
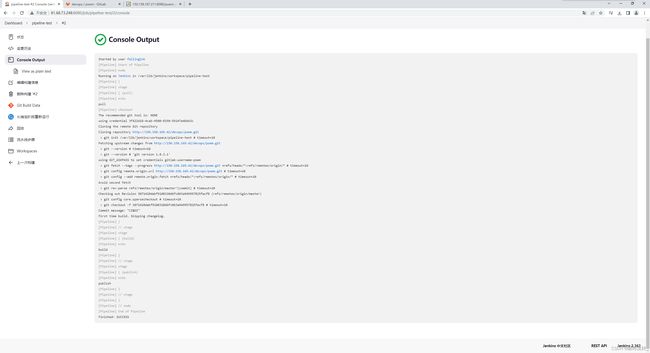
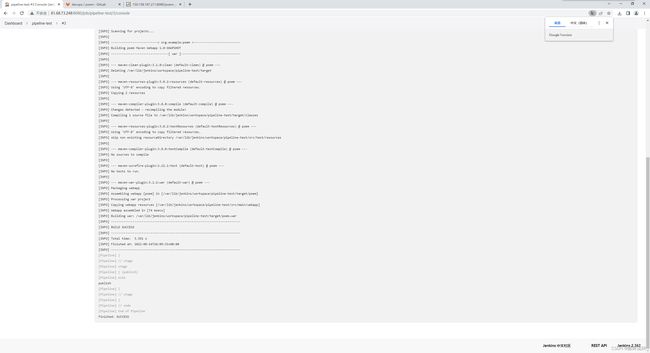
11、Pipeline
就是一套运行在 Jenkins 上的工作流框架,将原来独立运行于单个或者多个节点 的任务连接起来,实现单个任务难以完成的复杂流程编排和可视化的工作。
语法主要分为两种
- Declarative
- Scripted
Declarative
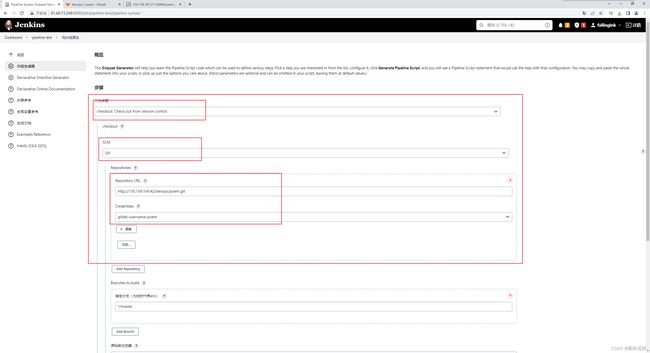
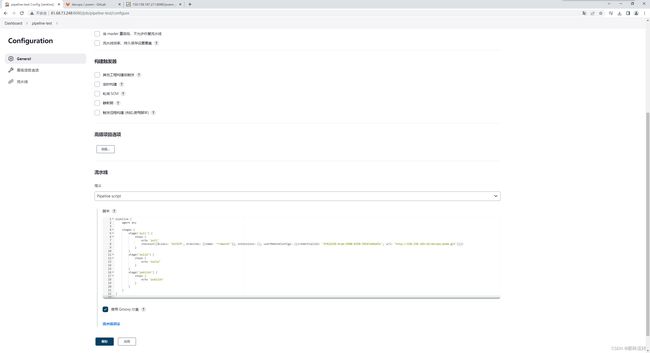
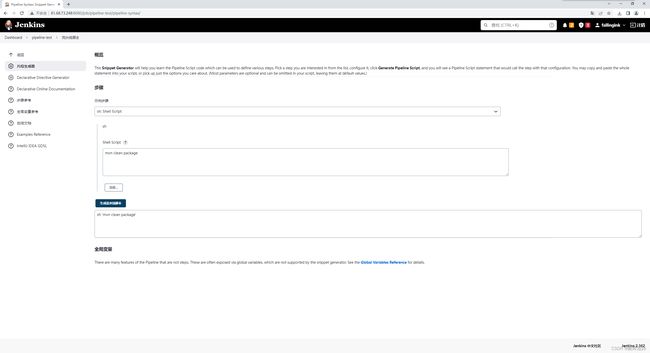
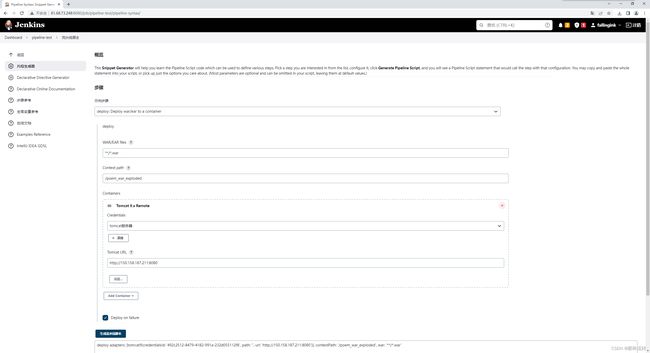
语法生成
因为2.x建议使用Declarative语法,这里不再记录
12、内置构建触发器
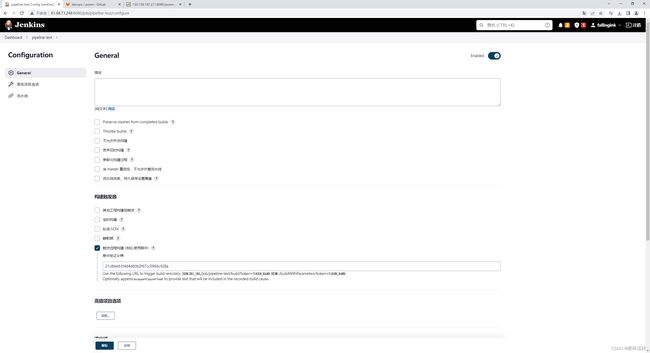
- 触发远程构建
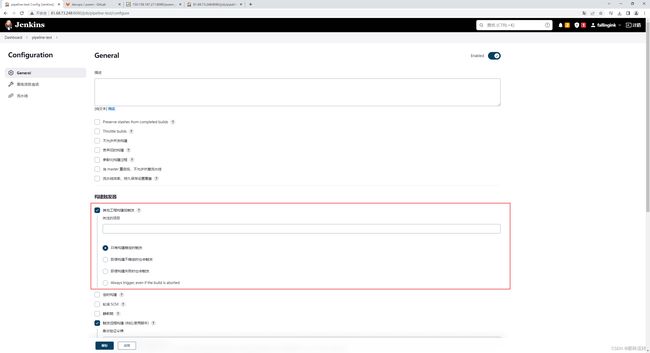
- 其他工程构建后触发(Build after other projects are build)
- 定时构建(Build periodically)
- 轮询SCM(Poll SCM)
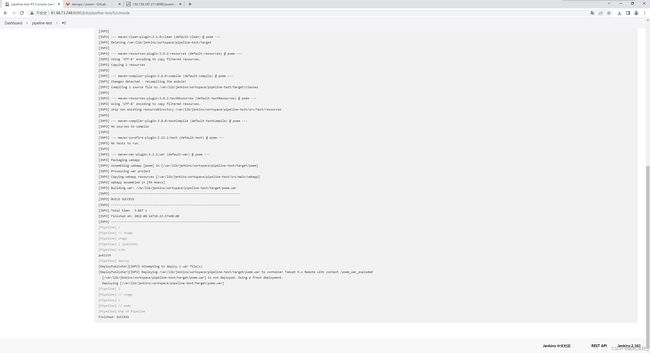
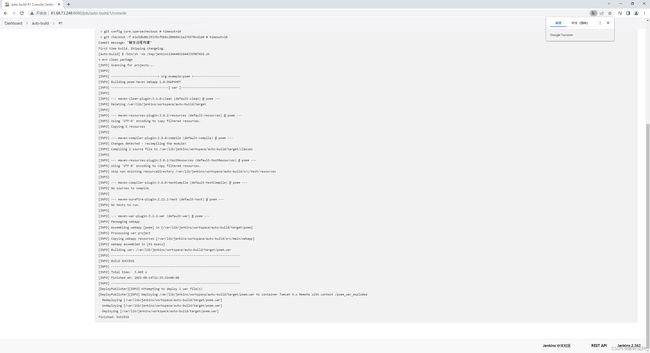
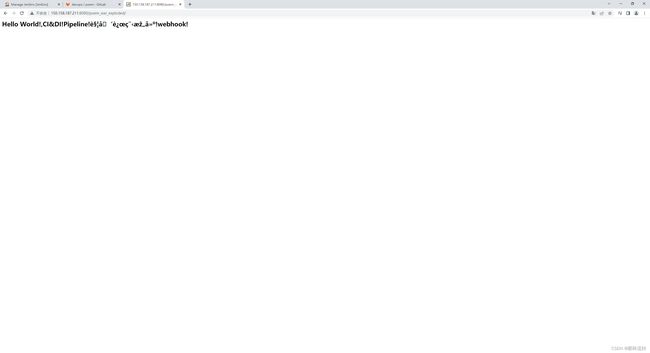
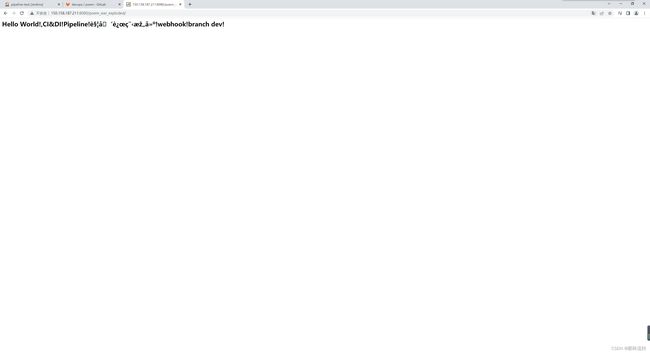
查看效果(这里乱码了,不过问题不大,看出来更新了,,,,,,,

其他工程构建后触发(Build after other projects are build)
定时构建(Build periodically)
使用的是一种类似cron表达式的方式
依次为:分 时 日 月 周
轮询SCM(Poll SCM)
指定时扫描本地代码仓库的代码是否有变更,如果代码有变更就触发项目构建

13、webhook自动触发构建
在项目中开启:Build when a change is pushed to GitLab. GitLab webhook URL: xxx

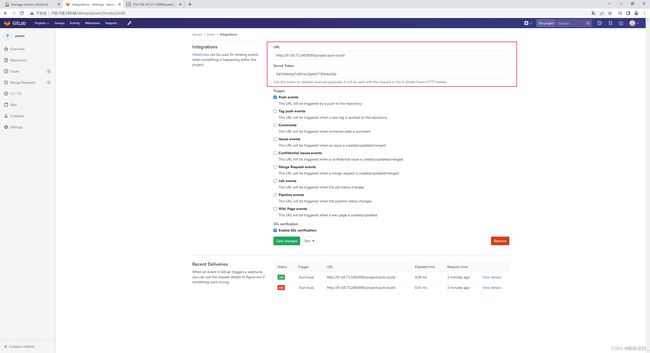
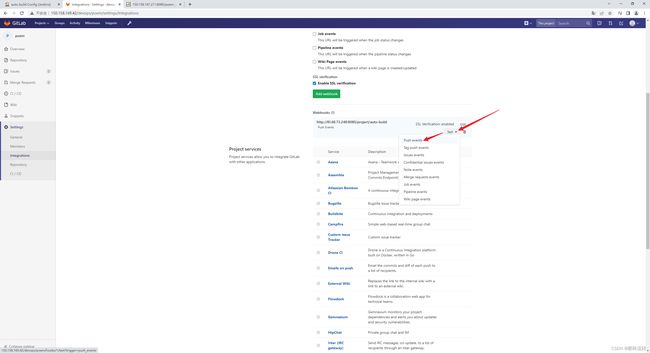
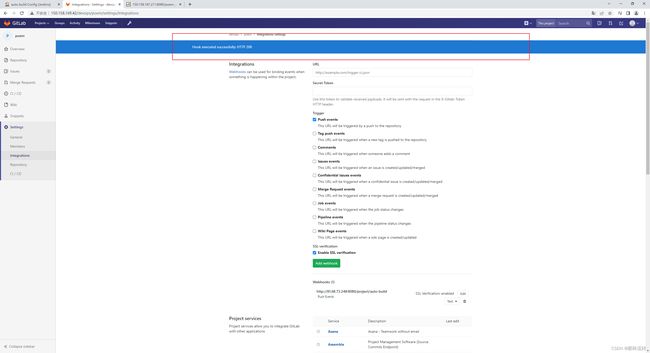
gitlab设置webhook地址
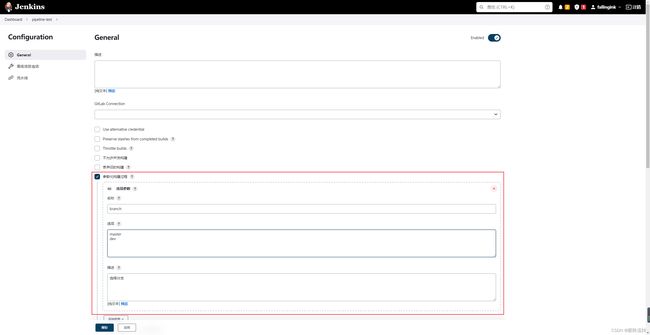
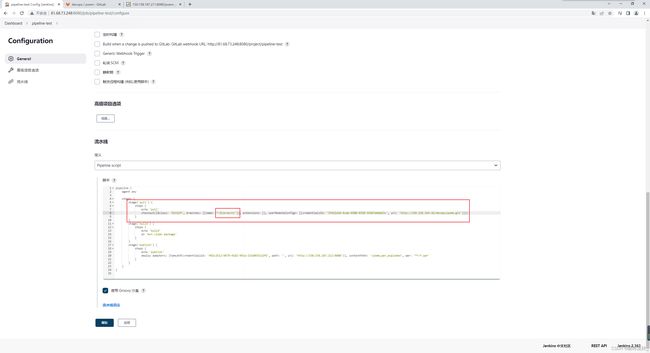
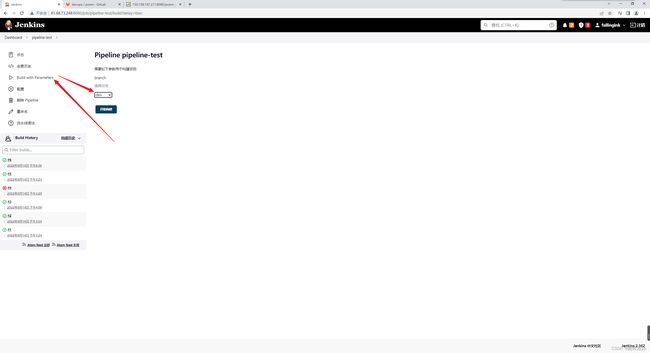
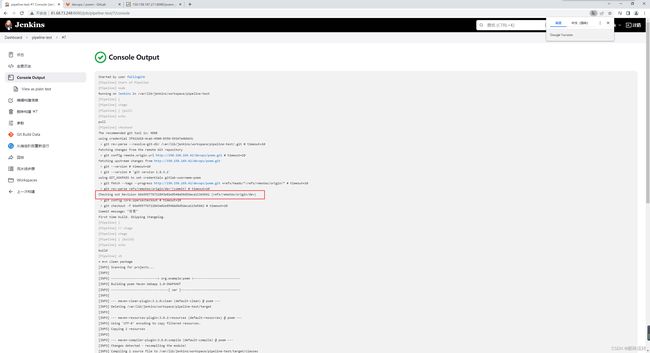
14、参数化构建
git分支命名规则
| 分支 | 命名 | 说明 |
|---|---|---|
| 主分支 | master | 主分支,所有提供给用户使用的正式版本,都在这个主分支上发布 |
| 开发分支 | dev | 开发分支,永远是功能最新最全的分支 |
| 功能分支 | feature-* | 新功能分支,某个功能点正在开发阶段 |
| 发布版本 | release-* | 发布定期要上线的功能 |
| 修复分支 | bug-* | 修复线上代码的 bug |
15、邮件
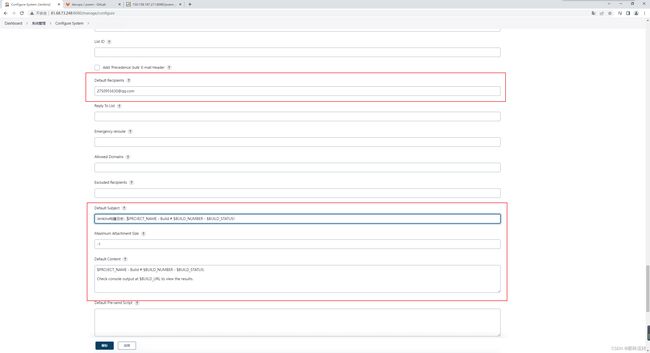
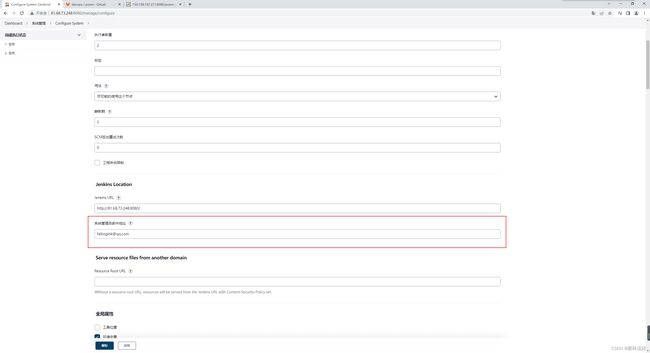
jenkins->系统管理->系统配置
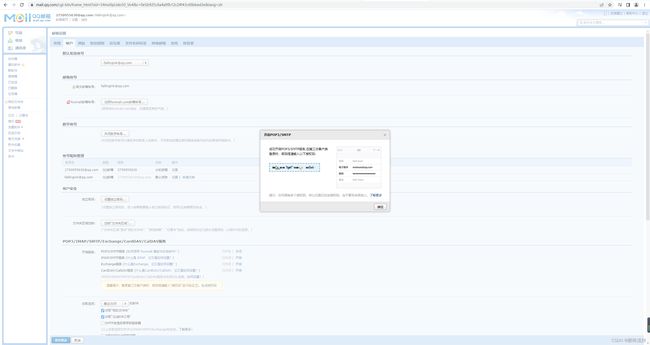
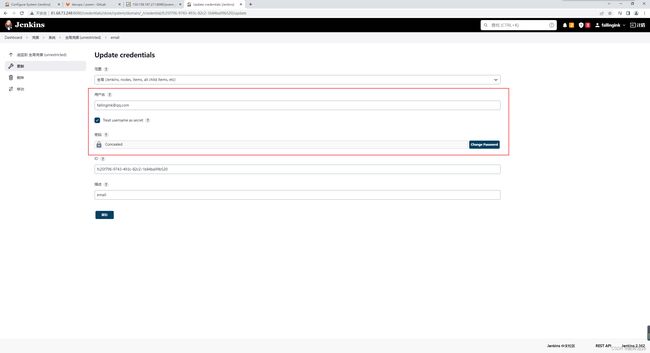
系统管理员邮件地址
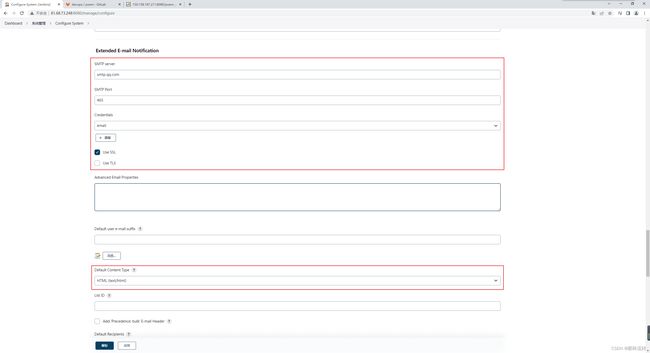
Extended E-mail Notification
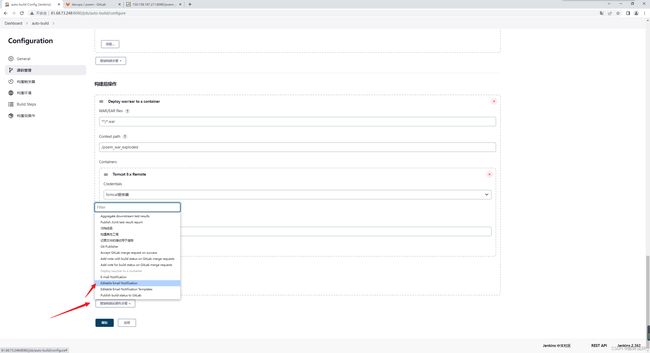
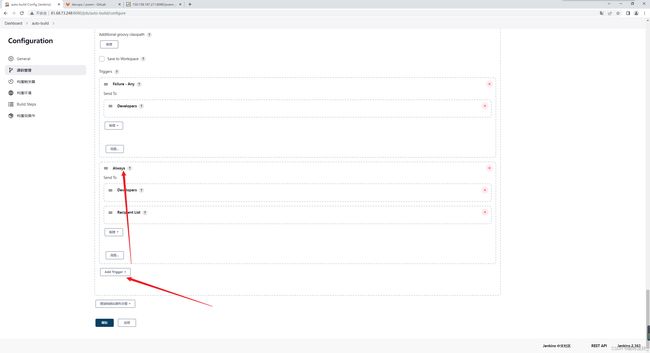
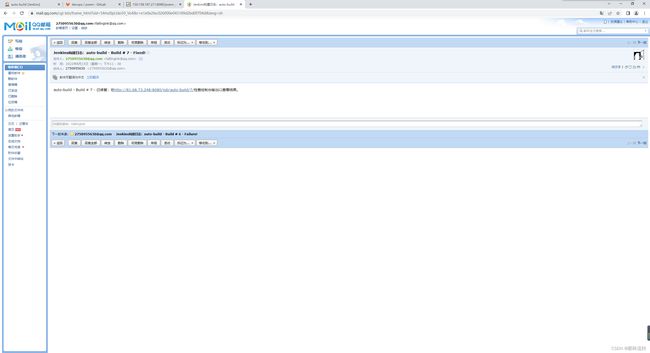
配置构建后发送邮件2
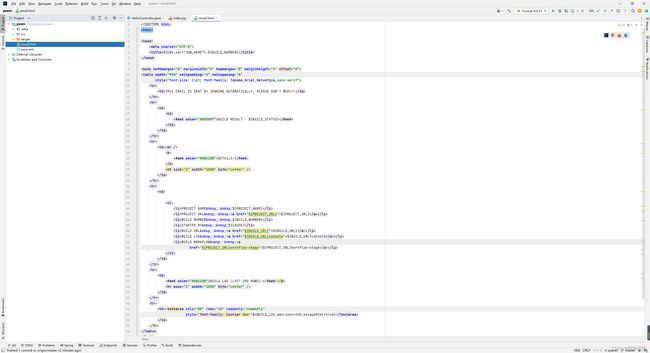
DOCTYPE html>
<html>

<head>
    <meta charset="UTF-8">
    <title>${ENV,var="JOB_NAME"}-${BUILD_NUMBER}title>
head>

<body leftmargin="8" marginwidth="0" topmargin="8" marginheight="4" offset="0">
<table width="95%" cellpadding="0" cellspacing="0"
       style="font-size: 11pt; font-family: Tahoma,Arial,Helvetica,sans-serif">
    <tr>
        <td>THIS EMAIL IS SENT BY JENKINS AUTOMATICALLY, PLEASE DON'T REPLY!td>
    tr>
    <tr>
        <td>
            <h2>
                <font color="#0000FF">BUILD RESULT - ${BUILD_STATUS}font>
            h2>
        td>
    tr>
    <tr>
        <td><br />
            <b>
                <font color="#0B610B">DETAILS:font>
            b>
            <ht size="2" width="100%" byte="center" />
        td>
    tr>
    <tr>
        <td>

            <ul>
                <li>PROJECT NAME : ${PROJECT_NAME}li>
                <li>PROJECT URL : <a href="${PROJECT_URL}">${PROJECT_URL}a>li>
                <li>BUILD NUMBER : ${BUILD_NUMBER}li>
                <li>STARTED BY : ${CAUSE}li>
                <li>BUILD URL : <a href="${BUILD_URL}">${BUILD_URL}a>li>
                <li>BUILD LOG : <a href="${BUILD_URL}console">${BUILD_URL}consolea>li>
                <li>BUILD WORKFLOW : <a
                        href="${PROJECT_URL}workflow-stage">${PROJECT_URL}workflow-stagea>li>
            ul>
        td>
    tr>
    <tr>
        <td>
            <font color="#0B610B">BUILD LOG (LAST 200 ROWS):font>b>
            <hr size="2" width="100%" byte="center" />
        td>
    tr>
    <tr>
        <td><textarea cols="80" rows="30" readonly="readonly"
                      style="font-family: Courier New">${BUILD_LOG,maxLines=200,escapeHtml=true}textarea>
        td>
    tr>
table>
body>

html>
16、代码审查
默认已经配置过mysql数据库并且拥有一个名为sonar的数据库

下载sonar并上传到服务器
https://www.sonarqube.org/downloads/
安装unzip
yum install unzip
解压
unzip sonarqube-9.6.0.59041.zip
创建sonar用户
useradd sonar
更改sonar目录权限
chmod -R 777 /opt/sonarqube-9.6.0.59041/
更改sonar配置文件
vim /opt/sonarqube-9.6.0.59041/conf/sonar.properties
sonar.jdbc.username=root
sonar.jdbc.password=xumeng2233.
onar.jdbc.url=jdbc:mysql://localhost:3306/sonar?useUnicode=true&characterEncoding=utf8&rewriteBatchedStatements=true&useConfigs=maxPerformance&useSSL=false
启动sonar
su sonar /opt/sonarqube-9.6.0.59041/bin/linux-x86-64/sonar.sh start
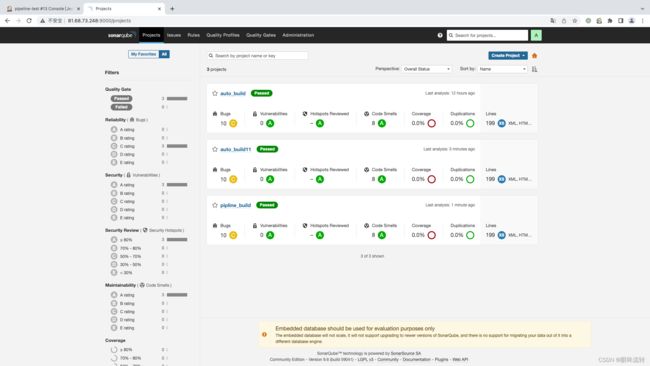
http://81.68.73.248:9000/
默认账号密码是admin-admin
下载SonarQube Scanner,并上传到服务器(自动安装会使用非预期的jdk,所以我们自己安装
SonarQube Scanner 官网:https://docs.sonarqube.org/latest/analysis/scan/sonarscanner/
unzip sonar-scanner-cli-4.7.0.2747-linux.zip
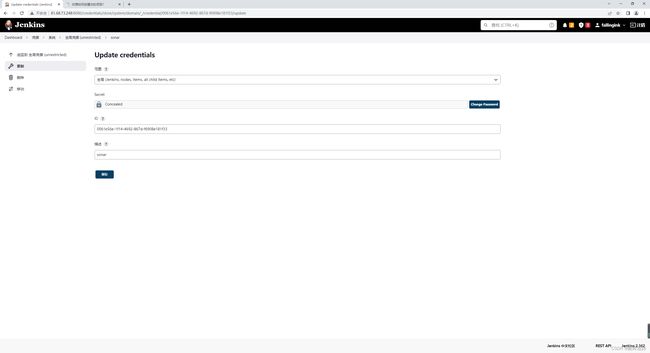
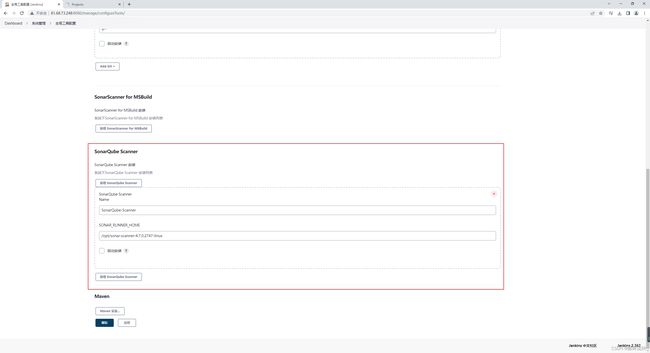
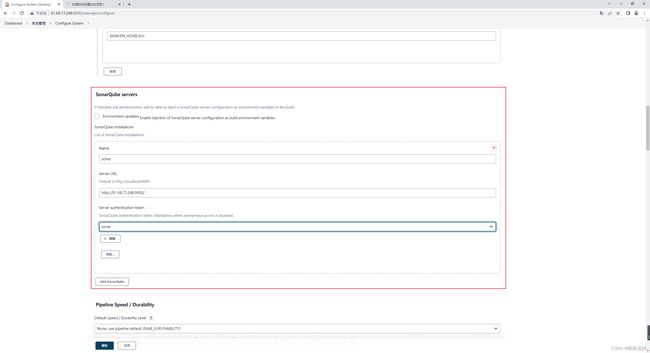
配置sonar服务
配置项目扫描1
# must be unique in a given SonarQube instance
sonar.projectKey=auto_build
# this is the name and version displayed in the SonarQube UI. Was mandatory prior to SonarQube 6.1.
sonar.projectName=auto_build
sonar.projectVersion=1.0
# Path is relative to the sonar-project.properties file. Replace "\" by "/" on Windows.
# This property is optional if sonar.modules is set.
sonar.sources=.
sonar.exclusions=**/test/**,**/target/**
# Encoding of the source code. Default is default system encoding
sonar.sourceEncoding=UTF-8
配置项目扫描2
在项目下创建sonar-project.properties(src同级
# must be unique in a given SonarQube instance
sonar.projectKey=pipline_build
# this is the name and version displayed in the SonarQube UI. Was mandatory prior to SonarQube 6.1.
sonar.projectName=pipline_build
sonar.projectVersion=1.0
# Path is relative to the sonar-project.properties file. Replace "\" by "/" on Windows.
# This property is optional if sonar.modules is set.
sonar.sources=.
sonar.exclusions=**/test/**,**/target/**
# Encoding of the source code. Default is default system encoding
sonar.sourceEncoding=UTF-8
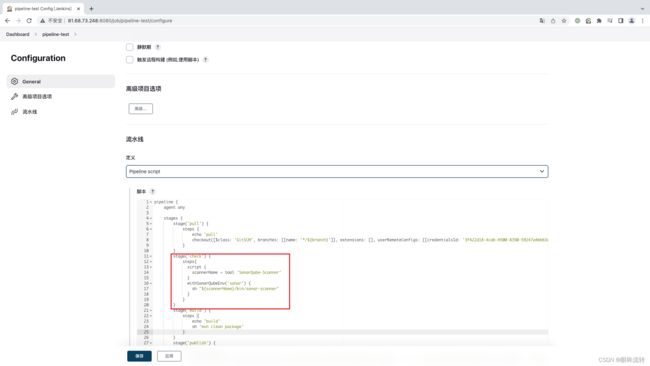
pipeline {
    agent any

    stages {
        stage('pull') {
            steps {
                echo 'pull'
                checkout([$class: 'GitSCM', branches: [[name: '*/${branch}']], extensions: [], userRemoteConfigs: [[credentialsId: '3f422d18-4cab-4500-8350-59247a4bb63c', url: 'http://150.158.169.42/devops/poem.git']]])
            }
        }
        stage('check') {
            steps{
              script {
                scannerHome = tool 'SonarQube-Scanner'
              }
              withSonarQubeEnv('sonar') {
                sh "${scannerHome}/bin/sonar-scanner"
              }
            }
        }
        stage('build') {
            steps {
                echo 'build'
                sh 'mvn clean package'
            }
        }
        stage('publish') {
            steps {
                echo 'publish'
                deploy adapters: [tomcat9(credentialsId: '492c2512-8479-4182-991a-232d055112f8', path: '', url: 'http://150.158.187.211:8080')], contextPath: '/poem_war_exploded', war: '**/*.war'
            }
        }
    }
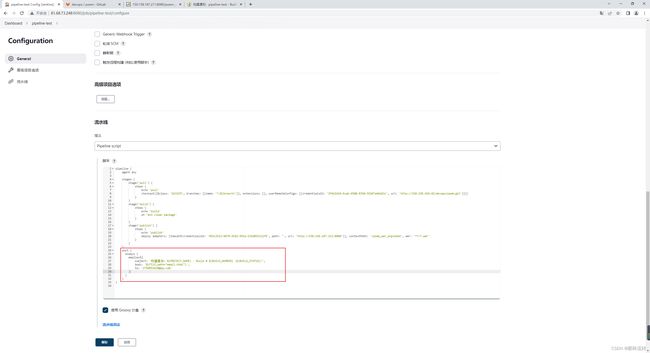
    post {
      always {
        emailext(
            subject: '构建通知:${PROJECT_NAME} - Build # ${BUILD_NUMBER} -${BUILD_STATUS}!',
            body: '${FILE,path="email.html"}',
            to: '[email protected]'
        )
      }
    }
}


