rhce8模拟考试
rhce考试模拟环境准备:
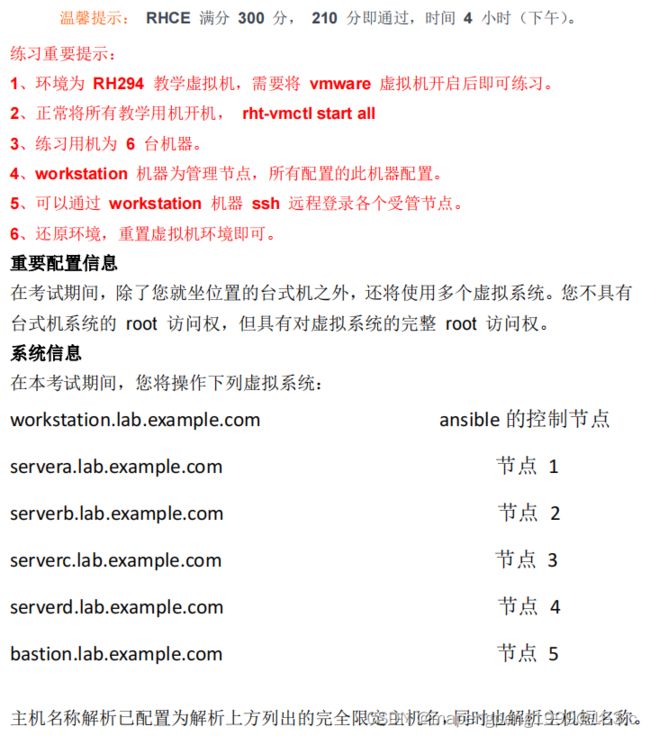
cat /etc/rht 确认当前是否为294环境,真实考试有5台被管理节点,借助bastion当做第5台。
将考试所需的文件放到这个目录,/content/courses/rh294/rhel8.0/materials目录,看br0网卡信息ifconfig br0
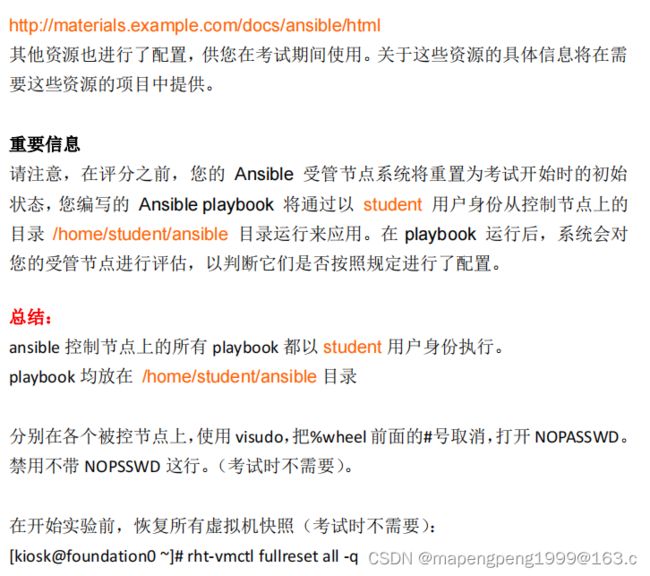
rht-vmctl fullreset all 初始化后做题(重置后sudo免密要重新做,重置后所有做的东西都被清空的)
真正考试时,是要求使用一个普通用户来做题,该用户已做好ssh免密和sudo免密。做题环境ssh免密做好了,但要自己配置sudo免密。
在6台机子给student用户做sudo免密,先在物理机以root身份登录到worktation,vim /etc/sudoers.d/student
%wheel ALL= NOPASSWD: ALL
后将此文件拷贝到其它机子上,scp /etc/sudoers.d/student root@bastion:/etc/sudoers.d/
环境准备好后用student做题,在物理机以student登录到worktation做题。

考试说明:

1、安装和配置 Ansible

[student@workstation ~]$ sudo yum install ansible -y
[student@workstation ~]$ mkdir -p ansible/roles
[student@workstation ~]$ cd ansible
[student@workstation ansible]$ vim inventory
[dev]
servera
[test]
serverb
[prod]
serverc
serverd
[balancers]
bastion
[webservers:children]
prod

[prod]也可写成,server[c:d]

先从默认配置文件把提权部分复制出来,vim /etc/ansible/ansible.cfg,搜索/pri找到并复制下面内容
[privilege_escalation]
#become=True
#become_method=sudo
#become_user=root
#become_ask_pass=False

vim ansible.cfg
[defaults]
inventory=/home/student/ansible/inventory
remote_user=student
roles_path=/home/student/ansible/roles
[privilege_escalation]
become=True
become_method=sudo
become_user=root
become_ask_pass=False

[student@workstation ansible]$ ansible --version
[student@workstation ansible]$ ansible all --list-hosts
2、创建和运行 Ansible 临时命令
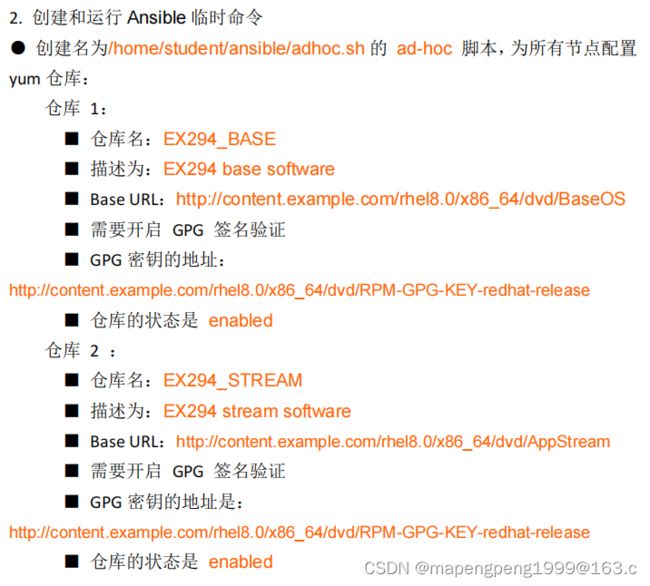
[student@workstation ansible]$ vim adhoc.sh
#!/bin/bash
ansible all -m yum_repository -a 'name="EX294_BASE" description="EX294 base software" baseurl=http://content.example.com/rhel8.0/x86_64/dvd/BaseOS gpgcheck=yes gpgkey=http://content.example.com/rhel8.0/x86_64/dvd/RPM-GPG-KEY-redhat-release enabled=yes'

ansible all -m yum_repository -a 'name="EX294_STREAM" description="EX294 stream software" baseurl=http://content.example.com/rhel8.0/x86_64/dvd/AppStream gpgcheck=yes gpgkey=http://content.example.com/rhel8.0/x86_64/dvd/RPM-GPG-KEY-redhat-release enabled=yes'
[student@workstation ansible]$ chmod +x adhoc.sh
[student@workstation ansible]$ ./adhoc.sh
[student@workstation ansible]$ ssh student@servera
[student@servera ~]$ ls /etc/yum.repos.d/
3、安装软件包

 vim install_packages.yml
 ---
- name: packages
  hosts: dev,test,prod
  tasks:
          - name: install-1
            yum:
                name:
                        - php
                        - mariadb
                state: present
- name: packages
  hosts: dev
  tasks:
          - name: install-2
            yum:
                name: "@Development Tools"
                state: present
- name: packages
  hosts: dev
  tasks:
          - name: update
            yum:
                name: '*'
                state: latest

同时安装多个软件包也可用循环,
yum:
  name: "{{ item }}"
  state: present
loop:
  - php
  - mariadb
ansible-playbook install_packages.yml
4、使用 RHEL 系统角色
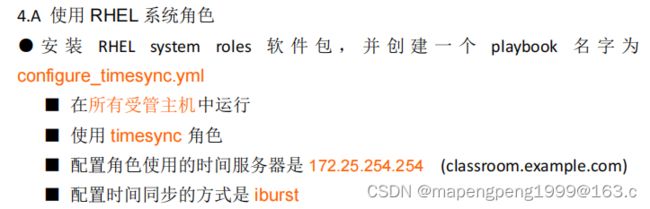
[student@workstation ansible]$ sudo yum install rhel-system-roles -y
[student@workstation ansible]$ cp /usr/share/ansible/roles/rhel-system-roles.timesync ./roles -r
[student@workstation ansible]$ cd roles/rhel-system-roles.timesync
参考角色里的README.md找到并复制下面内容
vars:
    timesync_ntp_servers:
      - hostname: foo.example.com
        iburst: yes

vim configure_timesync.yml
---
- name: time
  hosts: '*'
  vars:
    timesync_ntp_servers:
      - hostname: classroom.example.com
        iburst: yes
  roles:
    - rhel-system-roles.timesync

[student@workstation ansible]$ ansible-playbook configure_timesync.yml
时间同步过程的这个错误可忽略,Could not find the requested service timemaster: host

[student@workstation ansible]$ sudo yum install rhel-system-roles -y
[student@workstation ansible]$ cp /usr/share/ansible/roles/rhel-system-roles.selinux ./roles -r
[student@workstation ansible]$ cd roles/rhel-system-roles.selinux
参考角色里的README.md找到并复制下面内容
selinux_state: enforcing

vim selinux.yml
---
- name: selinux
  hosts: all
  vars:
          selinux_state: enforcing
  roles:
          - rhel-system-roles.selinux

[student@workstation ansible]$ ansible-playbook selinux.yml
5、使用 Ansible Galaxy 安装角色

在roles目录里创建需求文件[student@workstation ansible]$ vim roles/requirements.yml
- src: http://materials.example.com/haproxy.tar
  name: balance

- src: http://materials.example.com/phpinfo.tar
  name: phpinfo

退到项目目录ansible执行[student@workstation ansible]$ ansible-galaxy install  -r roles/requirements.yml -p roles
-r使用怎样的需求文件,-P安装到什么位置
[student@workstation ansible]$ ansible-galaxy list
6、创建和使用角色
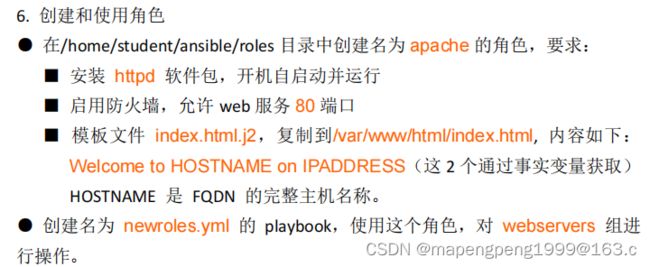
[student@workstation roles]$ ansible-galaxy init apache
[student@workstation roles]$ cd apache/templates
[student@workstation templates]$ vim index.html.j2
Welcome to {{ ansible_facts.fqdn }} on {{ ansible_facts.default_ipv4.address }}

也可以写成这样,Welcome to {{ ansible_fqdn }} on {{ ansible_default_ipv4.address }}
退到ansible目录,ansible servera -m setup获取事实变量
ansible servera -m setup |grep ipv4
ansible_default_ipv4.address
ansible servera -m setup |grep fqdn
ansible_fqdn

cd apache/tasks
vim main.yml
---
# tasks file for apache
- name: yum
  yum:
          name: httpd
          state: present
- name: start
  service:
          name: httpd
          state: started
          enabled: true
- name: start
  service:
          name: firewalld
          state: started
          enabled: true
- name: open http
  firewalld:
          port: 80/tcp
          state: enabled
          permanent: true
          immediate: true
- name: cp
  template:
          src: templates/index.html.j2
          dest: /var/www/html/index.html

退到项目目录ansible,vim newroles.yml
---
- name: roles
  hosts: webservers
  roles:
          - apache

ansible-playbook newroles.yml
测试,curl http://serverc
7、从 Ansible Galaxy 使用角色
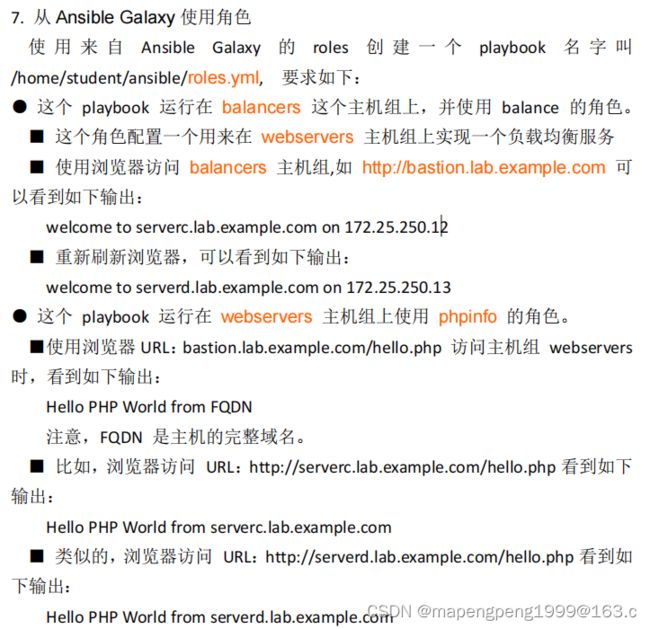
vim roles.yml
---
- name: 1
  hosts: webservers
  roles:
          - phpinfo
- name: 2
  hosts: balancers
  roles:
          - balance
  tasks:
          - name: start firewalld
            service:
                    name: firewalld
                    state: started
                    enabled: true
          - name: open 80
            firewalld:
                    port: 80/tcp
                    state: enabled
                    permanent: true
                    immediate: true

做题环境有问题会报错的,考试不会报错
因为bastion的80端口被httpd占用了,ssh root@bastion
systemctl stop httpd 和 systemctl disable httpd
测试curl http://bastion发现都是12原因还是做题环境问题
ssh root@bastion  vim /etc/haproxy/haproxy.cfg  到最后把11改成13
再重启服务 systemctl restart haproxy.service
再次测试curl http://bastion就是一次12一次13了
curl http://serverd/hello.php
8、创建和使用逻辑卷

block  rescue  always
block运行成功,不会运行rescue,而是直接运行always
block运行失败,会先运行rescue,再运行always
考试不用挂载就不用awalys
[student@workstation ansible]$ vim lv.yml
---
- name: create lvm
  hosts: all
  tasks:
          - name: create vdb1
            block:
                    - name: create 1.5G partition
                      parted:
                              number: 1
                              part_end: 1500MiB
                              device: /dev/vdb
                              state: present
                              flags: [lvm]
            rescue:
                    - name: display error message
                      debug:
                              msg: "could not create lv of that size"
                    - name: create 800M partition
                      parted:
                              number: 1
                              part_end: 800MiB
                              device: /dev/vdb
                              state: present
                              flags: [lvm]
                      ignore_errors: yes
          - name: create vg
            lvg:
                    pvs: /dev/vdb1
                    vg: vg0
            ignore_errors: yes
          - name: check if vg is exit
            shell: "vgdisplay vg0"
            register: vg
            ignore_errors: yes
          - name: show debug message
            debug:
                    msg: "vg group does not exit"
            when: vg.rc != 0
          - name: create lv
            lvol:
                    lv: lv0
                    vg: vg0
                    size: 100%FREE
            ignore_errors: yes
          - name: mkfs ext4 filesystem
            filesystem:
                    fstype: ext4
                    dev: /dev/vg0/lv0
            ignore_errors: yes
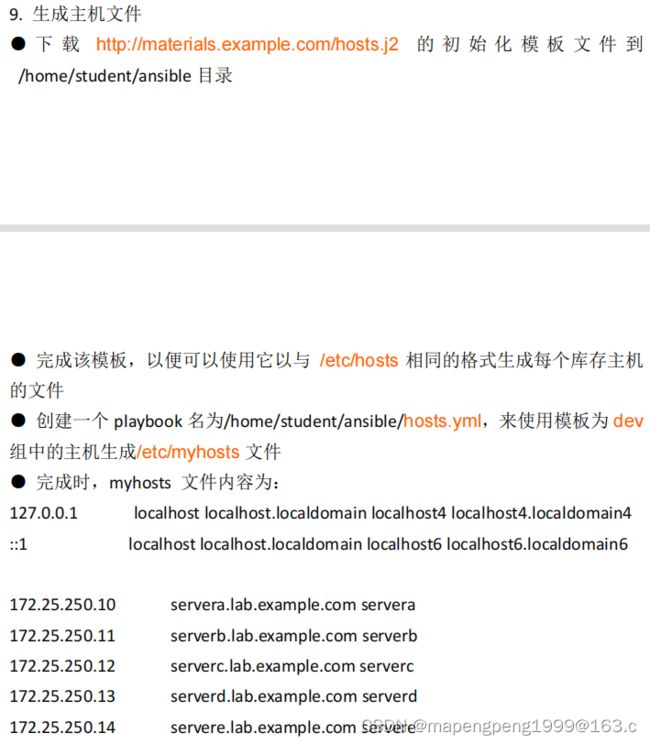
9、生成主机文件
魔法变量:
1、groups:列出清单中所有主机或主机组
2、hostvars:从当前主机去检索其它主机的变量值
注意:生成的文件顺序不对没有关系。重点:是在hosts.j2 原来基础上加循环内容。
[student@workstation ansible]$ wget http://materials.example.com/hosts.j2
[student@workstation ansible]$ cat hosts.j2
127.0.0.1 localhost localhost.localdomain localhost4 localhost4.localdomain4
::1 localhost localhost.localdomain localhost6 localhost6.localdomain6

[student@workstation ansible]$ vim hosts.j2
vim hosts.j2
{% for host in groups['all'] %}
{{ hostvars[host]['ansible_facts']['default_ipv4']['address'] }}
{{ hostvars[host]['ansible_facts']['fqdn'] }}
{{ hostvars[host]['ansible_facts']['hostname'] }}
{% endfor %}

[student@workstation ansible]$ vim hosts.yml
vim hosts.yml
---
- name: create hosts
  hosts: all
  tasks:
          - name: copy j2
            template:
                    src: /home/student/ansible/hosts.j2
                    dest: /etc/myhosts
            when: inventory_hostname in groups['dev']
10、修改文件内容

[student@workstation ansible]$ vim issue.ym
---
- name: issue
  hosts: dev
  tasks:
          - name: dev
            lineinfile:
                    path: /etc/issue
                    line: "Development\n"
- name: issue
  hosts: test
  tasks:
          - name: test
            lineinfile:
                    path: /etc/issue
                    line: "Test\n"
- name: issue
  hosts: prod
  tasks:
          - name: test
            lineinfile:
                    path: /etc/issue
                    line: "Production\n"
测试,ssh student@servera,cat /etc/issue

11、创建 Web 内容目录
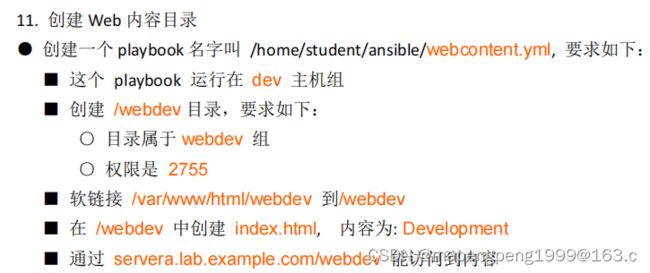
[student@workstation ansible]$ vim webcontent.yml
---
- name: create webcontent
  hosts: dev
  tasks:
          - name: create group
            group:
                    name: webdev
                    state: present
          - name: create dir
            file:
                    path: /webdev
                    group: webdev
                    mode: 2755
                    state: directory
                    setype: httpd_sys_content_t
          - name: create link
            file:
                    src: /webdev
                    dest: /var/www/html/webdev
                    state: link
                    setype: httpd_sys_content_t
          - name: create index html
            copy:
                    content: "Development\n"
                    dest: /webdev/index.html
                    setype: httpd_sys_content_t
          - name: start httpd
            service:
                    name: httpd
                    state: started
                    enabled: true
          - name: open port
            firewalld:
                    port: 80/tcp
                    state: enabled
                    permanent: true
                    immediate: true
测试 curl http://servera/webdev/
12、生成硬件报告

进入项目目录ansible,获取事实变量ansible serverc -m setup |grep mem
[student@workstation ansible]$ vim hwreport.yml     regexp正则表达式
---
- name:  display info
  hosts: '*'
  tasks:
          - name: download
            get_url:
                    url: http://materials.example.com/hwreport.empty
                    dest: /root/hwreport.txt
          - name: hostname
            lineinfile:
                    path: /root/hwreport.txt
                    regexp: "^HOST"
                    line: "HOST={{ inventory_hostname }}"
                    state: present
          - name: mem
            lineinfile:
                    path: /root/hwreport.txt
                    regexp: "^MEMORY"
                    line: "MEMORY={{ ansible_memtotal_mb }}"
                    state: present
          - name: bios
            lineinfile:
                    path: /root/hwreport.txt
                    regexp: "^BIOS"
                    line: "BIOS={{ ansible_bios_version }}"
                    state: present
          - name: vda is defined
            lineinfile:
                    path: /root/hwreport.txt
                    regexp: "^DISK_SIZE_VDA"
                    line: "DISK_SIZE_VDA={{ ansible_devices.vda.size }}"
                    state: present
            when: ansible_devices.vda is defined
          - name: vdb is defined
            lineinfile:
                    path: /root/hwreport.txt
                    regexp: "^DISK_SIZE_VDB"
                    line: "DISK_SIZE_VDB={{ ansible_devices.vdb.size }}"
                    state: present
            when: ansible_devices.vdb is defined
          - name: vdb is not defined
            lineinfile:
                    path: /root/hwreport.txt
                    regexp: "^DISK_SIZE_VDB"
                    line: "DISK_SIZE_VDB=NONE"
                    state: present
            when: ansible_devices.vdb is not defined
测试,[student@workstation ansible]$ ssh root@servera cat hwreport.txt
# Hardware report
HOST=servera
MEMORY=821
BIOS=1.11.1-3.module+el8+2529+a9686a4d
DISK_SIZE_VDA=10.00 GB
DISK_SIZE_VDB=5.00 GB
13、创建密码库

[student@workstation ansible]$ vim secret.txt
redhat
[student@workstation ansible]$ ansible-vault create locker.yml  创建加密文件
pw_developer: Imadev
pw_manager: Imamgr
[student@workstation ansible]$ ansible-vault view locker.yml  查看加密文件
14、创建用户账户

[student@workstation ansible]$ wget http://materials.example.com/user_list.yml
[student@workstation ansible]$ cat user_list.yml
users:
  - name: bob
    job: developer
  - name: sally
    job: manager
  - name: fred
    job: developer
[student@workstation ansible]$ vim users.yml
---
- name: user
  hosts: dev,test
  vars_files:
          - user_list.yml
          - locker.yml
  tasks:
          - name: create group
            group:
                    name: devops
                    state: present
          - name: loop create users
            user:
                    name: "{{ item.name }}"
                    comment: "{{ item.job }}"
                    password: "{{ pw_developer | password_hash('sha512') }}"
                    groups: devops
                    state: present
            loop: "{{ users }}"
- name: user
  hosts: prod
  vars_files:
          - user_list.yml
          - locker.yml
  tasks:
          - name: create group
            group:
                    name: opsmgr
                    state: present
          - name: loop create users
            user:
                    name: "{{ item.name }}"
                    comment: "{{ item.job }}"
                    password: "{{ pw_manager | password_hash('sha512') }}"
                    groups: opsmgr
                    state: present
            loop: "{{ users }}"

运行加密playbook,ansible-playbook --vault-password-file=secret.txt  users.yml
也可使用ansible-playbook --ask-vault-pass users.yml  交互式输入密码
考试可能是uid或密码过期日期expr
用户的uid为,(把job "{{ item.job }}" 换成uid "{{ item.uid }}")
users:
 - name: bob
   uid: 123
 - name: sally
   uid: 132
 - name: fred
   uid: 321
密码过期日期为,(把job "{{ item.job }}" 换成expir "{{ item.expir }}")
users:
 - name: bob
   expir: 1
 - name: sally
   expir: 2
 - name: fred
   expir: 3
15、更新 Ansible 库的密钥

[student@workstation ansible]$ wget http://materials.example.com/salaries.yml
交互式先提示输入旧密码再输入新密码
[student@workstation ansible]$ ansible-vault rekey salaries.yml
16、配置计划任务

[student@workstation ansible]$ vim cron.yml
---
- name: cron
  hosts: all
  tasks:
          - name: cron
            cron:
                    name: "defining cron job"
                    minute: "*/2"
                    hour: "*"
                    day: "*"
                    month: "*"
                    weekday: "*"
                    job: logger "EX294 in progress"
                    user: "student"
                    state: present