Android开发之Toolbar(实现自定义工具栏)
文章目录
- Toolbar是什么
- 基本框架
- 常用属性
- 添加工具栏点击事件
- 更复杂的工具栏
Toolbar是什么
在项目运行在虚拟机上时,都可以看见屏幕上方有一个栏目(下图红框圈出的部分),此为系统默认的DarkActionBar,可在themes.xml中查看。
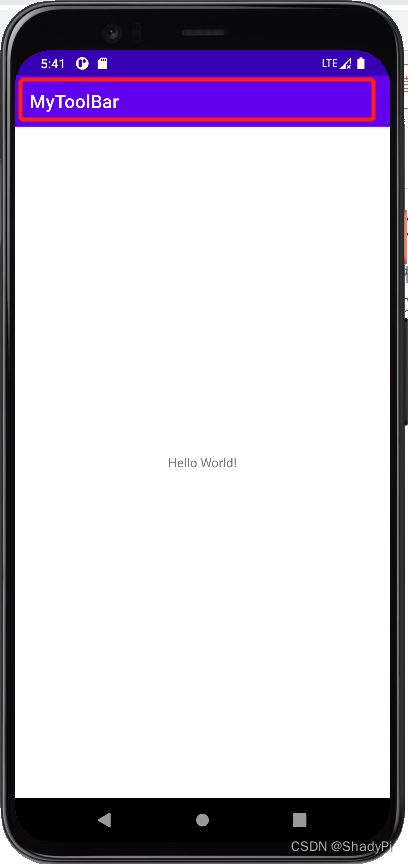
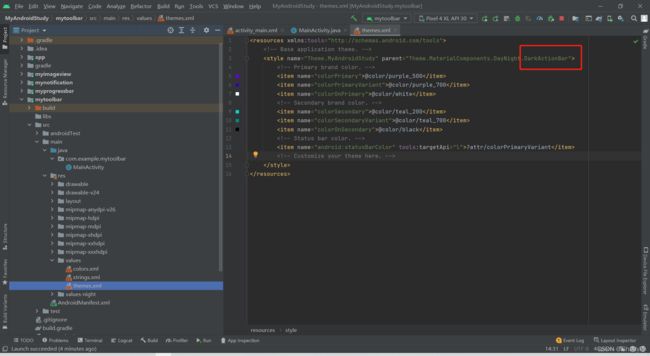
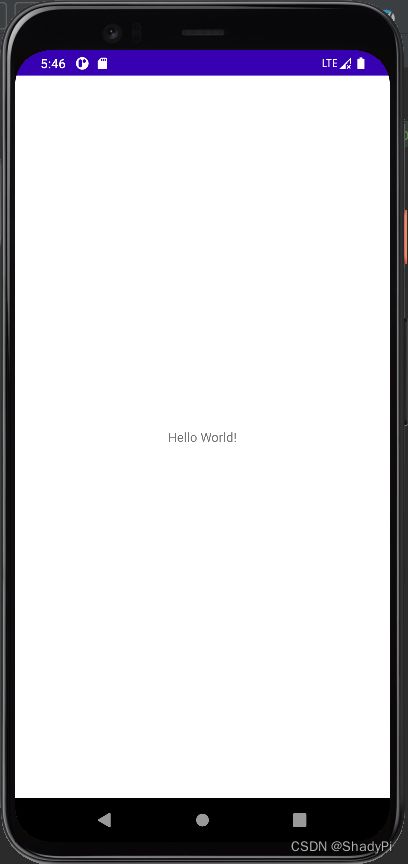
而Toolbar就是用于替换该栏目的,以便于我们更灵活的编辑栏目内容,所以我们先将主题文件中的DarkActionBar改为NoActionBar,再次运行就可以发现顶端的栏目不见了:
基本框架
<LinearLayout xmlns:android="http://schemas.android.com/apk/res/android"
    android:layout_width="match_parent"
    android:layout_height="match_parent"
    android:orientation="vertical">

    <androidx.appcompat.widget.Toolbar
        android:background="@color/teal_200"
        android:layout_width="match_parent"
        android:layout_height="?attr/actionBarSize"/>


LinearLayout>
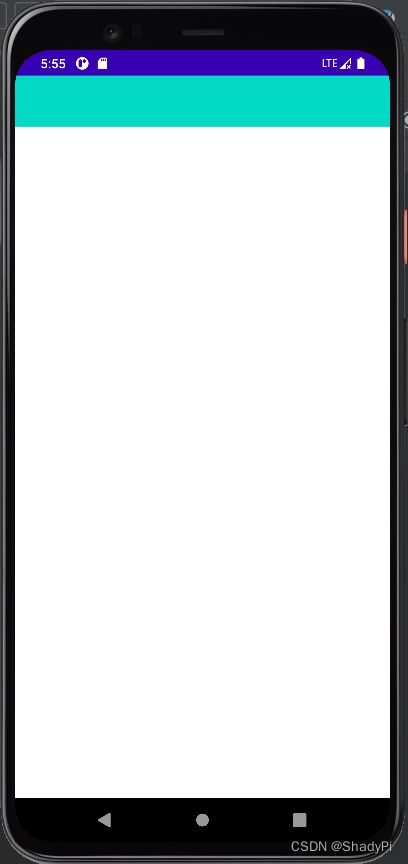
注意尖括号里不是普通的Toolbar,而是androidx.appcompat.widget.Toolbar。然后栏目的宽度直接与屏幕一致,高度则调用ActionBar的高度。设置好后在虚拟机上运行我们就能看到一个自定义颜色的工具栏:
常用属性
app:navigationIcon 导航图标,一般情况下放回退按钮,点击退回上一个界面。
android:background 工具栏颜色
app:title 标题
app:titleTextColor 标题文字颜色
app:titleMarginStart 标题与左侧间距
app:subtitle 子标题
app:subtitleTextColor 子标题颜色
app:logo 工具栏logo
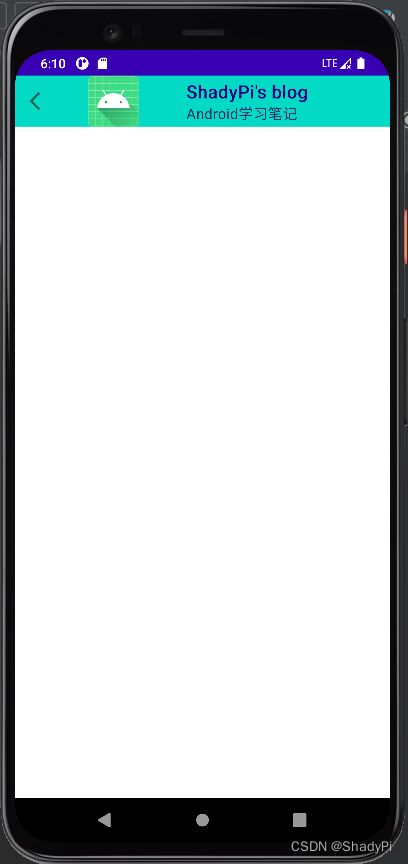
随意地设置了一番,看看效果:
<LinearLayout xmlns:android="http://schemas.android.com/apk/res/android"
    android:layout_width="match_parent"
    android:layout_height="match_parent"
    xmlns:app="http://schemas.android.com/apk/res-auto"
    android:orientation="vertical">

    <androidx.appcompat.widget.Toolbar
        android:background="@color/teal_200"
        app:navigationIcon="@drawable/ic_baseline_arrow_back_ios_24"
        app:title="ShadyPi's blog"
        app:titleTextColor="#10047E"
        app:titleMarginStart="60dp"
        app:subtitle="Android学习笔记"
        app:subtitleTextColor="#162D6A"
        app:logo="@mipmap/ic_launcher"
        android:layout_width="match_parent"
        android:layout_height="?attr/actionBarSize"/>


LinearLayout>
添加工具栏点击事件
给Toolbar加上id,我们就可以在java代码里获取并监听用户对工具栏图标的点击:
package com.example.mytoolbar;

import androidx.appcompat.app.AppCompatActivity;
import androidx.appcompat.widget.Toolbar;//记得Toolbar要导这个包的

import android.os.Bundle;
import android.util.Log;
import android.view.View;

public class MainActivity extends AppCompatActivity {

    @Override
    protected void onCreate(Bundle savedInstanceState) {
        super.onCreate(savedInstanceState);
        setContentView(R.layout.activity_main);

        Toolbar toolbar=findViewById(R.id.tb);

        toolbar.setNavigationOnClickListener(new View.OnClickListener() {
            @Override
            public void onClick(View view) {
                Log.e("ShadyPi","栏目被点击了");
            }
        });
    }
}
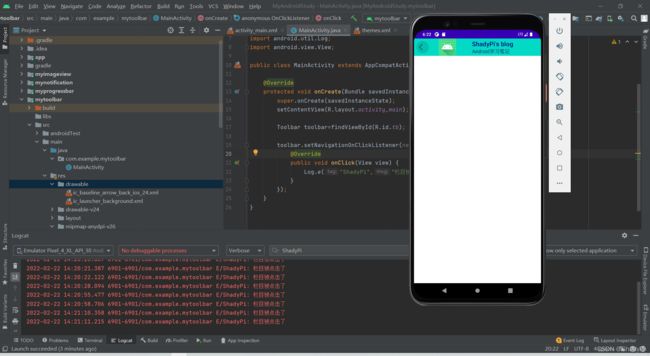
在java代码里也可以完成标题、颜色、工具栏图标等设置,实现效果与在xml中一致。
Toolbar toolbar2=findViewById(R.id.tb2);
        toolbar2.setNavigationIcon(R.drawable.ic_baseline_arrow_back_ios_24);
        toolbar2.setTitle("第二个工具栏");

        toolbar2.setNavigationOnClickListener(new View.OnClickListener() {
            @Override
            public void onClick(View view) {
                Log.e("ShadyPi","工具栏2被点击了");
            }
        });

更复杂的工具栏
只设置margin的话,感觉并不是很科学,更好的办法是直接添加一个TextView控件,设置其居中:
	<androidx.appcompat.widget.Toolbar
        android:id="@+id/tb3"
        android:background="@color/teal_200"
        android:layout_marginTop="10dp"
        app:navigationIcon="@drawable/ic_baseline_arrow_back_ios_24"
        android:layout_width="match_parent"
        android:layout_height="?attr/actionBarSize">

        <TextView
            android:text="居中"
            android:layout_gravity="center"
            android:layout_width="wrap_content"
            android:layout_height="wrap_content"/>

    androidx.appcompat.widget.Toolbar>

通过编写这个TextView,我们就能做出更复杂的效果。