vue实战:第一部分
一、创建项目
第一步:win+r进入cmd :输入vue ui

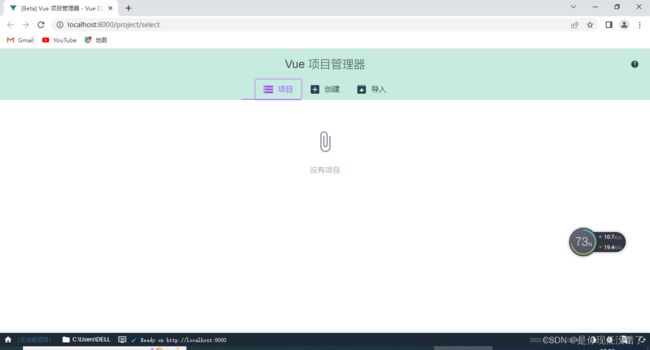
第二步:输入你要创建文件的文件夹位置
然后点击创建
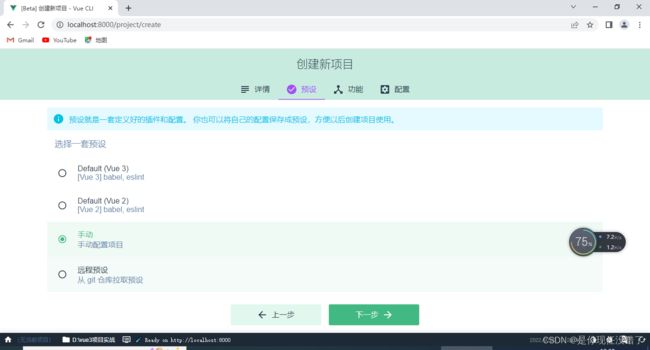
 输入创建的信息,即下一步

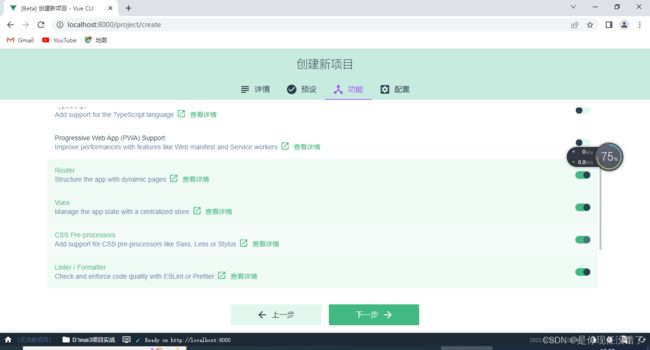
将vuex 、router、css、配置文件 勾选
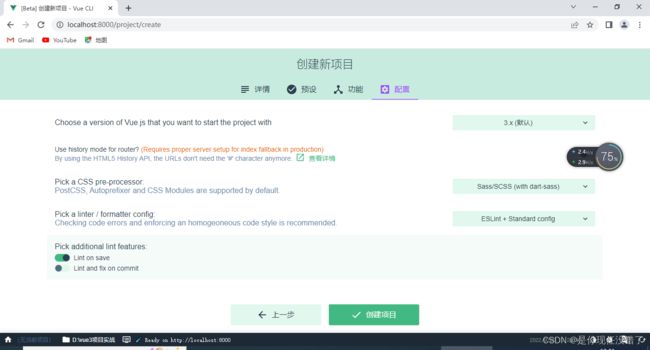
第三步

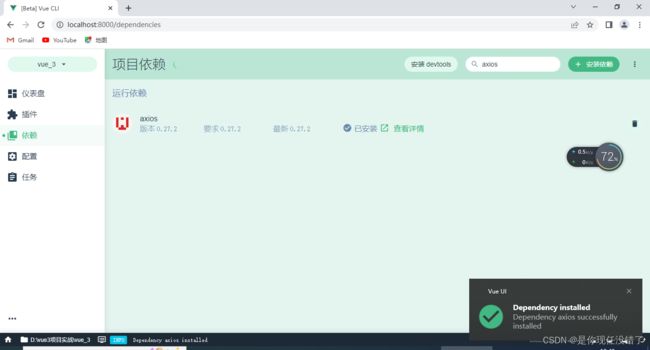
第四步就是创建相关依赖
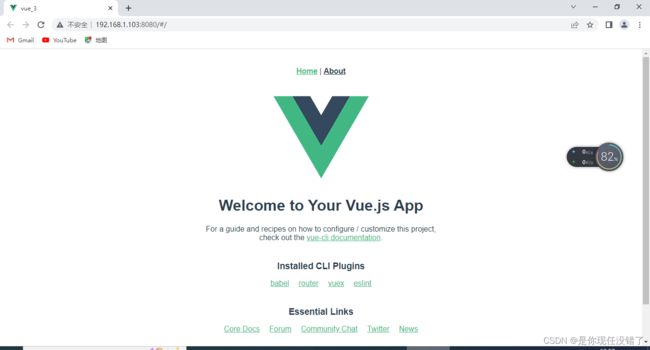
第五步运行项目:
因为项目已经配置好了 所以不需要npm i
其中有一个报错:npm errno-4058
原因是你并没有进入vue文件夹,而是在它的外层,使用cd进入你的vue项目中即可
 解决了:
解决了:

项目创建完成:
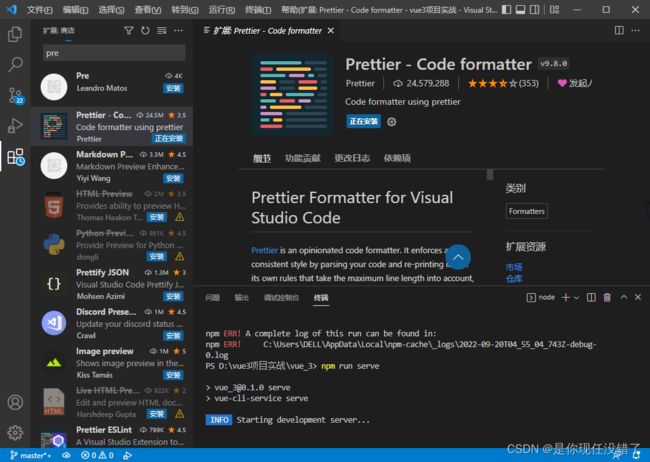
二、代码格式化
安装prettier:
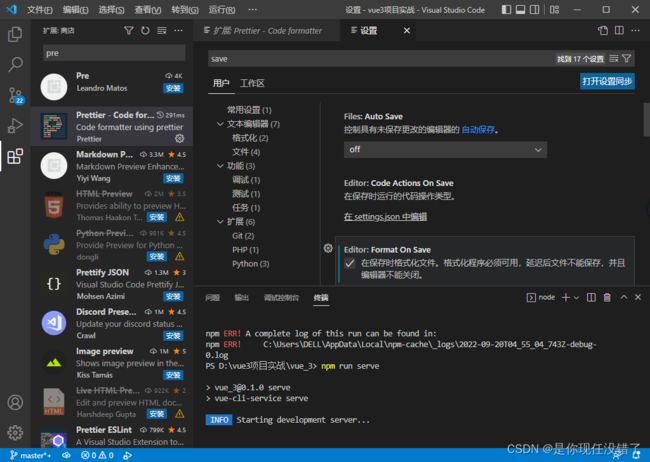
第二步对preitter进行配置
首先创建第一个文件.prettierrc文件
{
  // 选择tab缩进还是空格
  "useTabs": false,
  // 缩进多少个空格
  "tabWidth": 2,
  // 单行字符的长度
  "printWidth": 80,
  // 使用单引号
  "singleQuote": true,
  // 是否需要在末尾添加逗号,比如对象属性后
  "trailingComma": "none",
  // 语句末尾是否需要添加分号
  "semi": false
}
创建第二个文件.prettierignore文件
/dist/*
.local
.output.js
/node_modules/**

**/*.svg
**/*.sh

/public/*
最后到package.json中进行配置
"prettier": "prettier --write ."
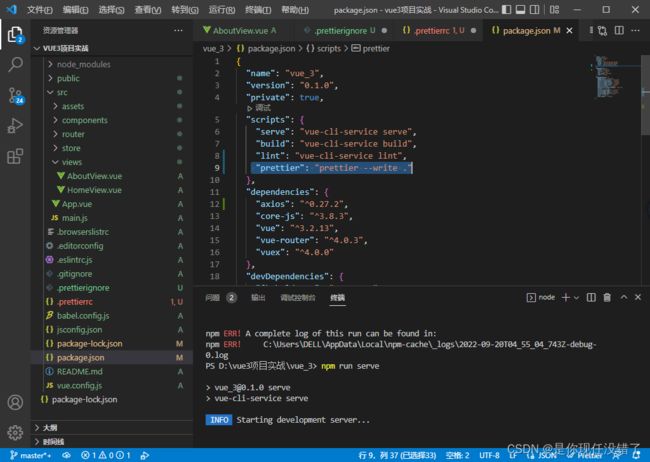 就会出现“使用…格式化文档”
可能会出现的报错1:Comments are not permitted in JSON.
将json修改为json with comments
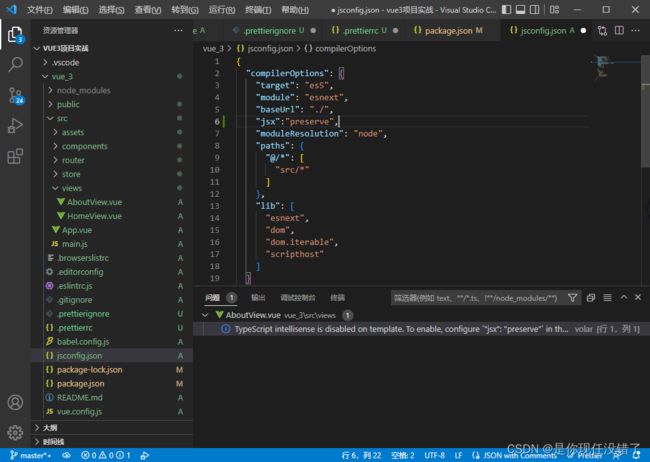
可能会出现的报错2:TypeScript intellisense is disabled on template. To enable,
configure"jsx": "preserve"in the"compilerOptions"property of
tsconfig or jsconfig. To disable this prompt instead, configure
"experimentalDisableTemplateSupport": truein"vueCompilerOptions"
property. 解决方法:添加"jsx":“preserve”,
“jsx”: “preserve”, 有三种模式
preserve:生成代码中会保留JSX以供后续的转换操作使用(比如:Babel).另外,输出文件会带有.jsx扩展名。
react:会生成React.createElement,在使用前不需要再进行转换操作了,输出文件的扩展名为.js。
react-native:相当于preserve,它也保留了所有的JSX,但是输出文件的扩展名是.js

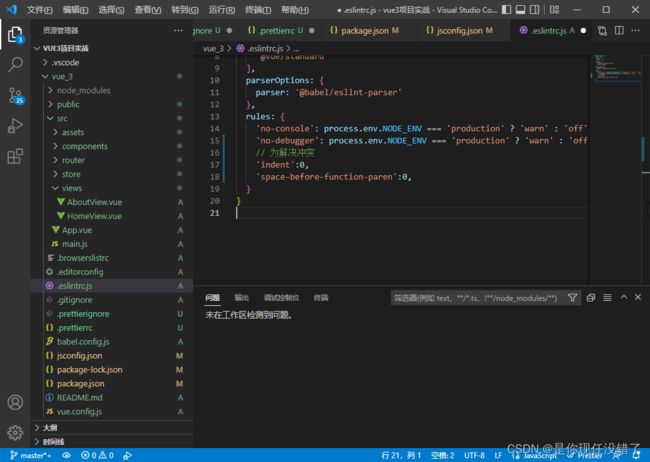
为了解决冲突,可以添加:
		'indent':0,
    'space-before-function-paren':0,
关于premitter自动添加逗号分号问题: 在package.json中添加;
        "singleQuote": true, // 使用单引号
        "printWidth": 115,
        "proseWrap": "always",
        "semi": false, // 不加分号
        "trailingComma": "none", // 结尾处不加逗号
        "htmlWhitespaceSensitivity": "ignore" // 忽略'>'下落问题
    },
第三步 安装commit规范你使用 commitizen 进行代码提交(git commit)时,commitizen 会提交你在提交时填写所有必需的提交字段!
1.
npm i -g commitizen@4.2.4
2.在package.json中添加
"config": {
    "commitizen":{
      "path":"node_modules/cz-customizable"
    }
  }
3.项目根目录下创建 .cz-config.js 自定义提示文件
module.exports = {
    // 可选类型
    types: [
      { value: 'feat', name: 'feat:     新功能' },
      { value: 'fix', name: 'fix:      修复' },
      { value: 'docs', name: 'docs:     文档变更' },
      { value: 'style', name: 'style:    代码格式(不影响代码运行的变动)' },
      {
        value: 'refactor',
        name: 'refactor: 重构(既不是增加feature,也不是修复bug)'
      },
      { value: 'perf', name: 'perf:     性能优化' },
      { value: 'test', name: 'test:     增加测试' },
      { value: 'chore', name: 'chore:    构建过程或辅助工具的变动' },
      { value: 'revert', name: 'revert:   回退' },
      { value: 'build', name: 'build:    打包' }
    ],
    // 消息步骤
    messages: {
      type: '请选择提交类型:',
      customScope: '请输入修改范围(可选):',
      subject: '请简要描述提交(必填):',
      body: '请输入详细描述(可选):',
      footer: '请输入要关闭的issue(可选):',
      confirmCommit: '确认使用以上信息提交?(y/n/e/h)'
    },
    // 跳过问题
    skipQuestions: ['body', 'footer'],
    // subject文字长度默认是72
    subjectLimit: 72
  }
4.运行git add .
5.运行git cz
6.最终git push
三、导入elementplus 的ui库
npm install element-plus --save --force
npm install -D unplugin-vue-components unplugin-auto-import --force
然后新建一个文件:
// webpack.config.js
const AutoImport = require('unplugin-auto-import/webpack')
const Components = require('unplugin-vue-components/webpack')
const { ElementPlusResolver } = require('unplugin-vue-components/resolvers')

module.exports = {
  // ...
  plugins: [
    AutoImport({
      resolvers: [ElementPlusResolver()],
    }),
    Components({
      resolvers: [ElementPlusResolver()],
    }),
  ],
}
将main.js进行修改
import { createApp } from 'vue'
import App from './App.vue'
import router from './router'
import store from './store'
import ElementPlus from 'element-plus'
import 'element-plus/dist/index.css'

createApp(App).use(store).use(router).use(ElementPlus).mount('#app')
重新npm run serve运行成功了就是没问题了
element-plus指南和组件u链接i
四、对项目进行初始化
1.首先安装插件:
Vue VSCode Snippets
输入vue即可显示初始页面
2.如果有报错:1:1 error Component name “index” should always be multi-word vue/multi-word-
解决办法:在.eslintrc.js中添加配置项
'vue/multi-word-component-names': 0
3.导入js文件
在App.vue中添加
import 'element-plus/dist/index.css'
import '@/styles/index.scss'
4.重写router/index.js
import { createRouter, createWebHashHistory } from 'vue-router'

const routes = [
  {
    path: '/login',
    name: 'Login',
    // route level code-splitting
    // this generates a separate chunk (about.[hash].js) for this route
    // which is lazy-loaded when the route is visited.
    component: () => import(/* webpackChunkName: "about" */ '../views/login')
  }
]

const router = createRouter({
  history: createWebHashHistory(),
  routes
})

export default router
5.把没用的vue删除。
在views文件夹下新建login文件夹,再建index.vue文件
<template>
  <div>
    <div class="login-container">
      <el-form :model="form">
        <el-form-item>
          <el-input v-model="form.name" />
        </el-form-item>
      </el-form>
    </div>
  </div>
</template>

<script setup>
import { ref } from 'vue'
const form = ref({
  name: ''
})
</script>

<style lang="scss" scoped></style>
6.创建图标
import { Edit } from '@element-plus/icons-vue'
可以去官网自己选样式element-plus官网
7.修改样式
使用了 ElementUI 组件且样式 style 使用了 scoped 属性,当想要修改组件样式,发现直接修改不了,需去掉 scoped 属性或者使用深度选择器才能修改成功。
box-sizing:border-box属性:
如果没有设置,宽高会加上padding和border的值,需要我们手动去计算,减去padding和border的值,并调整content的值,以免超过给定的宽高;
如果设置了, 则会自动调整content值
8.登录按钮
"primary" class="login-button">登录
.login-button {
      width: 100%;
      box-sizing: border-box;
    }
9.引入自定义组件:
在src下加载icon文件夹,然后在components中添加SvgIcon文件夹,再在其中添加index.vue文件
fill
是SVG元素的一种属性;SVG元素的这些属性,用于指定如何处理或者呈现元素的详细信息。在css中,currentColor是一个变量,这个变量的值是当前元素的color值。
vertical-align:
-0.15em;因icon大小被设置为和字体大小一致,而span等标签的下边缘会和字体的基线对齐,故需设置一个往下的偏移比例,来纠正视觉上的未对齐效果.
关于defualtprops:${props.icon}
defineProps:
1.用于组件通信中父级组件给子级组件传值,其用来声明props,其接收值为props选项相同的值
2.必须在