Grafana+Prometheus+Node_exporter巡检Linux服务器监控状况
简介
这里介绍使用prometheus+grafana+node_exporter实现linux系统的监控。
下面针对这三个组件进行具体的说明
prometheus
prometheus是一套开源的监控与报警与时间序列数据库的组合。
grafana
grafana是一个跨平台的开源的度量分析和可视化工具,可以通过将采集的数据查询然后可视化的展示,并及时通知。
node_exporter
node_exporter是采集器,负责将采集的数据存储到prometheus数据库,然后grafana取promethues数据库的数据进行展示。
部署granfna
Win安装
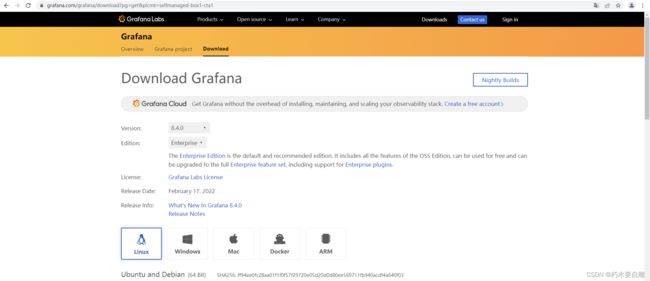
Linux安装
命令行安装
wget https://dl.grafana.com/enterprise/release/grafana-enterprise-8.4.1-1.x86_64.rpm
sudo yum install grafana-enterprise-8.4.1-1.x86_64.rpm
启动并查看端口
//启动
systemctl start grafana-server
//查看端口
netstat -lntp|grep grafana
访问
访问http://localhost:3000/
默认账号密码 admin/admnin

命令参考
systemctl 提供了一组子命令来管理单个的 unit,其命令格式为:
systemctl [command] [unit]
command 主要有:
start:立刻启动后面接的 unit。
stop:立刻关闭后面接的 unit。
restart:立刻关闭后启动后面接的 unit,亦即执行 stop 再 start 的意思。
reload:不关闭 unit 的情况下,重新载入配置文件,让设置生效。
enable:设置下次开机时,后面接的 unit 会被启动。
disable:设置下次开机时,后面接的 unit 不会被启动。
status:目前后面接的这个 unit 的状态,会列出有没有正在执行、开机时是否启动等信息。
is-active:目前有没有正在运行中。
is-enable:开机时有没有默认要启用这个 unit。
kill :不要被 kill 这个名字吓着了,它其实是向运行 unit 的进程发送信号。
show:列出 unit 的配置。
mask:注销 unit,注销后你就无法启动这个 unit 了。
unmask:取消对 unit 的注销。
部署prometheus
下载安装包
访问https://prometheus.io/download/直接下载安装包或者 使用命令行进行下载
wget https://github.com/prometheus/prometheus/releases/download/v2.4.3/prometheus-2.4.3.linux-amd64.tar.gz
使用命令
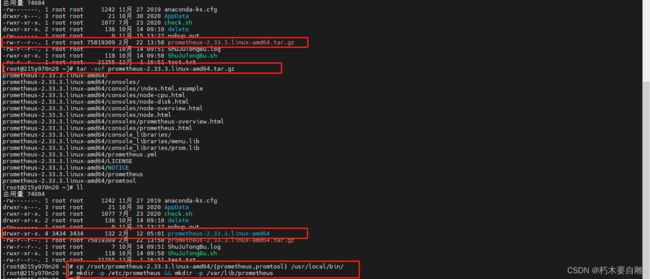
tar -xvf prometheus-2.33.3.linux-amd64.tar.gz
创建文件夹
解压prometheus-2.33.3.linux-amd64.tar.gz并复制到/usr/local/bin/下
分别创建 /ect/prometheus 和 /var/lib/prometheus文件夹
配置prometheus.service
vi /usr/lib/systemd/system/prometheus.service
写入以下内容
[Unit]
Description=Prometheus: the monitoring system
Documentation=http://prometheus.io/docs/

[Service]
ExecStart=/usr/local/bin/prometheus --config.file=/etc/prometheus/prometheus.yml --storage.tsdb.path=/var/lib/prometheus
Restart=always
StartLimitInterval=0
RestartSec=10

[Install]
WantedBy=multi-user.target
复制配置文件至 /etc/prometheus目录
cp -p /root/prometheus-2.33.3.linux-amd64/prometheus.yml /etc/prometheus
加载并启动服务
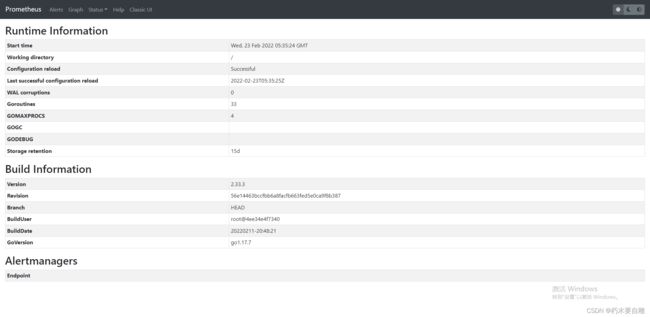
systemctl daemon-reload && systemctl restart prometheus
systemctl status prometheus
安装node_exporter
下载安装包
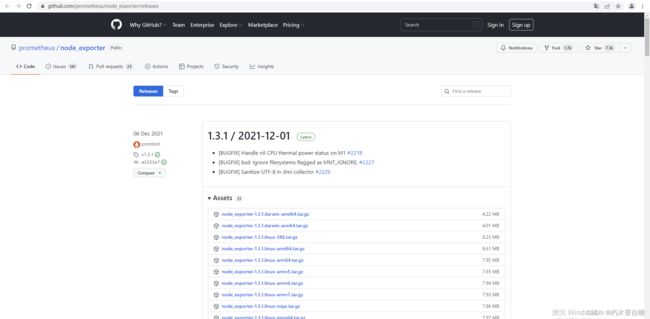
访问 https://github.com/prometheus/node_exporter/releases 直接下载安装包或者 使用命令行进行下载
wget https://github.com/prometheus/node_exporter/releases/download/v0.18.1/node_exporter-0.18.1.linux-amd64.tar.gz
配置
解压node_exporter-1.3.1.linux-amd64.tar.gz并复制到/usr/local/bin
编辑配置文件
vi /etc/systemd/system/node_exporter.service
把以下内容并写入node_exporter.service
[Unit]
Description=node_exporter
Documentation=https://prometheus.io/
After=network.target
[Service]
ExecStart=/usr/local/bin/node_exporter
Restart=on-failure
[Install]
WantedBy=multi-user.target
加载服务并启动以及查看状态
systemctl daemon-reload && systemctl restart node_exporter && systemctl enable node_exporter
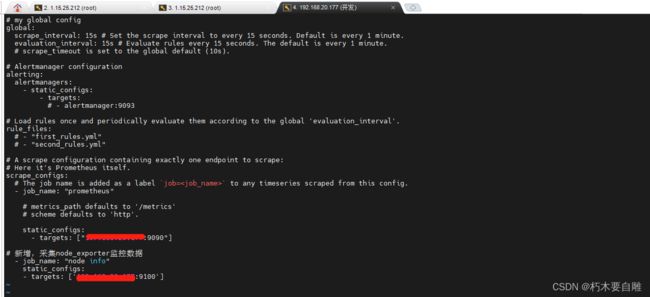
配置prometheus.yml并启动
登录grafana
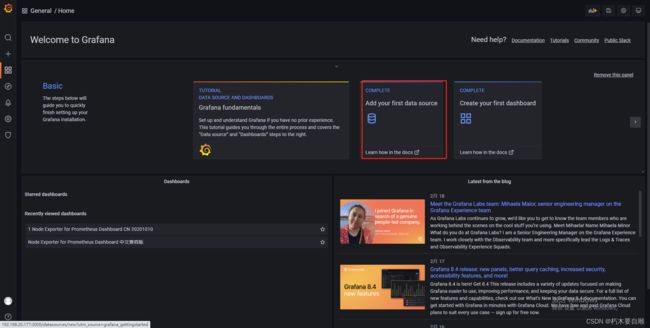
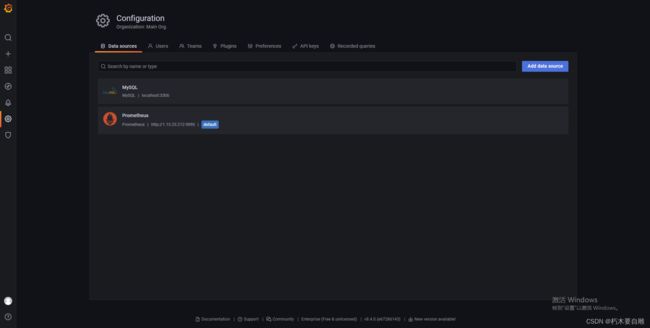
配置数据源
设置要读取的服务
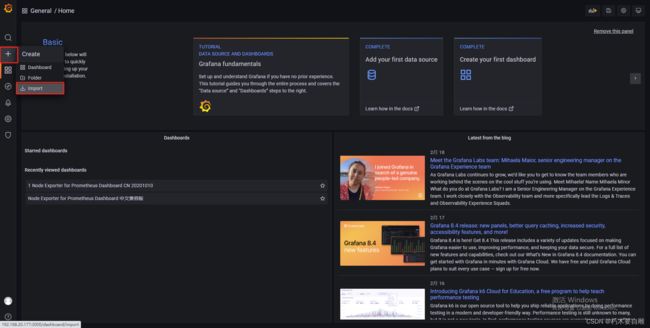
导入仪表盘
点击右上角进行保存
导入mysql数据监控
过程类似,只需在需要监控的mysql服务器上导入数据然后再grafana添加mysql数据源以及导入模板即可
仅供参考

导入仪表盘
访问 https://grafana.com/grafana/dashboards/7991

查看grafana运行log
tail -f /var/log/messages
配置邮件发送
服务端邮箱配置
配置/usr/share/grafana/conf/defaults.ini
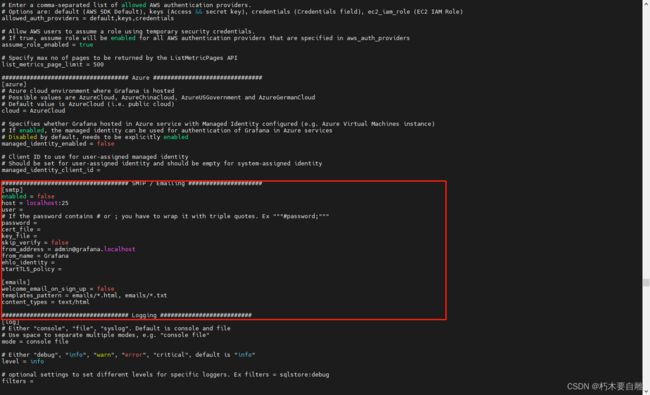
host是邮件服务器地址 如:smtp.126.com
以腾讯邮箱为例:
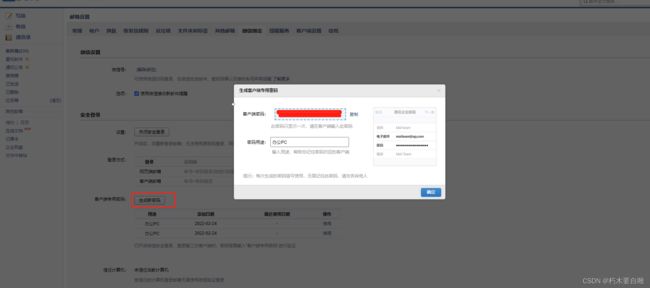
password 是授权码 不是密码
授权码获取:https://service.mail.qq.com/cgi-bin/help?subtype=1&&no=1001256&&id=28

开启邮箱验证
重启服务
平台邮箱配置
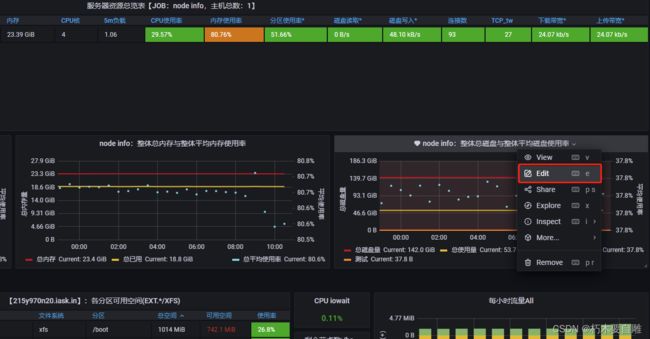
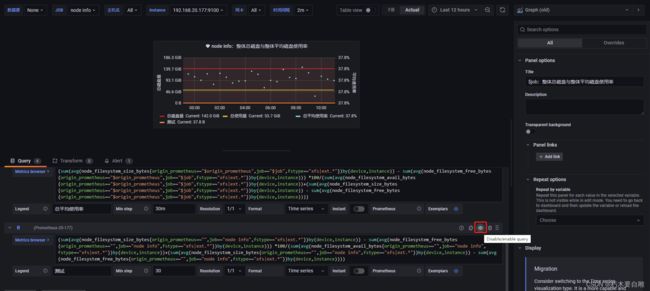
这里我用来监控总平均使用率来发送告警邮件,发送告警邮件的模块不能有变量,所以需要新建一个模块(这里是B)替换变量的值然后进行告警设置。
变量的值获取方式如下:
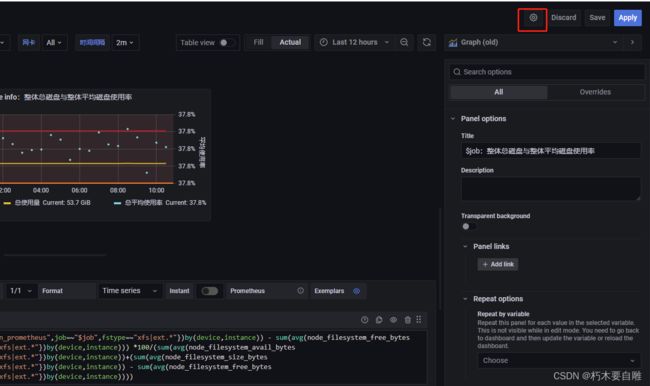

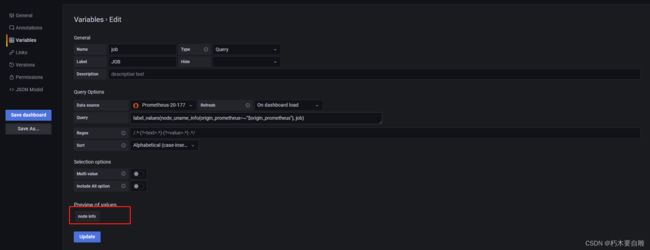
配置后保存返回主界面并设置Alter Channel
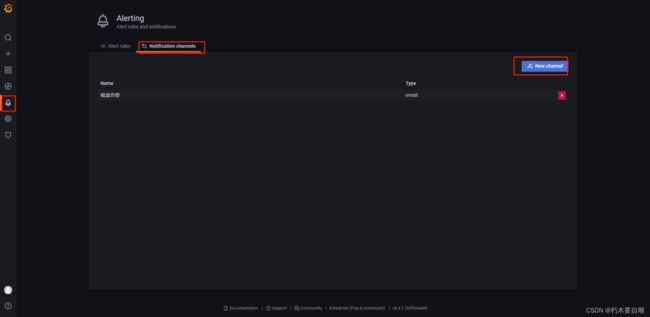
设置发送邮件的信息,多个邮件用英文逗号(,)隔开
![]()
图中复选框分别代表 发送邮件时包含图片、持续发送邮件
点击保存。
再次编辑图表进入配置界面点击Alter按钮
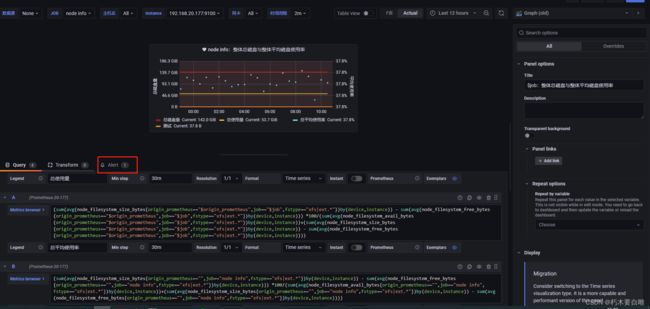
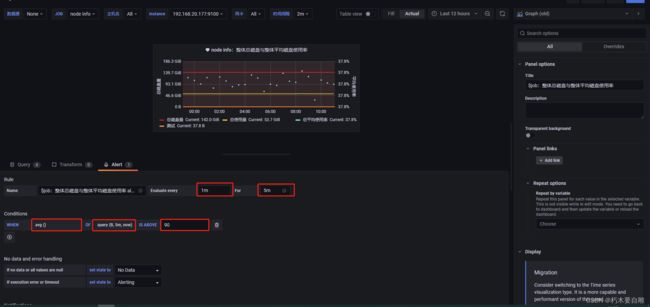
Rule
1m 代表1分钟 5m代表5分钟
Conditions
avg()代表平均值
query(B,5m,now) :5分钟之前到当前B模块的平均值高于90就会触发报警
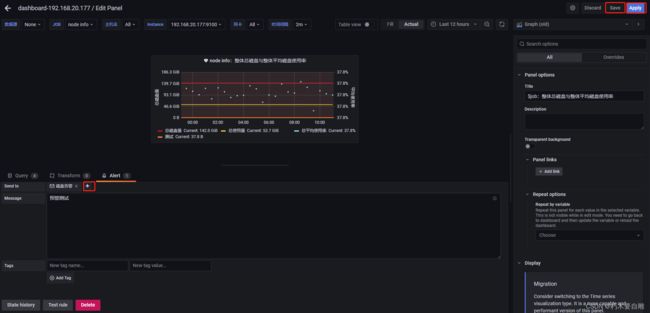
设置合适的值过几分就可以收到邮件
这里邮件里图不能正常展示是因为没有安装grafana图片渲染器grafana-image-renderer的问题导致
安装图片渲染器grafana-image-renderer
安装目录:/var/lib/grafana/plugins/grafana-image-renderer
访问 https://grafana.com/grafana/plugins/grafana-image-renderer/?tab=installation
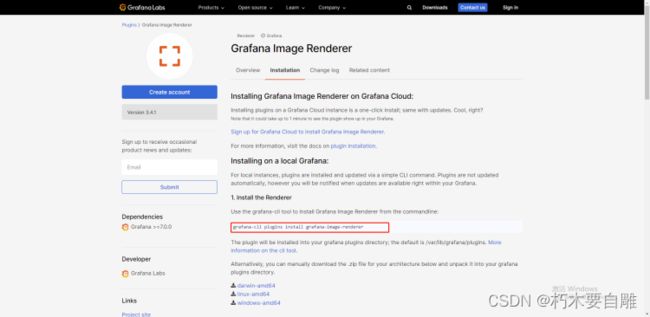
推荐使用命令行安装
grafana-cli plugins install grafana-image-renderer

也可以自行下载安装包或者平台直接安装

注意 :插件直接直接安装不需要配置rendering(参考https://github.com/grafana/grafana-image-renderer/issues/165)

如果作为独立的远程服务是需要设置的,这里不需要
最终效果如下

完事手工
感谢:https://www.cnblogs.com/yuhaohao/p/12989150.html


