基于React实现日历组件详细教程
前言
日历组件是常见的日期时间相关的组件,围绕日历组件设计师做出过各种尝试,展示的形式也是五花八门。但是对于前端开发者来讲,主要我们能够掌握核心思路,不管多么奇葩的设计我们都能够把它做出来。
本文将详细分析如何渲染一个简单的日历组件。
步骤
计算每个月中具体包含的日期
因为日历需要把当前月的每一天都展示出来,展示的前提是我们能够知道当前月具体都有哪些日子。那么如何优雅的获取每个月所有的天呢?
为了能够更方便的操作时间,我们需要引入dayjs 工具库,这也是我们手写日历组件唯一需要的工具库。
npm install dayjs
接下来我们实现一个工具方法,方法的目的是当我们传入年、月,就会返回当前月份的所有天。
import dayjs from "dayjs";

export const getDaysOfMonth = (year: number, month: number) => {
  const firstDayOfMonth = dayjs(`${year}-${month}-1`);
  const lastDayOfMonth = dayjs(`${year}-${month + 1}-1`).subtract(1, "day");
  const days = [];

  let tempDate = firstDayOfMonth;
  while (tempDate.isBefore(lastDayOfMonth) || tempDate.isSame(lastDayOfMonth)) {
    days.push(tempDate);
    tempDate = tempDate.add(1, "day");
  }

  return days;
};
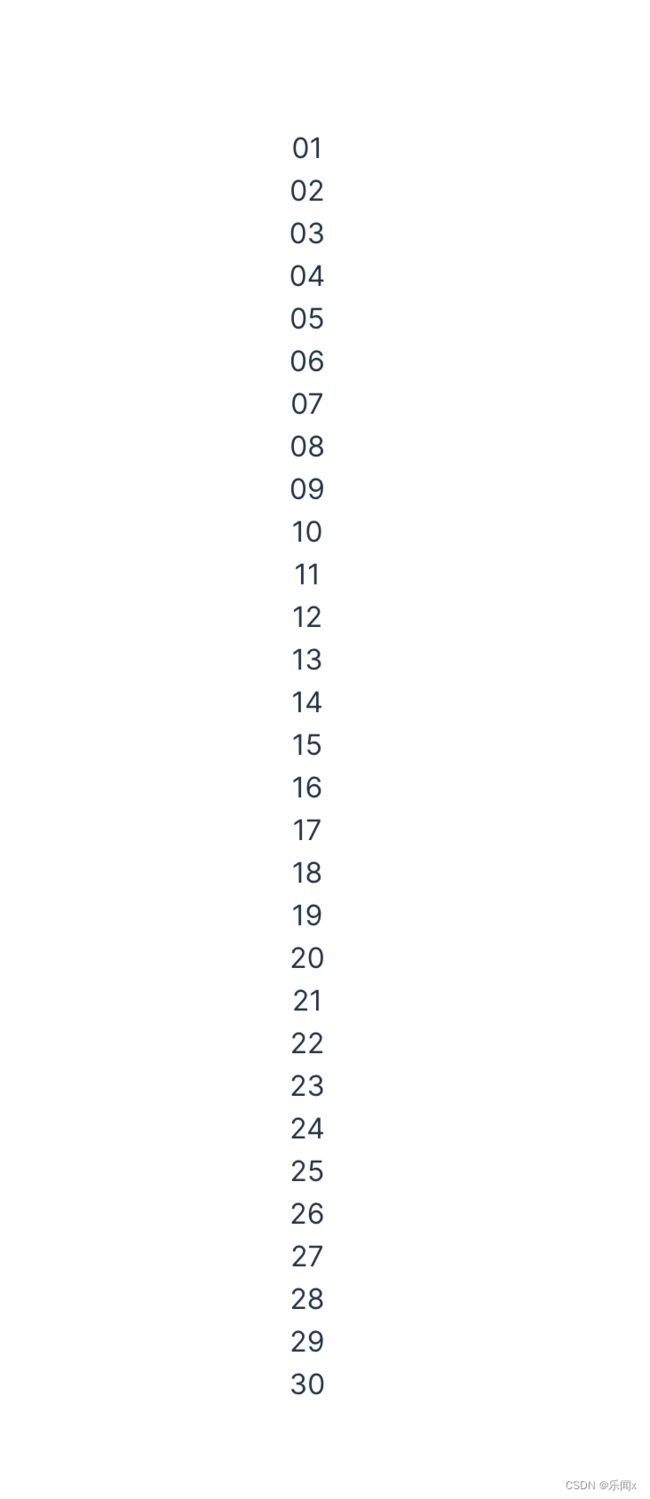
我们输出一下2023-08有哪些日子,并且简单渲染出来看看效果
function App() {
  const days = getDaysOfMonth(2023, 8);

	// 控制台打印
  days.forEach((day) => console.log(day.format("YYYY-MM-DD")));

  return (
    <div className="App">
      {days.map((day) => {
        return <div>
          {
            day.format('DD')
          }
        </div>;
      })}
    </div>
  );
}
以周为单位分组日期
- 首先我们先计算出日历分组标题,也就是周一,周二 … 周日
import dayjs from "dayjs";
import "dayjs/locale/zh-cn";
dayjs.locale("zh-cn");

const weekTitles = useMemo(() => {
    return [...Array(7)].map((_, weekInx) => {
      return dayjs().day(weekInx);
    });
  }, []);

// 日历标题渲染
<div className="calendar-title">
    {weekTitles.map((title) => {
         return <div>{title.format("ddd")}</div>;
    })}
</div>
- 对于当月所有的日期,每7天一组进行分组,也就是共分成7列
<div className="calendar-content">
    {days.map((day) => {
        return <div>{day.format("DD")}</div>;
    })}
</div>
- 加上对应的样式
.calendar {
  display: flex;
  flex-direction: column;
  width: 400px;
}

.calendar-title {
  display: grid;
  grid-template-columns: repeat(7, 1fr);
  padding-bottom: 8px;
}

.calendar-content {
  width: 100%;
  display: grid;
  grid-template-columns: repeat(7, 1fr);
}
猛的一看好像完成了,但是仔细检查会发现,2023年8月1号是周二,我们渲染出来的却是周日。这肯定是不对的,那么问题出在哪儿呢?
由于我们是通过grid布局来渲染日期数组,数组的第一位数据是8月1号,所以就成了上面图中的效果。所以我们得想办法将每个月1号前的日期也补全直到每周周日。
让我们改造一下获取日期的工具方法getDaysOfMonth ,下面代码是最终改造完成后的。
export const getDaysOfMonth = (year: number, month: number) => {
  let firstDayOfMonth = dayjs(`${year}-${month}-1`);
  let lastDayOfMonth = dayjs(`${year}-${month + 1}-1`).subtract(1, "day");
  **// 开始补全第一天前的日期
  while (firstDayOfMonth.day() !== 0) {
    firstDayOfMonth = firstDayOfMonth.subtract(1, "day");
  }

  // 开始补全最后一天后的日期
  while (lastDayOfMonth.day() !== 6) {
    lastDayOfMonth = lastDayOfMonth.add(1, "day");
  }**

  const days = [];
  let tempDate = firstDayOfMonth;
  while (tempDate.isBefore(lastDayOfMonth) || tempDate.isSame(lastDayOfMonth)) {
    days.push(tempDate);
    tempDate = tempDate.add(1, "day");
  }

  return days;
};
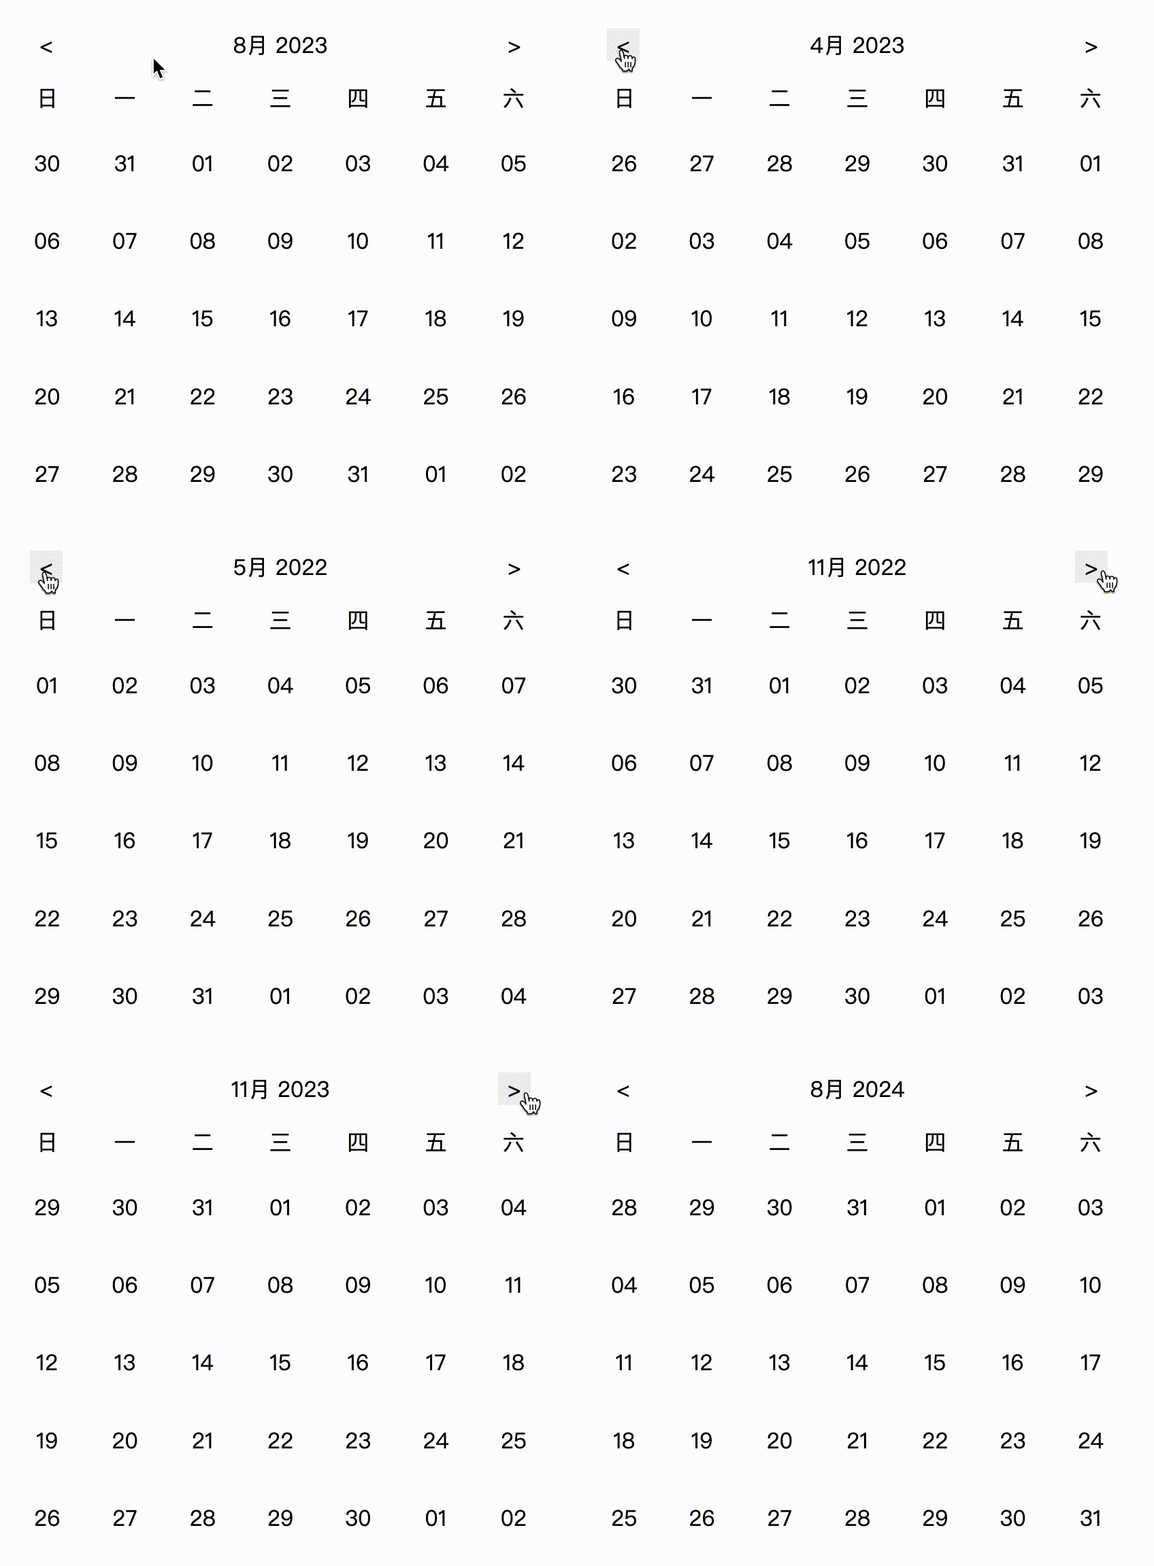
可以看出我们已经正确的渲染出了日历,只是样式看起来比较简陋。
日历支持切换月份
上面的结果是我固定渲染了2023年8月的日历,大多数的日历是需要支持月份切换的,甚至有的日历设计是需要支持用户上下滚动就能够显示对应的月份。我们先简单实现通过按钮点击支持日历月份的切换。
- 显示当前月份(日历顶部显示档期月份)
// tsx
<div className="calendar-month">
  <div className="calendar-month-switch">{"<"}</div>
  <div>{month.format("MMM YYYY")}</div>
  <div className="calendar-month-switch">{">"}</div>
</div>

// css
.calendar-month {
  display: flex;
  align-items: center;
  justify-content: space-between;
  padding: 16px;
}

.calendar-month-switch {
  display: flex;
  align-items: center;
  justify-content: center;
  height: 24px;
  width: 24px;
  cursor: pointer;
}
简单看看效果
- 支持点击切换月份
从上图可以看到,月份两边有两个「箭头」按钮,接下来我们在这两个按钮上绑定事件,用来切换不同的月份
// 切换月份事件,-1 代表前一个月,1代表后一个月
const onMonthSwitch = (action: number) => {
    setMonth((month) => {
      return month.add(action, "month");
    });
  };

<div className="calendar-month">
    <div className="calendar-month-switch" onClick={()=> onMonthSwitch(-1)}
        >
        {"<"} </div> <div>{month.format("MMM YYYY")}</div>
    <div className="calendar-month-switch" onClick={()=> onMonthSwitch(1)}
        >
        {">"}
    </div>
</div>
小节总结
本文详细的记录了一个最简单的日历组件的实现过程,感兴趣但是之前还没有实现过日历的同学可以直接下载代码试试,希望对大家有所启发。也可以直接访问https://react-calendar-training.vercel.app/看成品效果。
由于设计师脑洞的千变万化,日历的展现形式也各不相同,后续我还将继续记录更多形式的日历实现过程,感兴趣的同学敬请期待。有任何问题请留言,如果对你有帮助,请帮忙点个赞
相关链接
-
源码
https://github.com/levenx/react-calendar-training
-
在线DEMO效果
https://react-calendar-training.vercel.app


