Deepin 图形化部署 Hadoop Single Node Cluster
Deepin 图形化部署 Hadoop Single Node Cluster
升级操作系统和软件
快捷键 ctrl+alt+t 打开控制台窗口
更新 apt 源
sudo apt update
![]()
更新 系统和软件
sudo apt -y dist-upgrade
升级后建议重启
开启ssh服务
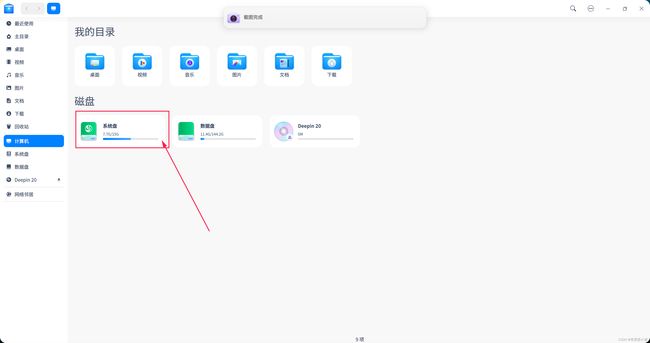
打开资源管理器
![]()
找到 etc 目录
输入密码
原始文件内容
# This is the ssh client system-wide configuration file.  See
# ssh_config(5) for more information.  This file provides defaults for
# users, and the values can be changed in per-user configuration files
# or on the command line.

# Configuration data is parsed as follows:
#  1. command line options
#  2. user-specific file
#  3. system-wide file
# Any configuration value is only changed the first time it is set.
# Thus, host-specific definitions should be at the beginning of the
# configuration file, and defaults at the end.

# Site-wide defaults for some commonly used options.  For a comprehensive
# list of available options, their meanings and defaults, please see the
# ssh_config(5) man page.

Host *
#   ForwardAgent no
#   ForwardX11 no
#   ForwardX11Trusted yes
#   PasswordAuthentication yes
#   HostbasedAuthentication no
#   GSSAPIAuthentication no
#   GSSAPIDelegateCredentials no
#   GSSAPIKeyExchange no
#   GSSAPITrustDNS no
#   BatchMode no
#   CheckHostIP yes
#   AddressFamily any
#   ConnectTimeout 0
#   StrictHostKeyChecking ask
#   IdentityFile ~/.ssh/id_rsa
#   IdentityFile ~/.ssh/id_dsa
#   IdentityFile ~/.ssh/id_ecdsa
#   IdentityFile ~/.ssh/id_ed25519
#   Port 22
#   Protocol 2
#   Ciphers aes128-ctr,aes192-ctr,aes256-ctr,aes128-cbc,3des-cbc
#   MACs hmac-md5,hmac-sha1,[email protected]
#   EscapeChar ~
#   Tunnel no
#   TunnelDevice any:any
#   PermitLocalCommand no
#   VisualHostKey no
#   ProxyCommand ssh -q -W %h:%p gateway.example.com
#   RekeyLimit 1G 1h
    SendEnv LANG LC_*
    HashKnownHosts yes
    GSSAPIAuthentication yes
在 /etc/ssh/ssh_config 文件中 将 # Port 22 注释去掉
去掉注释后端 文件内容
# This is the ssh client system-wide configuration file.  See
# ssh_config(5) for more information.  This file provides defaults for
# users, and the values can be changed in per-user configuration files
# or on the command line.

# Configuration data is parsed as follows:
#  1. command line options
#  2. user-specific file
#  3. system-wide file
# Any configuration value is only changed the first time it is set.
# Thus, host-specific definitions should be at the beginning of the
# configuration file, and defaults at the end.

# Site-wide defaults for some commonly used options.  For a comprehensive
# list of available options, their meanings and defaults, please see the
# ssh_config(5) man page.

Host *
#   ForwardAgent no
#   ForwardX11 no
#   ForwardX11Trusted yes
#   PasswordAuthentication yes
#   HostbasedAuthentication no
#   GSSAPIAuthentication no
#   GSSAPIDelegateCredentials no
#   GSSAPIKeyExchange no
#   GSSAPITrustDNS no
#   BatchMode no
#   CheckHostIP yes
#   AddressFamily any
#   ConnectTimeout 0
#   StrictHostKeyChecking ask
#   IdentityFile ~/.ssh/id_rsa
#   IdentityFile ~/.ssh/id_dsa
#   IdentityFile ~/.ssh/id_ecdsa
#   IdentityFile ~/.ssh/id_ed25519
   Port 22
#   Protocol 2
#   Ciphers aes128-ctr,aes192-ctr,aes256-ctr,aes128-cbc,3des-cbc
#   MACs hmac-md5,hmac-sha1,[email protected]
#   EscapeChar ~
#   Tunnel no
#   TunnelDevice any:any
#   PermitLocalCommand no
#   VisualHostKey no
#   ProxyCommand ssh -q -W %h:%p gateway.example.com
#   RekeyLimit 1G 1h
    SendEnv LANG LC_*
    HashKnownHosts yes
    GSSAPIAuthentication yes
重启 ssh 服务
sudo systemctl restart ssh
设置 ssh 服务开机启动
sudo systemctl enable ssh
上传安装包
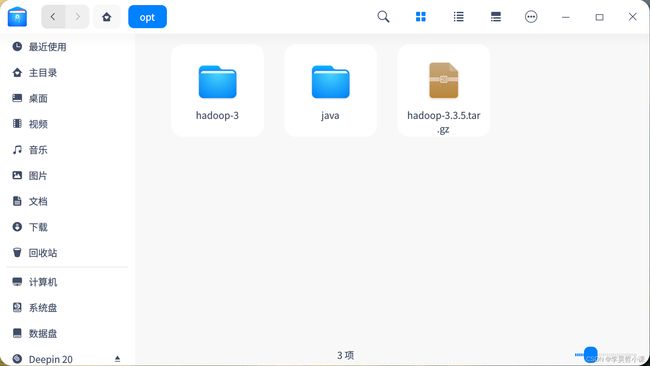
将 jdk 和 hadoop 安装包 拖入到 deepin 窗口即可
将桌面上的安装包 剪切到 用户主目录指定位置
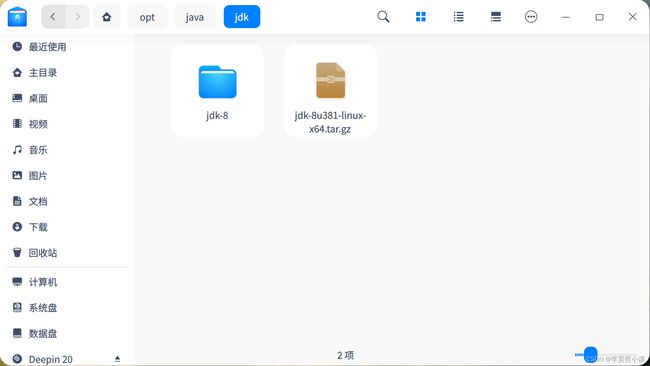
jdk 保存在 /home/lhz/opt/java/jdk
hadoop 保存在 /home/lhz/opt
使用命令创建
mkdir -p /home/lhz/opt/java/jdk
解压安装包
选中 jdk 安装包 右键 解压到当前文件夹
选择解压缩后的jdk目录 右键 重命名
选中 hadoop 安装包 右键 解压到当前文件夹
选中 hadoop 解压后的目录 右键 重命名
配置环境变量
打开资源管理器
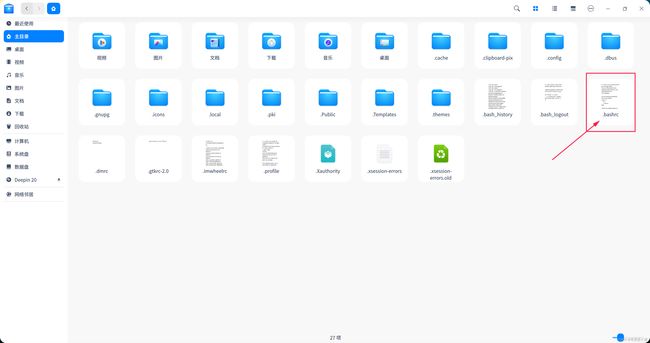
进入当前用户主目录
使用快捷键 ctrl+h 显示隐藏文件
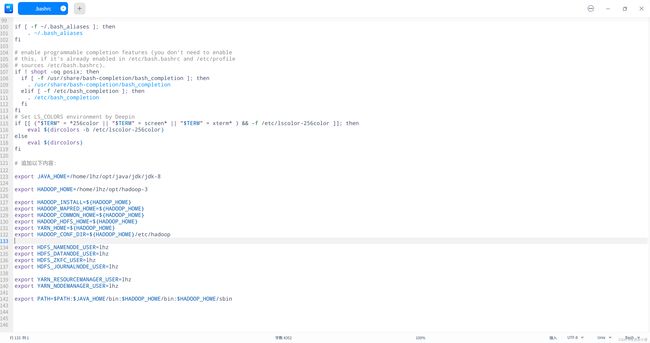
编辑 .bashrc 文件
在 .bashrc 文件 末尾追加以下内容
export JAVA_HOME=/home/lhz/opt/java/jdk/jdk-8

export HADOOP_HOME=/home/lhz/opt/hadoop-3

export HADOOP_INSTALL=${HADOOP_HOME}
export HADOOP_MAPRED_HOME=${HADOOP_HOME}
export HADOOP_COMMON_HOME=${HADOOP_HOME}
export HADOOP_HDFS_HOME=${HADOOP_HOME}
export YARN_HOME=${HADOOP_HOME}
export HADOOP_CONF_DIR=${HADOOP_HOME}/etc/hadoop

export HDFS_NAMENODE_USER=lhz
export HDFS_DATANODE_USER=lhz
export HDFS_ZKFC_USER=lhz
export HDFS_JOURNALNODE_USER=lhz

export YARN_RESOURCEMANAGER_USER=lhz
export YARN_NODEMANAGER_USER=lhz

export PATH=$PATH:$JAVA_HOME/bin:$HADOOP_HOME/bin:$HADOOP_HOME/sbin
设置静态IP地址
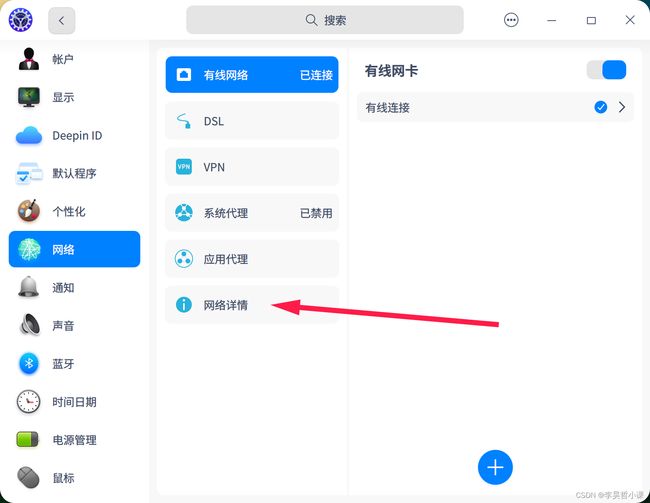
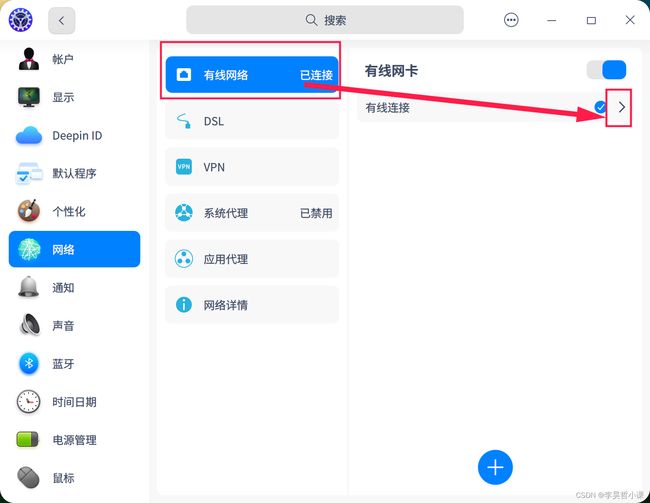
网络图标 右键
选择 网络设置
点击 网络详情 查看当前相信网络信息
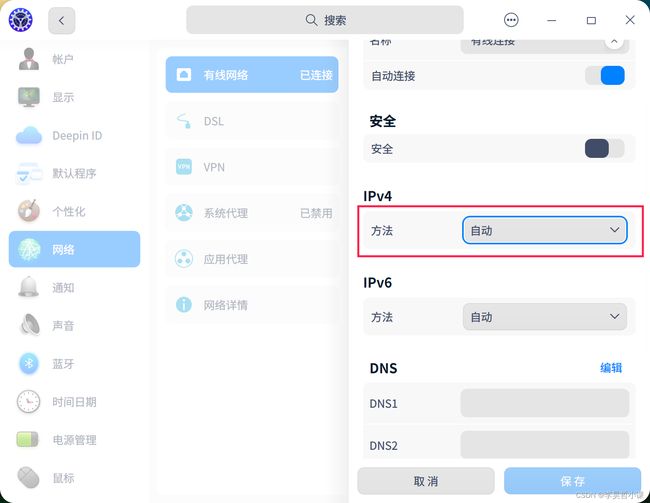
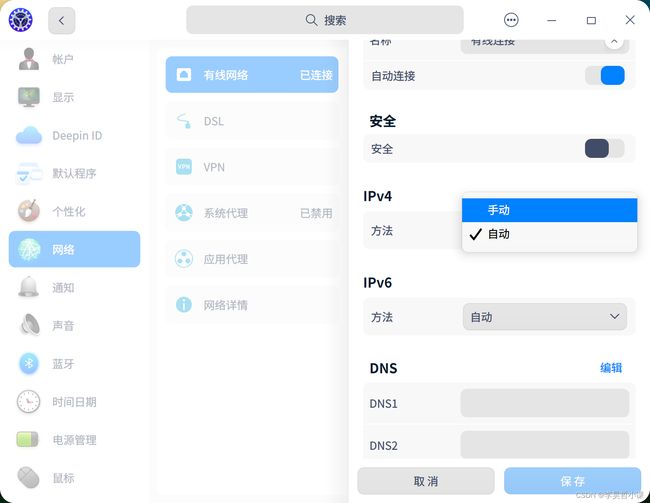
点击 IPV4 下拉列表
选择手动
按照网络要求填入 IP地址、子网掩码、网关、DNS
修改主机名
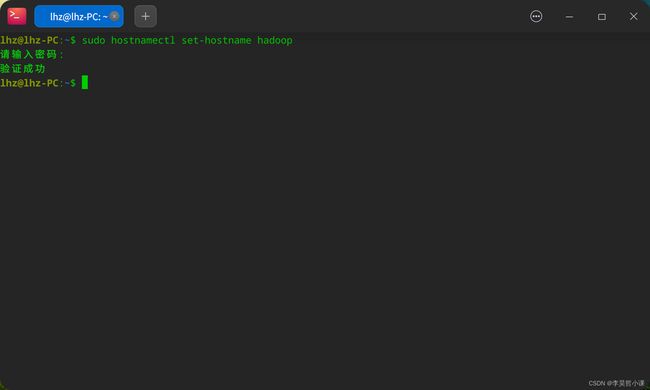
控制台输入
sudo hostnamectl set-hostname hadoop
修改 hosts 文件
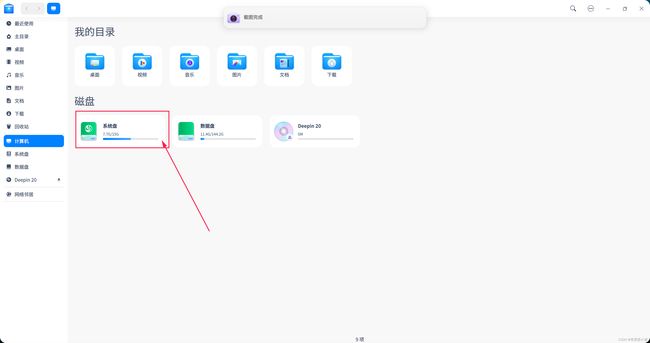
打开资源管理器
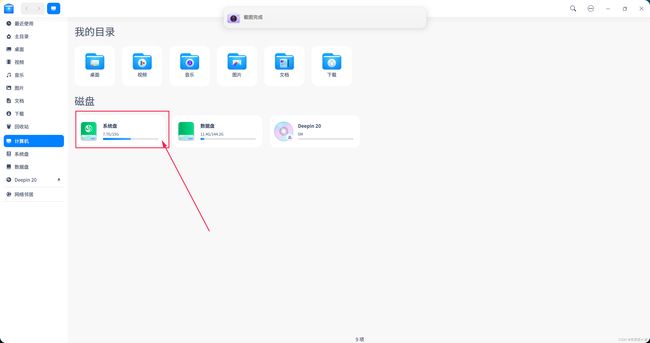
进入系统盘
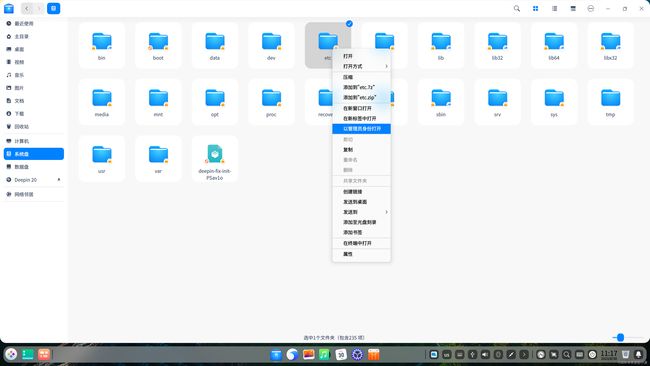
找到 etc 目录
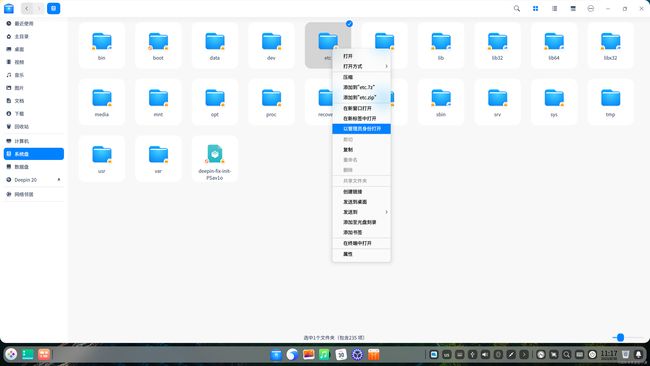
在系统盘的 etc 目录上 右键 点击 以管理员身份打开
输入密码
以管理员身份 进入 etc 目录
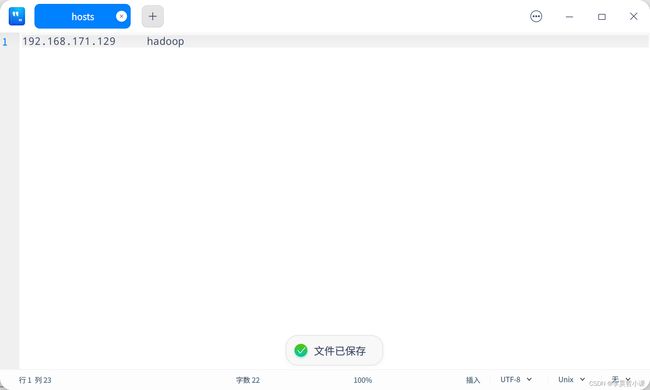
找到 /etc/hosts
内容修改为 192.168.171.129 hadoop
重启系统
修改 hadoop 配置文件
修改Hadoop配置文件 在hadoop解压后的目录找到 etc/hadoop目录
修改如下配置文件
- hadoop-env.sh
- core-site.xml
- hdfs-site.xml
- workers
- mapred-site.xml
- yarn-site.xml
hadoop-env.sh 文件末尾追加
export JAVA_HOME=/home/lhz/opt/java/jdk/jdk-8
export HDFS_NAMENODE_USER=lhz
export HDFS_DATANODE_USER=lhz
export HDFS_ZKFC_USER=lhz
export HDFS_JOURNALNODE_USER=lhz

export YARN_RESOURCEMANAGER_USER=lhz
export YARN_NODEMANAGER_USER=lhz
core-site.xml
<configuration>
    <property>
        <name>fs.defaultFSname>
        <value>hdfs://hadoop:9000value>
    property>
    <property>
        <name>hadoop.tmp.dirname>
        <value>/home/lhz/hadoop_datavalue>
    property>
    <property>
        <name>hadoop.http.staticuser.username>
        <value>lhzvalue>
    property>
    <property>
        <name>dfs.permissions.enabledname>
        <value>falsevalue>
    property>
    <property>
        <name>hadoop.proxyuser.lhz.hostsname>
        <value>*value>
    property>
    <property>
        <name>hadoop.proxyuser.lhz.groupsname>
        <value>*value>
    property>
configuration>
hdfs-site.xml
<configuration>
    <property>
        <name>dfs.replicationname>
        <value>1value>
    property>
configuration>
workers
hadoop
mapred-site.xml
<configuration>
    <property>
        <name>mapreduce.framework.namename>
        <value>yarnvalue>
    property>
    <property>
        <name>mapreduce.application.classpathname>
        <value>$HADOOP_MAPRED_HOME/share/hadoop/mapreduce/*:$HADOOP_MAPRED_HOME/share/hadoop/mapreduce/lib/*value>
    property>
configuration>
yarn-site.xml
<configuration>
    <property>
        <name>yarn.nodemanager.aux-servicesname>
        <value>mapreduce_shufflevalue>
    property>
    <property>
        <name>yarn.nodemanager.env-whitelistname>
        <value>JAVA_HOME,HADOOP_COMMON_HOME,HADOOP_HDFS_HOME,HADOOP_CONF_DIR,CLASSPATH_PREPEND_DISTCACHE,HADOOP_YARN_HOME,HADOOP_HOME,PATH,LANG,TZ,HADOOP_MAPRED_HOMEvalue>
    property>
configuration>
配置ssh免密钥登录
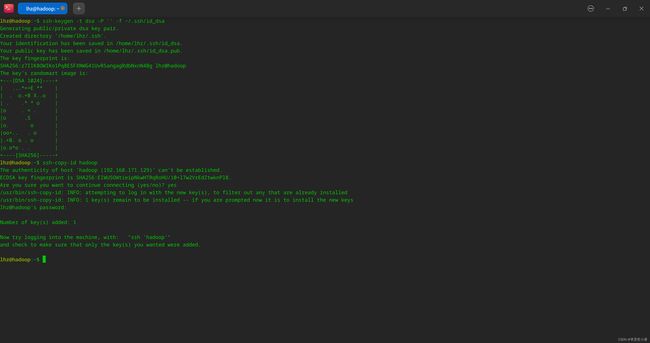
创建本地秘钥并将公共秘钥写入认证文件
ssh-keygen -t rsa -P '' -f ~/.ssh/id_rsa
cat ~/.ssh/id_rsa.pub >> ~/.ssh/authorized_keys
# 或者
ssh-copy-id hadoop
Hadoop初始化
# 格式化文件系统
hdfs namenode -format
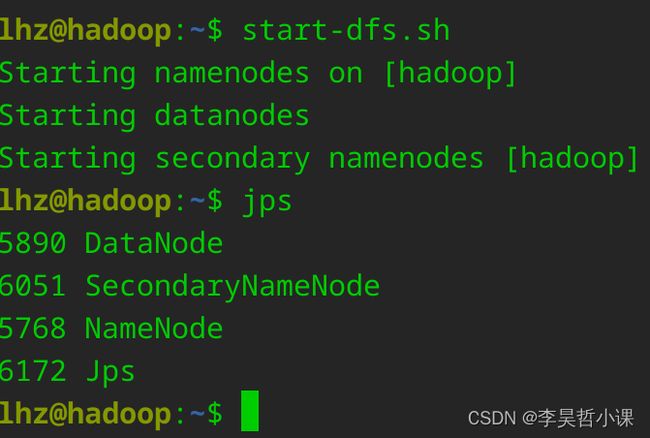
# 启动 NameNode SecondaryNameNode DataNode
start-dfs.sh
# 查看启动进程
jps
# 看到 DataNode SecondaryNameNode NameNode 三个进程代表启动成功
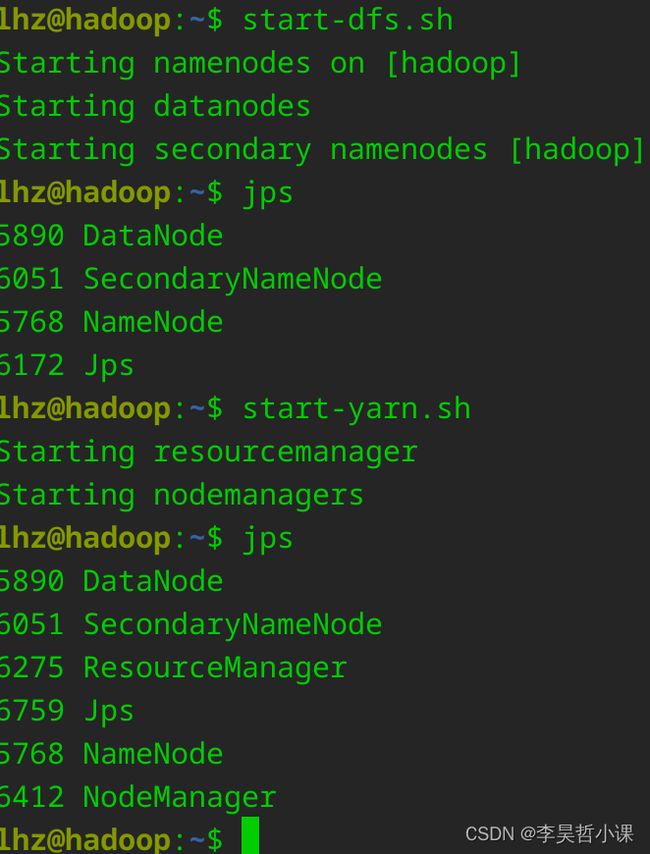
# 启动 ResourceManager daemon 和 NodeManager
start-yarn.sh
# 看到 DataNode NodeManager SecondaryNameNode NameNode ResourceManager 五个进程代表启动成功
重点提示:
# 关机之前 依关闭服务
stop-yarn.sh
stop-dfs.sh
# 开机后 依次开启服务
start-dfs.sh
start-yarn.sh
或者
# 关机之前关闭服务
stop-all.sh
# 开机后开启服务
start-all.sh
#jps 检查进程正常后开启胡哦关闭在再做其它操作
浏览器访问web页面
http://localhost:9870


