Vue + Element UI前端篇(二):Vue + Element 案例
Vue + Element UI 实现权限管理系统 前端篇(二):Vue + Element 案例
导入项目
打开 Visual Studio Code,File --> add Folder to Workspace,导入我们的项目。
安装 Element
安装依赖
Element 是国内饿了么公司提供的一套开源前端框架,简洁优雅,提供了 vue、react、angular 等多个版本,我们这里使用 vue 版本来搭建我们的界面。
访问:http://element-cn.eleme.io/#/zh-CN/component/installation ,官方指南,包含框架的安装,组件的使用等的全方位的教程。
按照安装指南,我们选择 npm 的安装方式。我们使用 Yarn ,可以用 yarn add element-ui 命令替代。
项目导入
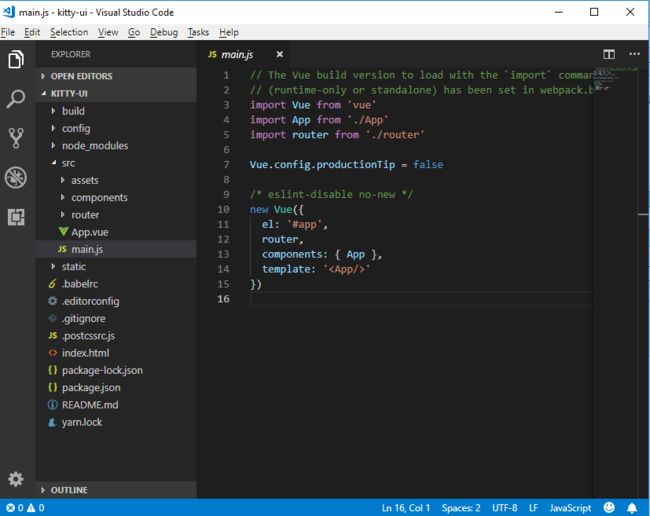
按照安装指南,在 main.js 中引入 element,引入之后,main.js 内容如下:
项目引入之后,我们在原有的 HelloWorld.vue 页面中加入一个 element 的按钮,测试一下。
Element 官网组件教程案例中,包含大量组件使用场景,直接复制组件代码到项目页面即可。
HelloWorld.vue 页面加入一个测试按钮
如下图所示,说明组件已经成功引入了。
页面路由
添加页面
我们把 components 改名为 views,并在 views 目录下添加三个页面,Login.vue,Home.vue,404.vue。
三个页面内容简单相似,只有简单的页面标识,如登录页面是 “Login Page”。
Login.vue,其他页面类似。
Login Page
配置路由
打开 router/index.js,添加三个路由,分别对应主页、登录和404页面。
import Vue from 'vue'
import Router from 'vue-router'
import Login from '@/views/Login'
import Home from '@/views/Home'
import NotFound from '@/views/404'

Vue.use(Router)

export default new Router({
  routes: [
    {
      path: '/',
      name: 'Home',
      component: Home
    },
    {
      path: '/login',
      name: 'Login',
      component: Login
    }
    ,{
      path: '/404',
      name: 'notFound',
      component: NotFound
    }
  ]
})
浏览器重新访问下面不同路径,路由器会根据路径路由到相应的页面。
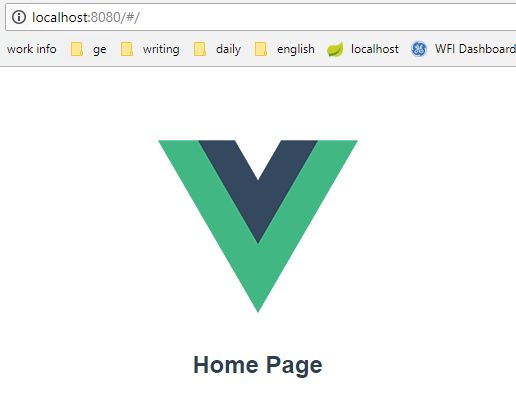
http://localhost:8080/#/,/ 路由到 Home Page。
http://localhost:8080/#/login,/login 路由到 Login Page。
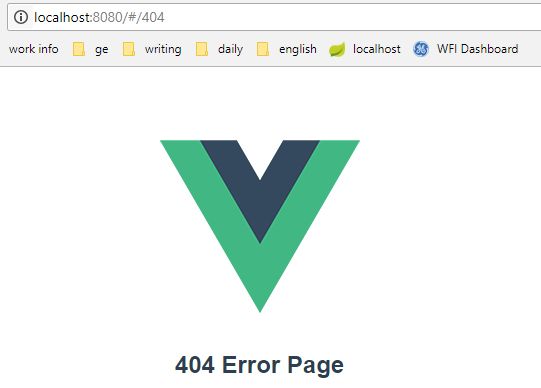
http://localhost:8080/#/404,/404 路由到 404 Error Page。
安装 SCSS
1.安装依赖
因为后续会用到 SCSS 编写页面样式,所以先安装好 SCSS。
yarn add sass-loader node-sass --dev
2.添加配置
在build文件夹下的webpack.base.conf.js的 rules 标签下添加配置。
{
test: /\.scss$/,
loaders: ['style', 'css', 'sass']
}
3.如何使用
在页面代码 style 标签中把 lang 设置成 scss 即可。
4.使用测试
丰富一下 404 页面内容,加入 scss 样式,移除 App.vue 的 logo 图片。
访问:http://localhost:8080/#/404, 正确显示修改后的 404 页面效果。
安装 axios
axios 是一个基于 Promise 用于浏览器和 nodejs 的 HTTP 客户端,我们后续需要用来发送 http 请求。
安装依赖
执行以下命令,安装 axios 依赖。
yarn add axios
安装完成后,修改 Home.vue 进行简单的安装测试。
点击测试按钮触发 http 请求,并弹出窗显示返回数据。
安装 Mock.js
为了模拟后台接口提供页面需要的数据,我们引入 Mock.js 为我们提供模拟数据,而不用依赖于后台接口的完成。
安装依赖
执行如下命令,安装依赖包。
yarn add mockjs --dev
安装完成之后,我们写个例子测试一下。
在 src 目录下新建一个 mock 目录,创建 mock.js,在里面我们模拟了两个接口,分别拦截用户和菜单的请求,并返回相应的数据。
如下图所示:
修改 Home.vue,在页面放置两个按钮,分别触发用户和菜单的处理请求,成功后弹出获取结果。
浏览器访问:http://localhost:8080/#/,分别点击两个按钮,mock 会根据请求 url 拦截对应请求并返回模拟数据。
获取用户信息
获取菜单信息
OK,mock 已经成功集成进来了。


