Python - PyQt6、QDesigner、pyuic5-tool 安装使用
Python 开发可视化界面可以使用原生的 tkinter,但是原生框架使用起来颇为不方便,所以最流行的还是QT UI框架,QT是使用C++语言开发,Python 想使用需要对其进行封装,所以就出现了PyQt框架,这个框架使用极其方便,而且可以多端运行。
1.安装 PyQt 框架
本人使用的是Mac 2023款 Apple M1芯片,Python版本是3.9,开发IDE使用的 PyCharm。
Qt 官网文档 ,
https://www.qt.io/download
https://riverbankcomputing.com/software/pyqt/download
Qt的长期支持版(LTS)有 Qt 5.15 、Qt 6.2 、Qt 6.5,所以我首先选的是 PyQt5 版本下载
pip install PyQt5
问题开始出现了,安装 PyQt5报错了 Encountered error while generating package metadata
      sipbuild.pyproject.PyProjectOptionException
      [end of output]

  note: This error originates from a subprocess, and is likely not a problem with pip.
error: metadata-generation-failed

× Encountered error while generating package metadata.
╰─> See above for output.
首先不是pip的问题,pip我已经更新到最新了,查找好多资料,基本可以确定是Python3.9版本过高导致的,需要使用Python3.7版本,但是我没有去给Python降级,因为电脑中还有需要使用Python的地方用到该版本的,这里降级在引出别的问题,所以放弃 PyQt5,下面安装PyQt6。
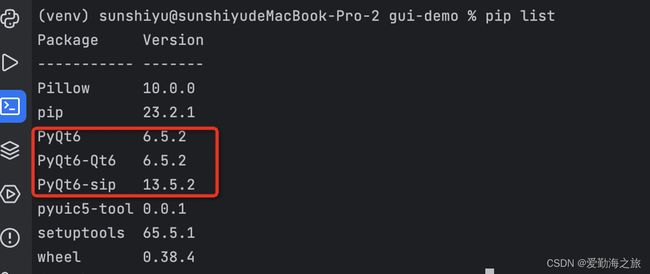
pip install PyQt6
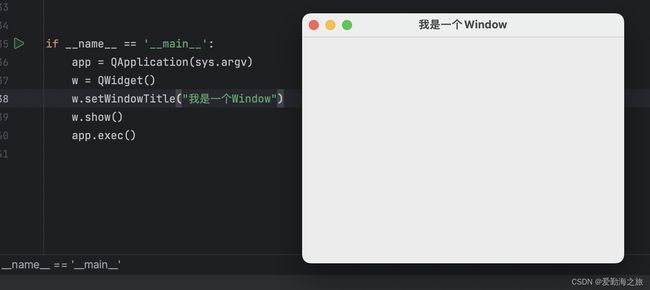
试用下看看效果
from PyQt6.QtWidgets import *  # 导入PyQt6

if __name__ == '__main__':
    app = QApplication(sys.argv)
    w = QWidget()
    w.setWindowTitle("我是一个Window")
    w.show()
    app.exec()
一切顺利,运行起来了
2. 安装 QtDesigner
PyQt6使用纯代码进行布局,作为开发者肯定无法接受,尤其是作为iOS开发的我用惯使用了 StoryBoard和Xib等拖拽控件的方式进行布局,PyQt也有这种方式就是 QtDesigner。
QtDesigner 下载地址:https://build-system.fman.io/qt-designer-download。
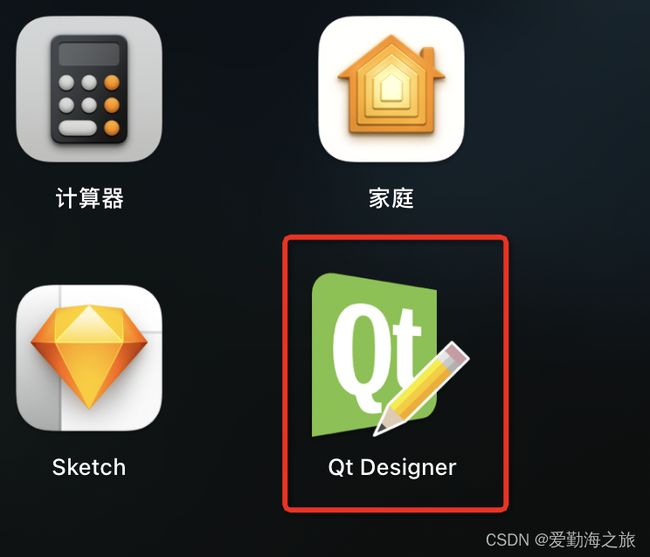
选择 Mac 版下载,然后安装:
在PyCharm中安装External Tool,PyCharm -> settings -> Tools -> External Tool
1.Name: 随意填写 例如 QtDesigner;
2.Program:这个就是我们上面下载的 Qt Designer App 路径 /Applications/Qt Designer.app;
3.Working directory:项目工作目录,固定填写 $ProjectFileDir$;
其他项可不填写,点击 OK 保存。然后我们在PyCharm的导航栏Tools中查看是否已经添加好了:
QtDesigner已经存在了,说明已经添加好了,然后点击这个插件,会出现下面6个视图,最用基本上见名知意,很好理解:
点击中间视图的 Create 按钮,创建一个Window或者Widget:
中间就是一个Widget我拖拽了两个QLabel两个QLineEdit以及一个QPushButton,当然你可以随意拖拽任意组件,点击保存:

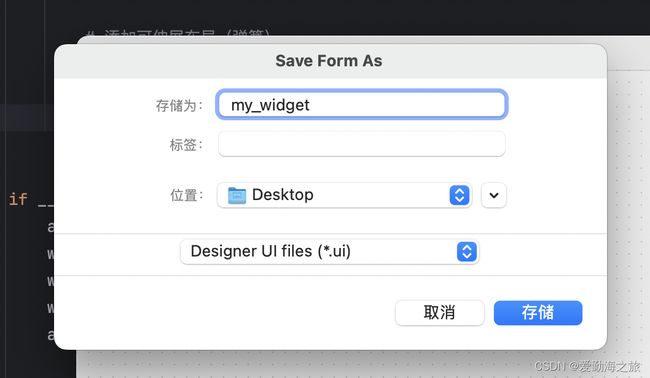
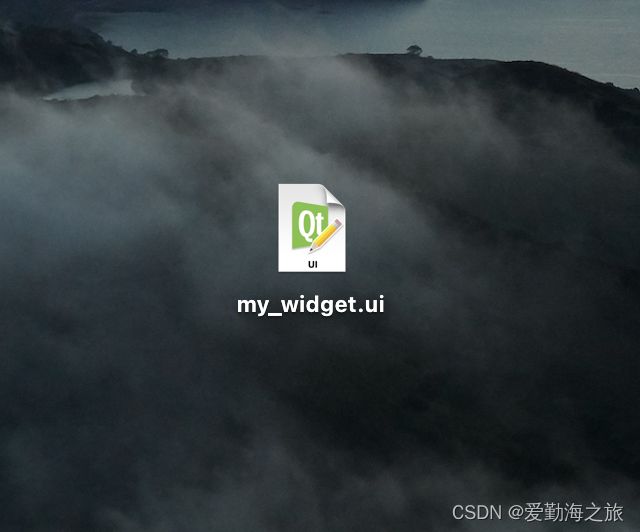
保存到桌面,会生成一个.ui文件,即 my_widget.ui:
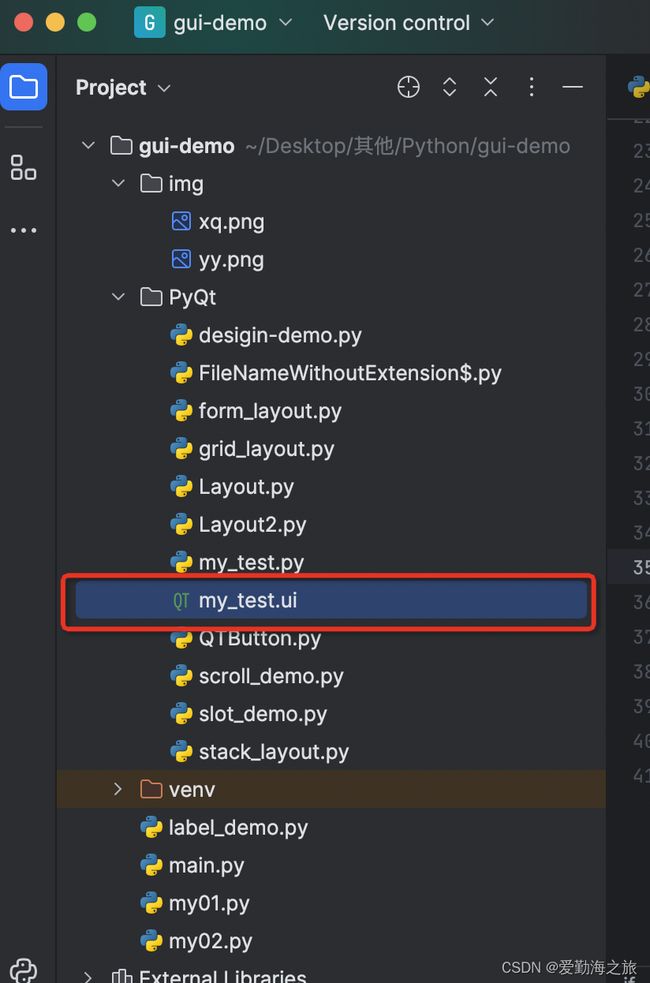
我们将这个文件拖到我们项目中
如果想加载这个文件需要用到 pyuic5-tool ,下面来安装这个库。
3.安装 pyuic5-tool
pip install pyuic5-tool
安装结果
(venv) sunshiyu@sunshiyudeMacBook-Pro-2 gui-demo % pip3 install pyuic5-tool
Collecting pyuic5-tool
  Downloading pyuic5_tool-0.0.1-py3-none-any.whl (9.8 kB)
Installing collected packages: pyuic5-tool
Successfully installed pyuic5-tool-0.0.1
很幸运Python3.9直接安装成功。好的,我们继续来加载上面的 my_test.ui 文件:
import sys

from PyQt6.QtCore import *
from PyQt6.QtWidgets import *
from PyQt6.QtGui import *
from PyQt6 import uic


if __name__ == '__main__':
    pass
    app = QApplication(sys.argv)
    mw = uic.loadUi("./my_test.ui")  # 加载.ui文件,传入其所在路径即可
    mw.show()
    app.exec()
我们想如果能将 my_test.ui 文件转成 .py文件 ,那不是更爽吗?是的,我们可以实现它,接下来我们安装第二个插件:
和QtDesigner很相似,填写数据:
1.Name:随便写,例如 pyUIC;
2.Program:这个是我们安装 pyuic5-tool 的路径,我的是在venv中,/Users/sunshiyu/Desktop/其他/Python/gui-demo/venv/bin/pyuic6;
3.Arguments:基本也是固定写法$FileName$ -o $FileNameWithoutExtension$.py;
4.Working directory:工作路径 $FileDir$
pyuic6的路径在:
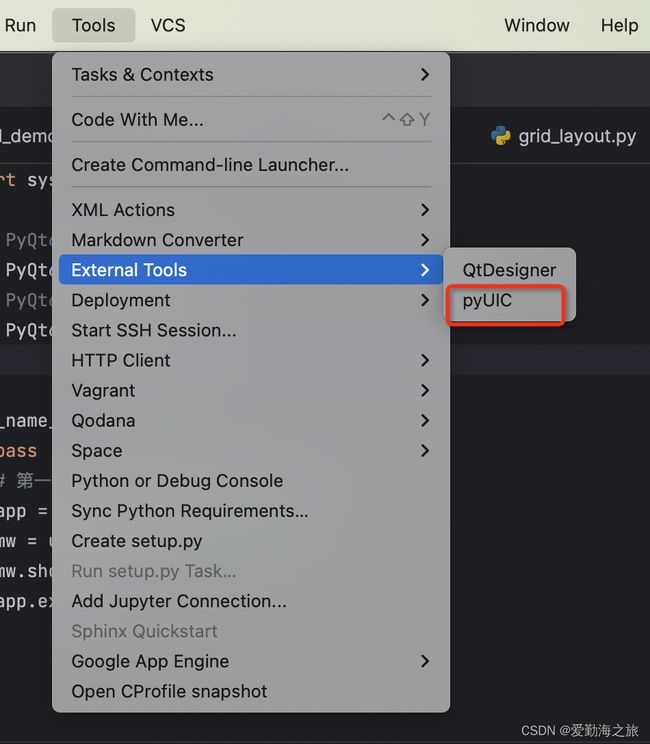
点击 OK,我们用相同的方式查看该插件是否已经添加完成:
显然已经添加成功,下面右键点击my_test.ui文件 -> External Tools -> pyUIC,点击插件 pyUIC,就会在同目录下生成一份my_test,py文件,如下图:
生成的代码如下:
# Form implementation generated from reading ui file 'my_test.ui'
#
# Created by: PyQt6 UI code generator 6.5.2
#
# WARNING: Any manual changes made to this file will be lost when pyuic6 is
# run again.  Do not edit this file unless you know what you are doing.


from PyQt6 import QtCore, QtGui, QtWidgets


class Ui_Form(object):
    def setupUi(self, Form):
        Form.setObjectName("Form")
        Form.resize(491, 378)
        self.pushButton = QtWidgets.QPushButton(parent=Form)
        self.pushButton.setGeometry(QtCore.QRect(190, 270, 113, 32))
        self.pushButton.setObjectName("pushButton")
        self.label = QtWidgets.QLabel(parent=Form)
        self.label.setGeometry(QtCore.QRect(40, 30, 60, 16))
        self.label.setObjectName("label")
        self.label_2 = QtWidgets.QLabel(parent=Form)
        self.label_2.setGeometry(QtCore.QRect(40, 60, 60, 16))
        self.label_2.setObjectName("label_2")
        self.lineEdit = QtWidgets.QLineEdit(parent=Form)
        self.lineEdit.setGeometry(QtCore.QRect(100, 30, 113, 21))
        self.lineEdit.setObjectName("lineEdit")
        self.lineEdit_2 = QtWidgets.QLineEdit(parent=Form)
        self.lineEdit_2.setGeometry(QtCore.QRect(100, 60, 113, 21))
        self.lineEdit_2.setObjectName("lineEdit_2")

        self.retranslateUi(Form)
        QtCore.QMetaObject.connectSlotsByName(Form)

    def retranslateUi(self, Form):
        _translate = QtCore.QCoreApplication.translate
        Form.setWindowTitle(_translate("Form", "Form"))
        self.pushButton.setText(_translate("Form", "点击"))
        self.label.setText(_translate("Form", "账号:"))
        self.label_2.setText(_translate("Form", "密码:"))
