Springboot 实践(13)spring boot 整合RabbitMq
前文讲解了RabbitMQ的下载和安装,此文讲解springboot整合RabbitMq实现消息的发送和消费。
1、创建web project项目,名称为“SpringbootAction-RabbitMQ”
2、修改pom.xml文件,添加amqp使用jar包
3、修改application.xml,配置服务器RabbitMQ服务器
spring:
rabbitmq: #配置RabbitMQ
host: 127.0.0.1
port: 5672
username: guest
password: guest
virtual-host: /
4、添加RabbitMQ配置文件
@Configuration//Rabbit配置类
public class RabbitConfig {
private final String EXCHANGE_NAME = "boot_topic_exchange";
private final String QUEUE_NAME = "boot_queue";
//创建交换机
@Bean("bootExchange")
public Exchange getExchange()
{
return ExchangeBuilder
.topicExchange(EXCHANGE_NAME)//交换机类型 ;参数为名字
.durable(true)//是否持久化,true即存到磁盘,false只在内存上
.build();
}
//创建队列
@Bean("bootQueue")
public Queue getMessageQueue()
{
return new Queue(QUEUE_NAME);
}
//交换机绑定队列
@Bean
//@Qualifier注解,使用名称装配进行使用
public Binding bindMessageQueue(@Qualifier("bootExchange") Exchange exchange, @Qualifier("bootQueue") Queue queue)
{
return BindingBuilder
.bind(queue)
.to(exchange)
.with("#.message.#")
.noargs();
}
}
5、添加producer生产者文件
@RestController
public class TestProducer {
//注入RabbitTemplate工具类(rabbit内部的,可以发送消息)
@Autowired
private RabbitTemplate rabbitTemplate;
@GetMapping("/sendMessage")
public void testSendMessage()
{
/**
* 发送消息
* 参数1:交换机
* 参数2:路由键
* 参数3:要发送的消息
*/
rabbitTemplate.convertAndSend("boot_topic_exchange","message","双十二开始了!");
}
}
6、添加consumer消费者文件
//消费者
@Component
public class Consumer {
//监听队列
@RabbitListener(queues = "boot_queue")
public void listenMessage(Message message)
{
System.out.println("接收消息:"+message);
}
}
7、测试
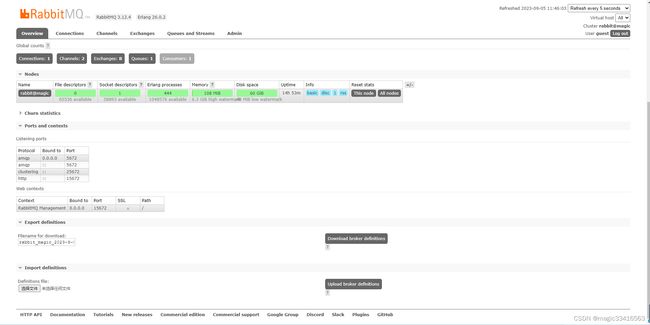
启动RabbitMQ服务器,启动后界面如下图所示:
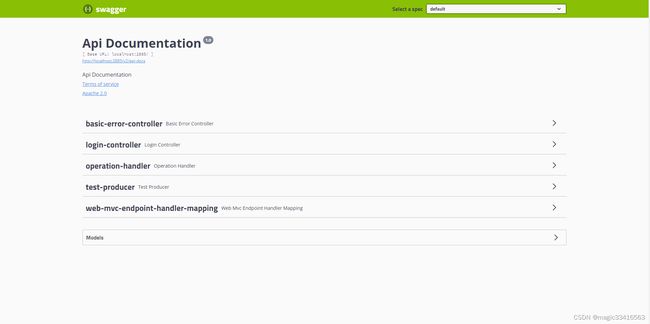
启动SpringbootAction-RabbitMQ项目,项目启动后,在浏览器中输入http://localhost:2885/swagger-ui.html,界面如下:
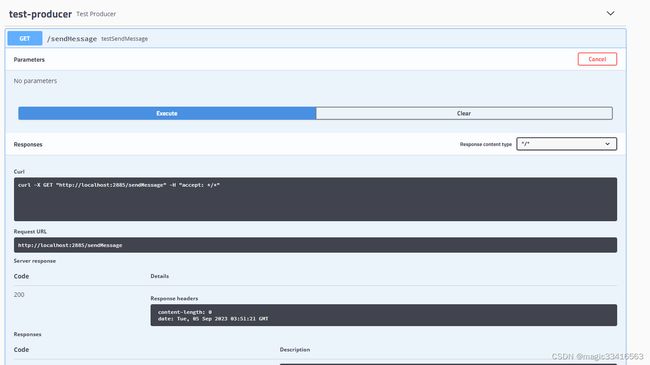
测试消息生产者和消费者
选择“test-producer”,点击“Excute”,执行producer
观察项目后台console,显示如下:

从上图看,producer可以正常发布信息,同时consumer也正常消费了信息。