K8s存储:Configmap与Secret配置管理
文章目录
- 一、Configmap配置管理
-
- <1>创建方式
-
- 1.使用字面值创建
- 2.使用文件创建
- 3.使用目录创建
- 4.编写configmap的yaml文件创建
- <2>使用方法
-
- 1.通过环境变量的方式直接传递给pod
- 2.通过在pod的命令行下运行的方式
- 3.作为volume的方式挂载到pod内
- <3>热更新
- 二、Secret配置管理
-
- 1.编写一个 secret 对象
- 2.将Secret挂载到Volume中
- 3.向指定路径映射 secret 密钥
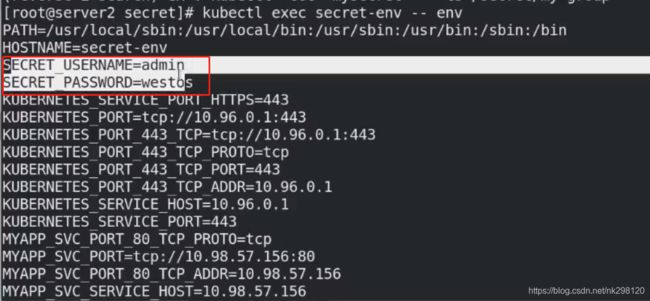
- 4.将Secret设置为环境变量
- 5.配置拉去私有仓库镜像的密钥
一、Configmap配置管理
Configmap用于保存配置数据,以键值对形式存储。
configMap 资源提供了向 Pod 注入配置数据的方法。
旨在让镜像和配置文件解耦,以便实现镜像的可移植性和可复用性。
典型的使用场景:填充环境变量的值、设置容器内的命令行参数、填充卷的配置文件
<1>创建方式
1.使用字面值创建
kubectl create configmap my-config --from-literal=key1=config1 --from-literal=key2=config2
2.使用文件创建
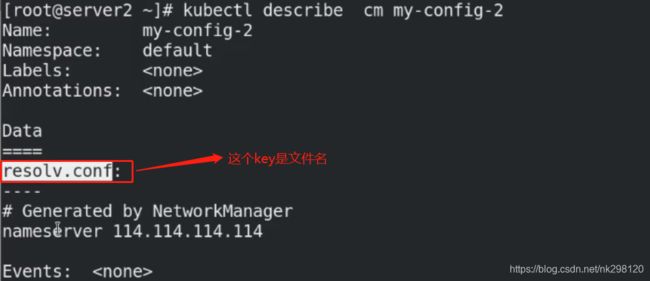
kubectl create configmap my-config-2 --from-file=/etc/resolv.conf %将文件的内容放进my-config-2中
3.使用目录创建
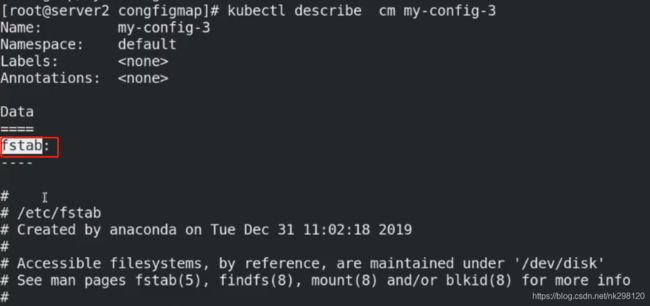
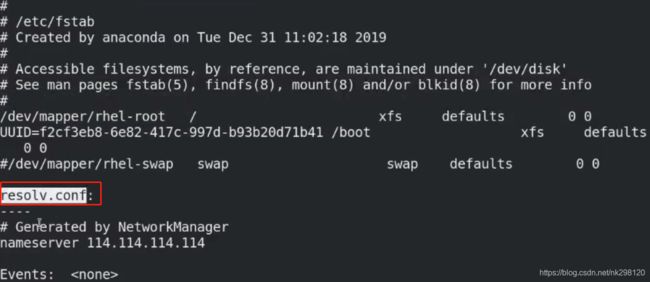
kubectl create configmap my-config-3 --from-file=test
4.编写configmap的yaml文件创建
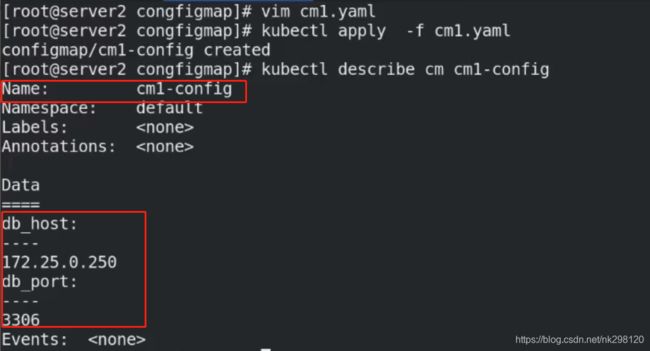
vim cm1.yaml   %编写yaml文件
apiVersion: v1
kind: ConfigMap
metadata:
  name: cm1-config
data:
  db_host: "172.25.0.250"
  db_port: "3306"
<2>使用方法
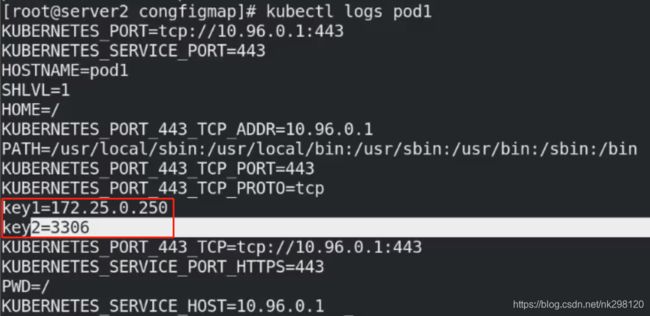
1.通过环境变量的方式直接传递给pod
vim pod1.yaml
apiVersion: v1
kind: Pod
metadata:
  name: pod1
spec:
  containers:
    - name: pod1
      image: busyboxplus
      command: ["/bin/sh", "-c", "env"]
      env:
        - name: key1
          valueFrom:
            configMapKeyRef:
              name: cm1-config
              key: db_host
        - name: key2
          valueFrom:
            configMapKeyRef:
              name: cm1-config
              key: db_port
  restartPolicy: Never
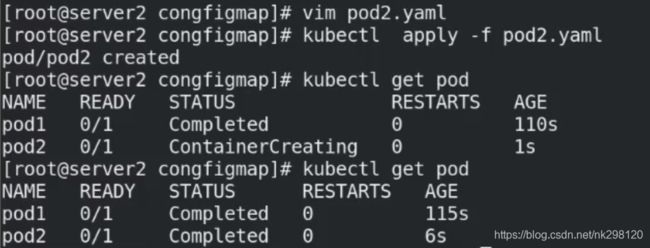
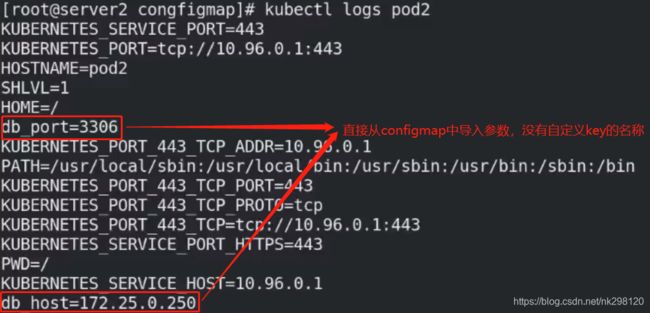
vim pod2.yaml
apiVersion: v1
kind: Pod
metadata:
  name: pod2
spec:
  containers:
    - name: pod2
      image: busyboxplus
      command: ["/bin/sh", "-c", "env"]
      envFrom:
        - configMapRef:
            name: cm1-config
  restartPolicy: Never
2.通过在pod的命令行下运行的方式
vim pod2.yaml
apiVersion: v1
kind: Pod
metadata:
  name: pod1
spec:
  containers:
    - name: pod1
      image: busybox
      command: ["/bin/sh", "-c", "echo $(db_host) $(db_port)"]  %修改输出内容
      envFrom:
        - configMapRef:
            name: cm1-config
  restartPolicy: Never
3.作为volume的方式挂载到pod内
vim pod3.yaml
apiVersion: v1
kind: Pod
metadata:
  name: pod3
spec:
  containers:
    - name: pod3
      image: busyboxplus
      command: ["/bin/sh", "-c", "cat /config/db_host"]
      volumeMounts:
      - name: config-volume
        mountPath: /config
  volumes:
    - name: config-volume
      configMap:
        name: cm1-config
  restartPolicy: Never
<3>热更新
vim pod3.yaml
apiVersion: v1
kind: Pod
metadata:
  name: pod3
spec:
  containers:
    - name: pod3
      image: busyboxplus
      stdin: true
      tty: true
      volumeMounts:
      - name: config-volume
        mountPath: /config
  volumes:
    - name: config-volume
      configMap:
        name: cm1-config
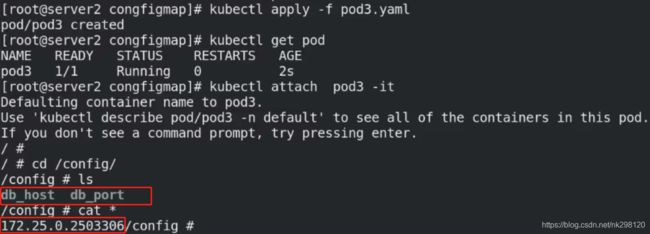

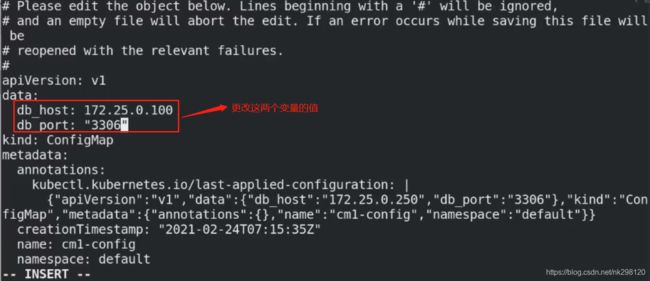
注意:修改完外部卷的内容后会同步到容器内,且Pod数据并不会实时更新,需要等待几秒

上述操作能够实现静态文件的同步,但是如果使用应用镜像,比如Nginx,它是一个服务,configmap中的配置文件同步到容器内部后想要使之生效则需要重启容器内部的服务,即能够实现滚动更新,这时候我们来看下一个例子:
vim default.conf
server {
    listen       8000;
    server_name  _;

    location / {
        root /usr/share/nginx/html;
        index  index.html index.htm;
    }
}
kubectl create configmap nginx-config --from-file=default.conf   %通过文件的方式创建接下来要用的configmap

vim demo.yaml
apiVersion: apps/v1
kind: Deployment
metadata:
  name: demo
spec:
  replicas: 1
  selector:
    matchLabels:
      app: myapp
  template:
    metadata:
      labels:
        app: myapp
    spec:
      containers:
        - name: myapp
          image: myapp:v1
          volumeMounts:
          - name: config-volume
            mountPath: /etc/nginx/conf.d
      volumes:
        - name: config-volume
          configMap:
            name: nginx-config
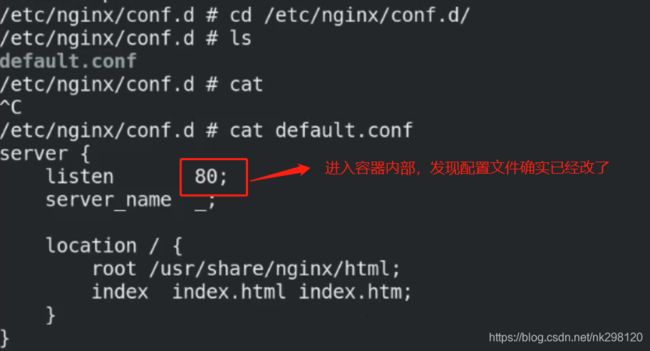
kubectl edit cm nginx-config %更改端口号再测试
此时,容器内部配置文件信息已经被同步过来,但是并没有生效,在外部访问时依然是未更改前的端口号:

![]()
kubectl patch deployments.apps demo --patch '{"spec": {"template": {"metadata": {"annotations": {"version/config": "2021xxxx"}}}}}' %手动触发Pod滚动更新,, 这样才能再次加载nginx.conf配置文件
二、Secret配置管理
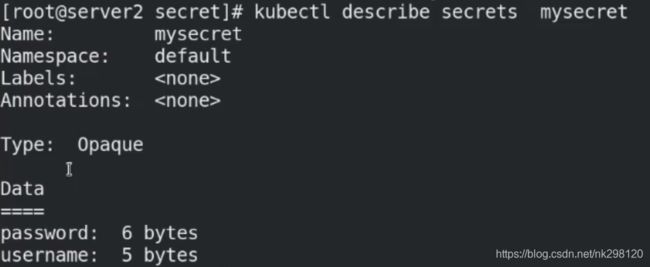
1.编写一个 secret 对象
vim mysecret.yaml
apiVersion: v1
kind: Secret
metadata:
  name: mysecret
type: Opaque
data:
  username: YWRtaW4=
  password: d2VzdG9z
kubectl apply -f mysecret.yaml   %创建mysecret
2.将Secret挂载到Volume中
apiVersion: v1
kind: Pod
metadata:
  name: mysecret
spec:
  containers:
  - name: demo
    image: myapp:v1
    volumeMounts:
    - name: secrets
      mountPath: "/secret"
      readOnly: true
  volumes:
  - name: secrets
    secret:
      secretName: mysecret
3.向指定路径映射 secret 密钥
apiVersion: v1
kind: Pod
metadata:
  name: mysecret
spec:
  containers:
  - name: demo
    image: myapp:v1
    volumeMounts:
    - name: secrets
      mountPath: "/secret"
      readOnly: true
  volumes:
  - name: secrets
    secret:
     secretName: mysecret
     items:
     - key: username
       path: my-group/my-username
4.将Secret设置为环境变量
vim pod2.yaml
apiVersion: v1
kind: Pod
metadata:
  name: secret-env
spec:
  containers:
  - name: nginx
    image: myapp:v1
    env:
      - name: SECRET_USERNAME
        valueFrom:
          secretKeyRef:
            name: mysecret
            key: username
      - name: SECRET_PASSWORD
        valueFrom:
          secretKeyRef:
            name: mysecret
            key: password
5.配置拉去私有仓库镜像的密钥
kubectl create secret docker-registry myregistrykey --docker-server=reg.westos.org --docker-username=admin --docker-password=westos --docker-email=admin@westos.org  %生成myregistrykey

vim mypod.yaml
apiVersion: v1
kind: Pod
metadata:
  name: mypod
spec:
  containers:
    - name: game2048
      image: reg.westos.org/westos/game2048
  imagePullSecrets:
    - name: myregistrykey
做好上述配置后发现可以直接拉取私有仓库westos中的镜像


