Miniconda 环境配置及 pytorch 安装
目录
Miniconda安装配置
1.conda更换镜像源
2.PyPI更换镜像源
3.创建与激活 Conda 环境
Pytorch安装(Conda 安装)
CUDA验证
Miniconda安装配置
Miniconda下载地址:https://docs.conda.io/en/latest/miniconda.html
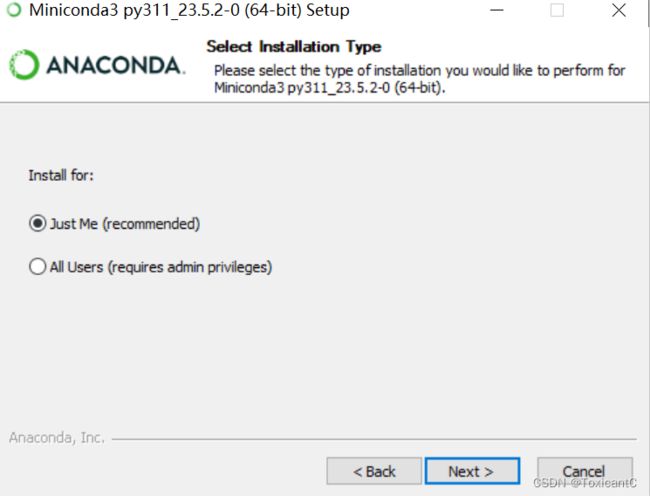
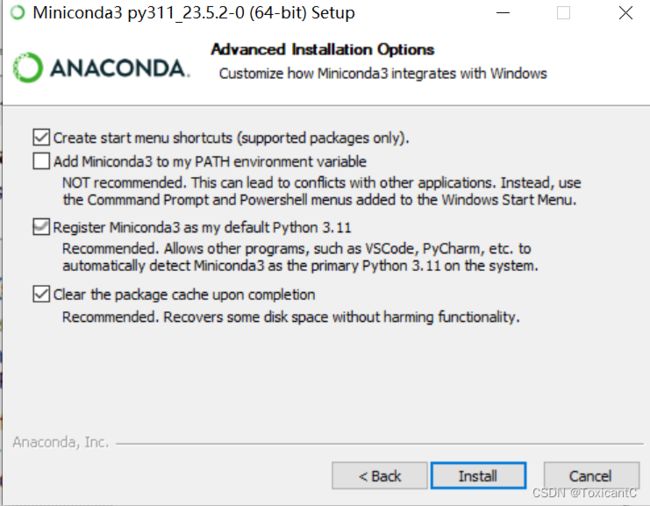
Windows下安装配置推荐
修改 Powershell 执行策略(可选)
在开始图标点击鼠标右键,选择Windows PowerShell(管理员)
输入以下内容并回车:
Set-ExecutionPolicy -Scope CurrentUser RemoteSigned出现以下内容后,输入A回车:
最后在 Anaconda Powershell Prompt 中输入:
conda init
1.conda更换镜像源
校园网联合镜像站:Anaconda 软件仓库镜像使用帮助 - MirrorZ Help
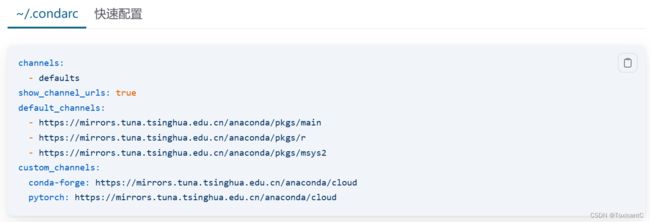
进入网站后复制以下内容:(本文也已给出)
channels:
  - defaults
show_channel_urls: true
default_channels:
  - https://mirrors.tuna.tsinghua.edu.cn/anaconda/pkgs/main
  - https://mirrors.tuna.tsinghua.edu.cn/anaconda/pkgs/r
  - https://mirrors.tuna.tsinghua.edu.cn/anaconda/pkgs/msys2
custom_channels:
  conda-forge: https://mirrors.tuna.tsinghua.edu.cn/anaconda/cloud
  pytorch: https://mirrors.tuna.tsinghua.edu.cn/anaconda/cloud
复制文本后,在 Anaconda Powershell Prompt 中输入:
notepad .condarc # 注意有个小点 "." 在 "condarc" 的前面回车后会出现记事本的界面,粘贴以上内容保存并关闭。
最后在 Anaconda Powershell Prompt 中输入:
conda clean -i # 清除源缓存,以启用镜像源2.PyPI更换镜像源
校园网联合镜像站:https://help.mirrors.cernet.edu.cn/pypi/
复制文本后,在 Anaconda Powershell Prompt 中粘贴运行即可:
# 设置 PyPI 镜像源
pip config set global.index-url https://mirrors.cernet.edu.cn/pypi/web/simple
3.创建与激活 Conda 环境
创建 Conda 环境
conda create -n test python=3.10
# -n 代表创建的环境名称,这里是 test,并指定 Python 版本为 3.10
激活刚刚创建的 Conda 环境:
conda activate test 如果需要删除某个 Conda 环境:
conda deactivate # 退出该环境
conda remove -n Datawhale --all # 删除整个环境
4.安装 Jupyter
pip install jupyter在指定路径输入:
jupyter-notebook # 会自动跳转结束时使用:Ctrl + C ,关闭 Jupyter Notebook 服务
Pytorch安装(Conda 安装)
首先在 Anaconda Powershell Prompt 中输入:
nvidia-smi # 查看当前 GPU 支持的最高 CUDA 版本如果指令无法识别,可能是未正确安装NVIDIA驱动。
如果电脑为核显,则跳过此步骤。
Pytorch 安装: https://pytorch.org/get-started/locally/
电脑有独显则选择 CUDA 11.8 版本(选择的版本小于电脑的CUDA Version即可):
conda install pytorch torchvision torchaudio pytorch-cuda=11.8 -c pytorch -c nvidia电脑如果是核显(没有独立显卡或不是英伟达的显卡):
conda install pytorch torchvision torchaudio cpuonly -c pytorchCUDA验证
在 Anaconda Powershell Prompt 中输入:
ipython # 交互 Python 运行环境>>> import torch
>>> torch.cuda.is_available()
# 核显可输入以下命令
>>> print(torch.__version__)这里推荐几个云端环境:
- 百度飞桨 AI Studio https://aistudio.baidu.com/aistudio/index
- 阿里天池 PAI DSW https://tianchi.aliyun.com/notebook-ai
- Kaggle https://www.kaggle.com/code
- Google Colab https://colab.research.google.com/
- Sagemaker Studio Lab https://studiolab.sagemaker.aws/
感谢 Datawhale AI夏令营。


