vuex入门
文章目录
- 一、vuex简介
-
- 1.1 概述
- 1.2 核心
- 二、使用
-
- 2.1 安装
- 2.2 创建store模块
- 2.3 在src/store/index.js中写入内容
- 2.4.在src/main.js中导入并使用store实例
- 2.5.在views新建vuex目录,添加Page1.vue和Page2.vue文件
- 2.6.配置路由
- 2.7.在LeftNav.vue添加内容
- 三、存取值
-
- 3.1 state直接取值
- 3.2 getters取值
- 3.3 mutations存值
- 3.4 actions存值
- 3.5 发送ajax请求获取后台数据
一、vuex简介
1.1 概述
Vuex是一个专为Vue.js应用程序开发的状态管理模式。它可以帮助我们在应用程序中管理和共享状态,使得不同组件之间的数据共享更加简单和可预测。
在Vue.js应用程序中,组件之间的通信是通过props和事件来实现的。然而,当应用程序变得复杂时,组件之间的数据传递和状态管理可能会变得困难和混乱。这时候,Vuex就派上了用场。
通过使用Vuex,我们可以将应用程序的状态集中管理,使得状态的变更和获取变得更加简单和可控。Vuex还提供了一些高级特性,如模块化组织、插件系统和严格模式,以满足不同应用程序的需求。
1.2 核心
State(状态):State是应用程序的状态存储,它是一个响应式的数据源。在Vuex中,我们可以定义和管理应用程序的状态,这些状态可以被多个组件共享和访问。
Mutations(变更):Mutations是用于修改状态的方法。它们是同步的操作,用于改变State中的数据。在Vuex中,我们可以定义多个Mutations,每个Mutation都有一个字符串类型的事件名和一个回调函数,用于修改State中的数据。
Actions(动作):Actions是用于触发异步操作的方法。它们可以包含任意异步操作,如网络请求、定时器等。Actions通过调用Mutations来修改State中的数据。在Vuex中,我们可以定义多个Actions,每个Action都有一个字符串类型的事件名和一个回调函数,用于执行异步操作。
Getters(获取器):Getters是用于从状态中获取数据的方法。它们可以对State中的数据进行计算和过滤,并返回一个新的值。在Vuex中,我们可以定义多个Getters,每个Getters都有一个字符串类型的事件名和一个回调函数,用于获取计算后的数据。
二、使用
2.1 安装
1、node.js10 输入以下指令进行安装
npm install vuex -S
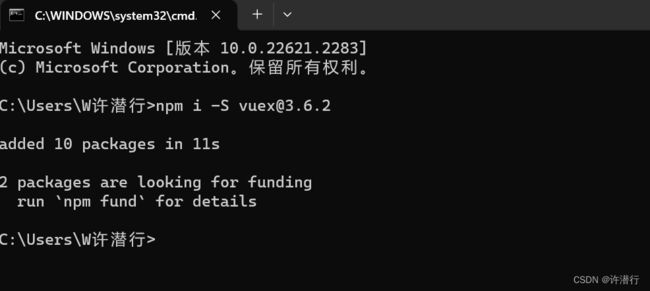
2、node.js18 输入以下指令进行安装
npm i -S vuex@3.6.2
2.2 创建store模块
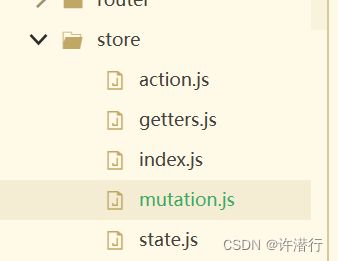
2.3 在src/store/index.js中写入内容
import Vue from 'vue'
import Vuex from 'vuex'
import state from './state'
import getters from './getters'
import actions from './actions'
import mutations from './mutations'
Vue.use(Vuex)
const store = new Vuex.Store({
  state,
  getters,
  actions,
  mutations
})

export default store
2.4.在src/main.js中导入并使用store实例
// The Vue build version to load with the `import` command
// (runtime-only or standalone) has been set in webpack.base.conf with an alias.
import Vue from 'vue'
import App from './App'
import ElementUI from 'element-ui';
import 'element-ui/lib/theme-chalk/index.css';
import axios from '@/api/http'
import VueAxios from 'vue-axios'
import router from './router'
import store from './store'
//开发环境下才会引入mockjs
process.env.MOCK && require('@/mock')
Vue.use(ElementUI);
Vue.use(VueAxios,axios)
Vue.config.productionTip = false
/* eslint-disable no-new */
new Vue({
el: '#app',
data(){
return{
Bus: new Vue({})
}
},
router,
store,
components: { App },
template: '2.5.在views新建vuex目录,添加Page1.vue和Page2.vue文件
<template>
  <div>
    <h1>这是页面1h1>
  div>
template>

<script>
export default {
  name: "Page1"
}
script>

<style scoped>

style>
<template>
  <div>
    <h1>这是页面2h1>
  div>
template>

<script>
export default {
  name: "Page1"
}
script>

<style scoped>

style>
2.6.配置路由
import Page1 from '@/views/vuex/Page1'
import Page2 from '@/views/vuex/Page2'

#添加到与TopNav同级的地方
{
    path: '/vuex/Page1',
	name: 'Page1',
	component: Page1
},{
    path: '/vuex/Page2',
	name: 'Page2',
	component: Page2
}
2.7.在LeftNav.vue添加内容
<el-menu-item
      index="/vuex/Page1"
      key="'key_999">
      <span>Vuex页面1span>
    el-menu-item>
    <el-menu-item
      index="/vuex/Page2"
      key="'key_1000">
      <span>Vuex页面2span>
    el-menu-item>
三、存取值
3.1 state直接取值
修改src/store/state.js
export default {
  name: 'Vuex学习'
}
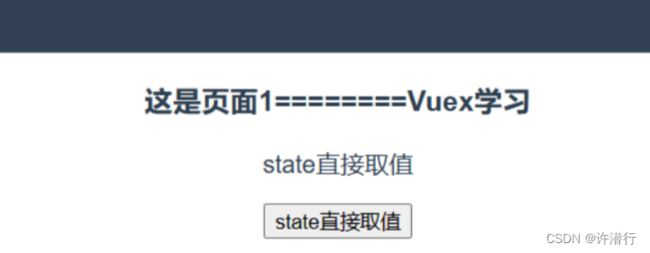
修改src/views/vuex/Page1.vue的内容
<template>
<div>
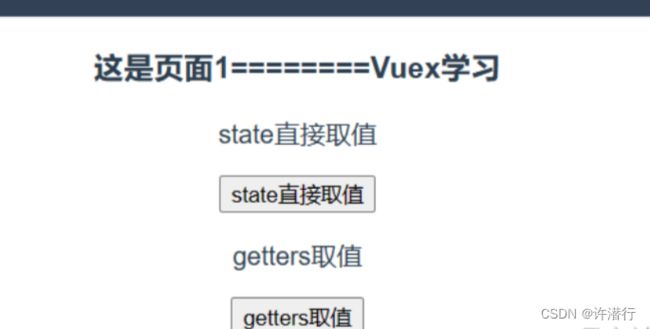
<h1>这是页面1========{{msg}}h1>
<p>state直接取值p>
<button @click="func1">state直接取值button>
div>
template>
<script>
export default {
name: "Page1",
data(){
return{
msg: null
}
},
methods:{
func1(){
this.msg = this.$store.state.name;
}
}
}
script>
<style scoped>
style>
3.2 getters取值
修改src/store/getters.js
export default {
  getName(state){
    return state.name;
  }
}
修改Page1.vue的内容
#div中添加
<p>getters取值p>
<button @click="func2">getters取值button>

#methods中添加
func2(){
	this.msg = this.$store.getters.getName;
}
3.3 mutations存值
修改mutations.js的内容
export default {
  setName(state, payload) {
    state.name = payload.name;
  }
}
修改Page1.vue
#div中添加
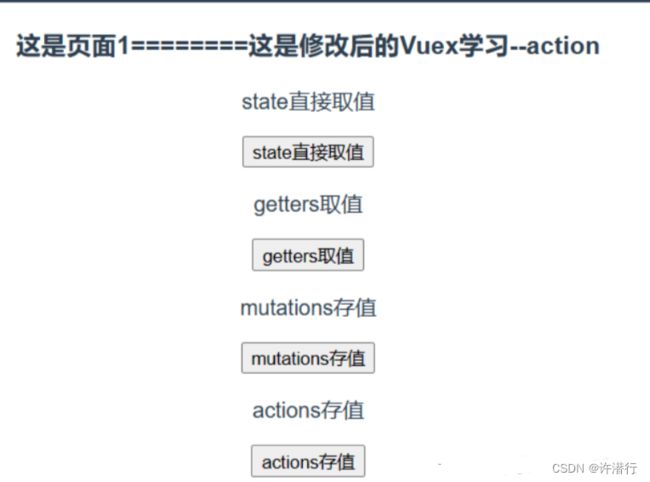
<p>mutations存值p>
<button @click="func3">mutations存值button>
#methdos中添加
func3(){
this.$store.commit('setName',{
name: '这是修改后的Vuex学习'
});
}
修改Page2.vue
- <template>
  <div>
    <h1>这是页面2===={{msg}}h1>
  div>
template>

<script>
export default {
  name: "Page2",
  data(){
    return{
      msg: null
    }
  },created() {
    this.msg = this.$store.state.name;
  }
}
script>

<style scoped>

style>
点击page1按钮page2改变

3.4 actions存值
修改Page1.vue的内容,删除data中的msg,改为computed属性
computed:{
    msg(){
        return this.$store.state.name;
    }
}
修改store/actions.js
export default {
  setNameAsync(context, payload) {
    //context指的是vuex的实例
    //等价于this.$store
    setTimeout(function () {
      context.commit('setName',payload);
    },6000)
  }
}
修改Page1.vue
#div中添加
<p>actions存值p>
<button @click="func4">actions存值button>

#methods中添加
func4(){
	this.$store.dispatch('setNameAsync',{
		name: '这是修改后的Vuex学习--action'
	});
}
3.5 发送ajax请求获取后台数据
api/action.js添加
'VUEX_INFO': '/vuex/queryVuex',//vuex异步获取数据
修改Page1.vue
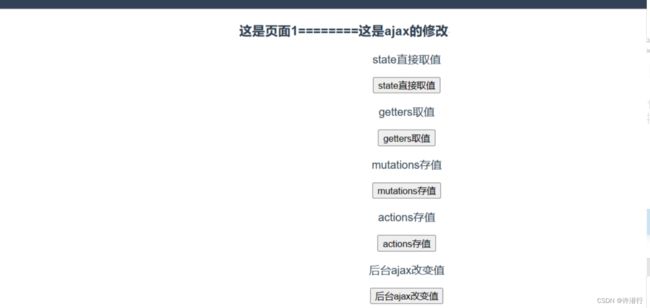
- #div中添加
<p>后台ajax改变值p>
<button @click="func5">后台ajax改变值button>

#methods中添加
func5(){
      this.$store.dispatch('setNameAjax',{
        _this: this
      });
    }
修改actions.js
export default {
  setNameAsync(context, payload) {
    //context指的是vuex的实例
    //等价于this.$store
    setTimeout(function () {
      context.commit('setName', payload);
    }, 3000)
  },
  setNameAjax(context, payload) {
    let _this = payload._this;
    let url = _this.axios.urls.VUEX_INFO;
    let params = {
      resturantName: '这是ajax的修改'
    }
    _this.axios.get(url, {params}).then(resp=>{
      if(resp.data.success){
        context.commit('setName',{
          name: resp.data.msg
        })
      }
    }).catch(err=>{

    })
  }
}