C#winform跨窗体更新UI,跨线程更新UI
1. 基本的调用方式
1.1 通过Application更新
Application.OpenForms[“窗体名称”].Controls[“控件名称”].Visible = true;
1.2 设置控件为public
设置控件为public,将窗体的实例传递给Form2,直接获取控件调用

1.3 获取窗体实例对象更新
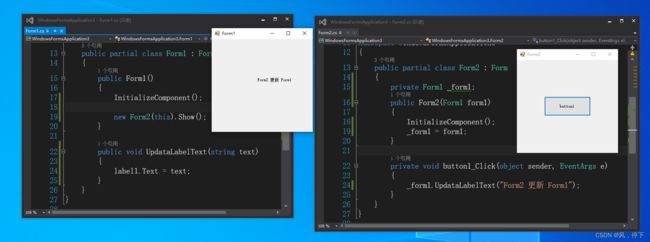
(1)创建Form2时传递Form1的实例
new Form2(this).Show();
(2)在Form2中获取到Form1的实例,可通过构造函数或公开属性
		private Form1 _form1;
        public Form2(Form1 form1)
        {
            InitializeComponent();
            _form1 = form1;
        }
(3)在from1中写公开方法UpdataLabelText,供Form2在更新时使用
		//添加更新UI的方法
        public void UpdataLabelText(string text)
        {
            label1.Text = text;
        }
(4)更新时调用
private void button1_Click(object sender, EventArgs e)
{
    _form1.UpdataLabelText("Form2 更新 Form1");
}
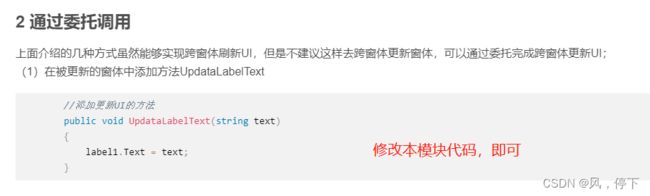
2 通过委托调用
上面介绍的几种方式虽然能够实现跨窗体刷新UI,但是不建议这样去跨窗体更新窗体,可以通过委托完成跨窗体更新UI;
(1)在被更新的窗体中添加方法UpdataLabelText
		//添加更新UI的方法
        public void UpdataLabelText(string text)
        {
            label1.Text = text;
        }
(2)在需要使用的类或窗体中添加同名委托
也可以通过Action或者Func委托,可查看文章C#关于Func和Action委托的介绍
        public delegate void DelegateUpdataForm(string text);//声明委托类型
        public DelegateUpdataForm Form2UpdataForm1Label; //定义委托
(3)创建Form2的窗体时将(1)中的方法添加给委托
private void CreaeForm2()
{
    Form2 frm = new Form2();
    frm.Form2UpdataForm1Label += UpdataLabelText;//向委托添加方法(事件)
}
(4)更新时调用
 private void button1_Click(object sender, EventArgs e)
 {
     Form2UpdataForm1Label("Form2 更新 Form1");//通过委托更新UI
 }
3 在线程中更新UI的值
在线程中更新UI时,若不进行特殊处理,会发生错误,如下图
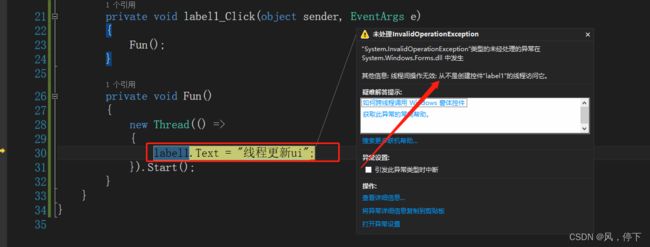
由于更新UI都是在主线程中运行的,跨线程调用时会发生错误,故更新UI时需经过一层包装,如下
 			new Thread(() =>
            {
                label1.Invoke(new EventHandler(delegate
                {
                    label1.Text = "线程更新ui";
                }));
            }).Start();
如果需Form2在线程中更新Form1的UI,则按照本篇文章的第2模块中方案去编写代码,需要在第二模块的第一步中加以修改,
修改如下:
public void UpdataLabelText(string text)
{
    label1.Invoke(new EventHandler(delegate
    {
        label1.Text = text;
    }));
}