Nginx的优化和防盗链
Nginx的优化方案
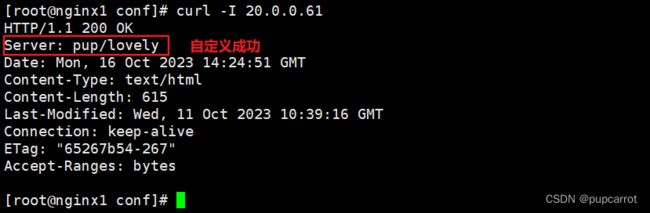
1、隐藏版本号
如何查看版本号:
方式一:
[root@nginx1 ~]# curl -I 20.0.0.61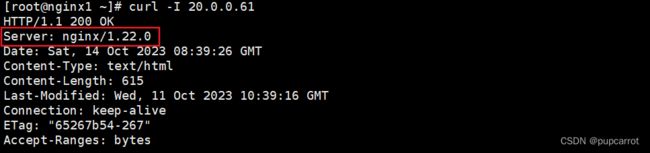
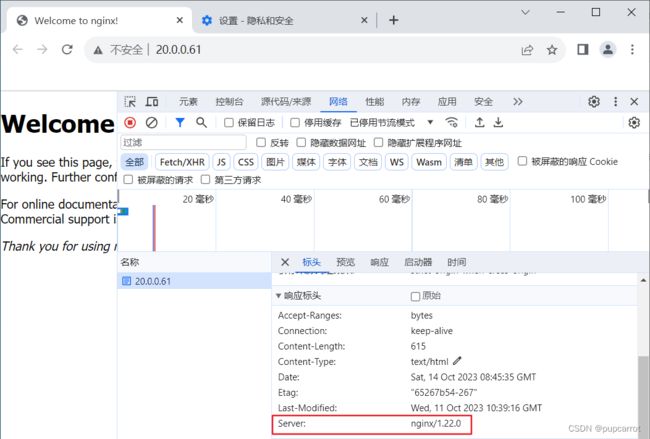
方式二:
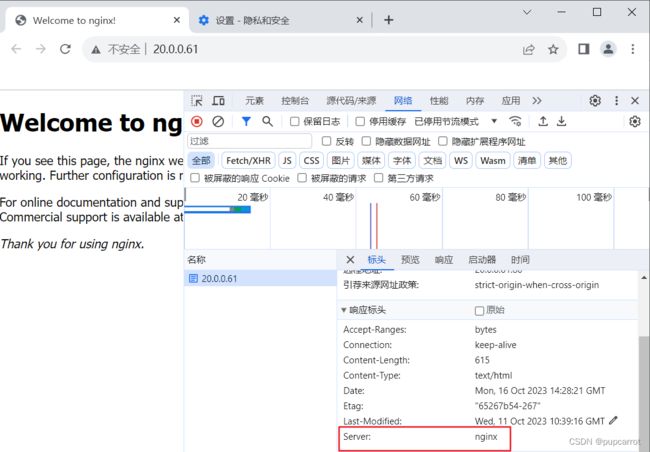
浏览器访问主机地址,F12查看
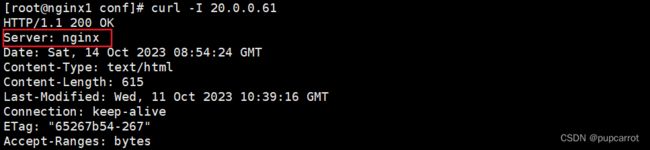
如何隐藏:
方式一:修改配置文件
[root@nginx1 ~]# cd /usr/local/nginx/conf/
[root@nginx1 conf]# vim nginx.conf

--http模块插入--
server_tokens off;

[root@nginx1 conf]# nginx -t
[root@nginx1 conf]# systemctl restart nginx
[root@nginx1 conf]# curl -I 20.0.0.61

方式二:修改源码文件,重新编译安装
(在源码包里修改配置文件,修改完之后要重新配置,编译和安装,然后将隐藏版本号打开)
[root@nginx1 opt]# cd nginx-1.22.0/src/core/
[root@nginx1 core]# vim nginx.h![]()
[root@nginx1 core]# cd /usr/local/nginx/conf/
[root@nginx1 conf]# vim nginx.conf

server_tokens on;
[root@nginx1 conf]# nginx -t
[root@nginx1 conf]# systemctl restart nginx

2、nginx日志分割
原因:nginx没有自带的日志分割功能,需要靠人工通过脚本实现日志分割
[root@nginx1 opt]# vim nginxlog.sh

#!/bin/bash
d=$(date +%Y-%m-%d)
dir="/usr/local/nginx/logs"
logs_file='/usr/local/nginx/logs/access.log'
logs_error='/usr/local/nginx/logs/error.log'
pid_file='/usr/local/nginx/run/nginx.pid'

if [ ! -d "$dir" ]
then
  mkdir -p $dir
fi

mv ${logs_file} ${dir}/access_${d}.log
mv ${logs_error} ${dir}/error_${d}.log
kill -USR1 $(cat ${pid_file})
find $dir -mtime +30 -exec rm -rf {} \;
日志清理原则:
业务日志一般保留30天。数据库日志,保留2年。用户信息加密,而且要永久保存。高可用。
业务日志如果最近无重大事项,保留10天之内的也可以,但是要申请批准。
3、网页压缩
Nginx的ngx_http_gzip_module压缩模块可以对文件内容和图片进行压缩的功能,可以节约宽带,提升用户的访问速度 
[root@nginx1 conf]#vim nginx.conf

http {
......
   gzip on;				   #取消注释,开启gzip压缩功能
   gzip_min_length 1k;     #如果文件的大小是1k,不再进行压缩处理
   gzip_comp_level 6;      #压缩比率为1-9,1是速度快但是压缩比最低,就是压缩速度慢但是压缩比高
   gzip_vary on;		   #前端的缓存也可以支持压缩
   gzip_types text/plain text/css text/xml image/jpg image/jpeg image/png image/gif;
......

#所有支持压缩的格式:gzip_types text/plain text/javascript application/x-javascript text/css text/xml application/xml application/xml+rss image/jpg image/jpeg image/png image/gif application/x-httpd-php application/javascript application/json;

[root@nginx1 conf]# nginx -t
[root@nginx1 conf]# systemctl restart nginx
[root@nginx1 conf]# cd ..
[root@nginx1 nginx]# cd html
--传入图片--
[root@nginx1 html]# ls
50x.html  index.html  naruto.PNG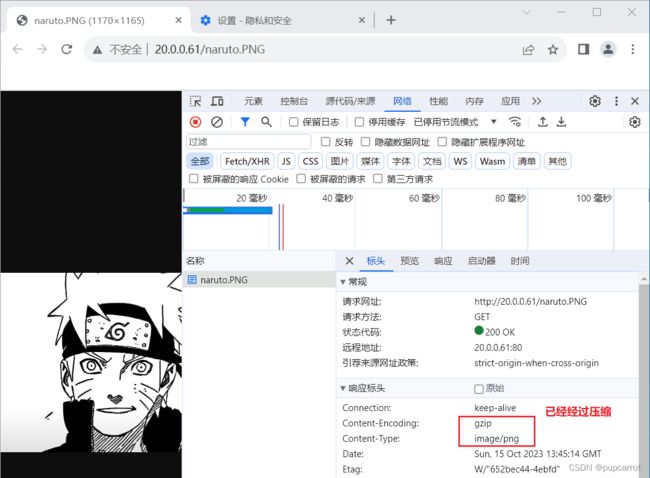
4、设置nginx的图片缓存时间
可以在日后访问时不需要经常的向后台请求数据,加快访问速度,一般是针对静态页面,动态不设置缓存时间
[root@nginx1 conf]# vim nginx.conf

http {
......
	server {
	......
        location ~* \.(gif|jpg|jepg|bmp|ico)$ {
            root html;
            expires 1d;
        }
......
	}
}

[root@nginx1 conf]# nginx -t
[root@nginx1 conf]# systemctl restart nginx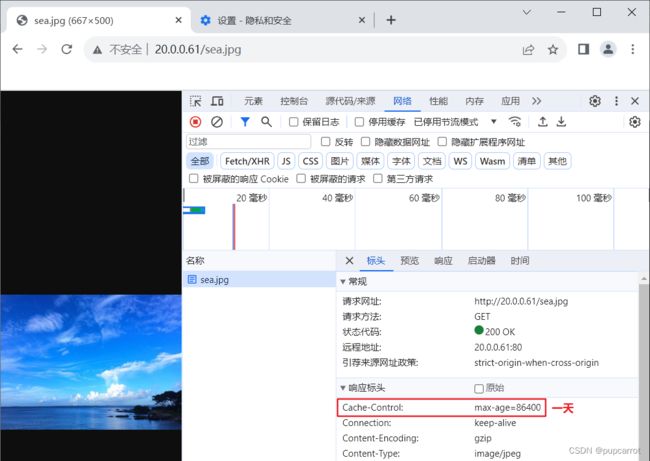
5、连接超时
[root@nginx1 conf]# vim nginx.conf

http {
......
    keepalive_timeout 60;
    client_header_timeout 10;
    client_body_timeout 10;
......
}

-----------------------------------------------------------------------------------------
client_header_timeout
客户端向服务端发送一个完整的 request header 的超时时间。如果客户端在指定时间内没有发送一个完整的 request header,Nginx 返回 HTTP 408(Request Timed Out)。

client_body_timeout
指定客户端与服务端建立连接后发送 request body 的超时时间。如果客户端在指定时间内没有发送任何内容,Nginx 返回 HTTP 408(Request Timed Out)。

[root@nginx1 conf]# nginx -t
[root@nginx1 conf]# systemctl restart nginx
6、nginx并发设置
在高并发的场景下,需要nginx启动更多的进程来保证响应速度
根据cpu的核心数,可以调整nginx的工作进程
查看cpu核数:
[root@nginx1 conf]# cat /proc/cpuinfo | grep processor | wc -l
或者
[root@nginx1 conf]# cat /proc/cpuinfo | grep -c processer
[root@nginx1 conf]# vim nginx.conf

--将worker_processes改为四个--

[root@nginx1 conf]# nginx -t
[root@nginx1 conf]# systemctl restart nginx


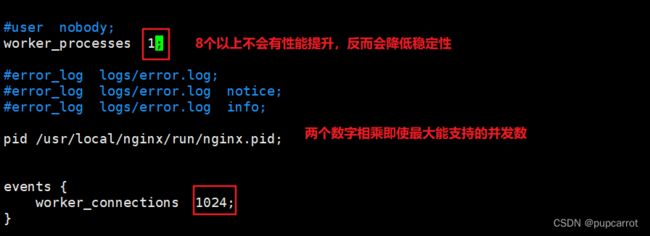
为什么8个以上的cpu进程会降低性能?
cpu频繁切换会浪费资源
解决方法:
将进程绑定在某一个cpu上,可以减少cpu之间的切换,提高效率
[root@nginx1 conf]# vim nginx.conf

worker_processes  4;
worker_cpu_affinity 0001 0010 0100 1000;
[root@nginx1 conf]# nginx -t
[root@nginx1 conf]# systemctl restart nginx
7、优化Time_WAIT
- time_wait是tcp连接状态中的一种,不是报错,出现在四次挥手之后
- time_wai在连接正常关闭之后,一段时间之后会自动消失,而且占用的资源很少,对服务器性能的影响有限
- 在time_wait状态下,tcp处于连接等待状态,此等待会有一个持续时间,也就是http1.1版本的会话保持
time_wait主要目的:
1、确保可靠的关闭连接
2、避免连接复用
查看time_wait:
netstat -n | awk '/^tcp/ {++S[$NF]} END {for(a in S) print a, S[a]}'
如何使其快速消失?
改内核文件
[root@nginx1 ~]# vim /etc/sysctl.conf
--添加--
net.ipv4.tcp_syncookies = 1
net.ipv4.tcp_tw_reuse = 1
net.ipv4.tcp_tw_recycle = 1
net.ipv4.tcp_fin_timeour = 60
-------------------------------------------------------------------------------------------
net.ipv4.tcp_syncookies = 1:表示开启SYN cookies(当出现SYN等待队列溢出时,启用cookies缓存记录来处理SYN队列),默认是0,1表示开启
net.ipv4.tcp_tw_reuse = 1:time_wait状态可以重用,一个连接就要占用一个端口,time_wait若是把所有的端口全部占满,新的连接请求也不会被拒绝,但是也不会被处理,只是不拒绝
net.ipv4.tcp_tw_recycle = 1:让time_wait尽快回收
net.ipv4.tcp_fin_timeour = 60:所有time_wait最大生命周期60s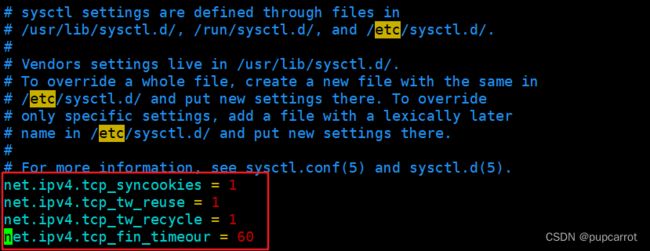
8、配置防盗链
目的:防止其他网站盗用本站的图片
61主机模拟主站
62主机模拟副站,即盗用网站
[root@nginx1 conf]# vim nginx.conf

http {
......
	server {
	......
		location ~* \.(jpg|gif)$ {
			valid_referers none blocked *.pup.com pup.com;
			if ( $invalid_referer ) {
				rewrite ^/ http://www.pup.com/error.png;
            }
        }
	......
	}
}

-------------------------------------------------------------------------------------------
设置信任的网站为pup.com/任意开头的pup.com
none:允许没有http_refer的请求访问资源,请求url里面可以不包含refer,不需要带URI
blocked:请求网站时,前面可以不带协议
if语句:如果连接资源不是来自上面valid_referers定义的信任列表,$valid_referers的值会变成true,执行重定向rewrite...
Web源主机配置(20.0.0.61):
[root@nginx1 conf]# cd /usr/local/nginx/html/
--将naruto.PNG和errot.PNG传入html目录下--
[root@nginx1 html]# vim index.html
