Window 11中安装Rust编译环境和集成开发环境
https://blog.csdn.net/weixin_43882409/article/details/87616268是我参考的一篇文章。
下载
先到https://www.rust-lang.org/learn/get-started,下载64-Bit(64位)的rustup-init.exe文件。

使用其他方式进行安装的网址https://forge.rust-lang.org/infra/other-installation-methods.html
设置环境变量
到“我的电脑”里边,在任意空白处点击鼠标右键,然后点击属性。
在窗口中间处选择“高级系统设置”。
设置CARGO_HOME和RUSTUP_HOME。
把CARGO_HOME作为变量名,变量值改为合适的文件夹,点击确定。

把RUSTUP_HOME作为变量名,变量值改为合适的文件夹,点击确定。
然后到下载目录下打开命令行,之后输入rustup-init.exe。
先是输入2,选择自定义安装。
之后输入x86_64-pc-windows-gnu选择编译器。
输入stable选择稳定版本安装。
输入complete选择完全版本安装。
输入n选择不变更环境变量,等一下自己手动填写环境变量。
输入1开始安装。


设置gcc和cargo环境变量
我通过https://github.com/niXman/mingw-builds-binaries/releases这个地方下载了gcc编译器,我下载的是x86_64-12.2.0-release-win32-seh-ucrt-rt_v10-rev2.7z。
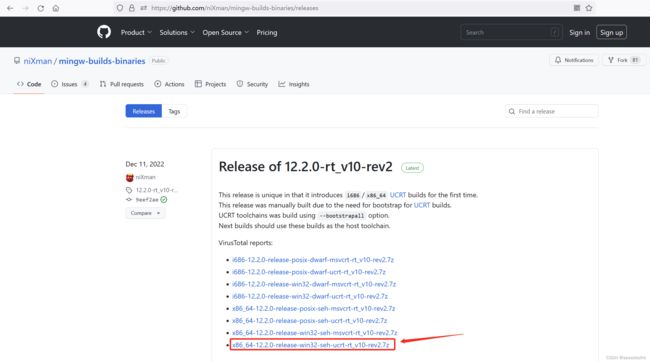
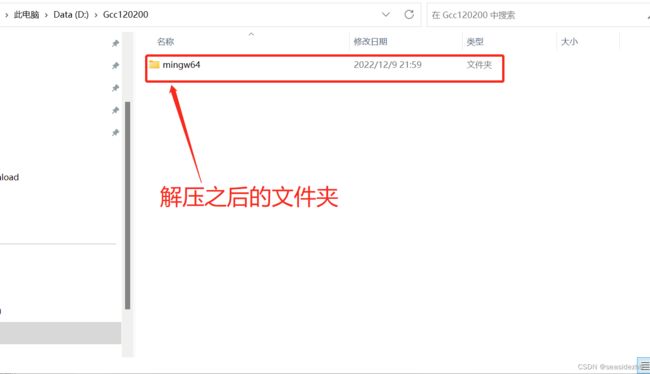
因为github.com在国外,试了好几下,下载着下载着就无法连接了,最后还是下载成功了。x86_64-12.2.0-release-win32-seh-ucrt-rt_v10-rev2.7z解压到D:\Gcc120200目录下。
选择变量为“Path”,鼠标左键双击两下。
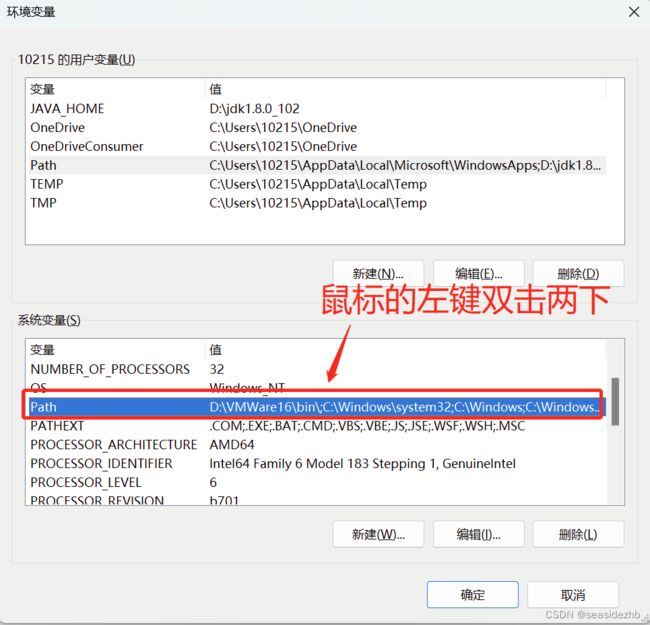
点击新建。
 把gcc的bin目录填写进去,这里需要你自己电脑上的正确目录。

再次点击新建,把Cargo安装文件夹填上去。

接下来修改Rust Crates 源。
CARGO_HOME目录下(我这里是D:\rustcargo),要是没有config文件的话,需要新建一个。

把
[source.crates-io]
registry = "https://github.com/rust-lang/crates.io-index"
# 指定镜像
replace-with = 'ustc' # 如:tuna、ustc,或者 rustcc 指定一个即可

# 中国科学技术大学
[source.ustc]
registry = "https://mirrors.ustc.edu.cn/crates.io-index"

# 清华大学
[source.tuna]
registry = "https://mirrors.tuna.tsinghua.edu.cn/git/crates.io-index.git"

# rustcc社区
[source.rustcc]
registry = "https://code.aliyun.com/rustcc/crates.io-index.git"


# 字节跳动
[source.rsproxy]
registry = "https://rsproxy.cn/crates.io-index"
写到config文件里。
在命令里边执行cargo new hellorust创建一个二进制项目。

在创建的hellorust目录下中,将
[package]
name = "hellorust"
version = "0.1.0"
edition = "2021"

# See more keys and their definitions at https://doc.rust-lang.org/cargo/reference/manifest.html
[dependencies]
reqwest = { version = "0.11",features = ["blocking"]}
html2md = "0.2"
然后将
use std::fs;
use std::path::PathBuf;
fn main() {
  let url = "https://www.baidu.com/";
  let output = "baidu.md";

  println!("获取到的地址: {}", url);
  let body = reqwest::blocking::get(url).unwrap().text().unwrap();

  println!("正在转换中");
  let md = html2md::parse_html(&body);
  fs::write(output, md.as_bytes()).unwrap();
  let mut config_path = PathBuf::from(env!("CARGO_MANIFEST_DIR"));
  config_path.push(output);
  println!("md放到的位置:{:?}",config_path);
}
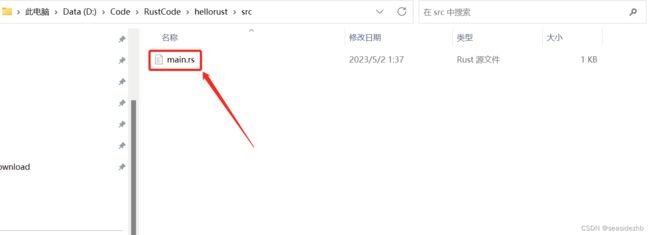
写到hellorust\src文件夹下的main.rs文件里。
然后进入到hellorust目录下,打开cmd,执行cargo run。

完成安装和环境测试。
Visual Studio Code配置Rust开发环境和测试环境
https://code.visualstudio.com/docs/languages/rust是我参考的官方文档。
进行调试的代码如下:
fn main() {
  let hello:&str = "baidu.md";
  println!("{}",hello);
  let good:&str = "baidu.md1";
  println!("{}",good);
}
先点击左侧最下边的选项,然后再出现的输入框里边输入“rust-analyzer”,点击“Install”。

{
    // Use IntelliSense to learn about possible attributes.
    // Hover to view descriptions of existing attributes.
    // For more information, visit: https://go.microsoft.com/fwlink/?linkid=830387
    "version": "0.2.0",
    "configurations": [
        {
            "name": "Debug",
            "type": "cppdbg",
            "request": "launch",
            "program": "${workspaceFolder}/target/debug/hellorust.exe",
            "args": [],
            "stopAtEntry": false,
            "cwd": "${workspaceRoot}",
            "environment": [],
            "externalConsole": false,
            "MIMode": "gdb",
            "miDebuggerPath": "D:/Gcc120200/mingw64/bin/gdb.exe",
            "setupCommands": [
                {
                    "description": "Enable pretty-printing for gdb",
                    "text": "-enable-pretty-printing",
                    "ignoreFailures": true
                },
                {
                    "description": "Set Disassembly Flavor to Intel",
                    "text": "-gdb-set disassembly-flavor intel",
                    "ignoreFailures": true
                }
            ]
        }
    ]
}
我遇到的问题通过看VS code调试时显示Unable to start debugging.The value of miDebuggerPath is invalid 这篇参考文章解决了。
此文章为11月Day 7学习笔记,内容来源于极客时间《Rust 语言从入门到实战》。

