postgresql安装
postgresql安装
1、windows下的安装
安装包下载地址:https://www.enterprisedb.com/downloads/postgres-postgresql-downloads
这里选择14.5版本进行安装,具体的安装步骤:
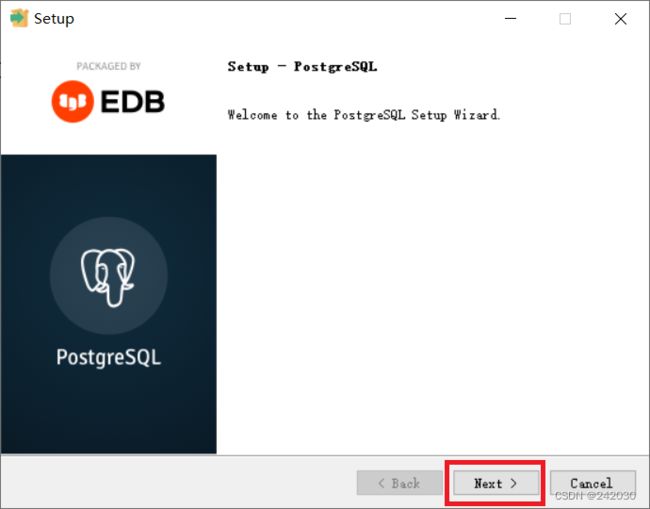
双击软件打开运行,弹出如下界面:
点击next:
修改安装路径或者是选择默认安装路径,点击next:
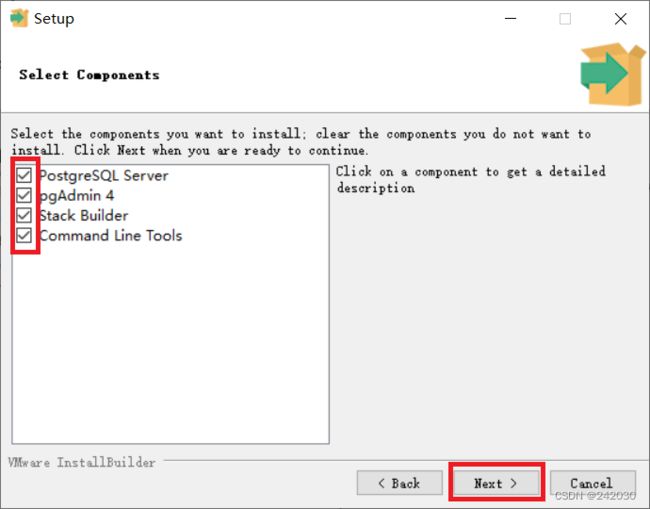
默认全部勾选,点击next:
选择数据存放路径(一般数据存放根据软件安装路径生成,前面设置了软件安装路径,这里路径自动生成,一般默
认即可),点击next:
请为数据库超级用户postgres提供密码,这里我们设置密码为root,然后点击next:
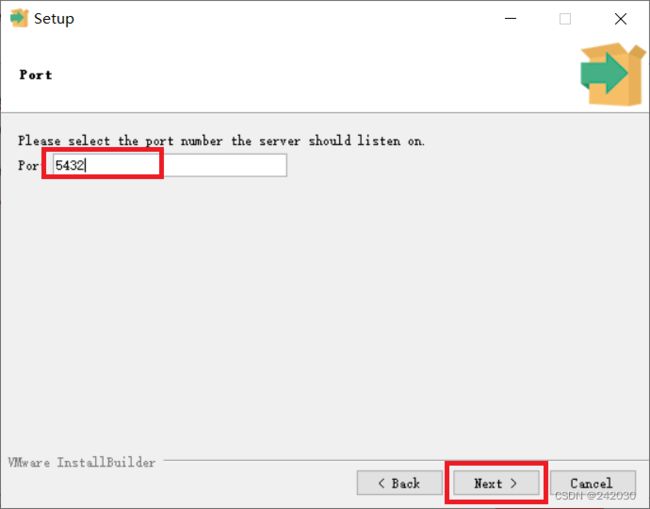
设置端口号,默认为5432,点next:
选择新数据库要使用的区域设置,语言环境【默认语言环境】,点next:
安装以上设置,点next:
准备安装,点next:
初始化:
开始安装,安装完成要勾选启动堆栈生成器,点finish:
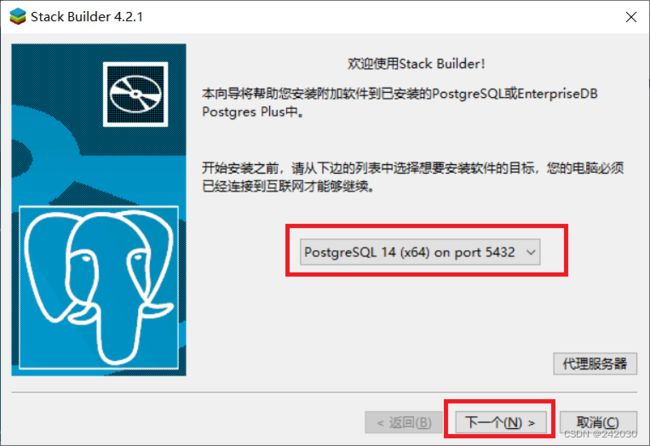
弹出堆栈生成器安转界面,选择之前安装的软件(必须保证电脑连通互联网),点下一个:
弹出安装应用程序界面,选择安装语言包,点下一个:
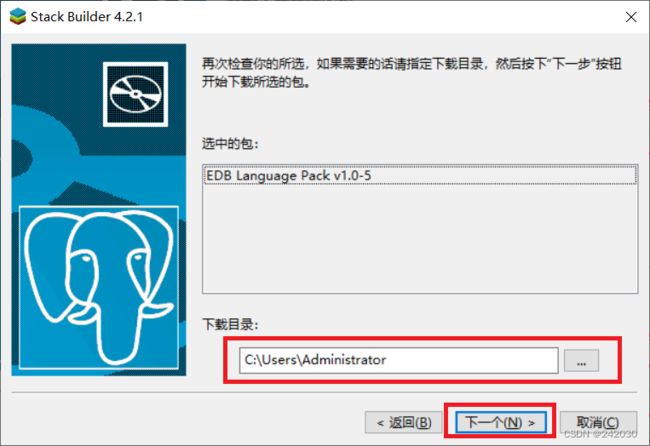
设置上一步选中安装程序包的安装路径,点下一个:
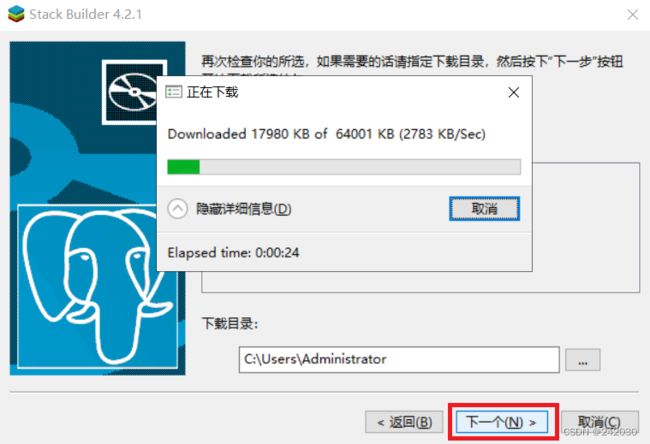
弹出正在下载的窗口,点下一个:
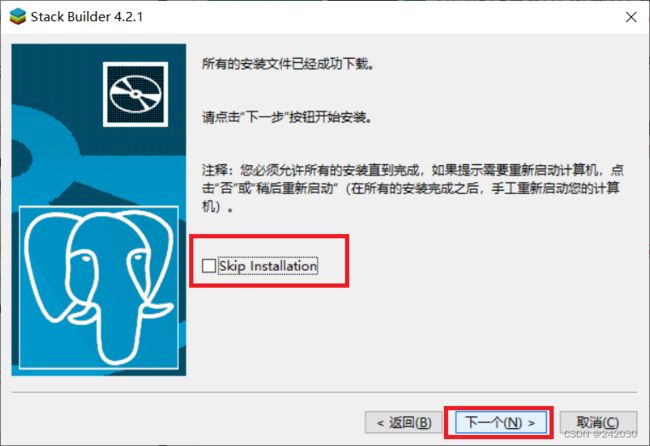
下载完成后提示安装文件成功下载,点下一个开始安装(不勾选跳过安装):
弹出安装语言选项,点击ok:
点击next:
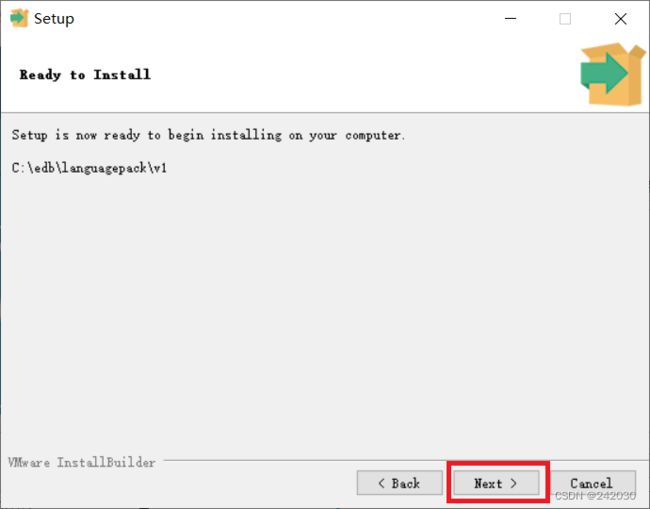
准备安装,点next:
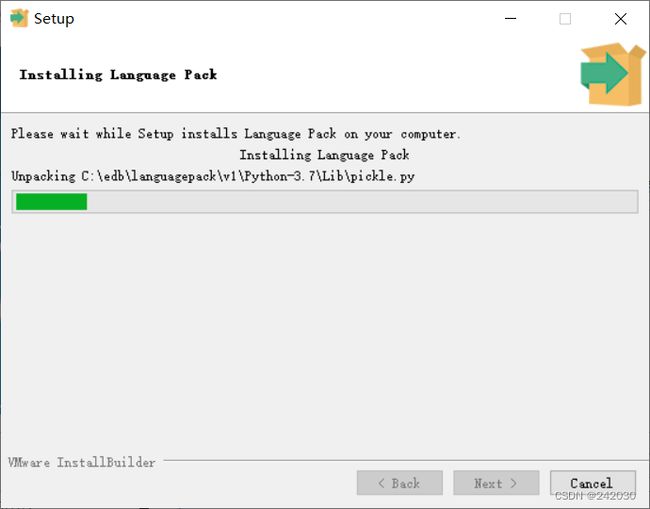
开始安装语言包:
语言包安装完成,点finish:
安装完成,点击完成。
打开数据库的连接工具:
启动界面:
输入密码,点击ok:
展开左侧列表:
这样数据库的安装和连接都完成了。
接下来使用Navicat连接postgresql:
选择连接postgresql
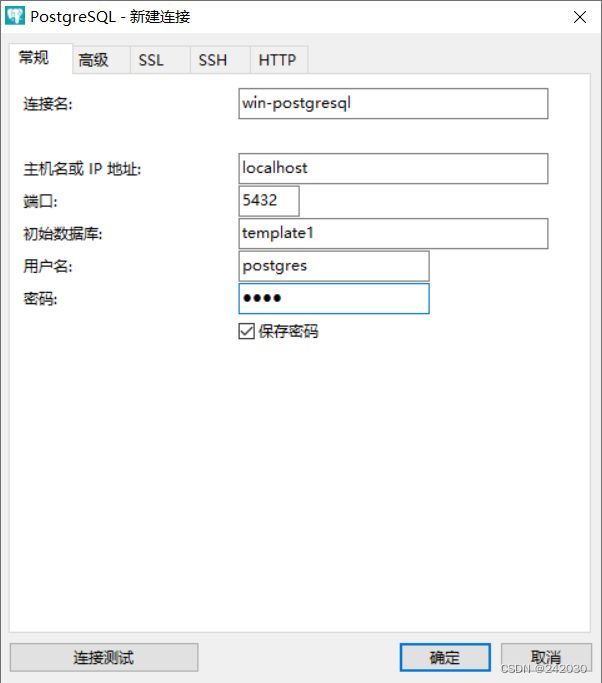
填写连接的相关信息,点击确定:
左侧树多了postgresql的连接:
双击连接发现报错:
修改postgresql安裝目录/data/pg_hba.conf文件,将scram-sha-256全部都改为trust,然后重启服务。
# 修改前
# TYPE  DATABASE        USER            ADDRESS                 METHOD

# "local" is for Unix domain socket connections only
local   all             all                                     scram-sha-256
# IPv4 local connections:
host    all             all             127.0.0.1/32            scram-sha-256
# IPv6 local connections:
host    all             all             ::1/128                 scram-sha-256
# Allow replication connections from localhost, by a user with the
# replication privilege.
local   replication     all                                     scram-sha-256
host    replication     all             127.0.0.1/32            scram-sha-256
host    replication     all             ::1/128                 scram-sha-256
# 修改后
# TYPE  DATABASE        USER            ADDRESS                 METHOD

# "local" is for Unix domain socket connections only
local   all             all                                     trust
# IPv4 local connections:
host    all             all             127.0.0.1/32            trust
# IPv6 local connections:
host    all             all             ::1/128                 trust
# Allow replication connections from localhost, by a user with the
# replication privilege.
local   replication     all                                     trust
host    replication     all             127.0.0.1/32            trust
host    replication     all             ::1/128                 trust
数据库可以正常连接了。
2、Linux下的安装
下载地址:https://www.postgresql.org/ftp/source/
这里选择14.5版本进行安装。
2.1 下载安装包上传到服务器
2.2 解压文件
tar -zxvf postgresql-14.5.tar.gz
2.3 创建用户
adduser postgres
添加一个postgresql吗,用户名这里名称为postgres,因这样最易懂。
修改该用户的密码:
passwd postgres
密码和用户名设置为一样。
2.4 创建pg安装路径并设置owner
mkdir /opt/pgsql
chown postgres /opt/pgsql
2.5 创建数据存储目录并设置owner
mkdir /opt/pgsql/data
chown postgres /opt/pgsql/data
2.6 创建保存pg日志的文件
touch /opt/pgsql/pgsql.log
chown postgres /opt/pgsql/pgsql.log
2.7 编译并安装
cd postgresql-14.5
yum -y install -y readline-devel
./configure --prefix=/opt/pgsql
make
make install
2.8 初始化数据库目录并启动
切换用户
su - postgres
初始化数据库并启动
cd /opt/pgsql/bin
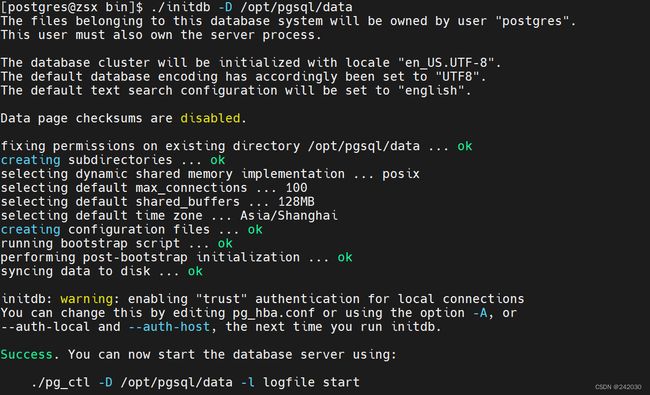
./initdb -D /opt/pgsql/data
#不带日志启动
./postgres -D /opt/postgresql/data

# 带日志启动
./pg_ctl -D /opt/pgsql/data -l /opt/pgsql/pgsql.log start

#或者
./postmaster -D /opt/pgsql/data > /opt/pgsql/pgsql.log 2>&1 &
# 这里选择带日志启动
./pg_ctl -D /opt/pgsql/data -l /opt/pgsql/pgsql.log start
2.9 其它数据库命令
查看数据库状态
./pg_ctl -D /opt/pgsql/data status
关闭数据库
./pg_ctl -D /opt/pgsql/data stop
进入pgsql
./psql
查看pg是否启动
ps -A | grep postgres
ps -aux | grep postgres
其余的信息查看:http://wiki.postgresql.org/wiki/Apt
2.10 远程连接
修改/opt/pgsql/data/pg_hba.conf
vim /opt/pgsql/data/pg_hba.conf
在末尾行添加一行host all all 0.0.0.0/0 password 。
如果添加一行host all all 0.0.0.0/0 trust则不需要进行密码验证。
host是连接类型,第一个all是数据库,第二个all是用户,第三个是IP,修改成 0.0.0.0/0,代表所有ip都
可以连接,默认是你本地IP,/24代表掩码255.255.255.0,md5是传输时使用何种方式进行加密。
修改/opt/pgsql/data/postgresql.conf
vim /opt/pgsql/data/postgresql.conf
将#listen_address='localhost'改成listen_address = '*'
最后重启服务:
./pg_ctl -D /opt/pgsql/data stop
./pg_ctl -D /opt/pgsql/data -l /opt/pgsql/pgsql.log start
2.11 修改数据库用户postgres的密码
PostgreSQL数据默认会创建一个postgres的数据库用户作为数据库的管理员,密码是随机的。
方式一
psql -U postgres
postgres=# \password
密码设置为root
方式二
psql -U postgres
postgres=# ALTER USER postgres WITH PASSWORD 'root';
2.12 开放5432端口
# 查看开放的端口号
firewall-cmd --list-all
# 设置开放的端口号
firewall-cmd --add-port=5432/tcp --permanent
# 重启防火墙
firewall-cmd --reload
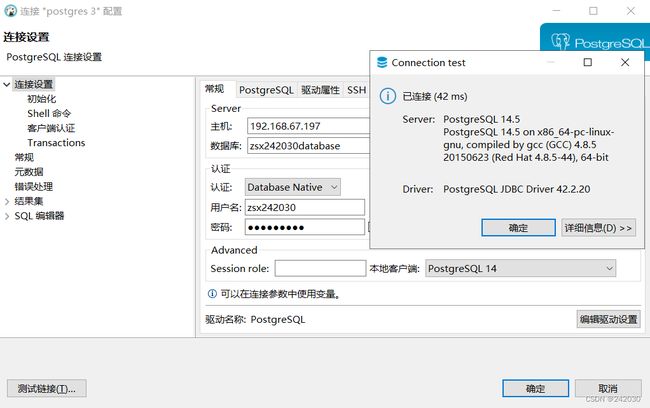
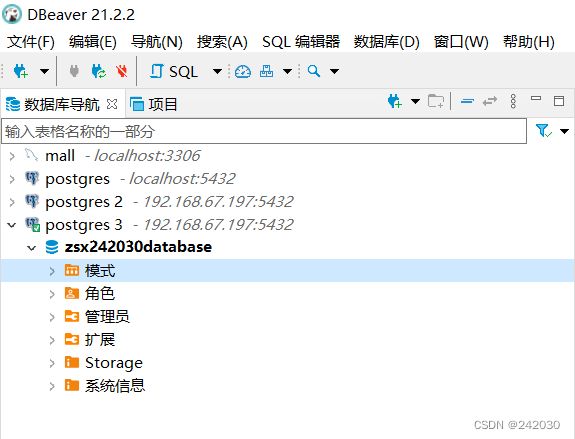
2.13 使用DBeaver连接pg
2.14 用户和数据库操作
创建用户
create user zsx242030;
创建密码
alter user zsx242030 with encrypted password 'zsx242030';
创建数据库
create database zsx242030database;
数据库关联用户
grant all privileges on database zsx242030database to zsx242030;
键入\q退出shell。
使用普用户创建数据库时候:
PG::Error: ERROR: permission denied to create database
解决方式:使用postgres 登录
psql -U postgres
postgres=# ALTER ROLE rolename CREATEROLE CREATEDB;
# 赋予超级权限
postgres=# ALTER ROLE rolename CREATEROLE SUPERUSER;
然后用该用户去连接:
