Android学习之电话拨号器
本人自己是做android驱动的,也会接触到系统层、上层的应用,所以在闲暇的时候也就开始了学习android应用的路程,在这里把这些东西记下来,希望自己能坚持下去,也好以后复习用。
今天先实现一个简单的电话拨号器,刚开始的时候只是学了一周左右的java,然后就拿到了公司一台机器的所有测试代码看,看着看着也就对android的基本东西了解了些,首先是xml布局文件,再就是对控件的操作层,当然,自己还了解的不够,有待慢慢学习。
电话拨号器布局文件如下:
<RelativeLayout xmlns:android="http://schemas.android.com/apk/res/android"

    xmlns:tools="http://schemas.android.com/tools"

    android:layout_width="match_parent"

    android:layout_height="match_parent"

    tools:context=".MainActivity" >


	<EditText

	    android:id="@+id/et_number"

	    android:layout_width="match_parent"

	    android:layout_height="wrap_content"

	    android:inputType="phone"

	    />

	<Button

	    android:id="@+id/bt_dail"

	    android:layout_width="match_parent"

	    android:layout_height="wrap_content"

	    android:layout_below="@id/et_number"

	    android:text="@string/dail"/>"

</RelativeLayout>
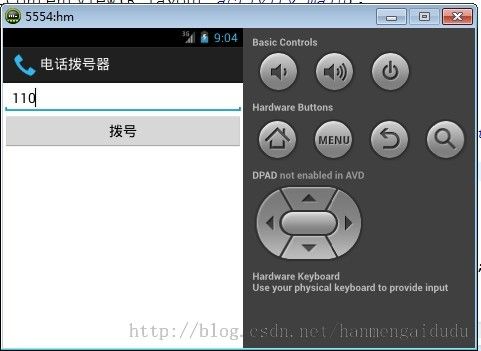
只是一个简单的文本框,用于用户输入电话号码,和一个拨号按钮,用于拨打电话。
详细参数介绍如下:
id:用于表示这个控件;
layout_wedth:表示这个控件的宽度。共有3个参数,match_parent和fill_parent是一样的意思,表示填满父窗体,wrap_content表示包裹内容。
layout_height:表示控件的高度。
inputType:表示文本框输入的类型。phone为电话类型。
layout_below:表示这个控件位于哪个控件的下方。
text:表示这个控件上显示的类容。
效果如下图:
布局文件已经完成,那接下来就要对这些进行操作。具体如下:
package com.example.dail;


import android.net.Uri;

import android.os.Bundle;

import android.renderscript.Int2;

import android.text.TextUtils;

import android.app.Activity;

import android.content.Intent;

import android.view.Menu;

import android.view.View;

import android.view.View.OnClickListener;

import android.widget.Button;

import android.widget.EditText;

import android.widget.Toast;


public class MainActivity extends Activity implements OnClickListener {


	private Button bt_dail = null;

	private EditText et_number = null;

	@Override

	protected void onCreate(Bundle savedInstanceState) {

		super.onCreate(savedInstanceState);

		setContentView(R.layout.activity_main);

		bt_dail = (Button) findViewById(R.id.bt_dail);

		et_number = (EditText) findViewById(R.id.et_number);

		bt_dail.setOnClickListener(new MyListener());

	}

	private void callPhone() {

		String number = et_number.getText().toString();

		if(TextUtils.isEmpty(number)) {

			Toast.makeText(MainActivity.this, "号码不能为空", 1).show();

		}

		Intent intent = new Intent();

		intent.setAction(Intent.ACTION_CALL);

		intent.setData(Uri.parse("tel:"+number));

		startActivity(intent);

	}


	private class MyListener implements OnClickListener{


		@Override

		public void onClick(View v) {

			// TODO Auto-generated method stub

			callPhone();

		}


	}


}
首先,通过findViewById获取到对应的控件,然后就是对拨号按钮做监听,当按下拨号按钮的话,会调用MyListener这个监听器。
基本的已经完成,但是现在要拨打电话的话,还需要加上CALL_PHONE权限,要不然会出现进程无法运行的错误。如下所示:
<?xml version="1.0" encoding="utf-8"?>

<manifest xmlns:android="http://schemas.android.com/apk/res/android"

    package="com.example.dail"

    android:versionCode="1"

    android:versionName="1.0" >


    <uses-sdk

        android:minSdkVersion="8"

        android:targetSdkVersion="17" />

    <uses-permission android:name="android.permission.CALL_PHONE"/>


    <application

        android:allowBackup="true"

        android:icon="@drawable/ic_launcher"

        android:label="@string/app_name"

        android:theme="@style/AppTheme" >

        <activity

            android:name="com.example.dail.MainActivity"

            android:label="@string/app_name" >

            <intent-filter>

                <action android:name="android.intent.action.MAIN" />


                <category android:name="android.intent.category.LAUNCHER" />

            </intent-filter>

        </activity>

    </application>


</manifest>
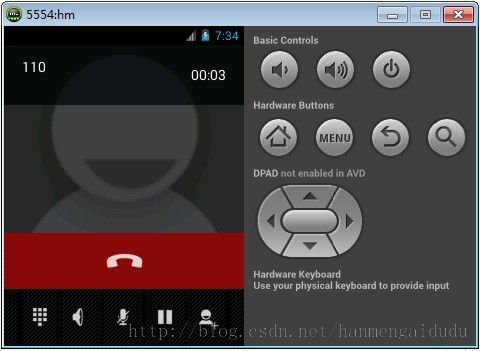
接下来就可以布局到模拟器上运行了,运行效果如下图:
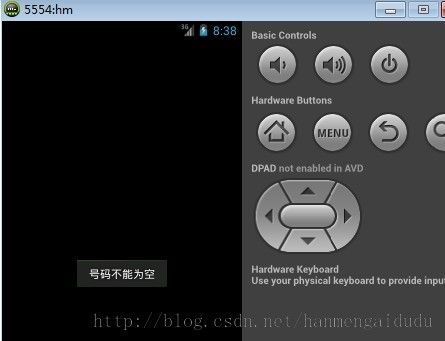
如果没有输入号码,就点击拨号的话就会如下图所示:
好了,今天就学到这里,晚了,要休息了,接下来,我会继续把学习的过程用这种形式记录下来。