Web前端—移动Web第三天(移动Web基础、rem、less、综合案例—极速问诊)
版本说明
当前版本号[20231120]。
| 版本 | 修改说明 |
|---|---|
| 20231120 | 初版 |
目录
文章目录
- 版本说明
- 目录
- 移动 Web 第三天
-
- 01-移动 Web 基础
-
- 谷歌模拟器
- 屏幕分辨率
- 视口
- 二倍图
- 适配方案
- 02-rem
-
- 简介
- 媒体查询
- rem 布局
- flexible.js
- rem 移动适配
- 03-less
-
- 注释
- 运算
- 嵌套
- 变量
- 导入
- 导出
- 禁止导出
- 04-综合案例-极速问诊
-
- 准备工作
- 头部布局
- 头部内容
- banner 区域
- 问诊类型布局
- 问诊类型内容
移动 Web 第三天
01-移动 Web 基础
谷歌模拟器
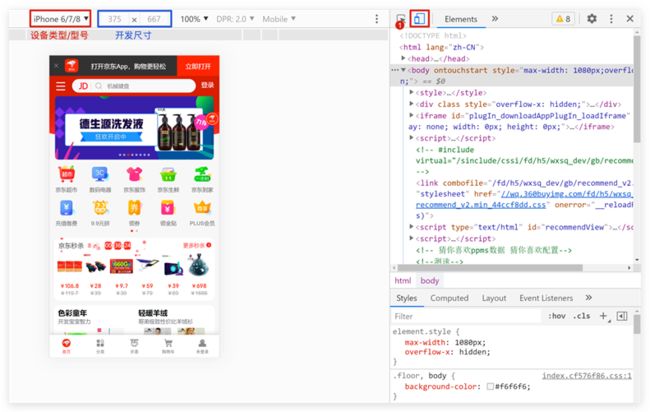
模拟移动设备,方便查看页面效果
屏幕分辨率
分类:
- 物理分辨率:硬件分辨率(出厂设置)
- 逻辑分辨率:软件 / 驱动设置
结论:以后编写代码时就要参考 逻辑分辨率 来制作了。
视口
作用:显示 HTML 网页的区域,用来约束 HTML 的尺寸
DOCTYPE html>
<html lang="en">
<head>
  <meta charset="UTF-8">
  <meta http-equiv="X-UA-Compatible" content="IE=edge">

  <!– 视口标签 -->
  <meta name="viewport" content="width=device-width, initial-scale=1.0">

  <title>Documenttitle>
head>
<body>

body>
html>
- width=device-width:视口宽度 = 设备宽度(逻辑分辨率的宽度)
- initial-scale=1.0:缩放1倍(不缩放)
二倍图
概念:设计稿里面每个元素的尺寸的倍数
作用:防止图片在高分辨率屏幕下模糊失真
使用方法:
适配方案
-
宽度适配:宽度自适应
- 百分比布局
- Flex 布局
-
等比适配:宽高等比缩放
- rem
- vw
02-rem
简介
-
rem单位,是相对单位
-
rem单位是相对于HTML标签的字号计算结果
如:此时我们给html标签大小为font-size:30px , 而width:5rem; height: 3rem;最后盒子在移动端显示的大小就是(30* 5)
*(30*3)=150 * 90 pxc 了。 -
1rem = 1HTML字号大小
1、看看是否能等比例缩小/放大,看移动端的适配效果
DOCTYPE html>
<html lang="en">
<head>
    <meta charset="UTF-8">

    <meta name="viewport" content="width=device-width, initial-scale=1.0">
    <title>Documenttitle>
    <style>
        div{
            width: 5rem;
            height: 5rem;
            background-color: pink;
        }
    style>
head>
<body>
    <div> div>
    <script src="../js/flexible.js">script>
body>
html>
就可以发现可以等比例缩小了。
媒体查询
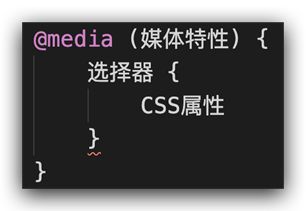
媒体查询能够检测视口的宽度,然后编写差异化的 CSS 样式
当某个条件成立, 执行对应的CSS样式
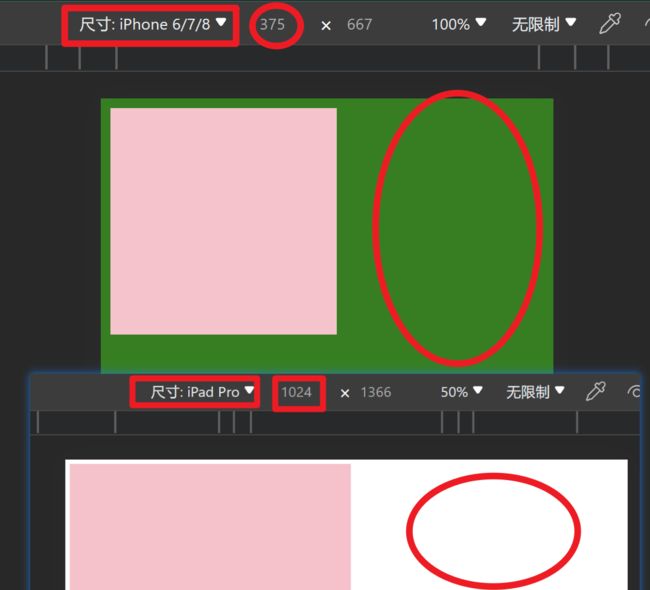
@media (width:320px) {
  html {
    background-color: green;
  }
}
通过对比,可以看到,符合视口宽度的背景颜色才会变成绿色,不符合的不会。
rem 布局
目前rem布局方案中,将网页等分成10份, HTML标签的字号为视口宽度的 1/10。
flexible.js
flexible.js 是手淘开发出的一个用来适配移动端的 js 库。
核心原理就是根据不同的视口宽度给网页中 html 根节点设置不同的 font-size。
【意思主要是在自己写代码的时候就不用自己写媒体查询了。】
<body>
  ......
  <script src="./js/flexible.js">script>
body>
rem 移动适配
rem单位尺寸
- 确定基准根字号
- 查看设计稿宽度 → 确定参考设备宽度(视口宽度) → 确定基准根字号(1/10视口宽度)
- 目前大部分视口宽度为375,所以基准根字号可以旋转37.5
- rem单位的尺寸
- rem单位的尺寸 = px单位数值 / 基准根字号
在上面我们可以看到,求rem的尺寸特别的麻烦,每一个都要除以37.5,这时我们就可以使用less去统一的操作。
03-less
Less是一个CSS预处理器, Less文件后缀是.less。扩充了 CSS 语言, 使 CSS 具备一定的逻辑性、计算能力
注意:浏览器不识别 Less 代码,目前阶段,网页要引入对应的 CSS 文件
VS Code 插件:Easy LESS,保存 less文件后自动生成对应的 CSS 文件
注释
- 单行注释
- 语法:// 注释内容
- 快捷键:ctrl + /
- 块注释
- 语法:/* 注释内容 */
- 快捷键: Shift + Alt + A
运算
- 加、减、乘直接书写计算表达式
- 除法需要添加 小括号 或 . (注:但使用 . 这种用法的话,会出现红色波浪线,易让你以为是报错的代码提示 )
- 表达式存在多个单位以第一个单位为准
嵌套
作用:快速生成后代选择器
提示:用 & 表示当前选择器,不会生成后代选择器,通常配合伪类或伪元素使用
如下图所示:
有例外,如:&表示的是当前选择器,代码写到谁的大括号里面就表示谁,不会生成后代选择器。
变量
概念:容器,存储数据
作用:存储数据,方便使用和修改
语法:
- 定义变量:@变量名: 数据;
- 使用变量:CSS属性:@变量名;
// 定义变量
@myColor: pink;
// 使用变量
.box {
  color: @myColor;
}
a {
  color: @myColor;
}
导入
作用:导入 less 公共样式文件
语法:导入: @import “文件路径”;
提示:如果是 less 文件可以省略后缀
@import './base.less';
@import './common';
注:这里是在less文件中导入别的less文件哦,并不是在html文件中导入!html文件是不可以导入less文件的,可以把less文件转成css文件才能进行导入!
导出
写法:在 less 文件的第一行添加 // out: 存储URL
提示:文件夹名称后面添加 /
// out: ./index.css
// out: ./css/
禁止导出
写法:在 less 文件第一行添加: // out: false
04-综合案例-极速问诊
准备工作
- 项目目录
1、建立 less 文件,并导出成 css 文件。
// out: ../css/

@import "./base.less";
下图便是 /base.less 转的 /base.css 。
- 引入HTML 结构
<link rel="stylesheet" href="./iconfont/iconfont.css">
<link rel="stylesheet" href="./css/index.css">

<body>
  ......
  <script src="./js/flexible.js">script>
body>
头部布局
- HTML 结构
<header>1header>
- less 样式
// 头部
header {
  display: flex;
  justify-content: space-between;
  padding: 0 (15 / @rootSize);
  height: (44 / @rootSize);
  background-color: pink;
  line-height: (44 / @rootSize);
}
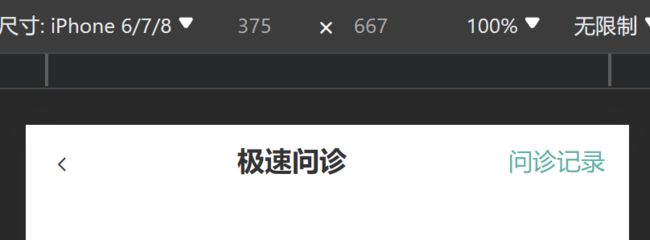
根据设计图,一步步来弄:
头部内容
- HTML 结构
<a href="#" class="back"><span class="iconfont icon-left">span>a>
<h3>极速问诊h3>
<a href="#" class="note">问诊记录a>
- less 样式
.icon-left {
  font-size: (22 / @rootSize);
}

h3 {
  font-size: (17 / @rootSize);
}

.note {
  font-size: (15 / @rootSize);
  color: #2CB5A5;
}
1、建立好框架。
<body>

    <header>1header>

    <script src="./js/flexible.js">script>
body>
/* 头部 */
header{
     height: (44 / 37.5rem);
    background-color: pink;
}
2、将头部的文字填充好,并设置好居中的位置。
    <header>
        <a href="#" class="back">1a>
        <h3>极速问诊h3>
        <a href="#" class="note">问诊记录a>
    header>
/* 头部 */
header{
    display: flex;
    justify-content: space-between;
    height: (44 / 37.5rem);
    background-color: pink;
}
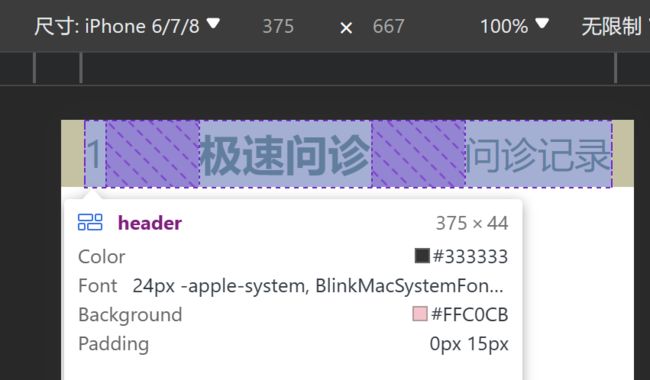
3、设置好内边距。
padding: 0 (15 / 37.5rem);
4、设置行高。
line-height: (44 / 37.5rem);
5、再定义。
/* 定义变量 */
@rootSize:37.5rem;

/* 头部 */
header{
    display: flex;
    justify-content: space-between;
    padding: 0 (15 / @rootSize);
    height: (44 / @rootSize);
    line-height: (44 / @rootSize);
    background-color: pink;
}
<a href="#" class="back"><span class="iconfont icon-left">span>a>
6、将文字的大小尺寸修改好。
header .back{
    font-size: (22 / @rootSize);
}

header h3{
    font-size: (17 / @rootSize);
}

header .note{
    font-size: (15 / @rootSize);
    color: #2CB5A5;
}
7、把背景颜色注销掉后,便是我们想要的背景。
banner 区域
- HTML 结构
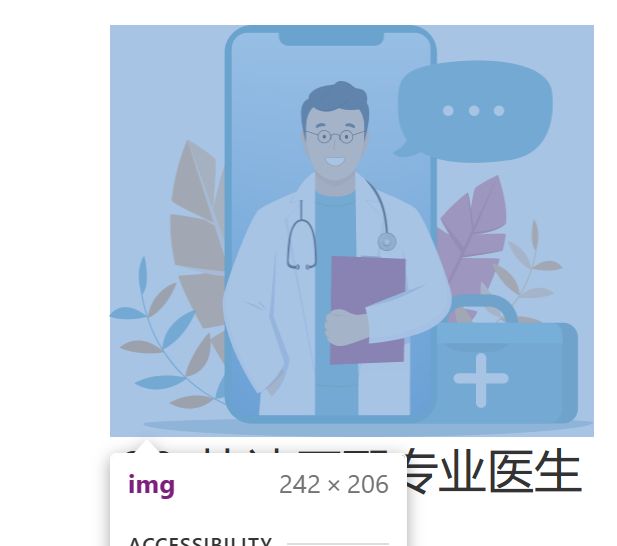
<div class="banner">
  <img src="./assets/entry.png" alt="">
  <p><span>20sspan> 快速匹配专业医生p>
div>
- less 样式
// banner
.banner {
  margin-top: (30 / @rootSize);
  margin-bottom: (34 / @rootSize);
  text-align: center;
  img {
    margin-bottom: (18 / @rootSize);
    width: (240 / @rootSize);
    height: (206 / @rootSize);
  }

  p {
    font-size: (16 / @rootSize);
    span {
      color: #16C2A3;
    }
  }
}
1、插入图片。
    <div class="banner">
        <img src="./assets/entry.png" alt="">
        <p><span>20sspan> 快速匹配专业医生p>
    div>
// bannner区域
.banner{
    text-align: center;
}
2、使文字部分与图片之间有间隔。
margin-top: (30 / @rootSize);
margin-bottom: (34 / @rootSize);
3、设置宽高。
img{
        height: (206 / @rootSize);
        width: (240 / @rootSize);
    }
4、图片加上底部外边距。
margin-bottom: (18 / @rootSize);
5、修改好字体的大小。
p{
        font-size: (16 / @rootSize);

        span{
            color: #16C2A3;
        }
    }
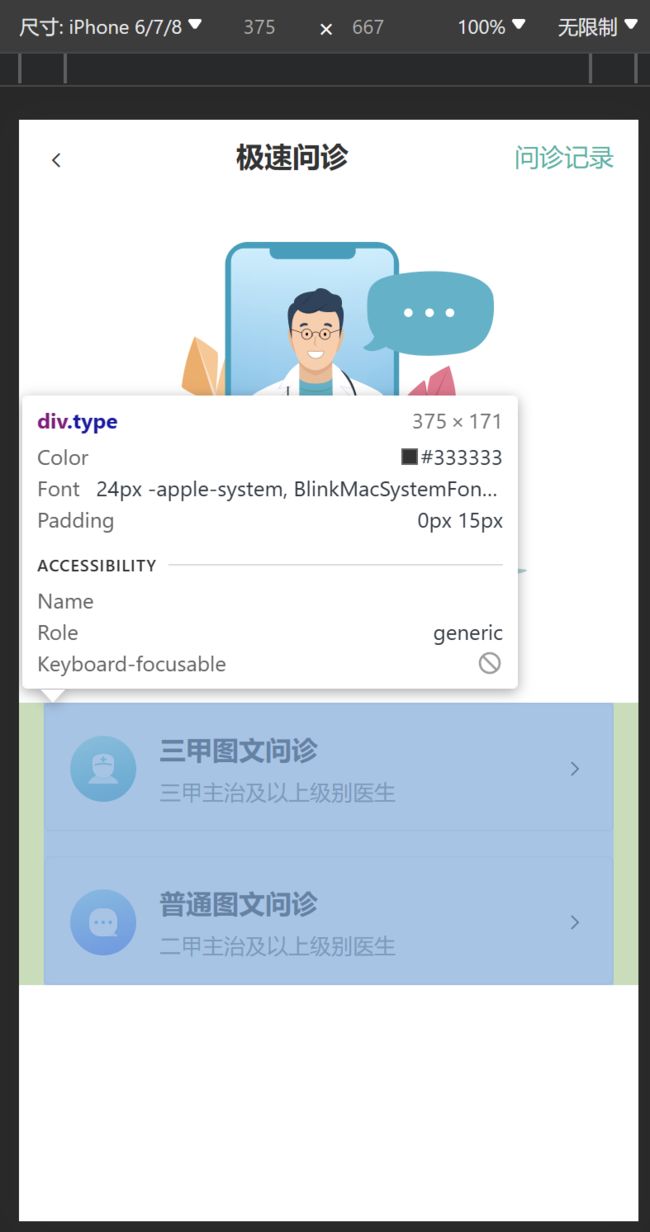
问诊类型布局
- HTML 结构
<div class="type">
  <ul>
    <li>
      <a href="#">
        <div class="pic">1div>
        <div class="txt">2div>
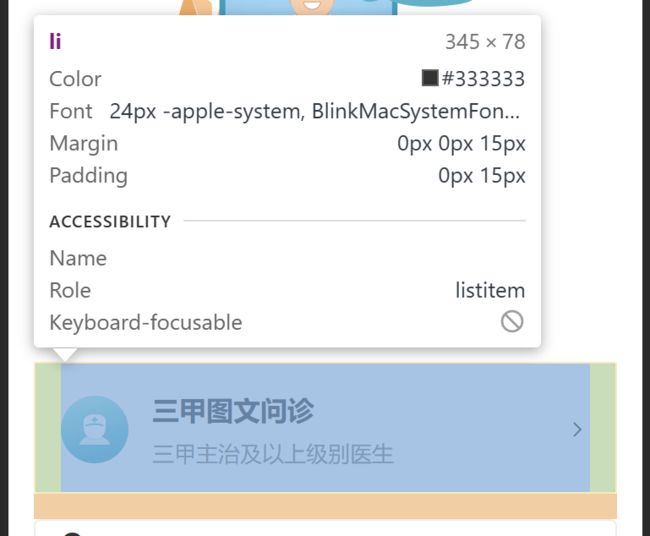
        <span class="iconfont icon-right">span>
      a>
    li>
    <li>2li>
  ul>
div>
- less 样式
// 问诊类型
.type {
  padding: 0 (15 / @rootSize);
  li {
    margin-bottom: (15 / @rootSize);
    padding: 0 (15 / @rootSize);
    height: (78 / @rootSize);
    border: 1px solid #EDEDED;
    border-radius: (4 / @rootSize);
    a {
      display: flex;
      align-items: center;
      // 内容在78里面垂直居中
      height: (78 / @rootSize);
    }
  }
}
1、添加两个li标签,用于装放问诊类型。
    <div class="type">
        <ul>
            <li>1li>
            <li>2li>
        ul>
    div>
// 问诊类型
.type{
    padding: 0 (15 / @rootSize);
}
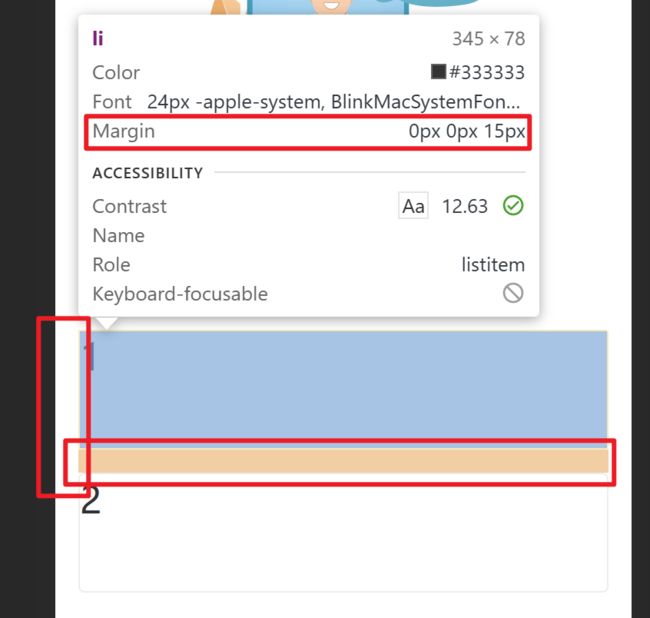
2、设置内边距,边框圆角,底部外边距。
// 问诊类型
.type{
    padding: 0 (15 / @rootSize);

    li{
        height: (78 / @rootSize);
        border: 1px solid #EDEDED;
        border-radius: (4 / @rootSize);
        margin-bottom: (15 / @rootSize);
    }
}
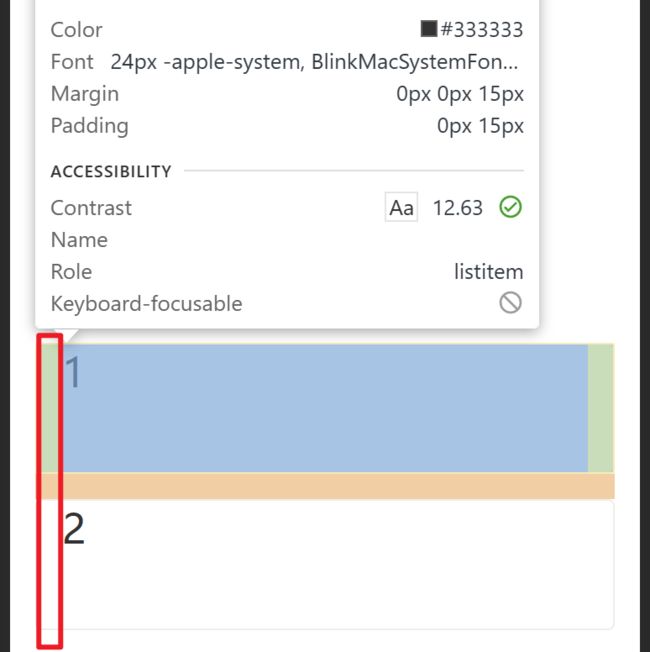
3、在li标签里再加上内边距的要求。
padding: 0 (15 / @rootSize);
4、使类型中的三块内容在flex布局中放在一起。
<li>
                <a href="">
                    <div class="pic">1div>
                    <div class="txt">2div>
                    <span class="iconfont icon-right">span>
                a>
            li>
 a{
            display: flex;
  }
5、将名为"a"的元素设置为弹性布局容器,将子元素的垂直对齐方式设置为居中对齐。
a{
            display: flex;
            align-items: center;
            height: (78 / @rootSize);
        }
问诊类型内容
- HTML 结构
<div class="pic">
  <img src="./assets/type01.png" alt="">
div>
<div class="txt">
  <h4>三甲图文问诊h4>
  <p>三甲主治及以上级别医生p>
div>
<span class="iconfont icon-right">span>
- less 样式
img {
  margin-right: (14 / @rootSize);
  width: (40 / @rootSize);
  height: (40 / @rootSize);
}
.txt {
  flex:1;
  h4 {
    font-size: (16 / @rootSize);
    color: #3C3E42;
    line-height: (24 / @rootSize);
  }
  p {
    font-size: (13 / @rootSize);
    color: #848484;
  }
}
.iconfont {
  font-size: (16 / @rootSize);
}
1、插入小图片。
<div class="pic">
                        <img src="./assets/type01.png" alt="">
                    div>
 img{
                margin-right: (14 / @rootSize);
                height: (40 / @rootSize);
                width: (40 / @rootSize);
            }
2、将其在其父容器中的弹性大小设置为1,即它们将平均分配父容器的空间。
.txt{
                flex: 1;
            }
3、将两段文字及字节图标放在一起。
h4{
                    font-size: (16 / @rootSize);
                    line-height: (24 / @rootSize);
                    color: #3C3E42;
                    margin-bottom: (4 / @rootSize);
                }

                p{
                    font-size: (13 / @rootSize);
                    line-height: (20 / @rootSize);
                    color: #848484;
                }
.iconfont{
                font-size: (16 / @rootSize);
            }
4、补充好内容。
<li>
                <a href="">
                    <div class="pic">
                        <img src="./assets/type02.png" alt="">
                    div>
                    <div class="txt">
                        <h4>普通图文问诊h4>
                        <p>二甲主治及以上级别医生p>
                    div>
                    <span class="iconfont icon-right">span>
                a>
            li>
需要完整源码,可点击 点我查看 跳转,进行下载。
