linux 使用 mondo rescue 备份 还原系统 iso u盘
目录
一 安装mondo,使用root用户
二 制作iso文件,只能刻盘,不能做U盘启动
三 制作u盘启动盘,无iso文件
四 还原系统
五 新镜像安装可能所遇问题
官网:http://www.mondorescue.org/
一 安装mondo
centos7环境
yum install -y wget
cd /etc/yum.repos.d/
wget ftp://ftp.mondorescue.org/rhel/7/x86_64/mondorescue.repo
yum clean all
yum update
yum install -y mondo --nogpgcheck
如果是centos6.5,把ftp路径中的7改成6,如果是ubuntu,就把ftp路径中的rhel改成debian
有些情况下,备份时会提示,设备上没有空间,会直接出错退出,使用 df -h 查看
[root@localhost mondo]# df -h
文件系统 容量 已用 可用 已用% 挂载点
/dev/sda2 300G 1.5G 299G 1% /
devtmpfs 1.9G 0 1.9G 0% /dev
tmpfs 1.9G 0 1.9G 0% /dev/shm
tmpfs 1.9G 8.9M 1.9G 1% /run
tmpfs 1.9G 0 1.9G 0% /sys/fs/cgroup
/dev/sda1 397M 164M 234M 42% /boot
tmpfs 379M 0 379M 0% /run/user/0
/dev/loop0 201M 1.8M 197M 1% /tmp/mondo.tmp.Sinw3b/mountpoint.12476
发现 /dev/loop0 特别小
配置 /etc/mindi/mindi.conf 更改挂载的容量
加入 EXTRA_SPACE=8388608 这里单位是kb 大小是8G (1024*1024*8)
后边如果是制作DVD ISO文件,其实4.4G就够用了,这里暂时多设置一些
二 制作iso文件,只能刻盘,不能做U盘启动
运行 mondoarchive
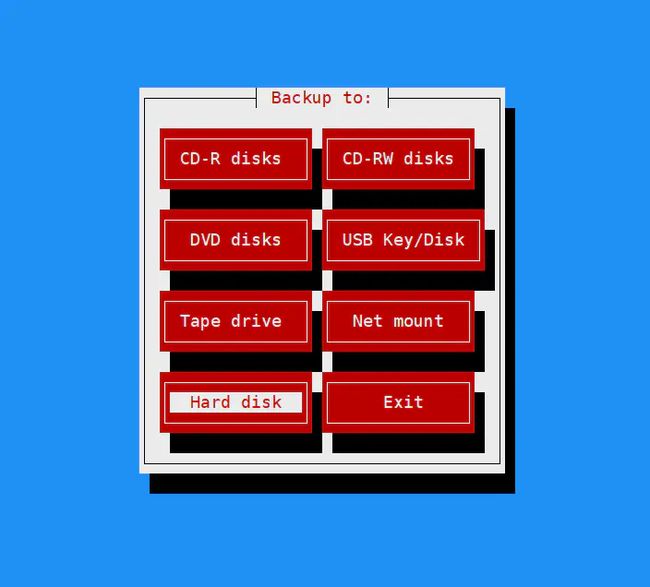
选择镜像放在本地磁盘
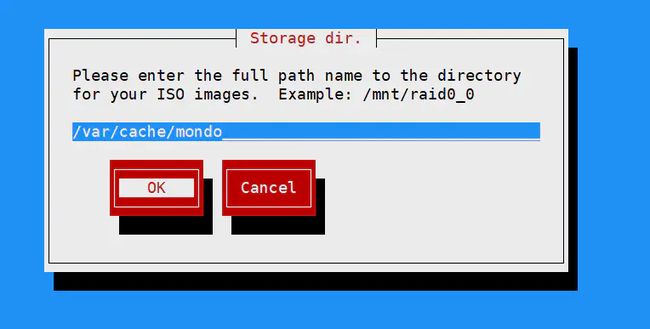
镜像存放路径
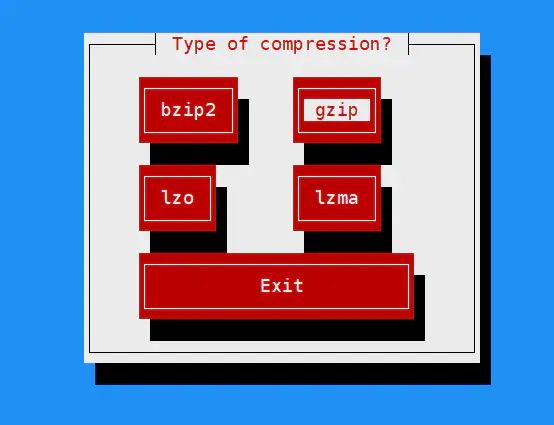
选择gzip压缩方式
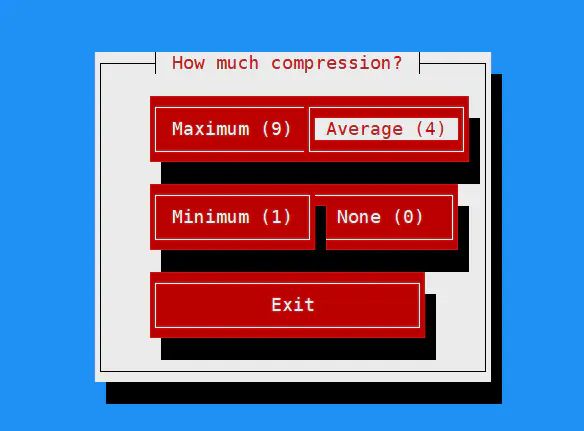
最大压缩率、一般压缩率、最小压缩率、压缩标准,选择一般
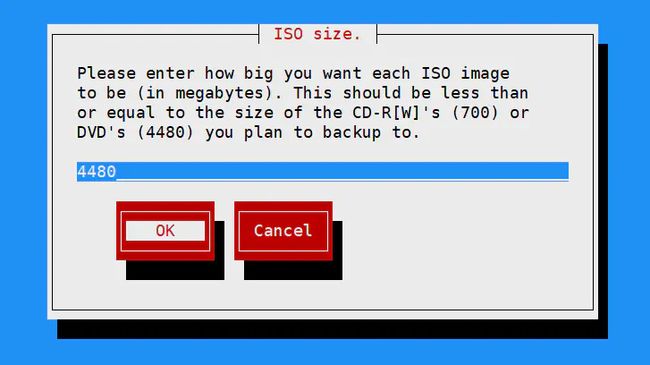
选择镜像文件大小,默认dvd的4480M
镜像命名
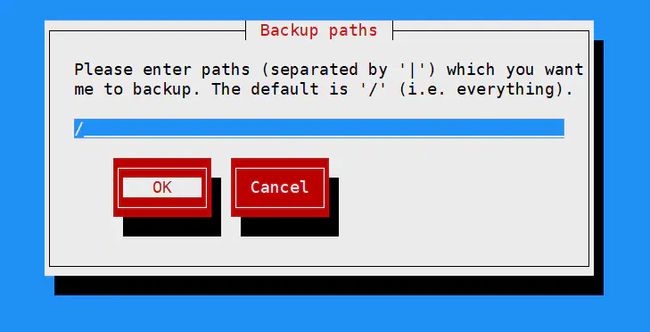
选择需要备份的目录,默认根目录
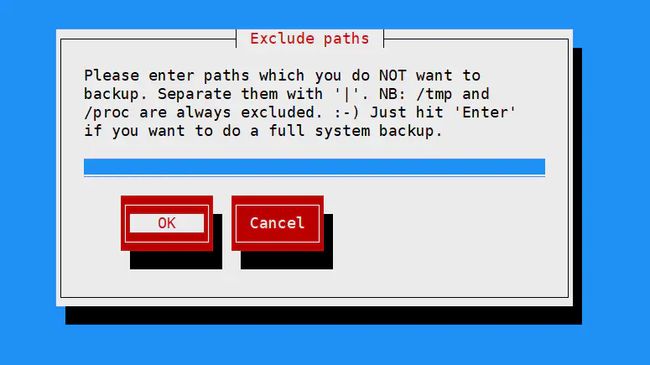
排除不需要备份的目录及文件
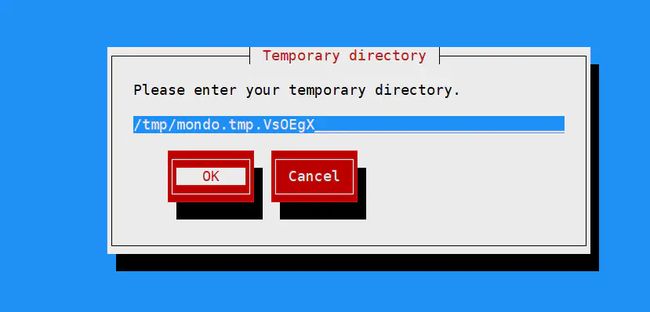
缓存文件存放路径
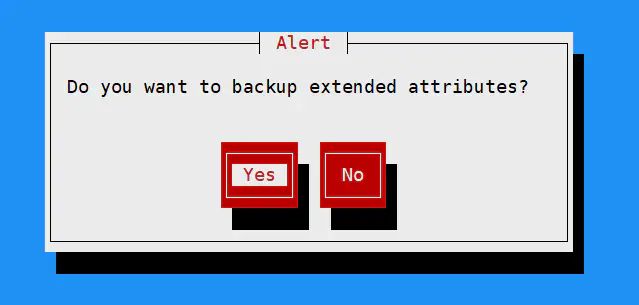
是否备份并且检测
选择系统内核,直接下一步
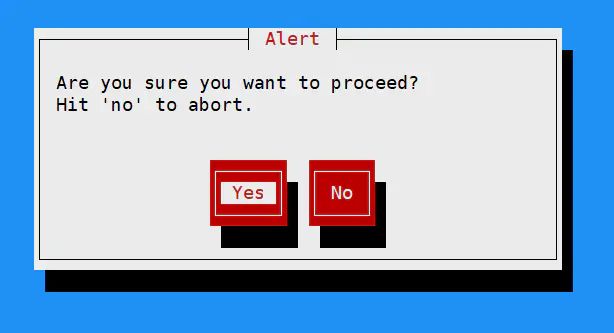
选择yes就进入备份界面
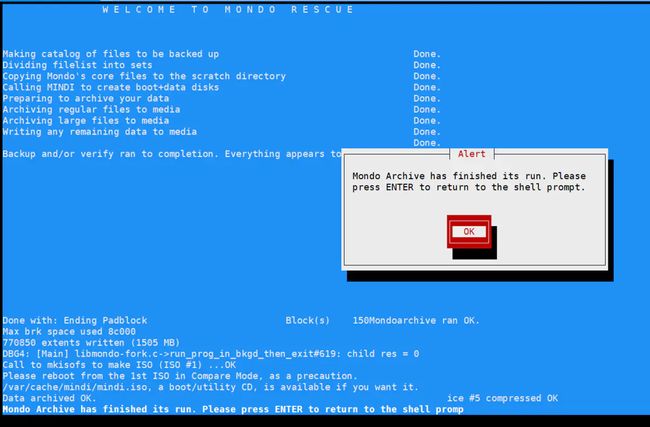
备份进行中。。。。。。
三 制作u盘启动盘,无iso文件
如果是windows上使用的u盘,需要先用fdisk删除分区,再重新分区。具体参考
《linux 分区u盘 fdisk 简介》
https://blog.csdn.net/whatday/article/details/106500420
分区后格式化u盘
mkdosfs -F 32 /dev/sdb1
之后就可以使用命令将系统写入u盘了。
mondoarchive -OU -d /dev/sdb -s 16g -G
之后就是自动操作,等到结束即可。16g是U盘大小,可根据u盘大小任意设置,必须要比镜像本身大。
四 还原系统
iso方式:
创建新虚拟机,选择ISO文件的时候,选择我们刚刚拷贝过来的镜像文件;
![]()
u盘启动方式:设置U盘启动即可。
我们会看到这样的界面,如果自动安装镜像的话,输入nuke,回车;
![]()
全自动,耐心等待即可,自动加载镜像;
![]()
自动恢复中,耐心等待...
![]()
恢复完成,输入exit,重启;
![]()
重启后,进入系统咯,这个是刚刚那台镜像主机上创建的用户;
![]()
五 新镜像安装可能所遇问题
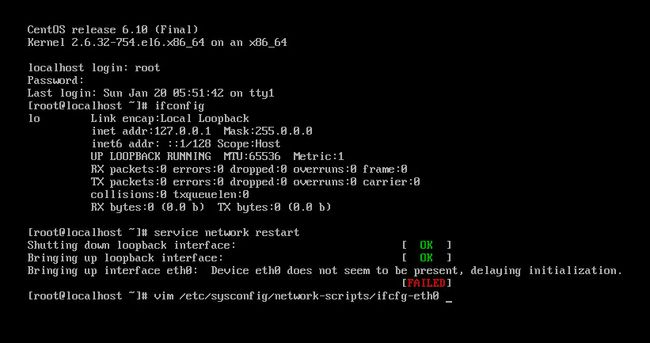
1、网络问题
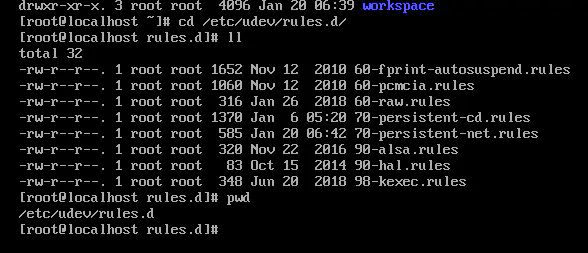
删除/etc/udev/rules.d/70-persistent-net.rules
重启reboot
vim /etc/udev/rules.d/70-persistent-net.rules
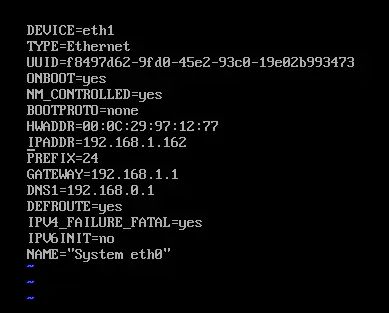
vim /etc/sysconfig/network-scripts/ifcfg-eth0
修改ifcfg-eth0的HWADDR和net.rules的ATTR{address}值一样
修改ifcfg-eth0的DEVICE和net.rules的NAME值一样
重启network:service network restart

