使用Vue3 +Vite + Pinia手把手搭建项目
前言:公司项目是使用vue2版本的所以查看了一下node版本14.15.0
但是去vite官网看了一下
所以要对node升级,如果node版本高于14.18就不用升级,推荐一个非常好用的工具nvm可以下载多个不同版本的node随意切换非常方便

nvm使用
常用的命令有:
 - nvm list available 查看可在线安装的NodeJS版本
 - nvm install <version> 安装指定版本的 Node.js
 - nvm use <version> 切换到指定版本的 Node.js。
 - nvm ls 或 nvm list 列出已安装的所有 Node.js 版本。
 - nvm current 显示当前正在使用的 Node.js 版本。
 - nvm uninstall <version> 卸载指定的 Node.js 版本。
一、开始使用搭建vite 搭建
1.1输入这个命令然后根据提示完成
npm create vite@latest
1.2设置完成

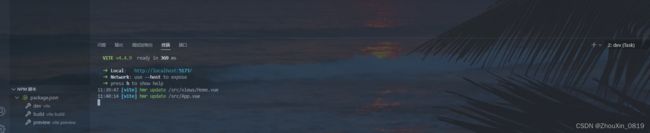
1.3把新建的文件(vue3vite)在vscode打开 打开终端 npm install安裝依赖 npm run dev 打开项目
1.4运行成功
二、安装router
2.1安装vue-router@4版本
npm install vue-router@4 -S
2.2 在src目录新建router/index.js
import { createRouter, createWebHistory } from "vue-router";
    import Home from "../views/Home.vue";
    const routes = [
      {
        path: "/",
        name: "Home",
        component: Home,
      },
      {
        path: "/about",
        name: "About",
        component: () =>
          import(/* webpackChunkName: "about" */ "../views/About.vue"),
      },
    ];
    const router = createRouter({
      history: createWebHistory(),
      routes,
    });
    export default router;
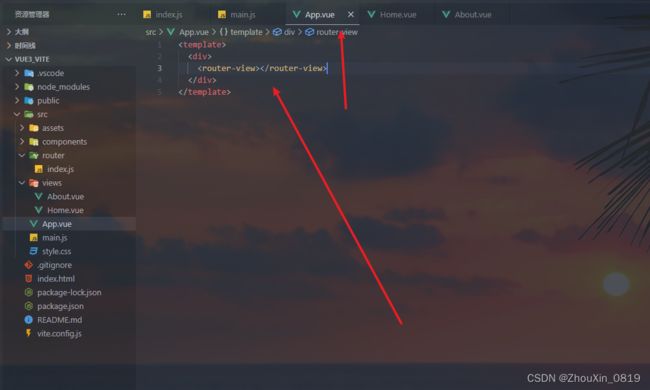
2.3在src下面创建views文件夹创建Home.vue和About.vue

2.4在App.vue中添加router-view
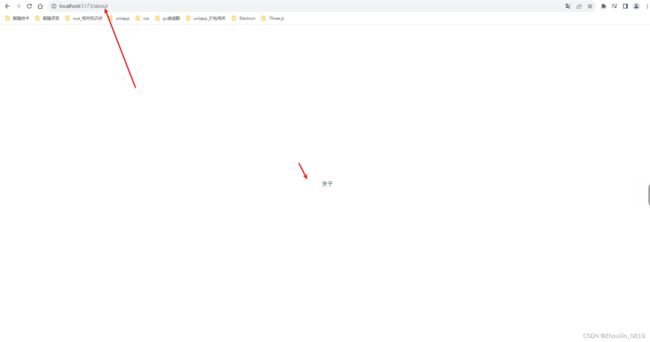
2.5在项目导航栏里面输入/about进入关于页面,路由引入成功
三、Vite解决@问题
3.1 在vite.config.js中进行配置
import { defineConfig } from 'vite'
import vue from '@vitejs/plugin-vue'

// https://vitejs.dev/config/
import path from 'path'
export default defineConfig({
  plugins: [vue()],
  resolve: {
    alias: {
      '@': path.resolve(__dirname, 'src'),
    },
  },
})
四、下载element-plus
4.1 安装element-plus组件库 elementui-plus地址
npm install element-plus --save
4.2在main.js中全局导入 (按需导入或者其他导入方法可以参考这里)
.use(router).use(ElementPlus).mount('#app')
4.3结果如图 按钮组件引入成功
//news.vue
<template>
    <div>
        消息
        <el-row class="mb-4">
         <el-button>Default</el-button>
         <el-button type="primary">Primary</el-button>
         <el-button type="success">Success</el-button>
         <el-button type="info">Info</el-button>
         <el-button type="warning">Warning</el-button>
         <el-button type="danger">Danger</el-button>
        </el-row>
    </div>

</template>
