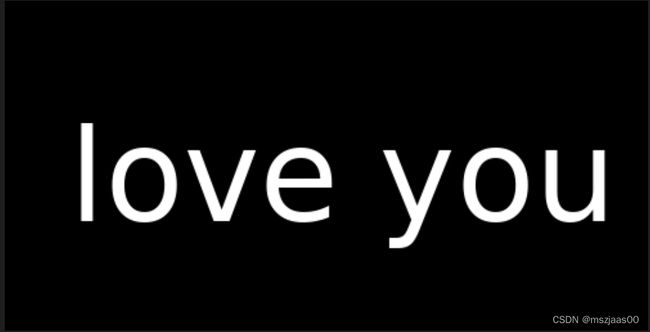
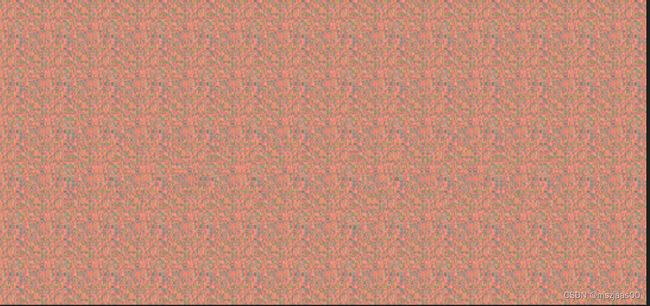
python 制作3d立体隐藏图
使用建议:
1、建议不用中文,因为中文太复杂,生成立体图效果不好。
2、需要指定FONT_PATH,为一个ttf文件,linux在/usr/share/fonts目录下,windows在C:\Windows\Fonts
3、建议字体TEXT_SIZE调大,不然不好分辨
4、指定的TEXT不要太长
5、多试几次,找到合适的纹理
from PIL import Image, ImageDraw, ImageFont
from random import *
import numpy as np
from io import BytesIO


FONT_PATH = '/usr/share/fonts/dejavu/DejaVuSans.ttf'   # 字体位置,linux在/usr/share/fonts/,windows
TEXT = 'love yannis'
TEXT_SIZE = 100 # 字体大小
WIDTH = 100 + int(len(TEXT) * TEXT_SIZE / 1.8)
HEIGHT = 256
SHIFT = 4 # 叠加位移

# 生成纹理
def clamp(n, smallest, largest):
    return max(smallest, min(n, largest))

def rand_ratio(base=1, delta=1):
    return delta * randint(1,100)*1.0/100 + base

rand_ratios = [rand_ratio(), rand_ratio(), rand_ratio()]

color_starts = [randint(0,200), randint(0,200), randint(0,200)]

def rand_color(i):
    return clamp(randint(color_starts[i],int(rand_ratios[i] * color_starts[i])), 0, 255)

def rand_colors():
    return (rand_color(0),rand_color(1),rand_color(2))

perodic_x = 40
perodic_y = 40
texture = np.zeros((perodic_x, perodic_y, 3))
same_to_last_x = [False] * perodic_x
same_to_last_y = [False] * perodic_y
for x in range(0, perodic_x):
    same_to_last_x[x] =  random() < 0.1
for y in range(0, perodic_y):
    same_to_last_y[y] =  random() < 0.3

texture[0][0] = rand_colors()

for x in range(0,perodic_x):
    if same_to_last_x[x]:
        texture[x][0] = texture[x-1][0]
    else:
        texture[x][0] = rand_colors()

# 纹理平铺
for x in range(0, perodic_x):
    for y in range(0,perodic_y):
        if same_to_last_y[y]:
            texture[x][y] = texture[x][y-1]
        elif same_to_last_x[x]:
            texture[x][y] = texture[x-1][y]
        else:
            texture[x][y] = rand_colors()

# 生成纹理平铺图片
img = Image.new('RGB', (WIDTH, HEIGHT), color = 'white')
img_draw = ImageDraw.Draw(img)
for x in range(0, WIDTH):
    for y in range(0,HEIGHT):
        color = texture[x % perodic_x][y % perodic_y].astype(int).tolist()
        img_draw.point([x,y], fill = tuple(color))


# 生成文字
text = Image.new('RGB', (WIDTH, HEIGHT), color = 'black')
text_draw = ImageDraw.Draw(text)
font = ImageFont.truetype(FONT_PATH, size=TEXT_SIZE)
text_draw.text((50,(HEIGHT-TEXT_SIZE)/2), TEXT, font=font, fill='white')

# 文字叠加
img_mat = np.asarray(img)
text_mat = np.asarray(text)

for x in range(0, WIDTH - SHIFT):
    for y in range(0, HEIGHT):
        if text_mat[y][x][0] != 0:
            img_draw.point([x,y], fill = tuple(img_mat[y, x - SHIFT].tolist()))
text.save('../tmp2.png', 'png')
img.save('../tmp.png', 'png')

