tensorflow2.6.0 安装教程 windows10
参考:tensorflow-gpu 2.6.0版本安装教程
史上最强tensorflow2.6.0安装教程
更新CUDA驱动
此处可参考:如何在windows上 安装&更新 显卡的驱动
建议将cuda driver(显卡驱动)升级到最新版本,这样cuda runtime版本可以有更多选择
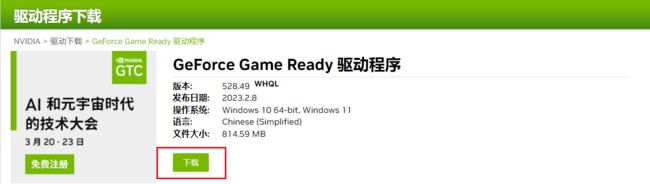
(1)进入英伟达官网下载驱动:https://www.nvidia.cn/Download/index.aspx?lang=cn
选择GPU型号对应的NVIDIA驱动(可在“任务管理器”查看)
“产品系列”中,(Notebook) 表示为笔记本上的显卡驱动;下载类型选择默认的Game Ready 驱动程序

点击上图中的“搜索”,进入下图界面后点击“下载”(跳转后点击“同意并开始下载”)
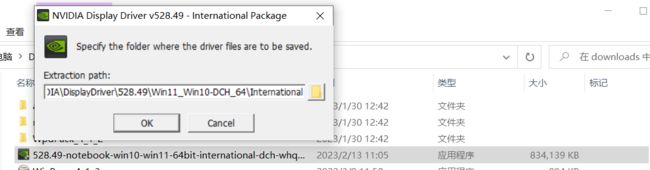
下载完成后,双击exe运行安装,安装位置选择默认即可
安装完成后,会进入NVIDIA图形驱动程序界面,
依次点击“同意并继续”--> "精简(推荐)" 进入安装,
安装完后,最后的界面全部取消勾选
(2)打开命令行cmd,使用 nvidia-smi 查看 cuda driver 版本

2. 安装cuda runtime
此处可参考:详细讲解如何在win10系统上安装多个版本的CUDA
(1)进入官网选择适合的cudatoolkit版本:https://developer.nvidia.com/cuda-toolkit-archive
注意cuda runtime版本不应该超过cuda driver版本

选择exe(local) 下载本地,安装程序可默认安装在C盘,CUDA安装位置可自己选择(D盘)

(2)打开命令行cmd,使用 nvcc -V 查看cuda runtime 版本

(3)安装cudnn
进入官网下载cudatoolkit对应版本的cudnn(下载需注册):https://developer.nvidia.com/rdp/cudnn-archive

将下载的zip文件解压,解压后将其中的bin、include、lib三个文件,复制粘贴到cudatoolkit的安装位置


(4)查看cudnn版本
打开cudatoolkit安装路径下的\include\cudnn_version.h文件

cudnn版本即为cudnn_majar . cudnn_minor . cudnn_patchevel

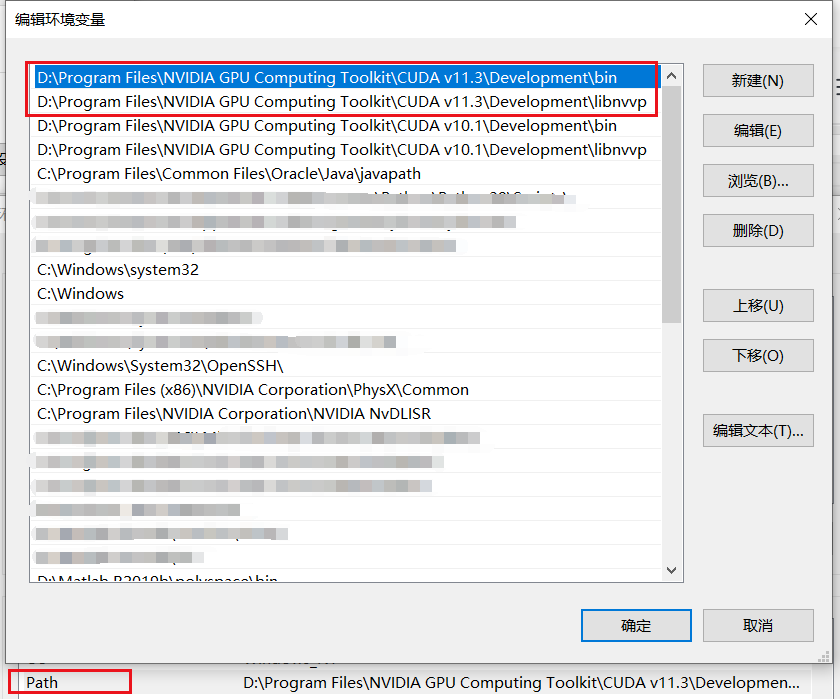
(5)设置环境变量
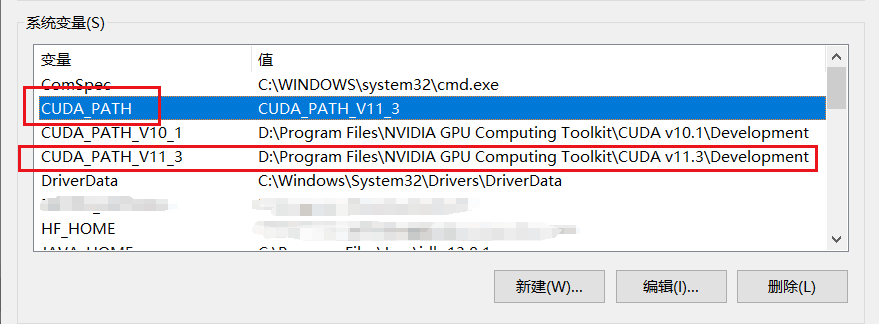

当存在多个cudatoolkit版本时,下图Path中需将当前使用的版本放在其他版本前面,
3. 安装tensorflow2.6.0
(1)打开 Anaconda Prompt,创建虚拟环境
conda create -n tensorflow python=3.8(2)激活虚拟环境
conda activate tensorflow(3)安装tensorflow-gpu版本(已集成keras),使用豆瓣镜像源加速
pip install tensorflow-gpu==2.6.0 -i https://pypi.douban.com/simple/(4)安装相同版本的keras
pip install keras==2.6.0 -i https://pypi.douban.com/simple/(5)验证是否安装成功
python
import tensorflow as tf
tf.test.is_gpu_available()
最后一句输出能 "True" 即为GPU版本安装成功

【问题解决】
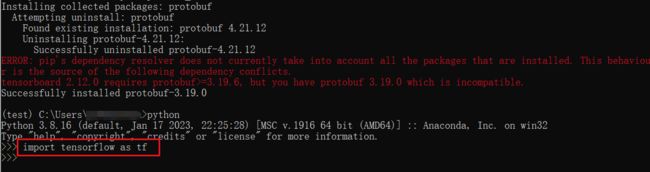
(1)导入tensorflow时, import tensorflow as tf 报错
“TypeError: Descriptors cannot not be created directly.
If this call came from a _pb2.py file, your generated code is out of date and must be regenerated with protoc >= 3.19.0.”

解决办法:
在Anaconda Prompt中安装3.19.0版本的protobuf
pip install protobuf==3.19.0 -i https://pypi.tuna.tsinghua.edu.cn/simple再次import tensorflow as tf 即可导入成功
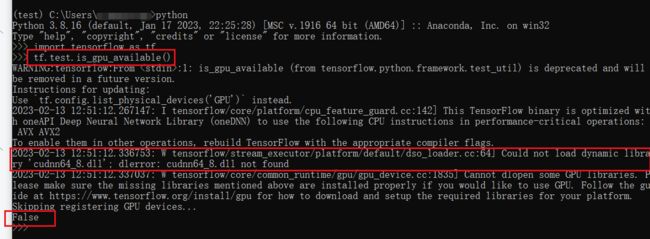
(2)tf.test.is_gpu_available() 返回False,检测GPU不可用
“W tensorflow/stream_executor/platform/default/dso_loader.cc:64] Could not load dynamic library 'cudnn64_8.dll'; dlerror: cudnn64_8.dll not found
2023-02-13 10:17:13.673996: W tensorflow/core/common_runtime/gpu/gpu_device.cc:1835] Cannot dlopen some GPU libraries. Please make sure the missing libraries mentioned above are installed properly if you would like to use GPU. Follow the guide at https://www.tensorflow.org/install/gpu for how to download and setup the required libraries for your platform.
Skipping registering GPU devices...”
解决办法:
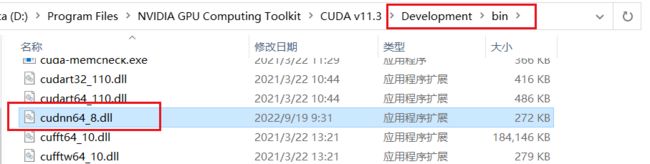
1)既然找不到cudnn64_8.dll文件,那就去下载一个dll文件https://www.dll-files.com/search/
下载完成后,将其移动到cudatoolkit安装路径下的Development\bin文件夹中
(其实就是NVIDIA GPU Computing Toolkit\CUDA\v11.3\bin中的cudnn64_8.dll文件)
2)或者,在“编辑系统环境变量”中,将cudatoolkit\bin文件夹的安装路径D:\Program Files\NVIDIA GPU Computing Toolkit\CUDA\v11.3\bin添加到Path变量中(我试的无效)

此处可参考tensorflow官网:https://www.tensorflow.org/install/gpu?hl=zh-cn
