Spring Cloud + Vue前后端分离-第3章 SpringBoot项目技术整合
Spring Cloud + Vue前后端分离-第3章 SpringBoot项目技术整合
3-1 集成持久层框架Mybatis
ORM:对象关系映射,Hibernate是全自动ORM,Mybatis是半自动ORM,Mybatis可以操作的花样更多,是首选的持久层框架
System模块集成Mybatis框架
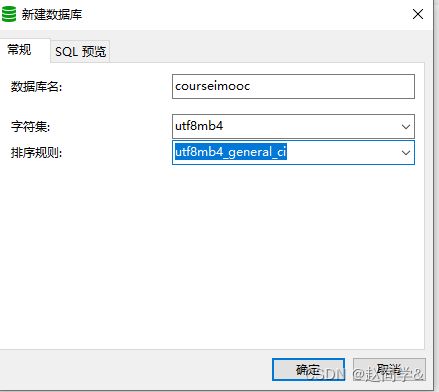
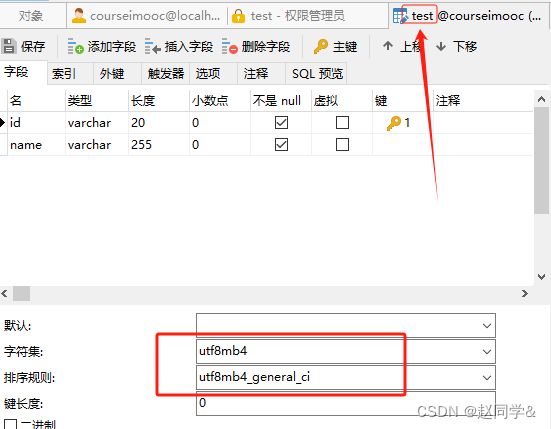
utf8是三个字节,支持的字符有限。MySQL在5.5.3之后增加了这个utf8mb4的编码,支持更多字符,例如emoji小表情。
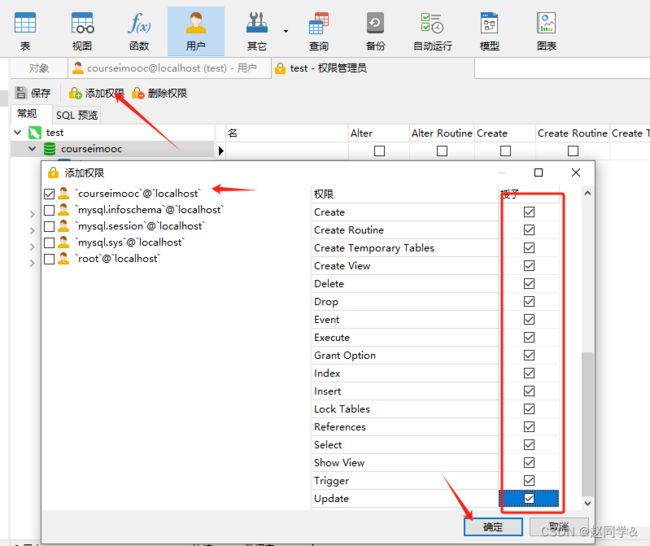
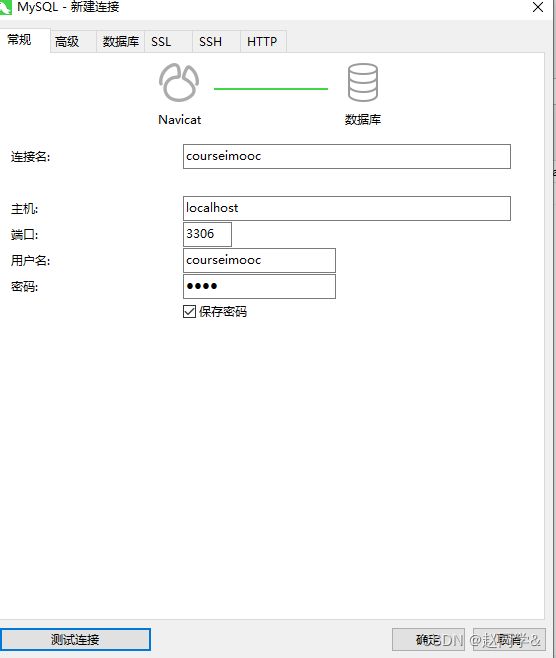
数据库准备工作2: 创建courseimooc数据库专用的用户,用户名可以叫courseimooc或其他
在实际开发中,我们会创建不同权限的用户,比如只能查询数据,或者只能做增删改查
生成的sql语句
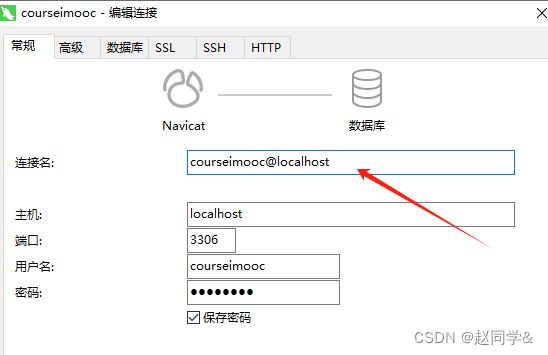
GRANT Alter, Alter Routine, Create, Create Routine, Create Temporary Tables, Create View, Delete, Drop, Event, Execute, Grant Option, Index, Insert, Lock Tables, References, Select, Show View, Trigger, Update ON `courseimooc`.* TO `courseimooc`@`localhost`;修改一下名称,说明只能本机访问
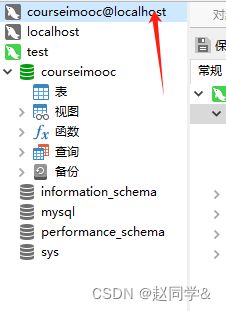
双击courseimooc@localhost,这个报错先不理会
进入courseimooc,新建一张表
现在 关闭连接,再打开,就不会报错了!
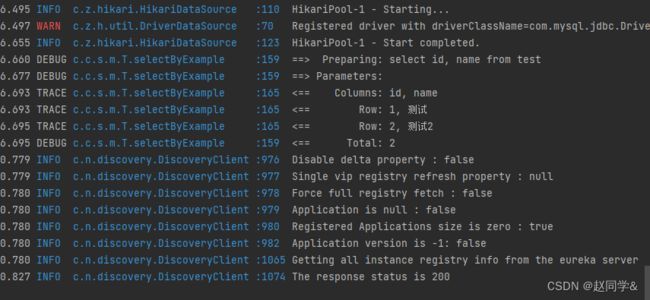
1.集成mybatis框架,启动成功
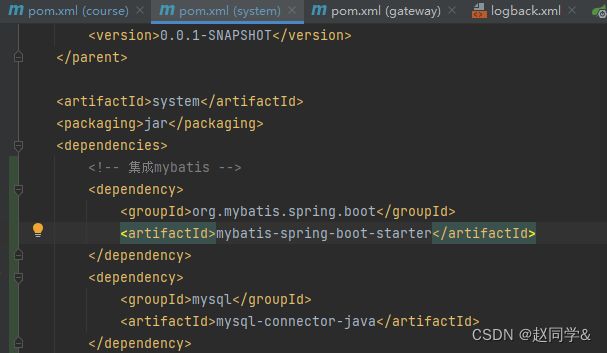
Maven父子模块增加jar包依赖: 先在父pom.xml中增加jar包依赖,再在子pom.xml中增加jar包依赖,子pom.xml中不带版本号
选中这个单词,Alt + 回车 ,然后点击Save 'courseimooc' to dictionary
Alt+Enter可以帮助解决大多数的错误报警等
单词就不会出现波浪线
如果启动报错,加上spring.datasource.driver-class-name=com.mysql.jdbc.Driver
Mybatis使用示例
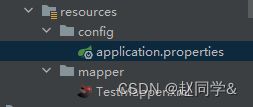
#增加TestMapper.xml,放在 reources/mapper目录下
application.properties
spring.application.name=system
server.servlet.context-path=/system
server.port=9001
eureka.client.service-url.defaultZone=http://localhost:8761/eureka/

#增加数据库连接
spring.datasource.url=jdbc:mysql://localhost:3306/courseimooc?characterEncoding=UTF8&autoReconnect=true
spring.datasource.username=courseimooc
spring.datasource.password=root
spring.datasource.driver-class-name=com.mysql.jdbc.Driver

mybatis.mapper-locations=classpath:/mapper/*.xml
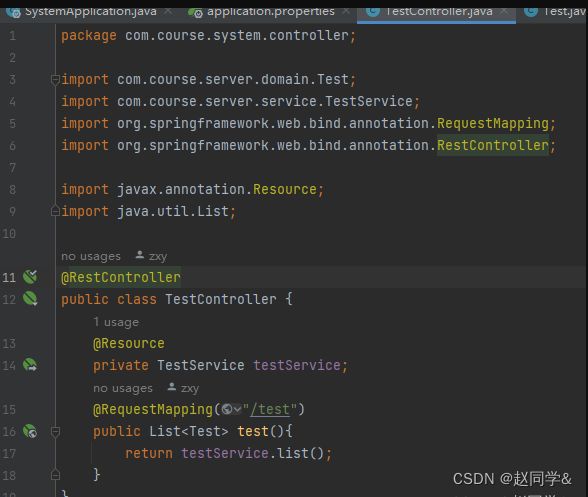
TestController.java
package com.course.system.controller;

import com.course.system.domain.Test;
import com.course.system.service.TestService;
import org.springframework.web.bind.annotation.RequestMapping;
import org.springframework.web.bind.annotation.RestController;

import javax.annotation.Resource;
import java.util.List;

@RestController
public class TestController {
    @Resource
    private TestService testService;
    @RequestMapping("/test")
    public List test(){
        return testService.list();
    }
}
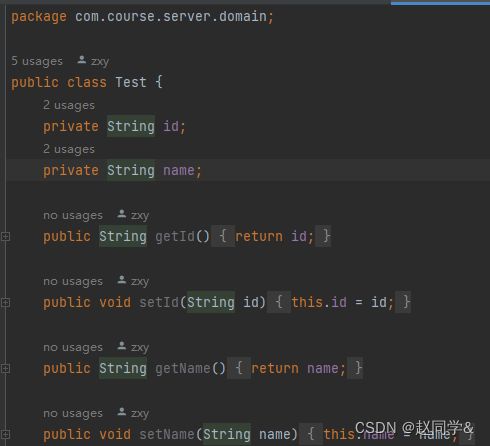
Test.java
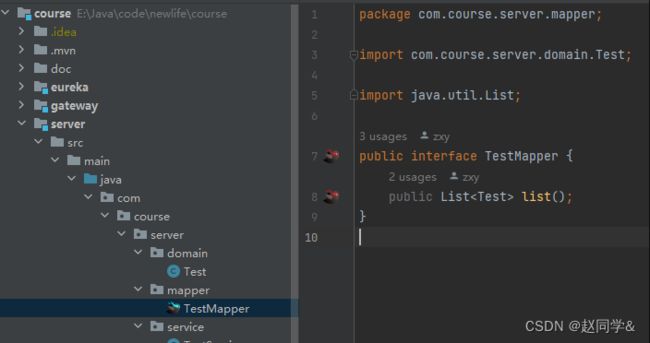
TestMapper.java
package com.course.system.mapper;

import com.course.system.domain.Test;

import java.util.List;

public interface TestMapper {
    public List list();
}
TestService.java
package com.course.system.service;

import com.course.system.domain.Test;
import com.course.system.mapper.TestMapper;
import org.springframework.stereotype.Service;

import javax.annotation.Resource;
import java.util.List;
@Service
public class TestService {
    @Resource
    private TestMapper testMapper;
    public List list(){
        return testMapper.list();
    }
}
SystemApplication.java
package com.course.system;

import org.mybatis.spring.annotation.MapperScan;
import org.slf4j.Logger;
import org.slf4j.LoggerFactory;
import org.springframework.boot.SpringApplication;
import org.springframework.boot.autoconfigure.SpringBootApplication;
import org.springframework.cloud.netflix.eureka.EnableEurekaClient;
import org.springframework.core.env.Environment;


@SpringBootApplication
@EnableEurekaClient
@MapperScan("com.course.system.mapper")
public class SystemApplication {

    private static final Logger logger = LoggerFactory.getLogger(SystemApplication.class);

    public static void main(String[] args) {

        SpringApplication app = new SpringApplication(SystemApplication.class);
        Environment env = app.run(args).getEnvironment();
        logger.info("启动成功!!");
        logger.info("System地址: \thttp://127.0.0.1:{}", env.getProperty("server.port"));
    }

}
1.mybatis使用示例: http://127.0.0.1:9001/system/test
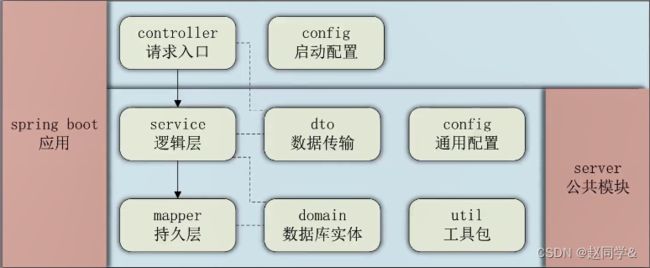
2.增加了三层结构
3-2 项目优化
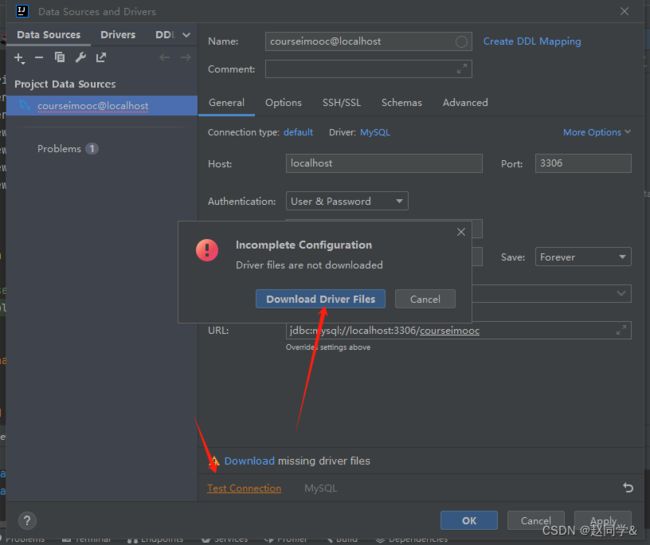
idea数据库插件的使用
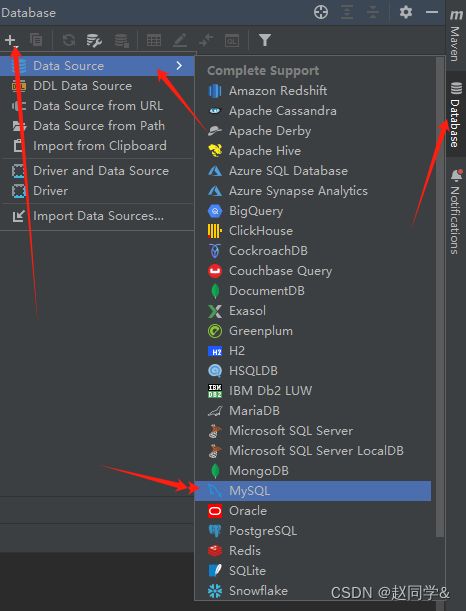
1.使用database关联数据库
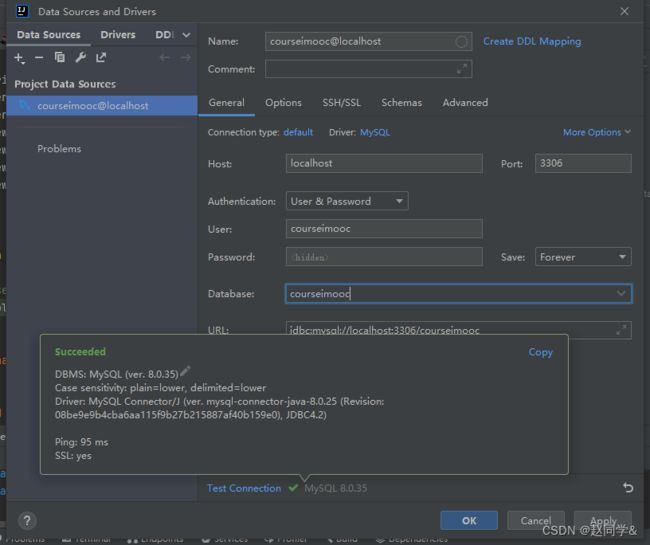 如果不成功,可能是时区的问题,在Advanced中找到serverTimezone设置为UTC
UTC代表的是全球标准时间,如果要用北京时间,可以填Asia/Shanghai
这样就说明创建好了
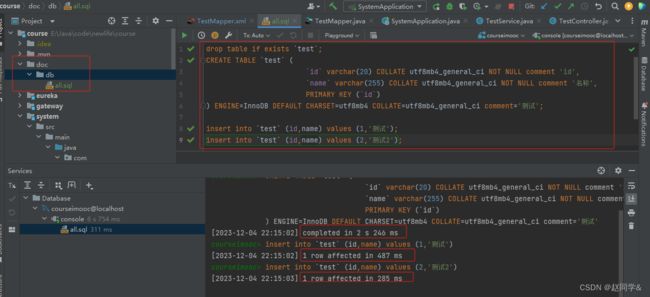
2.新增数据库脚本
设置了idea关联数据库后,所有的脚本都可以在idea直接执行,相当于把开发和运维关联起来了。
集成热部署DevTools
idea+DevTools热部署
第1步:增加devtools依赖
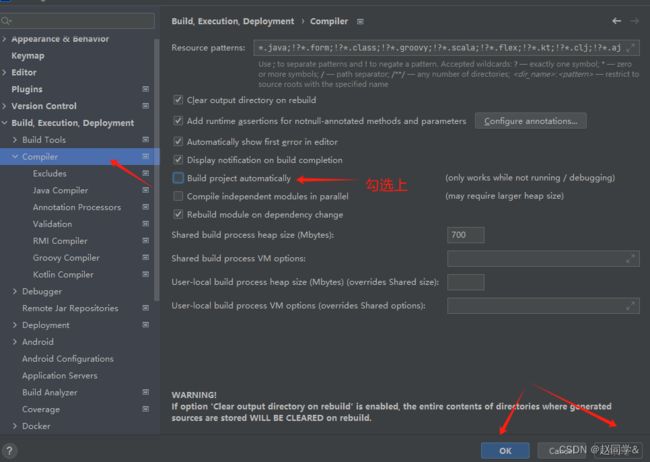
第2步:Ctrl+Alt+S 打开设置窗口,编写代码时,自动编译勾选上
勾选Advanced Settings中的Allow auto-make to start even if developed application is currently running
热部署的时间会比正常启动更快,随着业务的增加,启动时间会变长,这个差距会越明显
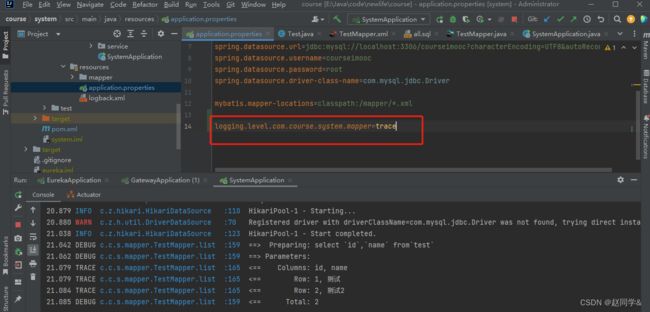
优化mybatis日志
3-3 搭建服务模块-server
业务扩展后,需要对表加一个字段,这时,如果要保持实体类和表结构一致,则所有模块的实体都要改,费时费力
如果采取的策略是,哪个模块用到新的字段,就改哪实体类,时间长了,所有的实体类和表都对应不上,并且这种策略不能用mybatis代码生成器
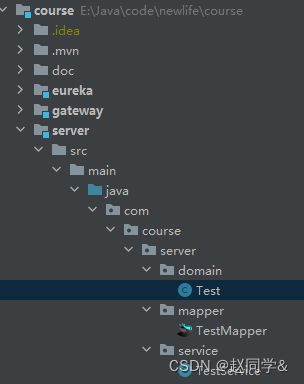
新建公共模块-server
    4.0.0

        com.course
        course
        0.0.1-SNAPSHOT

    com.course

    server
    0.0.1-SNAPSHOT
    jar


            org.springframework.boot
            spring-boot-devtools


            org.mybatis.spring.boot
            mybatis-spring-boot-starter


            mysql
            mysql-connector-java


        org.springframework.boot
        spring-boot-starter-web
system集成server模块
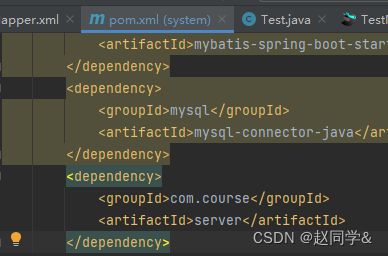
总的pom.xml包下加入server依赖
重新启动
集中配置
server作为jar包被依赖,它的resources下的配置文件会和system下的配置文件冲突
spring默认也会读resources/config下的配置文件
1.将用的配置移动到server
注:server配置文件的路径要放在resources/config/application.properties,不能和上层的路径一样放在resoures根目录下
3-4 集成mybatis generator
idea集成mybatis generator生成mybatis代码
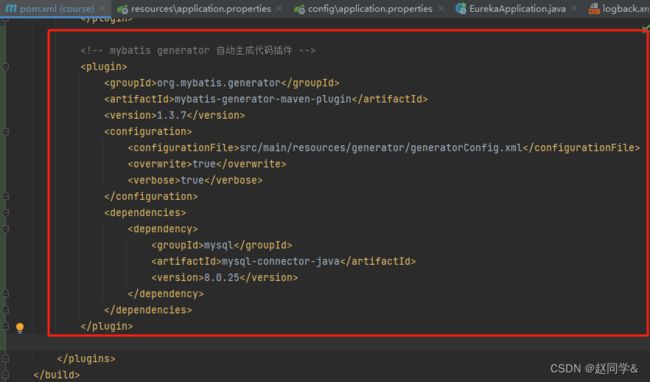
步骤1:父pom.xml里增加mybatis-generator插件
这个插件需要连接数据库获得表结构,所以需要加驱动包依赖
步骤2:添加配置文件generatorConfig.xml
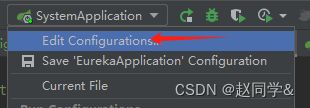
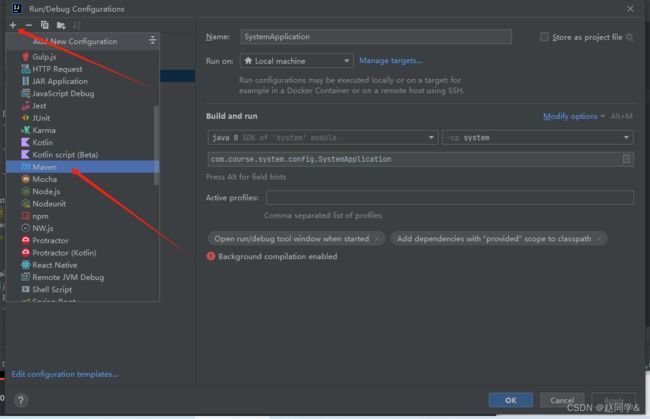
步骤3:创建maven启动命令mybatis-generator:generate -e
generatorConfig.xml是放在server模块下,所以这里选择server目录
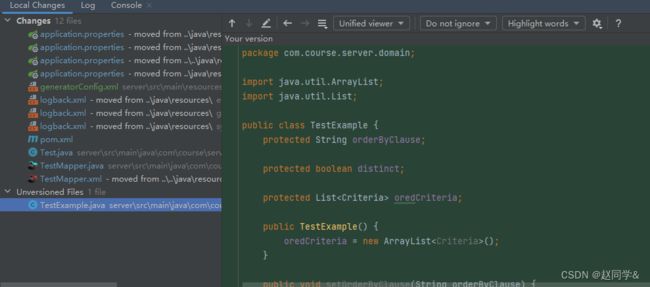
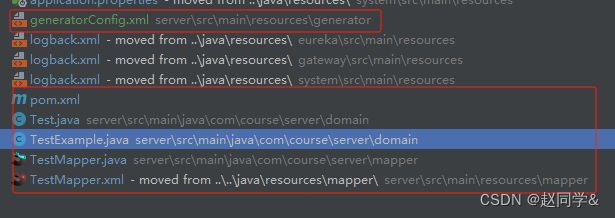
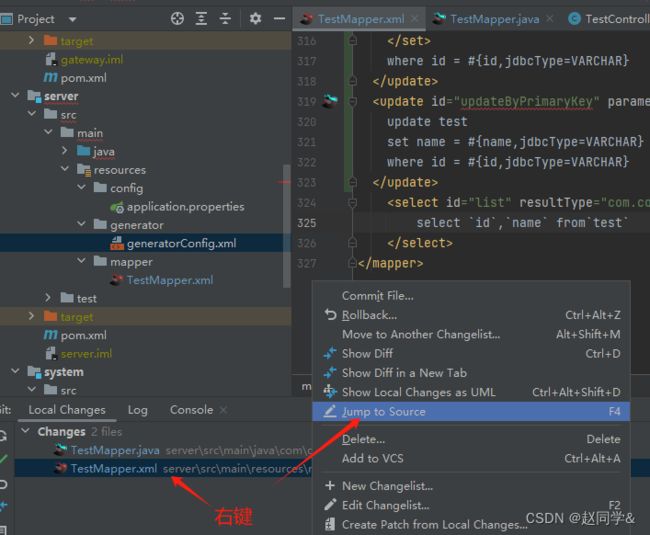
红色:新文件未交给git管理(未add,未commit);
绿色:已交给git管理未提交(已add,未commit);
蓝色:有修改未提交;灰色:已删除未提交
这些是新生成的
解决mapper.xml重复生成代码的问题
1.解决mapper.xml重复生成代码的间题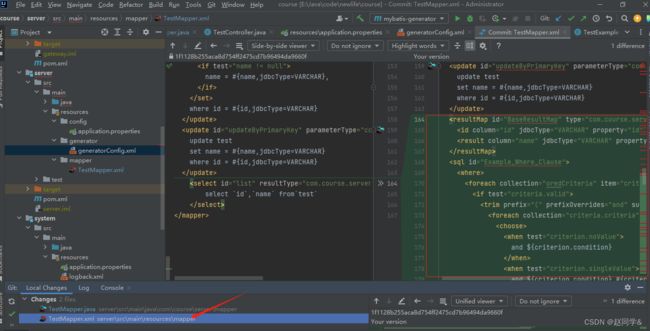
低端的解决方法:每次手动删除xml,再执行生成命令。
更好的方法:
旧版本解决方案:自己写Java类,用来启动生成器,而不是用Maven命令启动。在java类里删除表xmI文件,再执行生成代码
原来的xml会被覆盖,所以绝对不要在生成的xml手动修改代码,因为下次再生成时,手动修改的代码会被覆盖掉
example使用示例
通过Example,可以帮我们写入where,order by,distinct等,需要熟练掌握,可以极大提高单表的开发效率
启动EurekaApplication、SystemApplication
小技巧:Ctrl+Alt+V,快速生成个变量
根据id升序asc
根据id降序desc
要按多个条件查询的话,在表达式的后面继续.andXXX,后续会再作介绍
?是jdbc占位符,可用于防注入攻击。mybatis底层也是idbc实现的
使用Example可以快速完成单表的增删改查,熟练掌握后对代码开发效率将有一个质的飞跃
